Table of Contents
The best iPhone 16 Pro and Pro Max tips are the ones that reduce repeated taps: configure Camera Control, assign the Action button, bring useful controls within reach, lock sensitive apps, and choose camera formats deliberately. The steps below use current iOS menus; wording can vary slightly by iOS version and region.
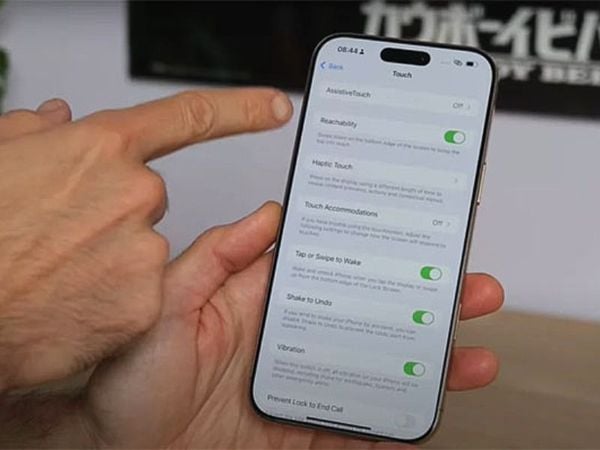
1. Make the large display easier to use with one hand
Turn on Settings > Accessibility > Touch > Reachability. Swipe down on the bottom edge of the screen to lower the top half temporarily. If Reachability opens accidentally too often, return to the same menu and disable it.
You can also move frequently used controls to the lower part of Control Center and place important Home Screen icons near your thumb.
2. Configure Camera Control instead of treating it as only a shutter
Press Camera Control to open Camera, then press again to take a photo. A light press can reveal controls such as zoom, exposure, depth, camera selection, and Photographic Styles; slide a finger on the control to adjust the selected value. Available controls depend on the current camera mode and software version.
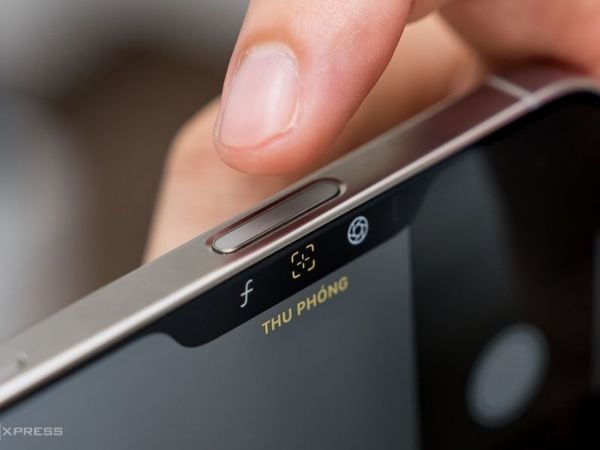
Open Settings > Camera > Camera Control to review launch behavior. Under Settings > Accessibility > Camera Control, adjust pressure and double-light-press speed if the default gesture is unreliable. A case with a poorly aligned cutout can also make the control harder to use.
3. Give the Action button a job you use daily
Open Settings > Action Button and swipe through the available actions. Useful choices include Silent Mode, Focus, Camera, Flashlight, Voice Memo, Translate, Magnifier, Accessibility, or a Shortcut. A Shortcut can open an app, start navigation, create a note, or run a small automation.
Choose one dependable action rather than a complex shortcut you cannot remember. The button must be held briefly, which helps prevent accidental activation.
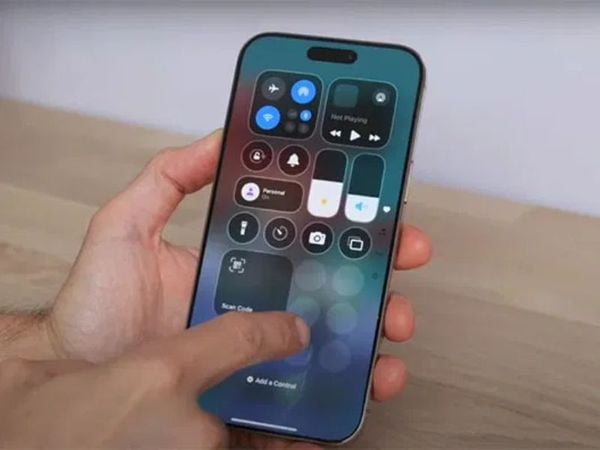
4. Customize Control Center
Swipe down from the top-right corner, touch and hold an empty area, then add, remove, resize, or rearrange controls. Put the controls you use most—such as Low Power Mode, Notes, Calculator, Screen Recording, or Text Size—where they are easy to reach.
Controls can span multiple Control Center pages. Avoid filling the first page with rarely used toggles because that defeats the purpose of quick access.
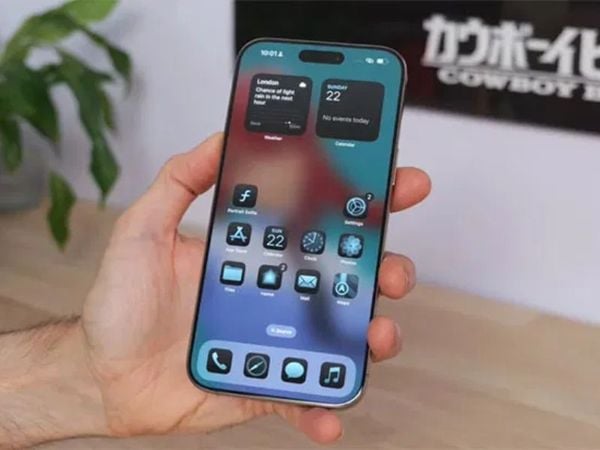
5. Use the Home Screen without showing every app
Touch and hold the Home Screen, choose Edit, and customize icon size, tint, and page layout. Widgets can show upcoming events, battery levels, weather, and reminders without opening their apps.
To remove an app icon without deleting the app, touch and hold it, choose Remove App, then Remove from Home Screen. The app remains in App Library and search.
6. Lock or hide sensitive apps correctly
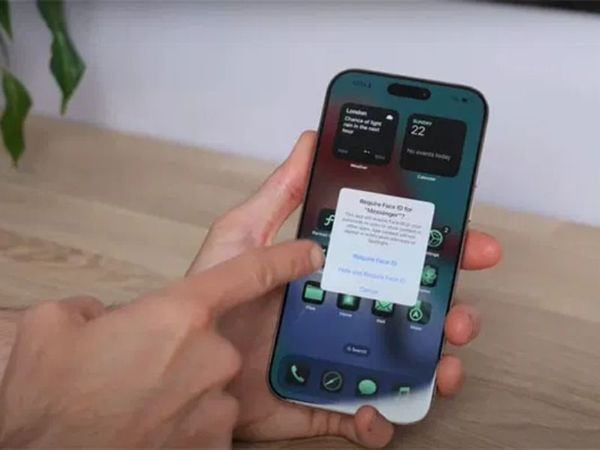
Touch and hold a supported app, then choose Require Face ID. For apps that support hiding, choose Hide and Require Face ID; the app moves to the Hidden folder in App Library. Some built-in or system-critical apps cannot be hidden.
This is different from using a one-minute Screen Time limit, which is an awkward workaround rather than the built-in app-lock feature. Hidden apps may still leave traces in places such as notification settings, battery usage, or purchase history, so hiding is not equivalent to erasing data.
7. Make Safari pages easier to read
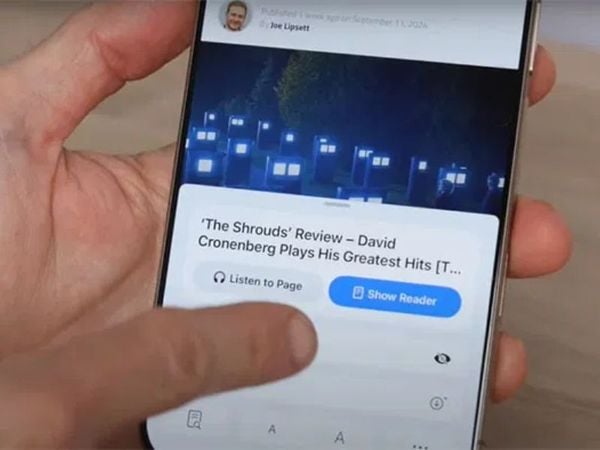
On a compatible article page, tap Safari's page menu and choose Show Reader. Reader removes many surrounding page elements and lets you adjust text size, font, background, and related display options. It will not be available on every site.
Use Tab Groups to separate work, shopping, research, and personal browsing. Reading List is useful when you want to save a page for later instead of leaving dozens of tabs open.
8. Download offline maps before a trip
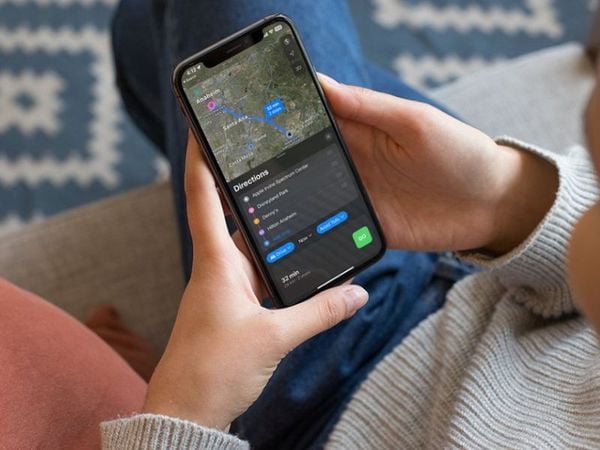
In Apple Maps, tap your profile picture, choose Offline Maps, then download the required area while connected to Wi-Fi. Review the map size and enable automatic updates if appropriate. Navigation capabilities and place information can be more limited offline.
Save Home and Work only if you are comfortable storing those locations, and check the route before driving. Phone interaction while driving is unsafe; configure navigation before moving.
9. Choose ProRAW and ProRes only when you need them
For editing flexibility, open Settings > Camera > Formats and enable ProRAW & Resolution Control. ProRAW keeps more image information but creates much larger files. HEIF at high resolution is often a better everyday compromise.
ProRes video is intended for editing workflows and consumes storage rapidly. On iPhone 16 Pro models, the highest frame-rate ProRes modes require compatible fast external USB-C storage. Apple's ProRAW guide explains the available formats and resolution controls.
10. Save the camera settings you actually prefer
Open Settings > Camera > Preserve Settings and choose which modes, exposure adjustments, creative controls, and format choices Camera should remember. Preserve only settings you deliberately reuse; otherwise the camera may reopen in an unexpected mode.
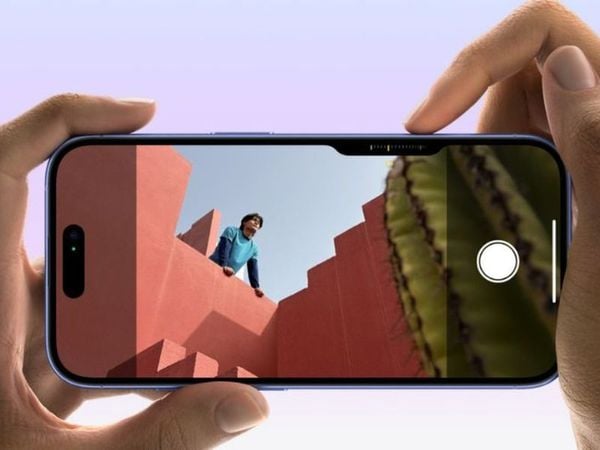
Use the grid and level under Camera settings to improve alignment. Lock focus and exposure by touching and holding the subject until AE/AF Lock appears, then drag the exposure control if the image is too bright or dark.
A quick setup checklist
- Enable Reachability if the top of the display is difficult to reach.
- Tune Camera Control sensitivity and assign the Action button.
- Place six to ten essential controls on the first Control Center page.
- Use the native Face ID app lock instead of a Screen Time workaround.
- Keep ProRAW and ProRes off until a project needs them.
- Review privacy and convenience settings periodically; TipsMake's list of iPhone settings worth changing covers additional options.
Most of these features also work on other current iPhones, but Camera Control and the Action button are hardware-specific. If a menu is missing, update iOS and check whether the particular model and region support it.
Related Articles
 Some Tips and Tricks on Using Camera on iPhone (Part 1)10 minutes read
 Some Tips and Tricks on Using Camera on iPhone (Part 2)8 minutes read
 8 Tips to Help Your iPhone Battery Last Longer When Traveling9 minutes read
 Some Tips and Tricks on Using Camera on iPhone (End Part)5 minutes read
 Tips iOS 11, How to Use iOS 11 to Help You Master iPhone, iPad10 minutes read
 7 Smart iPhone Gestures Apple Doesn't Tell You: Practical Guide7 minutes read
Reader Comments 0
Sign in with email or Google to join the discussion.