Table of Contents
The simplest current way to create a Hiren’s BootCD PE USB is to write the verified x64 ISO with Rufus. Do not use the old Hiren’s BootCD 15.2, USBFormat, and Grub4Dos procedure on a modern UEFI PC. Those instructions target a discontinued legacy release and add unnecessary risk.
Warning: Rufus erases the selected USB drive. Copy its files elsewhere and unplug other removable drives before starting.
What you need
- A Windows PC on which you can run Rufus
- A USB flash drive larger than the current ISO, preferably 8GB or more
- The current Hiren’s BootCD PE x64 ISO from the official project
- Rufus from its official site or the project’s USB instructions
- Administrator permission
Hiren’s BootCD PE is a temporary Windows PE recovery environment. The current project page describes it as Windows 11 PE x64 for modern computers with UEFI support and at least 4GB RAM. It is for deployment and recovery, not everyday Windows use.
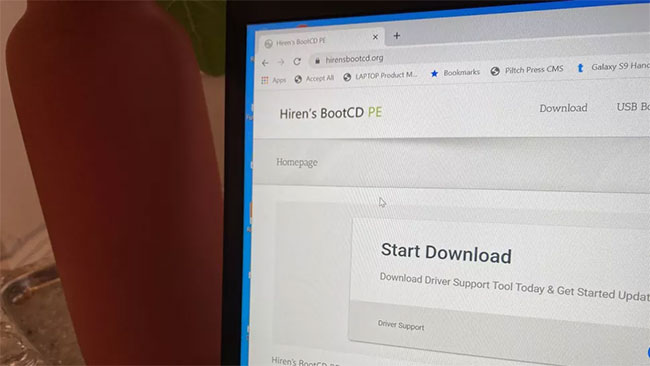
1. Download and verify Hiren’s BootCD PE
- Open the official Hiren’s BootCD PE download page.
- Download the current x64 ISO from an official mirror.
- Compare the file size and SHA-256 hash with the values on that page.
In PowerShell, run the following command from the folder containing the ISO:
Get-FileHash .HBCD_PE_x64.iso -Algorithm SHA256The official page currently lists v1.0.8 as a 3.06GB ISO with SHA-256 8c4c670c9c84d6c4b5a9c32e0aa5a55d8c23de851d259207d54679ea774c2498. If a newer version appears, use the new page’s hash—not this older value.
2. Write the ISO with Rufus
- Insert the USB and open Rufus.
- Under Device, select the USB by capacity. Recheck it; the chosen drive will be erased.
- Before selecting the ISO, press Alt + E until Rufus reports that Dual UEFI/BIOS mode is enabled.
- Click Select and choose
HBCD_PE_x64.iso. - Choose MBR for the partition scheme and FAT32 for the file system, as the Hiren project currently recommends for broad compatibility.
- For a USB of 32GB or larger, choose Large FAT32. If it is not shown, the project says to press Alt + L in Rufus.
- Enter an optional volume label, click Start, and accept the erase warning only after checking the device again.
- Wait for Rufus to show Ready, then eject the USB safely.
The project notes that Rufus 4.6 and later may display a revoked-UEFI-bootloader warning for the image and instructs users to acknowledge it. Review the official USB Booting page at the time of creation because that guidance can change.
3. Boot the target computer from USB
- Shut down the target computer and insert the USB.
- Power on and open its one-time boot menu. Common keys include F12, F11, F9, Esc, or a manufacturer-specific button.
- Select the USB entry, preferably the UEFI entry on a modern system.
- Allow Windows PE to load and detect storage, network, display, and input hardware.
Do not permanently put USB first in the boot order unless necessary. A one-time boot menu avoids repeatedly starting the recovery drive.
4. Verify the rescue USB before an emergency
Boot it once while the PC is healthy. Confirm that the keyboard, mouse, display, internal disks, external backup disk, and—if required—network adapter appear. Open a disk-information tool and identify each drive by model and capacity, then shut down without changing anything.
TipsMake’s Hiren’s BootCD PE overview explains the included tool categories and safety limits. The Windows installation and recovery section covers alternatives for installation media.
Safe use after booting
- Copy important files to a different physical drive.
- Image a failing disk before repeated recovery scans.
- Check model and capacity before formatting, cloning, restoring, or editing partitions.
- Do not use password-reset tools on accounts or computers you are not authorized to administer.
- Retain BitLocker recovery keys; the PE environment cannot decrypt a protected drive without them.
- Connect to the network only when needed and avoid entering important credentials into an unverified or modified image.
Troubleshooting
The USB does not appear in Rufus
Reconnect it directly, try another port, and check Disk Management. If the drive has hardware errors or reports no media, replace it. Do not run destructive repair commands while other removable drives are connected.
The PC does not boot from it
Confirm that Dual UEFI/BIOS mode was enabled before the ISO was selected and that the USB is MBR/FAT32 as currently recommended. Try the one-time boot menu, a different port, and the latest Rufus. Secure Boot behavior depends on the firmware and image; read the current project instructions before changing it.
Tools are missing after boot
The Hiren FAQ warns that some multiboot writers can cause missing programs. Recreate the USB with the official Rufus method and a fresh verified ISO.
Storage or network hardware is missing
The PE image attempts to load common drivers but cannot include every controller. Use the project’s documented CustomDrivers method or integrate only the required compatible 64-bit driver. Do not switch RAID/VMD/AHCI modes casually on a system with an existing Windows installation.
Why the former Hiren 15.2 method should not be followed
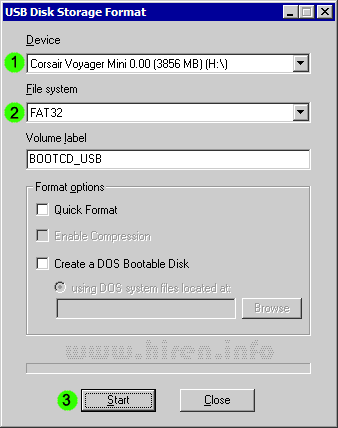
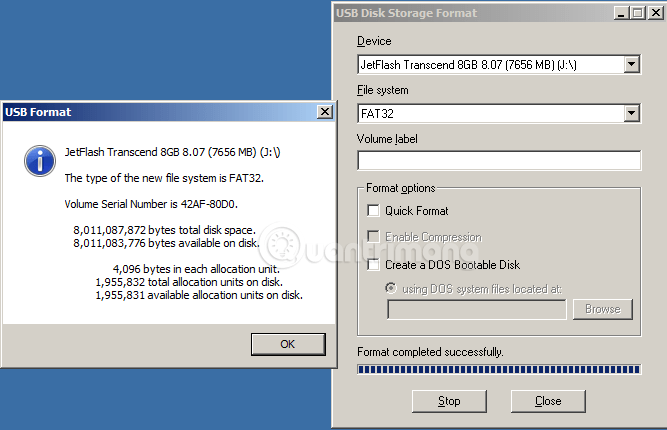
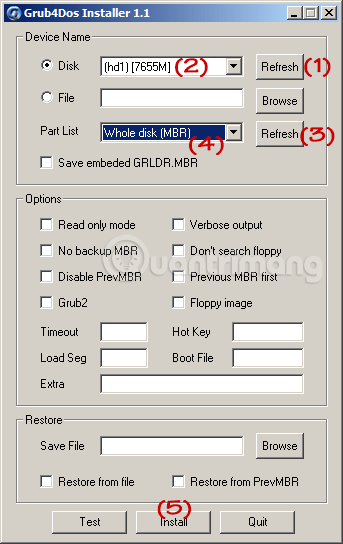
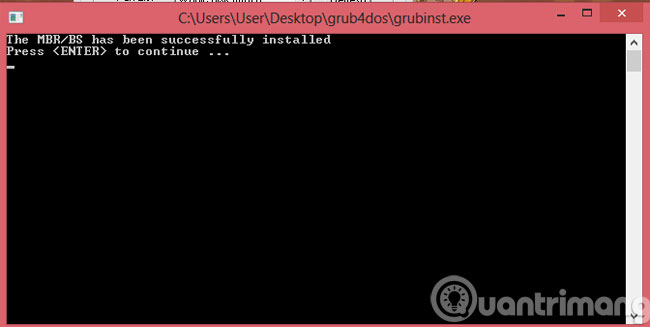
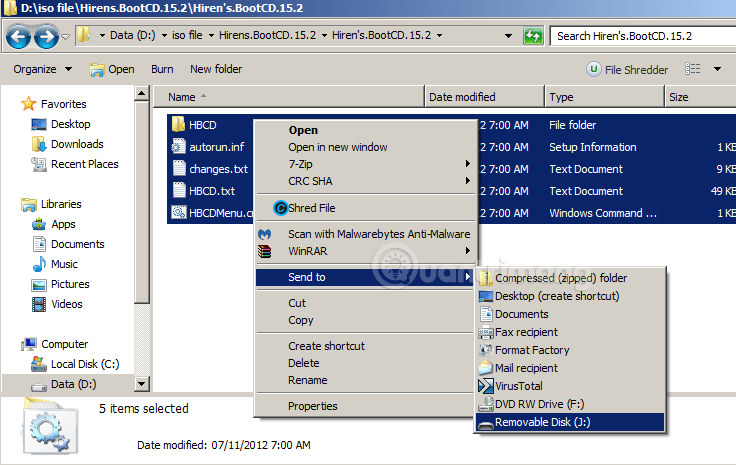
The old workflow manually formatted the USB, installed Grub4Dos, extracted Hiren’s BootCD 15.2, and copied grldr and menu.lst. It booted Mini Windows XP and other outdated utilities. That release stopped receiving official updates in 2012 and is unsuitable as a default rescue image for modern UEFI hardware.
The screenshots are preserved below for historical identification, not as current instructions:
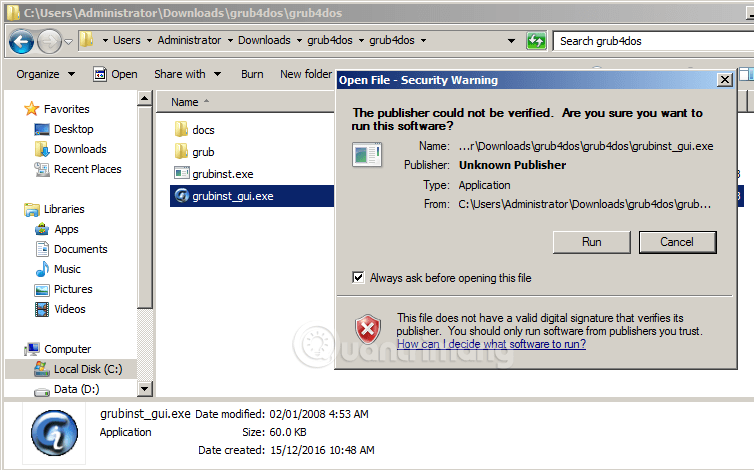
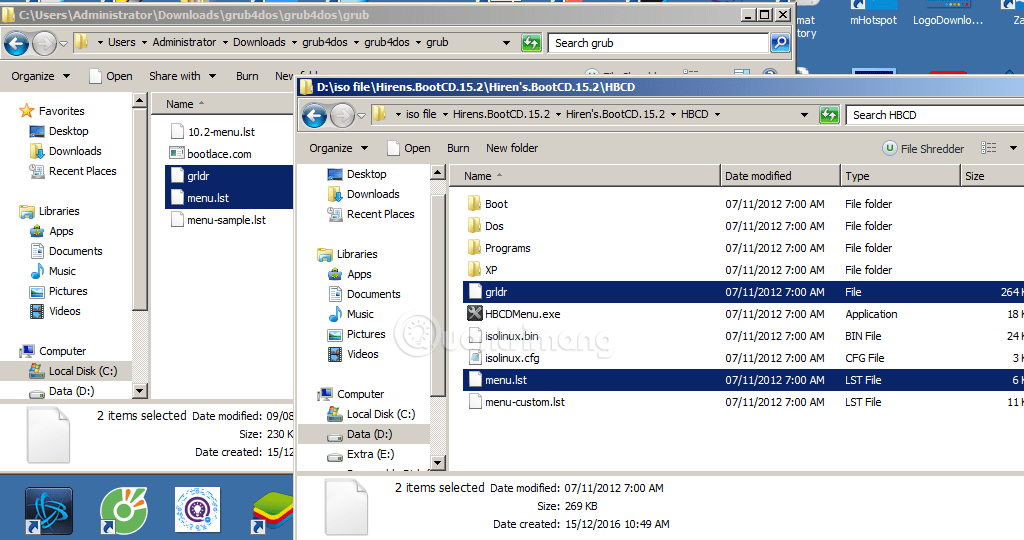
grldr and menu.lst copy step.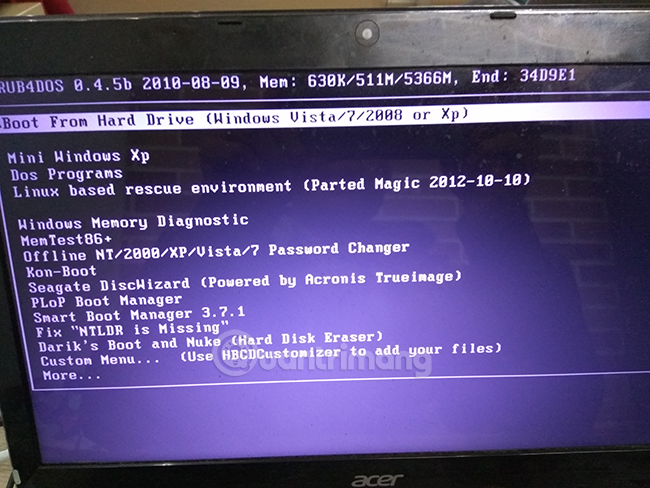
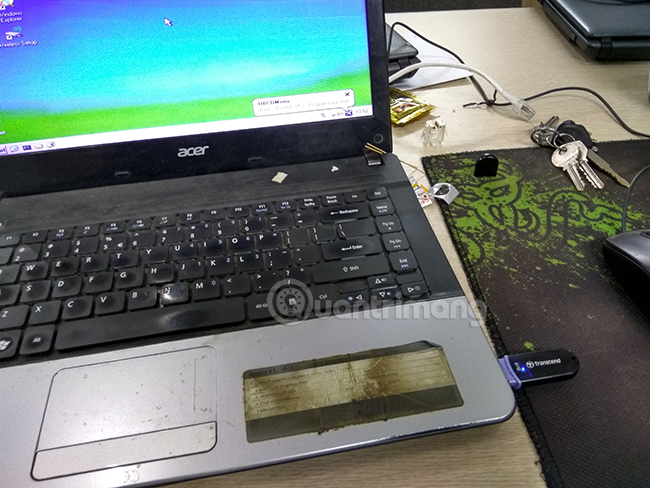
For a new rescue USB, use the maintained Hiren’s BootCD PE project and the current Rufus procedure above.
Related Articles
 How to Create a Hiren's BootCD Bootable USB Drive for Windows Rescue4 minutes read
 Learn About Hiren's BootCD PE8 minutes read
 Detailed Guide on Creating a Multi-Purpose Bootable USB Drive4 minutes read
 Create a Bootable USB Drive with Grub4dos5 minutes read
 How to Quickly Create a UEFI Bootable USB Using Rufus3 minutes read
 4 Tools to Create USB Boot Install Windows 105 minutes read
Reader Comments 0
Sign in with email or Google to join the discussion.