Instructions for renaming Microsoft account
Sometimes in certain situations, you may have a need to change the name of your Microsoft account (Microsoft Account) in Office 365 or Windows 11.
Regardless of the reason you're having, the setup is generally not complicated. Find out how to do it right here.
How to rename a Microsoft account
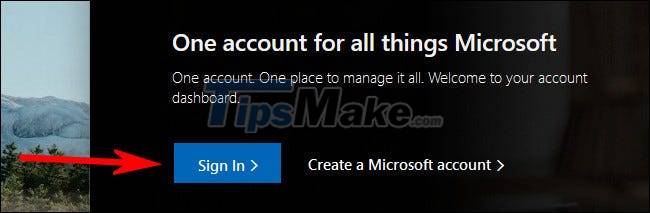
First, open any web browser on your PC, and navigate to the Microsoft Account Profile website. Next, sign in to the Microsoft account that you want to rename by providing the corresponding password and authentication code.
After you have successfully logged in, on the 'Your Info' page that appears you will see all your account information, as well as editable areas. The most prominent is the circle box containing your avatar (your account avatar. Right below that is the current Microsoft account name. To change the account name, click the blue "Edit Name" link at the bottom of the page. the right.
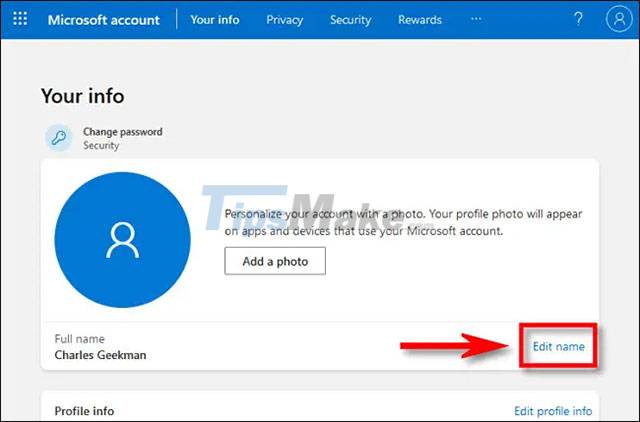
Immediately, the 'Edit Name' dialog box will pop up on the screen. Here, you enter the new first and last name that you want to change, then enter the corresponding Captcha code and click 'Save'.

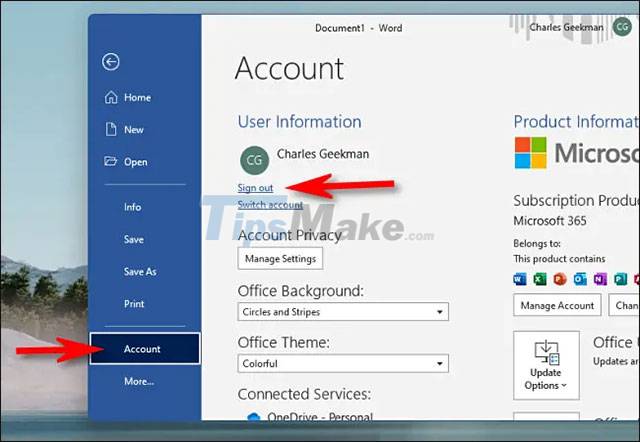
Your changes will be saved. For the change to take effect in Windows 11, restart your PC and sign in again. To see the new name in Office 365, open the Office app, click File > Account and select 'Sign Out'.
Then click 'Sign in' and sign in with your Microsoft account. The new name will appear in your Office applications.
Hope you are succesful.
- Instructions on how to log out of your Microsoft account in Windows 11.
- How to link a local account to a Microsoft account Windows 11
- Instructions for creating a Microsoft account for Windows Phone
- Instructions for renaming on Facebook
- Instructions to transfer Microsoft account to Local account on Windows 10 / 8.1
- Instructions to change WhatsApp display name
- How to create a Microsoft account
- Users will never have to create a Microsoft account password again
- Microsoft continues to tighten Windows 11 offline installation, blocking account bypass commands
- Extremely simple trick to install Windows 11 without internet
- Excel 2016 - Lesson 2: Learn about OneDrive - Complete guide to Excel 2016
- This PowerShell script can bypass Windows 11 system requirements, Microsoft Account
- These are the features that are about to be brought to Windows 11 by Microsoft
- Microsoft account and Internet connection will be required for Windows 11 Pro users
- Minecraft: Java Edition players will be required to have a Microsoft Account
- You can now manage your Microsoft and Office accounts right in the Settings of Windows 11
- Microsoft has just free Teams team software, and these are features to be aware of
- How to unlink a Windows 10 license from a Microsoft account


-
 How to permanently delete your Facebook account on your phone and computer.
-
How to unlock your Acer laptop quickly and effectively when you forget your password.
-
How to download Office 365 for free for life, with automatic renewal.
-
How to unlock a laptop safely and easily after forgetting the password.
-
Quick guide to registering for Garena on a computer
-
The simplest way to sign up for Azure.
 How to permanently delete your Facebook account on your phone and computer.
 How to unlock your Acer laptop quickly and effectively when you forget your password.
 How to download Office 365 for free for life, with automatic renewal.
 How to unlock a laptop safely and easily after forgetting the password.
 Quick guide to registering for Garena on a computer
 The simplest way to sign up for Azure.