Instructions for creating photo folders on iPhone
The Photos app on iPhone has a convenient feature that allows users to create folders to store favorite albums.
Table of Contents
The Photos app on iPhone has a handy feature that allows users to create folders to store their favorite albums. By creating folders in the Photos app, you can manage your albums more efficiently and group all similar albums in one place. Creating a folder in the Photos app on iPhone is extremely easy. You can do it by following the instructions below.
How to create photo folder on iPhone
Step 1:
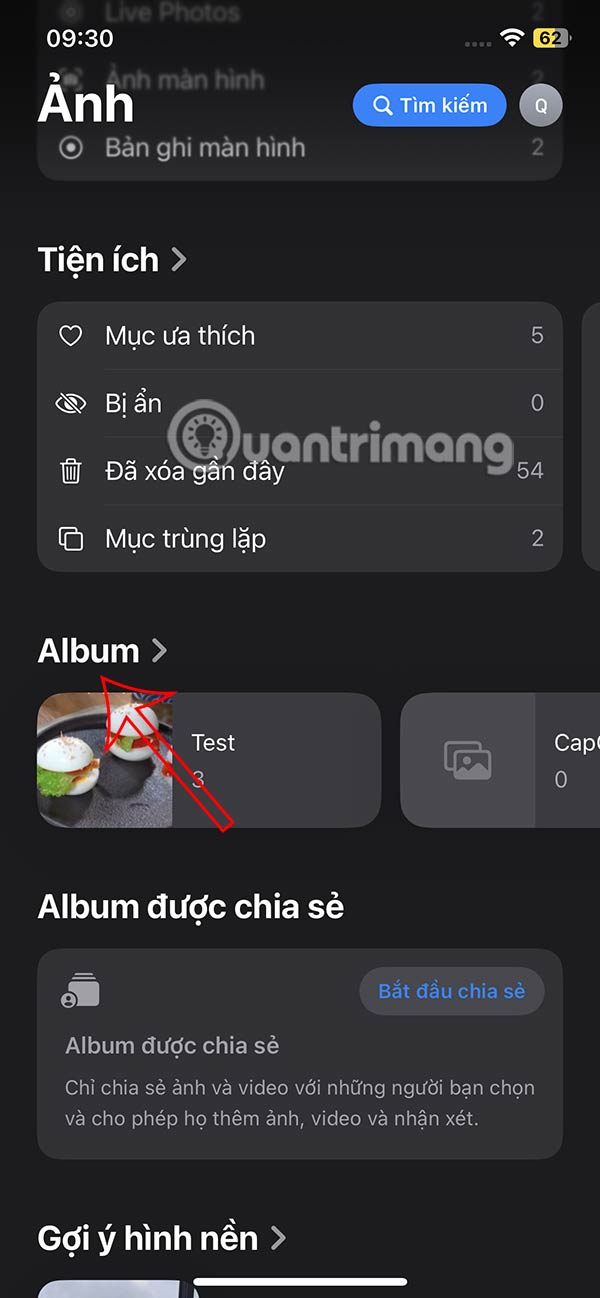
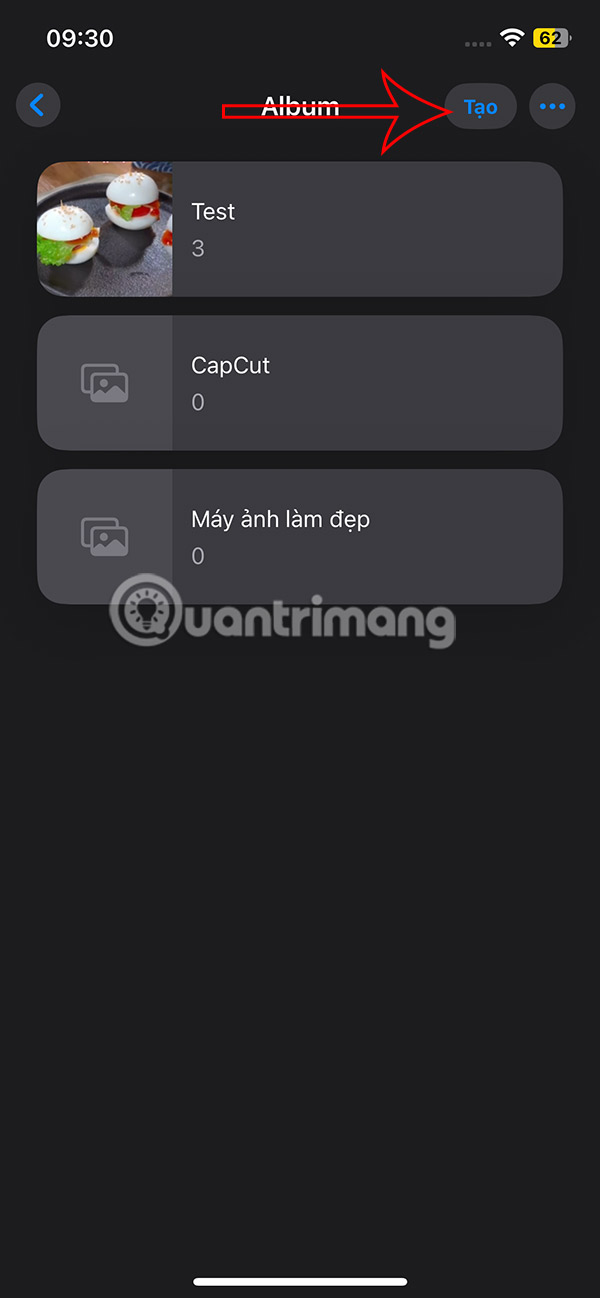
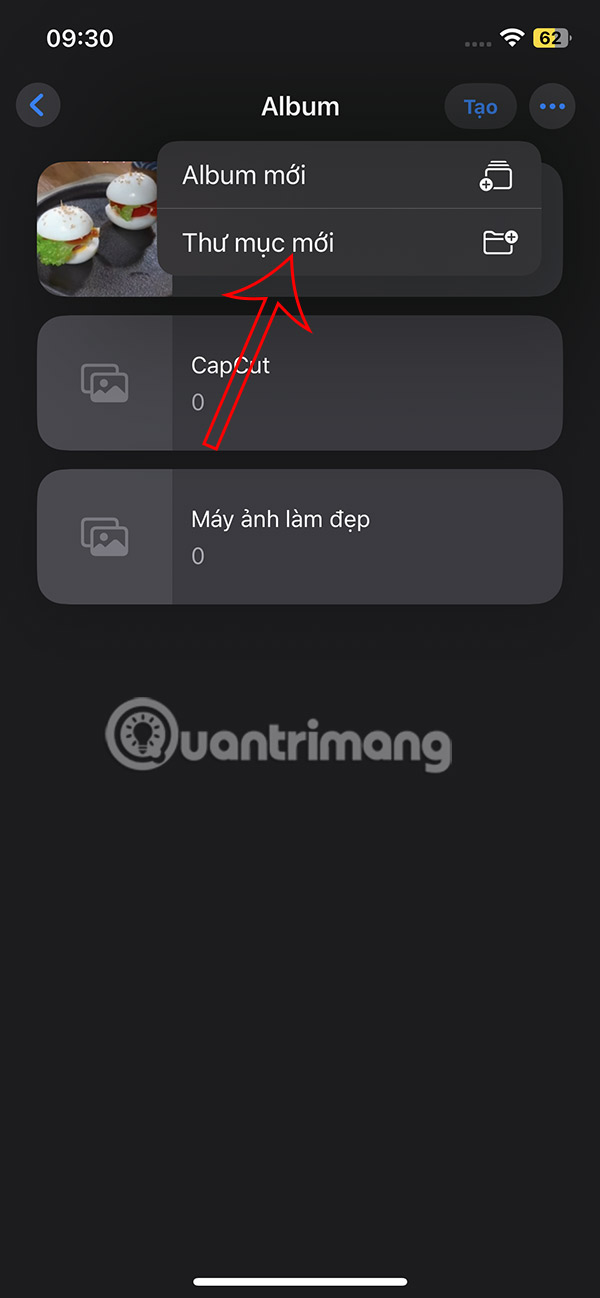
You access the Photos app on iPhone, then click on Albums below. In the album management interface, you click on the Create button then click Create new folder .
Step 2:
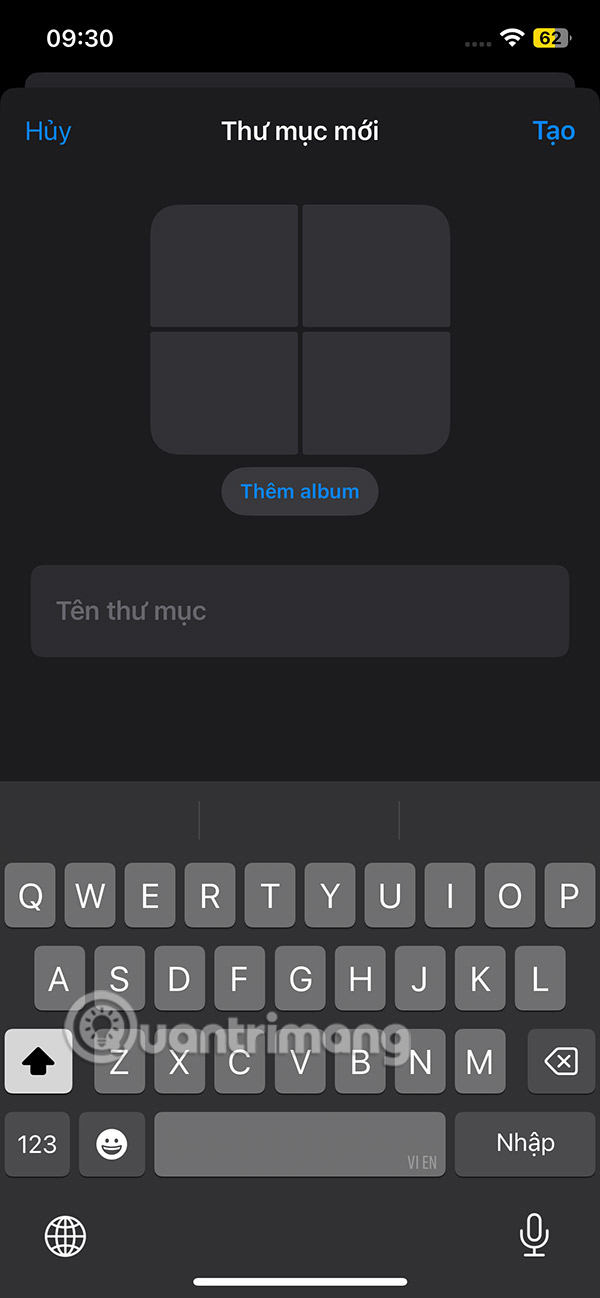
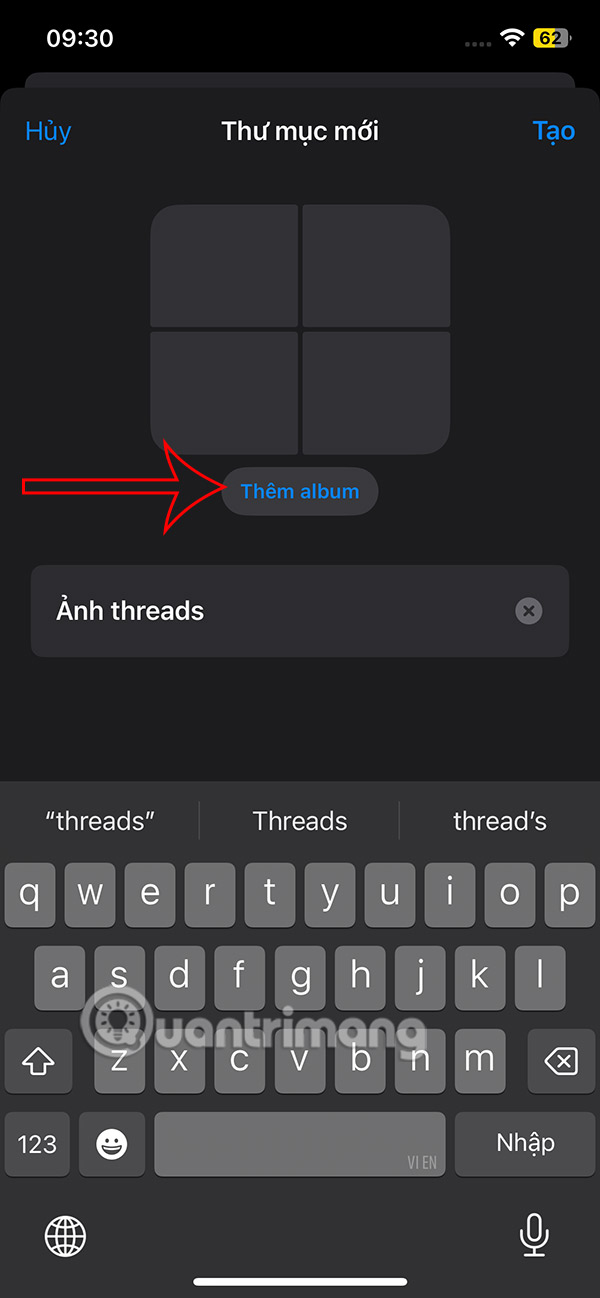
Display the interface to create an album, enter a name for this folder and click Add album to perform.
Step 3:
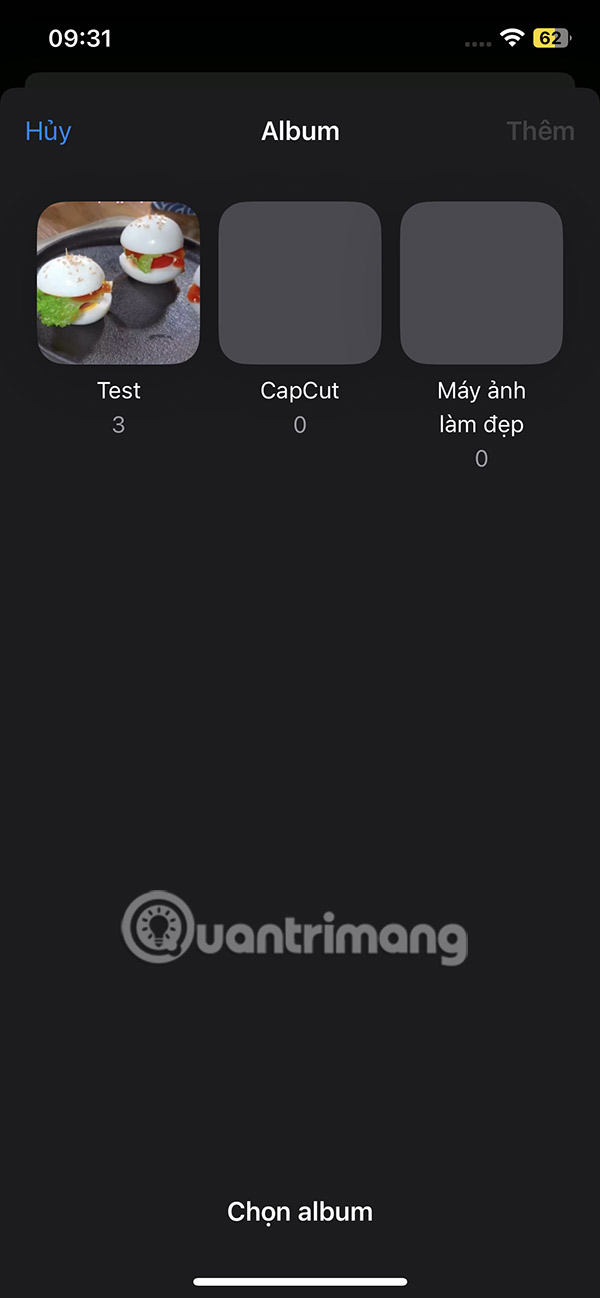
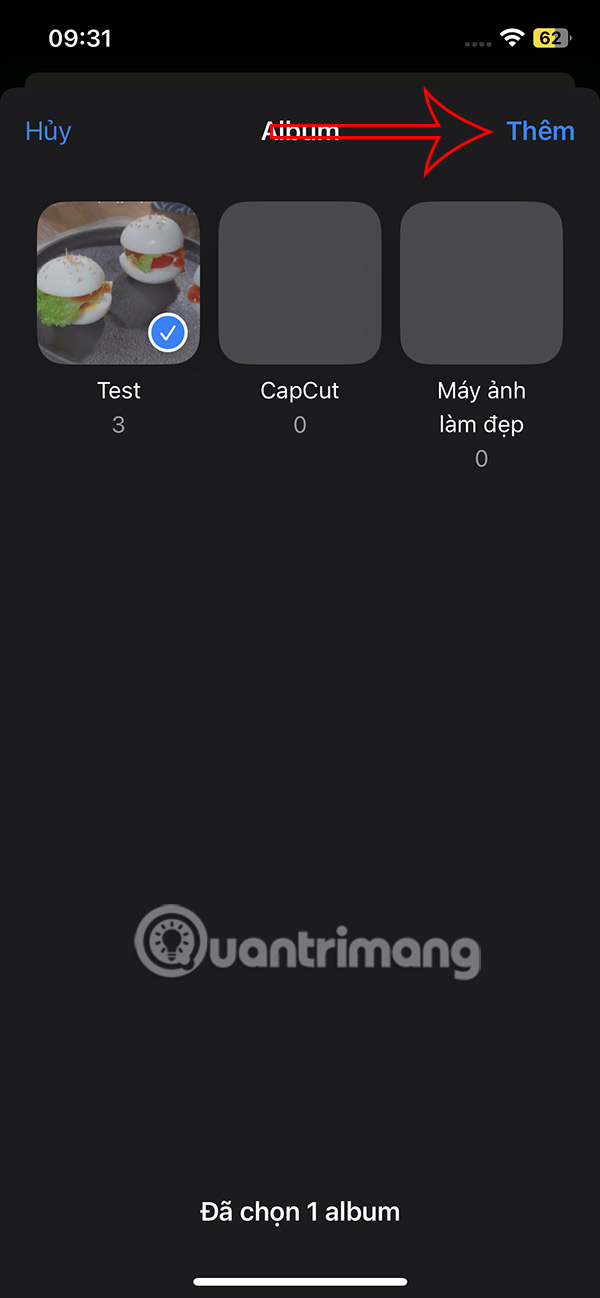
Display the interface to manage albums on your phone, click on the album you want to add to the newly created folder in Photos on iPhone. Click Add to continue.
Step 4:
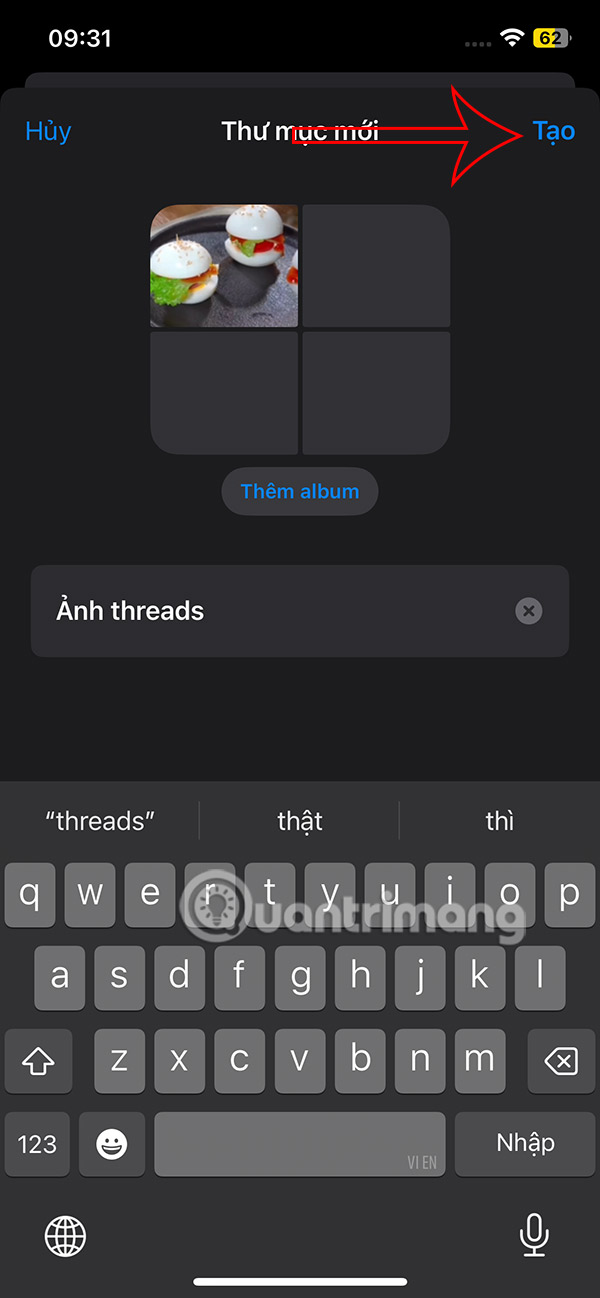
Finally, click the Create button to create a folder in iPhone Photos. So you have created a folder in iPhone Photos to store your albums as you like.
How to manage photo folders in iPhone
Step 1:
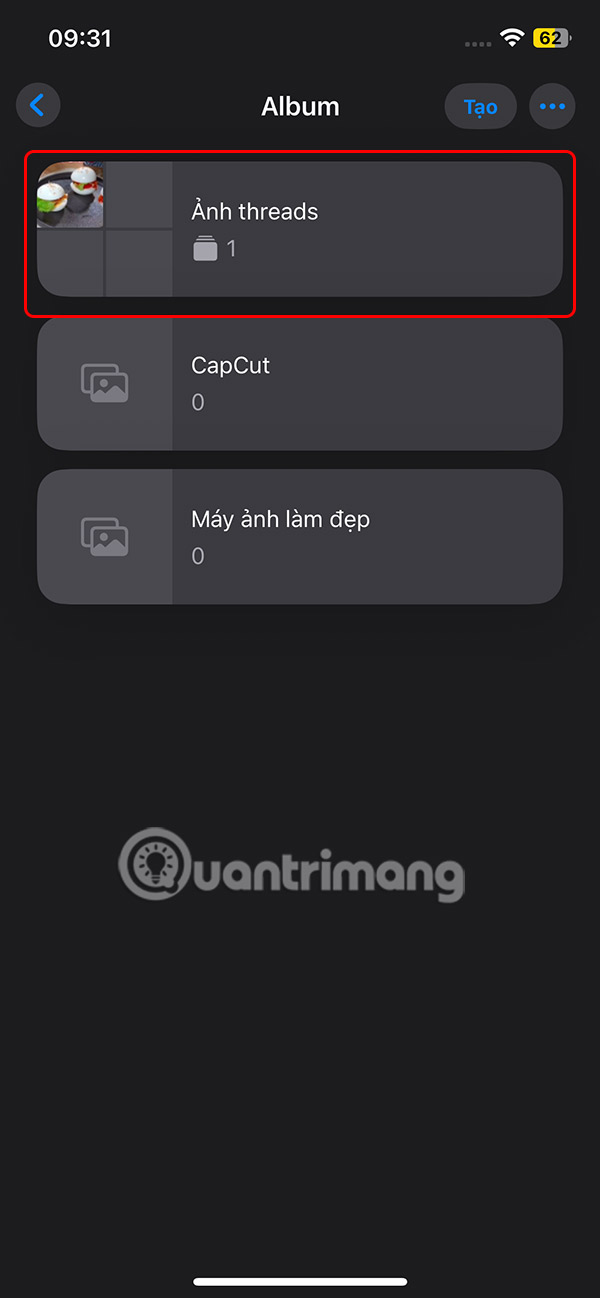
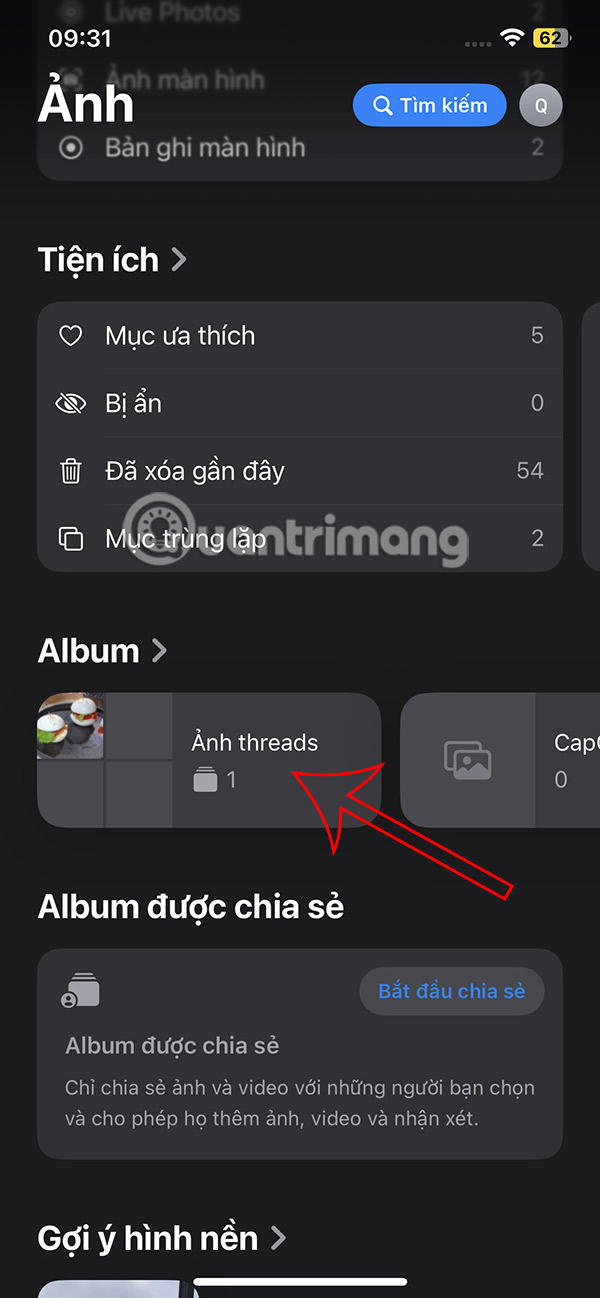
When you drag to the Album section, you will immediately see the photo folder displayed at the top , click to proceed with processing the folder. In the photo folder interface, you can create another folder if you want. Click on the 3 dots icon to display options for the folder.

Step 2:
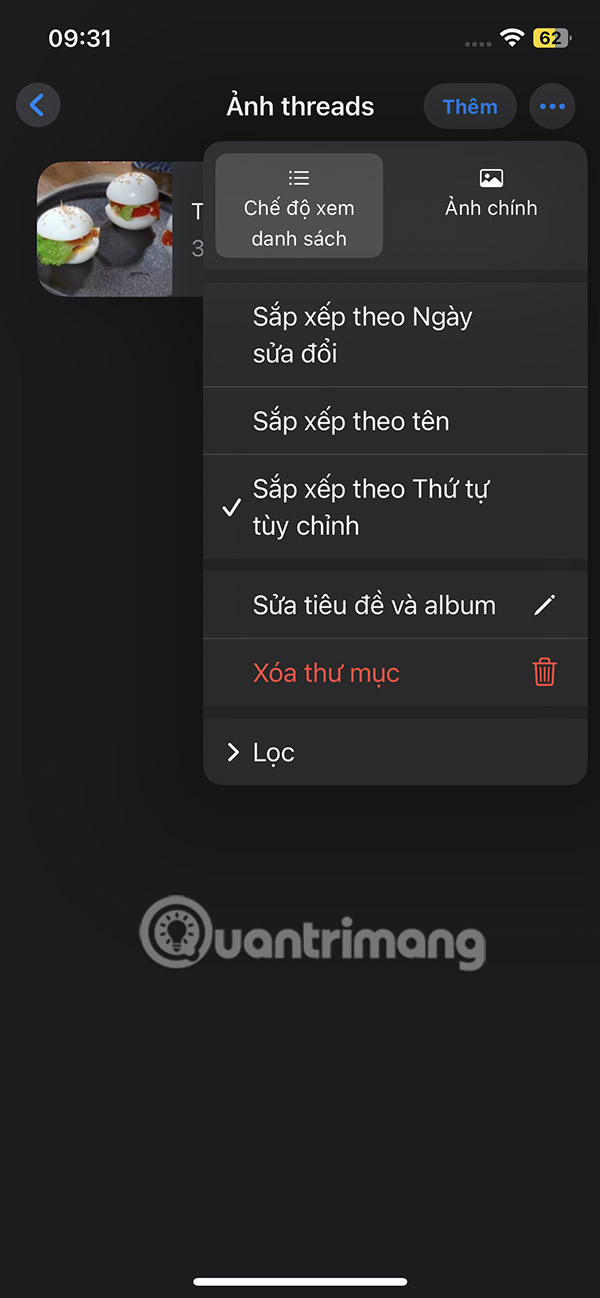
Tap a folder to see the albums contained in the photos folder. Tap the 3-dot icon to see customizations for photos in the albums in the folder.
Note , if you want to delete a folder , you need to delete the photos in the album saved in the folder first to avoid losing photos.
The deleted photo will return to the album in the app, tap Delete from folder to do so.


Step 3:
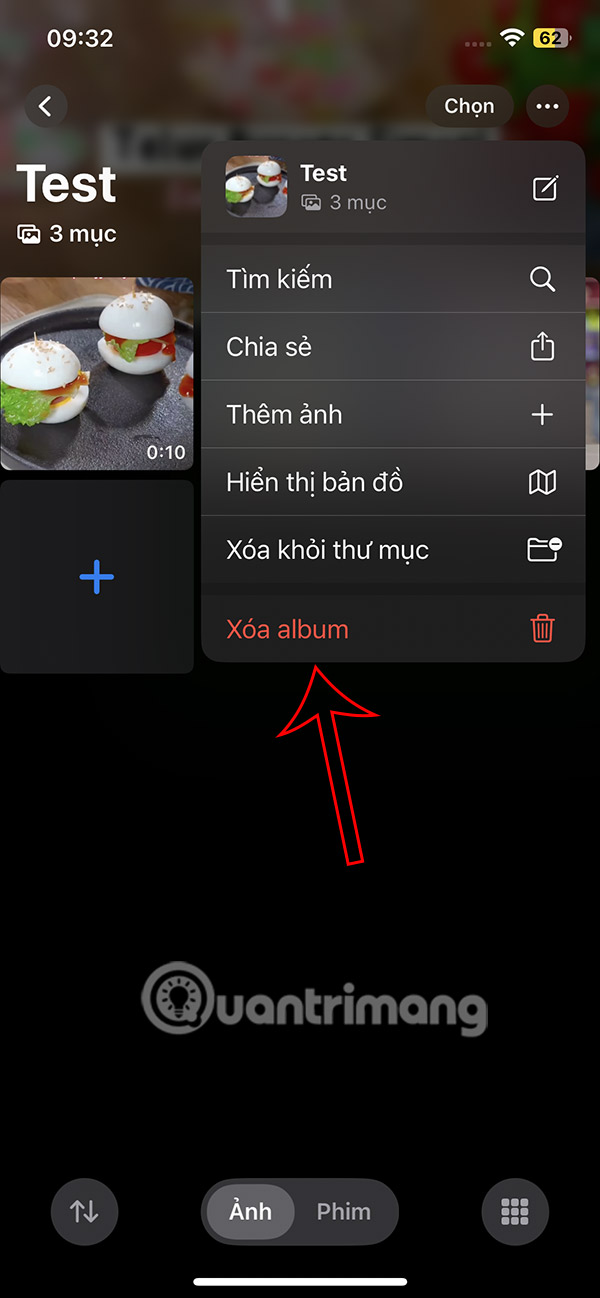
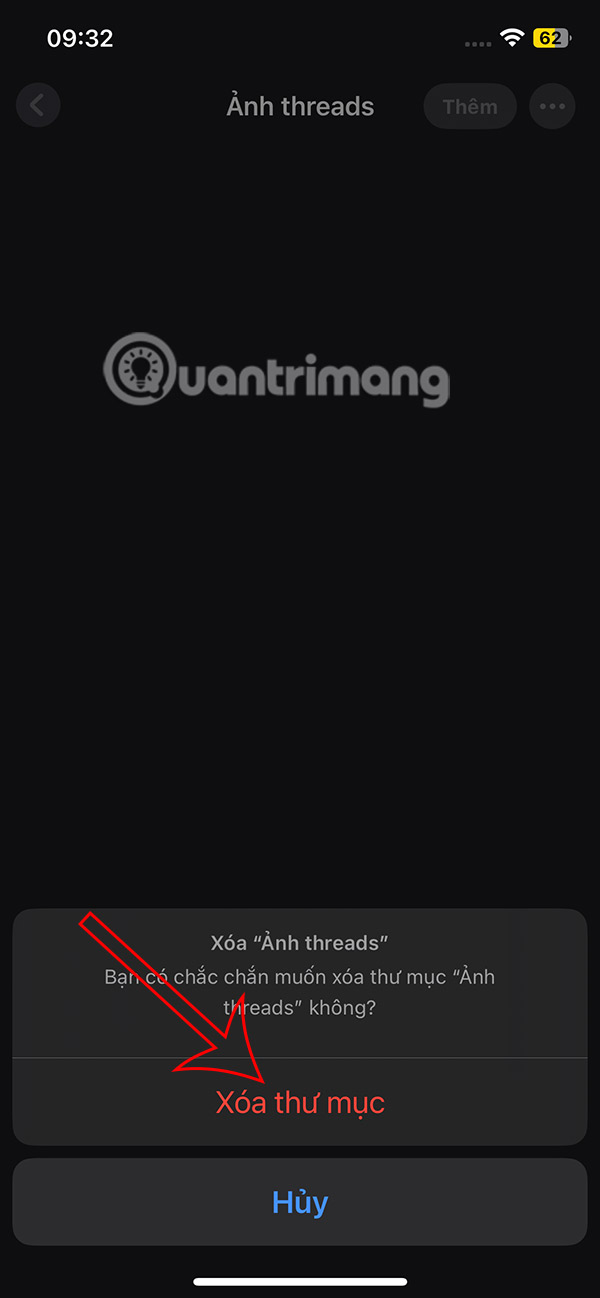
To delete a photo folder created on iPhone , click the 3-dot icon and select Delete folder .
Was this article helpful?
Your feedback helps us improve.
Related Articles
 Instructions for creating folders on iPhone2 minutes read
 Instructions for automatic photo editing on iPhone2 minutes read
 Top free photo editing application on iPhone6 minutes read
 How to enable Photo Stream on iPhone, iPad4 minutes read
 Instructions to speed up sending photos in iPhone messages2 minutes read
 How to use the Live Photo feature on iPhone3 minutes read
Reader Comments 0
Sign in with email or Google to join the discussion.