Table of Contents
This updated guide explains how to create folders on iPhone with clear steps, practical tips, and useful context. To simplify the iPhone screen interface from too many application icons, users should create application folders. Users can create multiple folders to group applications with the same purpose together, such as entertainment application folders, learning folders, etc.
How to Create Application Folders in iPhone
Step 1:
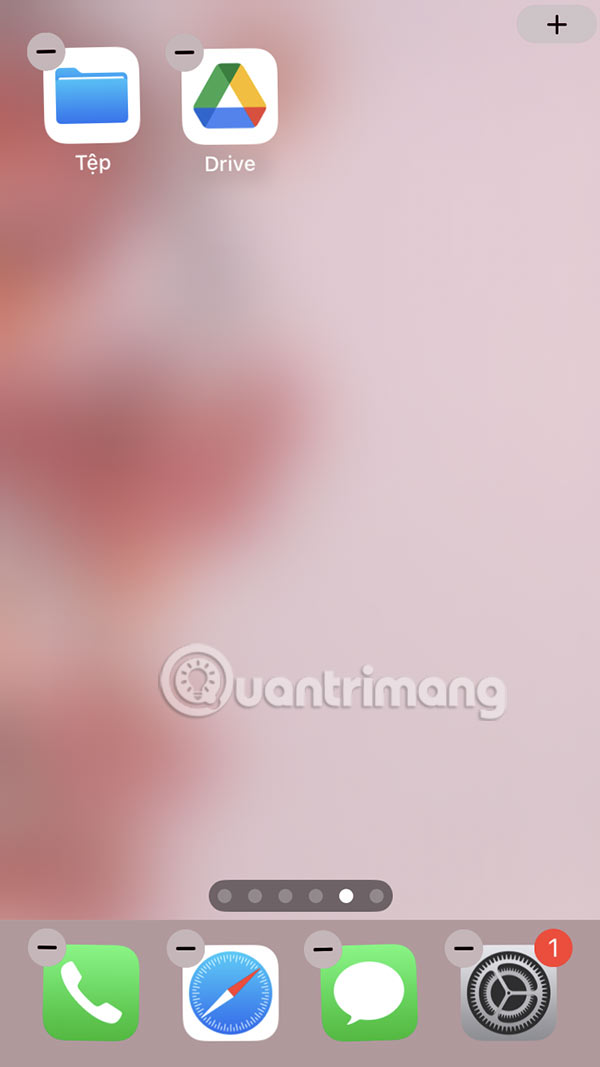
Press and hold the screen until the x icon appears on the icons. Then press and hold an app icon and move it to another app that you want to combine into a folder.
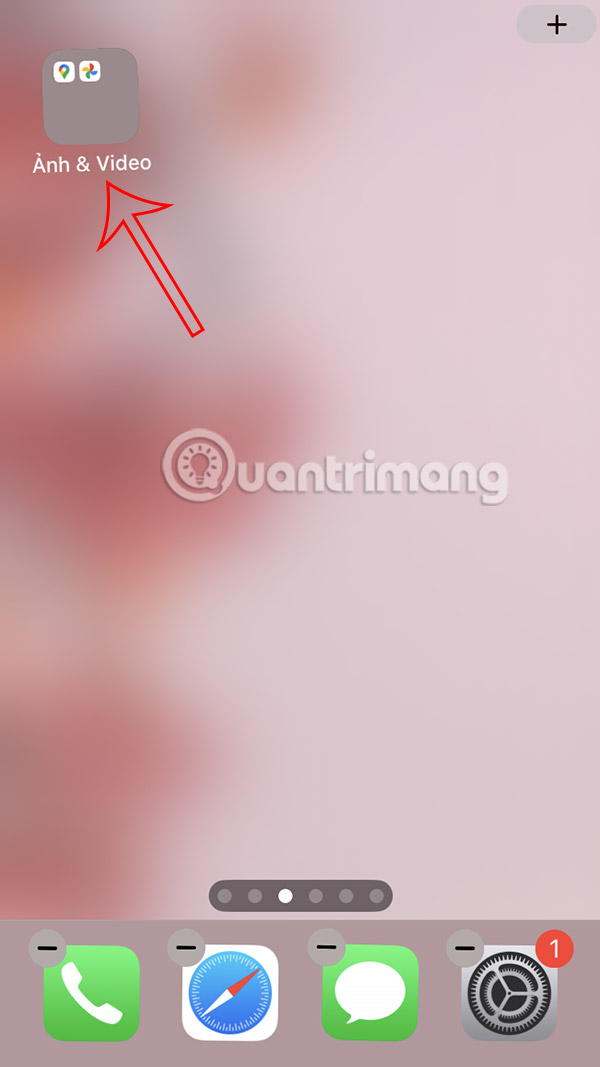
Right then you get the folder created by iPhone.
Step 2:
Long press on the folder and select Rename in the menu that appears. Now enter the new folder name you want to set instead of the default folder name set by the iPhone.
Now we drag the apps into that folder to group them.


Step 3:
To delete an app in a folder , just press and hold on the app and drag it off the screen .

To delete a folder on iPhone, users simply delete all the apps inside that folder. Once you delete the last app from the folder, it will automatically disappear.
Video How to Create iPhone Application Folder
FAQ
What should I prepare before I create folders on iphone?
Review the requirements and options in the guide first. Having the correct device, app version, account access, or materials ready helps prevent avoidable errors.
How long does it take to create folders on iphone?
The time depends on the task and your setup. Most basic steps can be completed quickly, while downloads, updates, scans, or troubleshooting may take longer.
What should I do if the steps do not work?
Repeat the instructions in order, confirm that your software or device is supported, and check permissions, connectivity, and available updates before trying again.
Related Articles
 How to Create Photo Folders on iPhone4 minutes read
 How to Manage iCloud Drive Files, Create Folders, Move Easily8 minutes read
 Steps to Create Multiple Folders at Once on Windows 106 minutes read
 How to Create Multiple Folders at the Same Time on Windows4 minutes read
 The Simplest Way to Show and Hide Folders on Windows 103 minutes read
 How to Delete Large Folders Quickly on Windows 114 minutes read
Reader Comments 0
Sign in with email or Google to join the discussion.