Install and use FILEminimizer Pictures to reduce image file size.
FILEminimizer Pictures is considered a leading tool for compressing image files and effectively reducing image size. However, not everyone knows how to install this software correctly. This article from TipsMake will guide you on how to do so.
FILEminimizer Pictures is used to reduce the size of images. Images after compression can be significantly smaller than the original file. The compressed images maintain the same quality as the original file – isn't that great?

How to install FILEminimizer Pictures on your computer
System requirements:
- You should install the software on computers using the operating system.
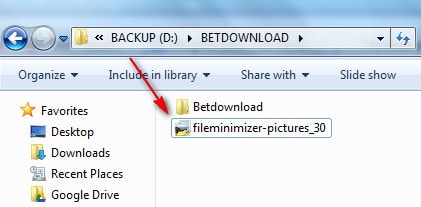
The utility is saved as: fileminimizer-pictures_30 .
If you don't already have it, you can download the latest version of FILEminimizer Pictures.
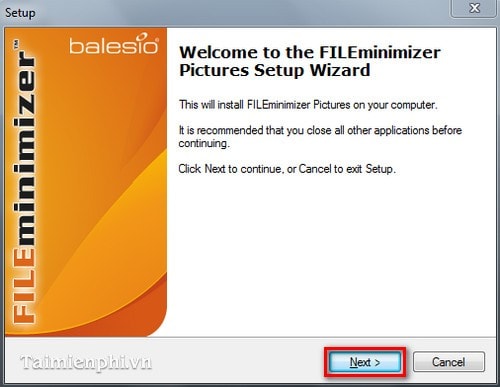
Step 2 : Select Next to begin installing the software.
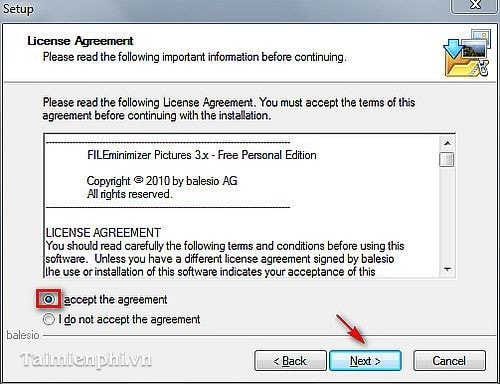
Step 3 : Check the box "I accept the agreement" and click Next.
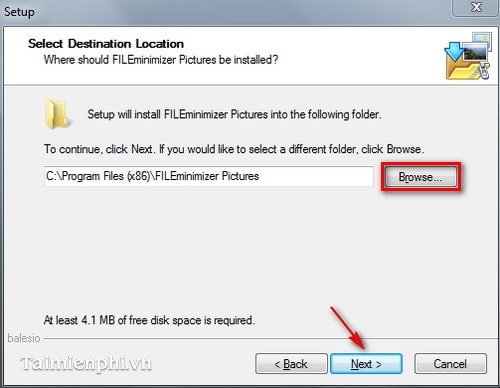
Step 4 : Change the installation file path by clicking Browse (You can also leave the default path).
Click Next
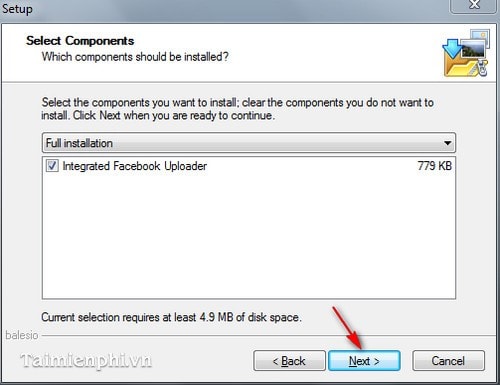
Step 5 : Click Next
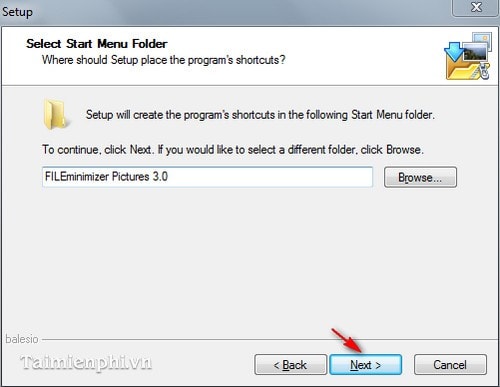
Step 6 : Press Next
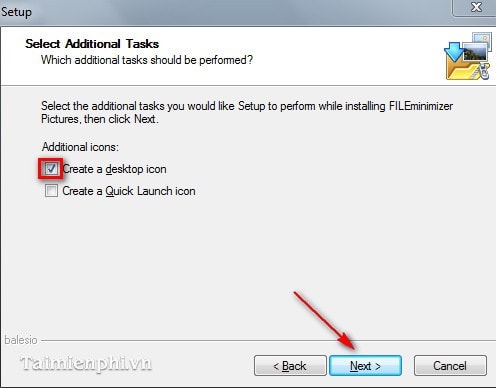
Step 7 : Select "Create a desktop icon" to create an icon for the utility on the desktop. Press " Next".
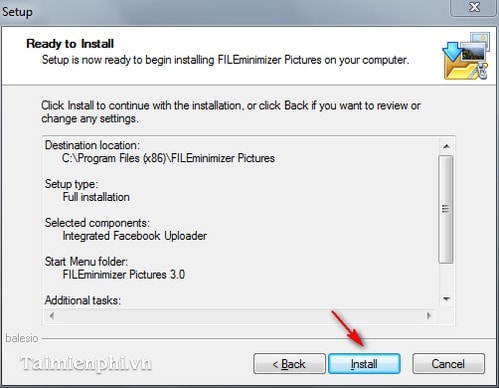
Step 8 : Select Install to begin the installation process.
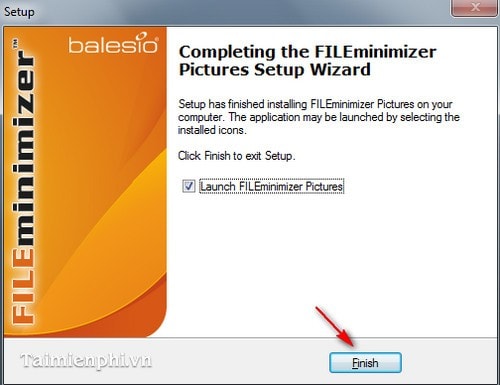
Step 9 : The installation process is complete. Click Finish.
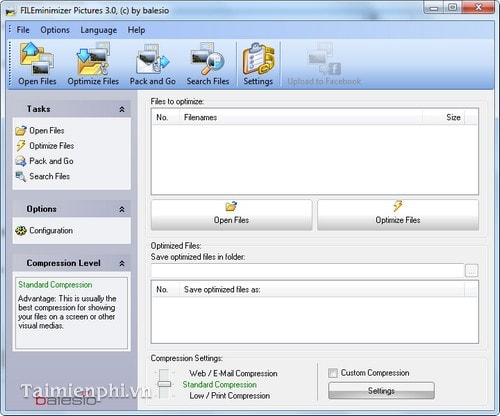
And this is the program's interface.
Instructions on using FILEminimizer Pictures to reduce image file size.
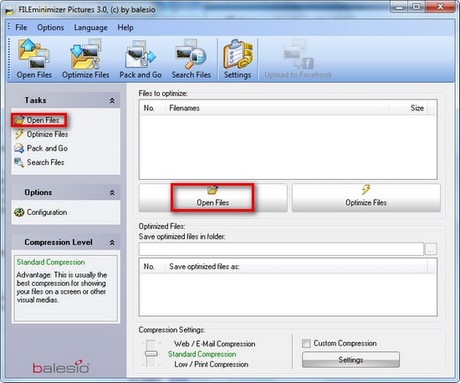
Step 1 : On the main interface of the software, click on Open Files (or select Open Files in the Tasks section ) to open the image file you want to reduce the size of.
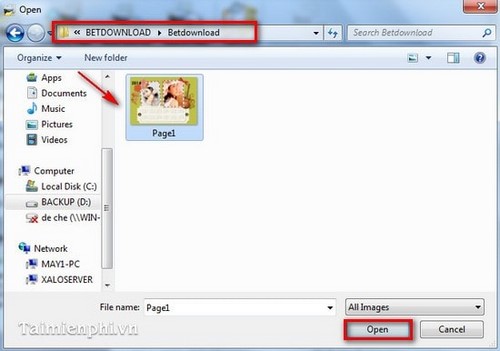
Step 2 : The Open window will appear. Select the path to the image file and click on the image you want to reduce the size of. Click Open to open the image.
- The selected image file will then be displayed on the program interface. You can also choose to add more images to reduce the size of multiple images at once by clicking "Add to List ". If you want to remove images from the list, select "Remove from List ".
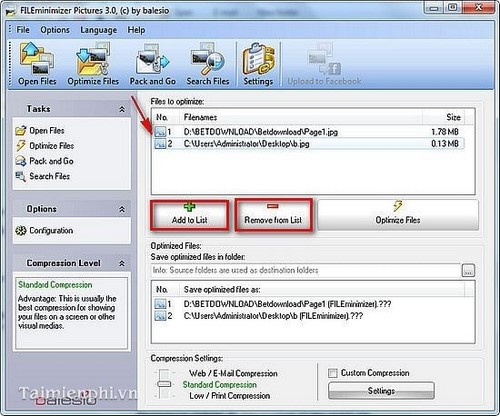
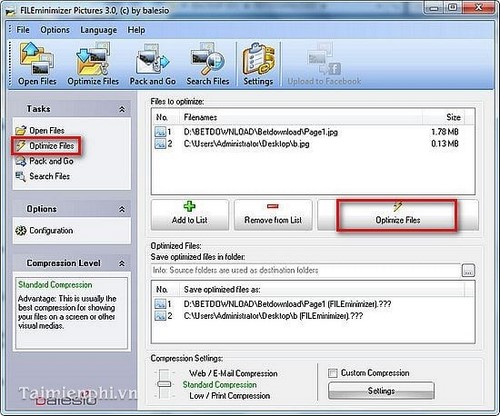
Step 3 : Click Optimize Files in the program (or in the Tasks section ) to start the process of reducing the image file size.
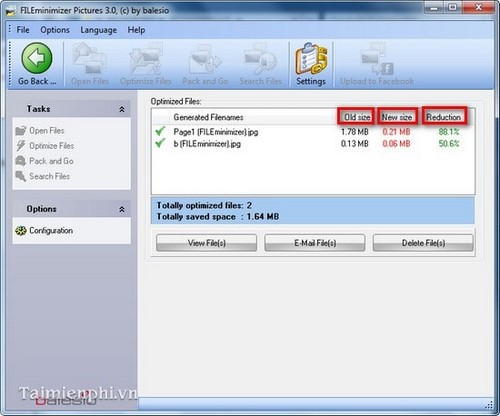
Step 4 : The image file size reduction process is complete.
On the program interface you will see:
- Old size: The size (file size) of the original image file.
- New size: The new image file size after the size reduction process.
- Reduction: Percentage of size reduced
With these detailed installation steps for FILEminimizer Pictures, everyone should know how to properly install FILEminimizer Pictures to reduce image file size on their computer. Additionally, you can refer to and use other file size reduction software available in TipsMake under the "Related Software" section above.
Was this article helpful?
Your feedback helps us improve.
Related Articles
 Instructions for reducing image size with FILEminimizer Pictures5 minutes read
 Reduce image size using FILEminimizer Pictures3 minutes read
 Reduce the size of Word files with FileMinimizer3 minutes read
 How to reduce PDF file size by software6 minutes read
 How to reduce the size of JPG files in Windows 105 minutes read
 Reduce image size using Radical Image Optimize Tool (RIOT)3 minutes read
Reader Comments 0
Sign in with email or Google to join the discussion.