How to use Raspberry Pi 400 as a laptop
The Raspberry Pi 400 is a fully functional computer in a keyboard case. While it's not a true laptop—there's no screen, trackpad, or built-in battery—it takes up about the same space as a Logitech keyboard and provides enough power for most computing tasks.
Raspberry Pi 400 Setup

The Raspberry Pi 400 is "BYODKM (Bring Your Own Display, Keyboard, and Mouse)" but you also get a keyboard and mouse if you buy the complete kit. Setup is easy and takes less than 10 minutes.
Required accessories
Most of the accessories listed below are included in the kit, but can be purchased separately.
- Power Supply : The official Raspberry Pi USB power supply's rated voltage (5.1V) is a little higher than normal to account for voltage drops, but a regular USB Type-C charger will work fine to power the Raspberry Pi.
- Storage : The Raspberry Pi 400 has no internal memory and requires external storage for the operating system and files. The most common option is a microSD card with at least 8GB of storage. However, a USB flash drive or SSD will provide better read/write speeds and overall performance.
- Display : While the Raspberry Pi supports headless use, a suitable dedicated HDMI display is easier for beginners to use. It has two micro-HDMI ports and can output 4K @ 30Hz (fps) video to two displays at once.
- Audio output : While the Raspberry Pi 400 lacks built-in speakers and a 3.5mm headphone jack, it does support Bluetooth for wireless audio and peripherals.
- Mouse : There are 3 USB ports (2x USB 3.0 and 1x USB 2.0) to connect mouse, printer, USB or other wired peripherals.
- Internet : The Raspberry Pi 400 comes with built-in dual-band Wi-Fi and has a Gigabit Ethernet port for wired networking.
The Raspberry Pi 400 is paired with a 10.1" touchscreen and a 40000mAh power bank, all housed in a sturdy Plano case, making for a great portable device if you have the patience to set it up.
Raspberry Pi operating system is familiar to Linux users

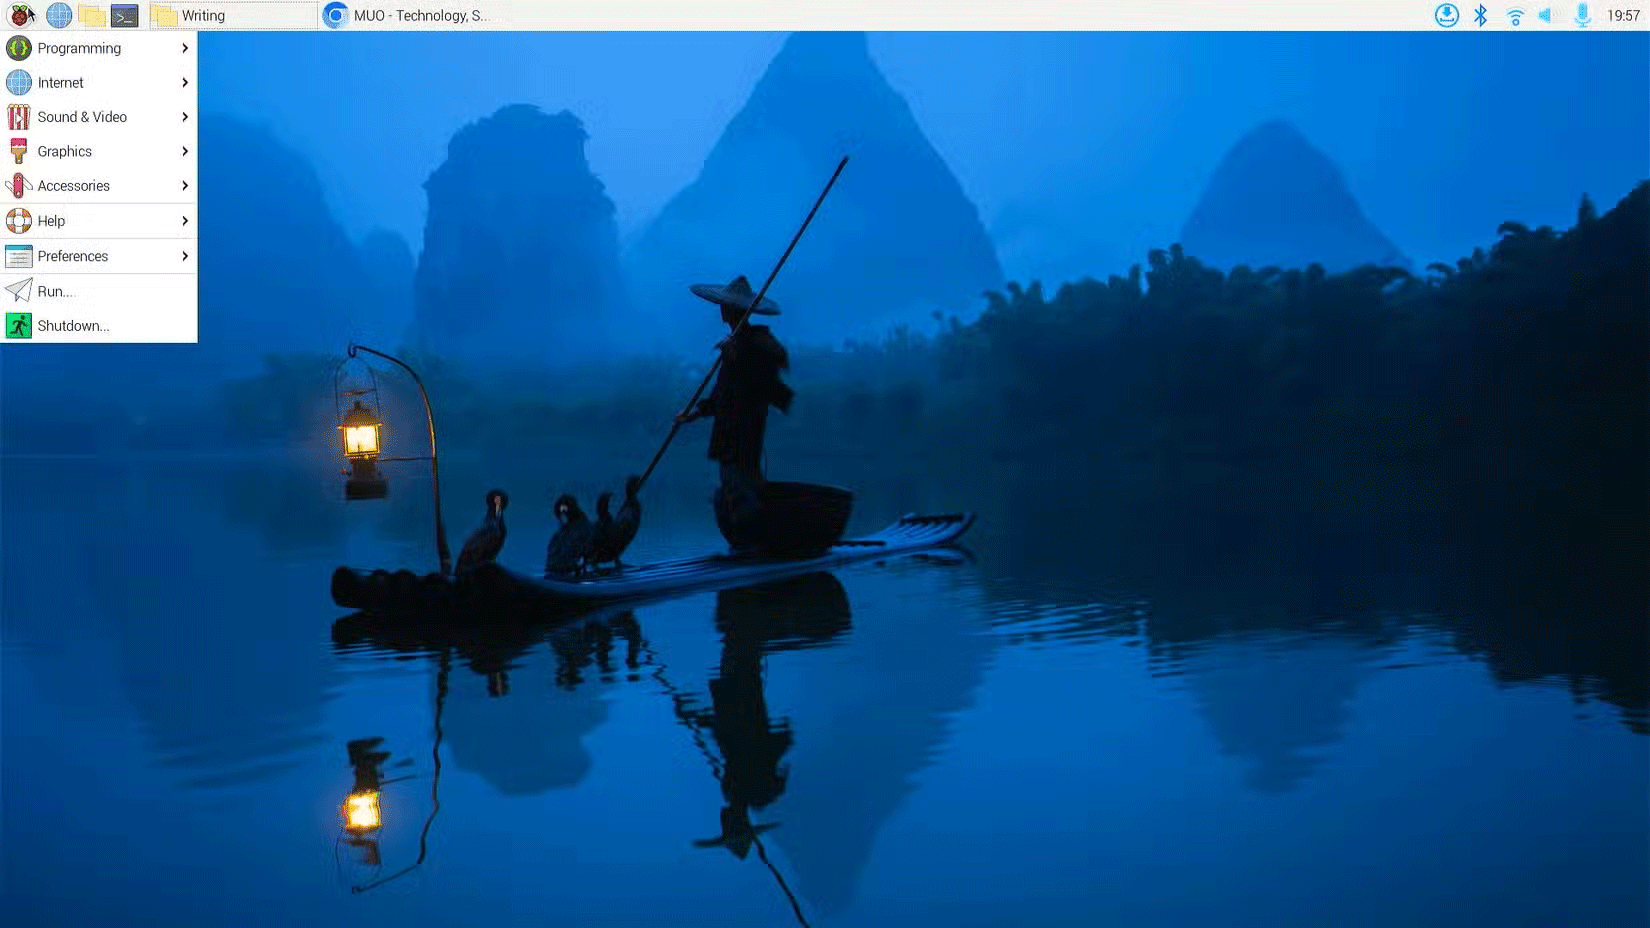
Windows diehards, beware: the Raspberry Pi 400 is best suited to running a Linux operating system, like the official Raspberry Pi OS, which is based on Debian Linux. Raspberry Pi OS comes preloaded on the microSD card that comes with the PC. It comes in 32-bit and 64-bit variants, with a Lite version for use without a monitor.
Note : Be sure to choose a high-endurance card with at least 8GB of storage for the desktop version of Raspberry Pi OS and 4GB for the Lite version.
With the operating system installed on the storage device of your choice, you can proceed to connect the Raspberry Pi 400 to a power source and boot the system.

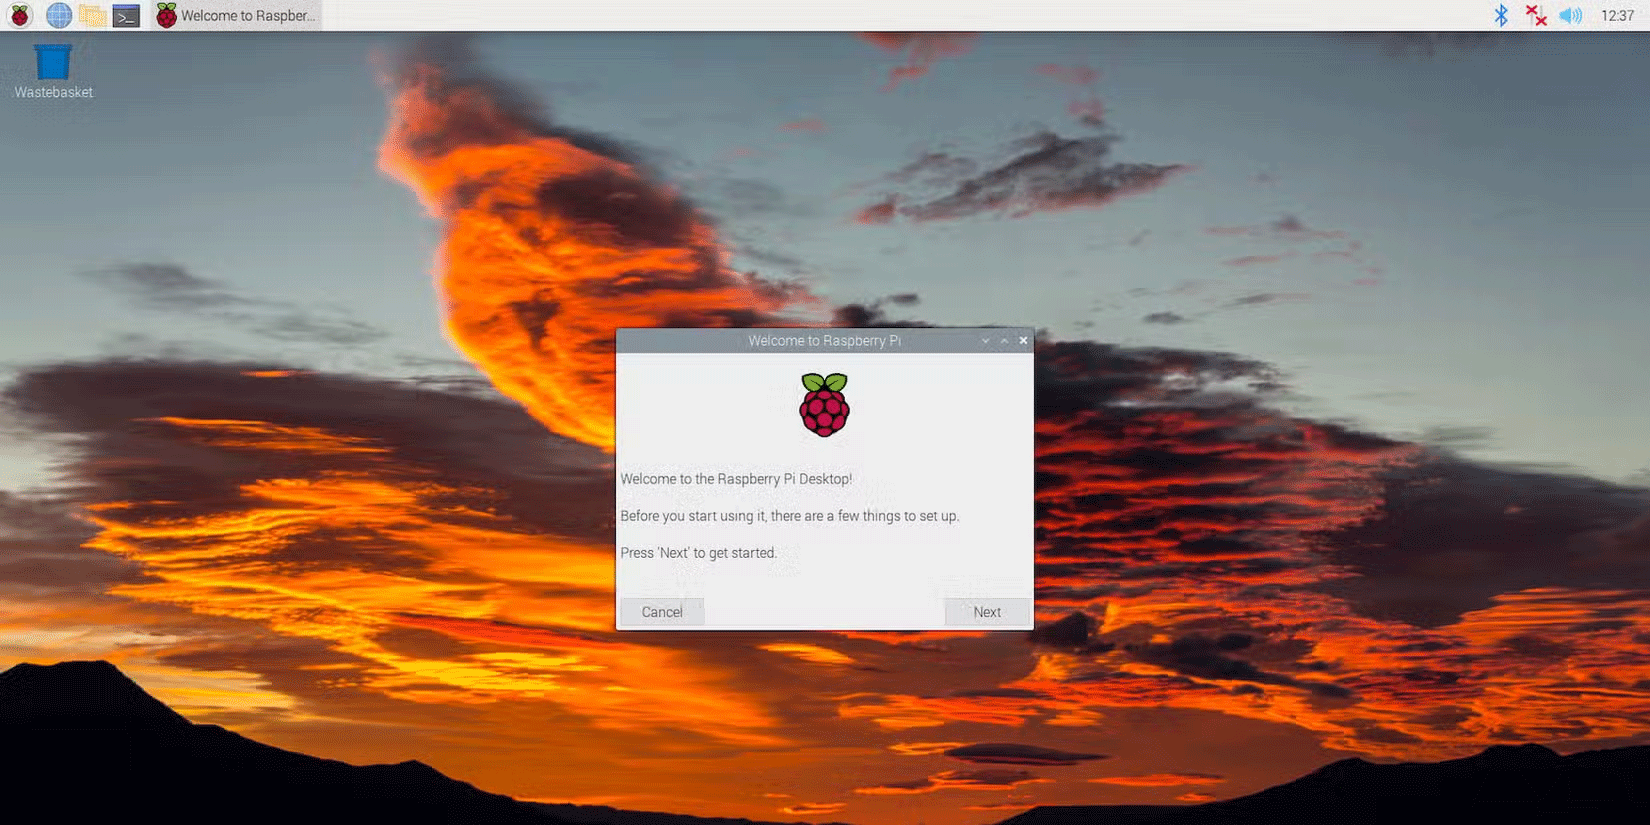
The welcome wizard appears when Raspberry Pi OS first runs to guide you through the initial setup. Once you have configured your Raspberry Pi 400, you can navigate around the desktop environment, transfer files to the device, download software, and enjoy a unique Linux experience.
40-pin GPIO header enables physical computing
A typical computer has ports that interact with hardware in a predefined way. This is different from microcontroller boards (like Arduino), which have pins to control and interact with hardware through software. The Raspberry Pi bridges the gap, providing computing power and low-level hardware control through a 40-pin General-Purpose Input-Output header.
This header on the back of the keyboard allows the Pi 400 to be used for physical computing and hardware adjustments. Because of its location, you will need a 40-Pin Ribbon Cable or Header Adapter Board to connect electronic components to the header. It opens up a whole new world of computing and there are a lot of Raspberry Pi 400 projects you can try.
 How to build Android TV Box with Raspberry Pi 4
 Raspberry Pi AI Kit: Bring AI to Raspberry Pi
 This cheap official Raspberry Pi upgrade is a game changer
 How to play Retro games on Raspberry Pi
 How to install and use PhotoPrism on Raspberry Pi
 7 reasons to buy Raspberry Pi Zero 2 W