Table of Contents
The Flare Gun is a rare utility weapon in PUBG Mobile. It fires one signal flare to summon a special supply drop or, in supported situations, a vehicle. It is not a practical weapon against other players, and firing it reveals your area to everyone who sees the flare or hears the approaching aircraft.
The exact vehicle, drop contents, eligible maps, and mode rules can change between updates. Before firing, check the summon icon shown while holding the Flare Gun or viewing it in the backpack. PUBG Mobile added this indicator specifically to show whether the current shot will call supplies or a vehicle.

What the Flare Gun does
- Uses special flare ammunition and normally holds one round at a time.
- Summons a weapon supply drop when fired under the eligible play-zone conditions.
- Can summon a special vehicle when fired under the eligible out-of-zone conditions in modes that support it.
- Creates a bright, visible signal and therefore announces your approximate position.
- Occupies the pistol slot, but should not be relied on to damage an enemy.
The official PUBG Mobile weapon reference describes the Flare Gun as a scarce item that summons vehicle and weapon drops and exposes the user's location.
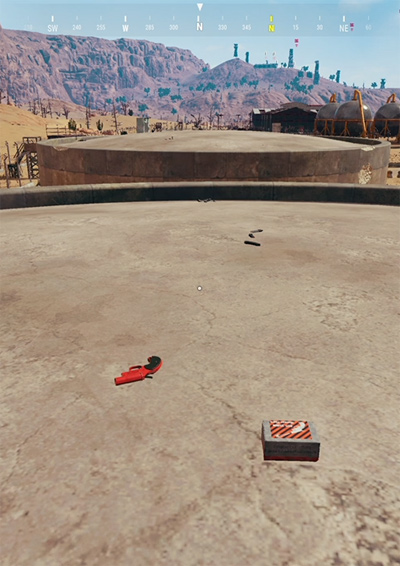
How to fire a Flare Gun successfully
- Pick up both the gun and a flare round. A Flare Gun without its special ammunition cannot call anything.
- Check the summon indicator. Equip the gun or inspect it in the backpack to see the result available at your position. If the display does not offer the result you want, move to the appropriate side of the current play-zone boundary or wait for valid conditions.
- Choose open sky. Move away from roofs, cliffs, dense overhangs, and other objects that could obstruct the shot or the incoming drop.
- Secure the area. Heal, reload your main weapons, scan nearby compounds and ridges, and place teammates in covering positions before revealing the squad.
- Aim almost straight upward. Raise the barrel until the aiming indicator confirms a valid high-angle shot, then fire once.
- Watch the flare and aircraft. Keep checking every approach while the delivery arrives; do not stare only at the sky.
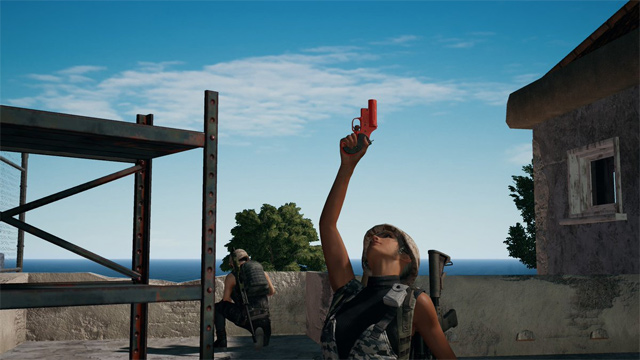
Do not fire horizontally at a player or into the ground. The flare is a signal, not a substitute for a pistol round, and a low shot may fail to trigger the delivery.
Choosing a safe place to call the drop
The best location has clear sky for the delivery, hard cover for the squad, and more than one exit. A completely open field may make the crate easy to reach but leaves everyone exposed. A tight courtyard may offer walls yet let an enemy trap you with grenades.
- Avoid firing immediately after a noisy fight if nearby teams know your position.
- Do not call the drop beside the only vehicle or bridge you need for the next rotation.
- Use terrain, rocks, or buildings as hard cover; bushes and grass only conceal.
- Keep one teammate watching the most likely enemy approach and another watching the opposite flank.
- Save smoke grenades for looting or disengaging rather than covering the entire waiting period.
Defending and looting the airdrop
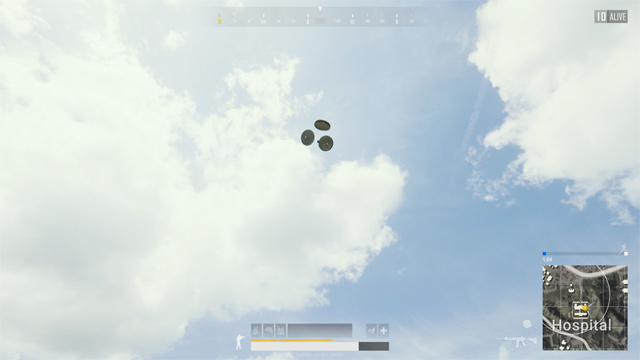
The red flare, aircraft path, parachutes, and landing crate can all attract opponents. Expect players to watch from a ridge or building instead of rushing immediately. A patient enemy may wait for your squad to stand still over the loot.
- Mark the landing point and identify nearby cover before approaching.
- Let one player check the crate while teammates hold different angles.
- Take essentials first: a suitable weapon, ammunition, armor, healing, or a useful attachment.
- Move off the crate to organize inventory. Do not make multiple teammates overlap in one exposed spot.
- If shots arrive, prioritize cover and survival; the remaining loot is not worth a squad wipe.
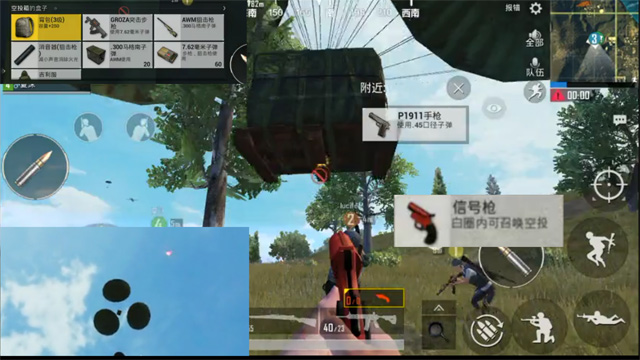
Drop contents are determined by the current game version and mode. Older lists of guaranteed weapons or exact quantities can become inaccurate, so make decisions based on what is actually in the crate rather than expecting a particular pair of guns.
Using a vehicle summon
When the summon indicator shows a vehicle, choose ground with enough space for it to arrive and move away. Consider the route you plan to drive: calling an armored vehicle into a depression, dense compound, or blocked shoreline may make it difficult to use. Vehicle models can be replaced in updates, so the indicator and current patch notes are more reliable than old screenshots.
A special vehicle improves protection but does not make the occupants invulnerable. Refuel when necessary, avoid stopping in open sightlines, and remember that engine noise reveals the rotation.
Why the flare may not work
- The barrel was not aimed high enough.
- The sky or delivery path was obstructed.
- The current mode, map, match phase, or location does not support that summon.
- The Flare Gun had no compatible flare round loaded.
- The client showed no valid summon indicator at the firing position.
- A temporary connection or game error interrupted the request.
If a shot fails, read the on-screen message before moving or trying another round. Do not assume that crossing the zone boundary always produces the same vehicle in every special mode.
For related tactics, see TipsMake's guides to fighting around Ha Tinh on Sanhok, using the QBU on Sanhok, and essential PUBG Mobile survival habits.
Related Articles
 The Location of the Highest Flare Gun PUBG Mobile5 minutes read
 PUBG Mobile: Weapons That Are Easy to Win the TOP 1 of the Game9 minutes read
 How to Fix Another Version Version PUBG Mobile4 minutes read
 Comparison Between PUBG Mobile VNG and PUBG Mobile International6 minutes read
 PUBG Mobile: the Best Gun Combos to Win the TOP 1 in the Game8 minutes read
 PUBG Mobile Errors and How to Fix Them8 minutes read
Reader Comments 0
Sign in with email or Google to join the discussion.