How to Upcycle Old Paintings
Method 1 of 3:
Adding Personal Touches
-
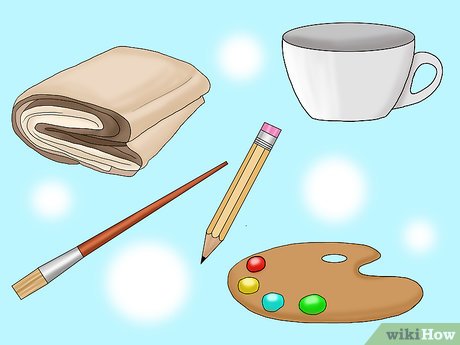
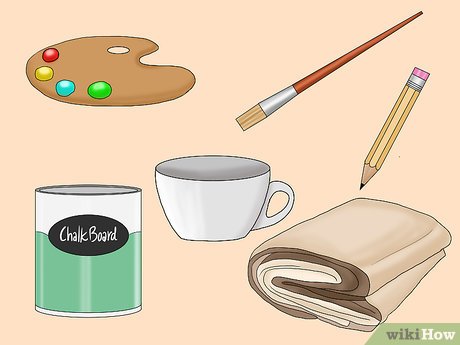
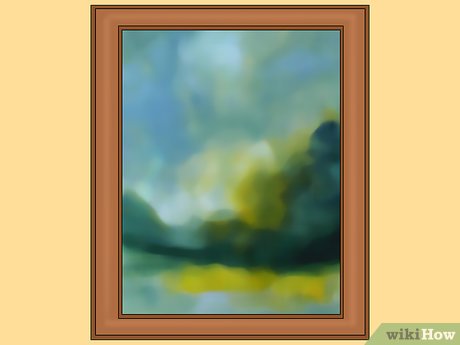
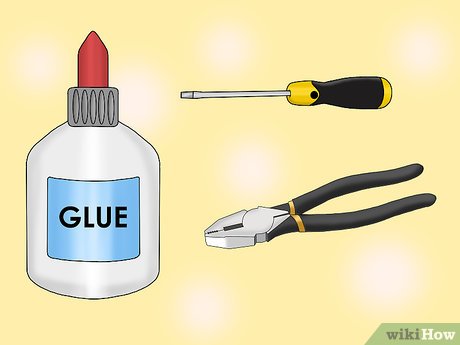
 Collect your supplies. Over the course of this project, you're going to paint changes onto an old painting to make it unique, new, and interesting. Any supplies that you don't have on hand can be purchased at a local general retailer, hobby store, or hardware store. You'll need:
- Drop cloth (optional; recommended)
- Old painting (or print)
- Paint (acrylic recommended)
- Paintbrush
- Cup (for cleansing paintbrush)
- Paper towel
- Pencil
- Palette (or paper plate)
- Paper
- Pliers (optional)[1]
-
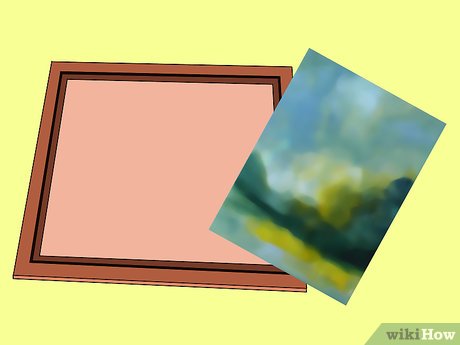
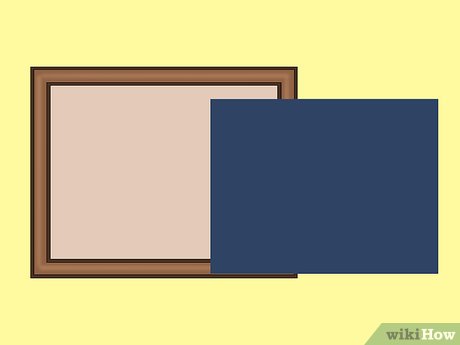
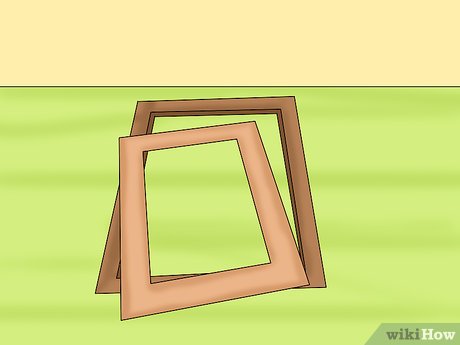
 Take out the painting from its frame. In most cases, small fasteners will hold your picture in place in the frame. These can usually be released with your hand, but for especially old paintings or stubborn fasteners, you may need to use a tool, like a screwdriver, to remove the painting.
- Frequently, you'll find a rigid piece of cardboard or cardstock can be behind the painting, also held in place by the fasteners. Remove this as well, if necessary.
- Some paintings may be nailed into the frame. Grasp these nails with pliers and twist while pulling gently to remove nails.[2]
-
 Plan the design you will add. Find inspiration from other painting or artwork. Then, take stock of your painting. Look for spots where you might add a character, animal, or some other kind of embellishment. For example, you might add a pop culture image to your old painting, like a zombie, a character from a favorite TV show or movie, or something to this effect.[3]
- You may want practice the image you plan on adding on a scrap piece of paper before modifying the painting.
- If you're unsure of your freehand painting ability, you might want to make and use a stencil.
-
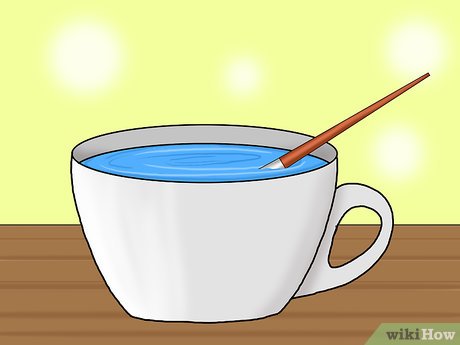
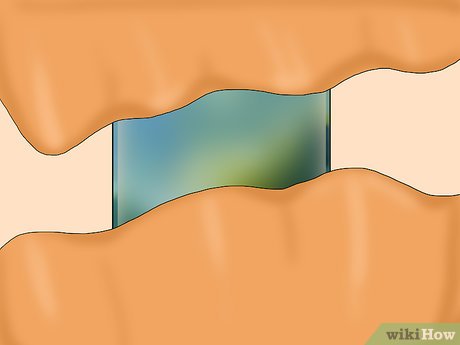
 Prepare to paint. You might want to lay down a drop cloth or newspaper on your work surface to prevent these from getting stained by drips or spatter. Fill your cup with water so you can easily cleanse your paintbrush of paint and switch to new colors. Pour the paint you will use on a palette or paper paint so it is accessible.
- Use the same kind of paint that was used for the original artwork for best results. For instance, watercolor paint will not show up on top of oil paint.
-
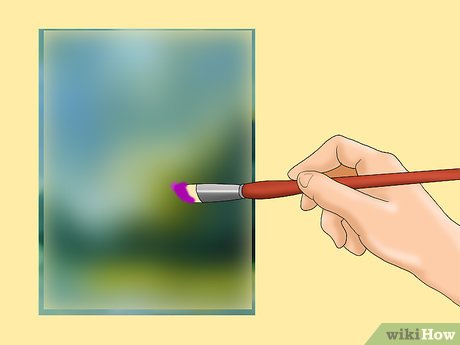
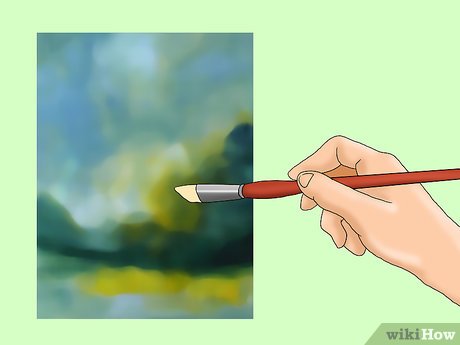
 Paint your base layer. Dip a clean paintbrush in your paint and wipe off excess paint on your palette or paper plate.Then, apply the base layer of paint, which will be the main color of your image. Then allow the paint to dry.[4]
- Some examples of base layers include: brown for a brown dog, yellow for a giraffe, orange for a fox, black for a black cat, skin tone for a human, and so on.
- If painting directly over top the old painting is daunting, you can trace your desired image, paint it separately, then glue it into place on the painting.
- Depending on the kind of paint you are using, the drying time will vary. Check and follow your paint's label instructions for best results.
-
 Add accents to your design. Now that the base layer is dry, you can add detail to your image. However, less experienced painters might want to keep these simple to minimize errors. Cleanse your brush of paint by swirling it thoroughly in your cup of water, wipe excess moisture from the brush onto a piece of paper towel, reapply paint to the brush, and add your accents.[5]
- For a pop of color, add glitter or decoupage paper over the painting.
- Some details you might add include things like: eyes, nose(s), mouth(s), clothing, glasses, and so on.
- Remember to cleanse your brush and remove excess moisture from it when you switch colors. Otherwise, the colors will mix and change.
-
 Return the painting to its frame when it is dry. Allow your detail work to dry completely before returning the picture to the frame. Check the label for best results, but generally, paint should be dry in 24 hours. When it's dry, slide your modified painting back into its frame. If there is a rigid cardboard/card stock backing, replace this as well. Then close the fasteners to hold the painting in place. Your upcycled painting is ready to be hung.
Method 2 of 3:
Creating a Chalkboard
-
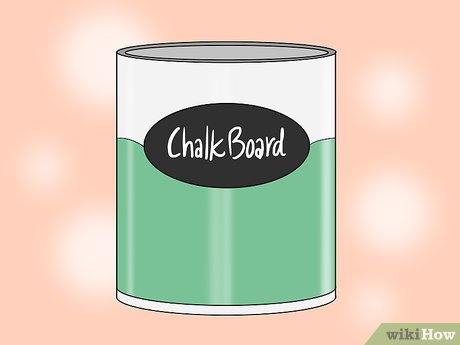
 Gather your materials. If you don't already have chalkboard paint, you can purchase this at most craft and hardware stores. Any other supplies you are lacking can be found at most general retailers or your local hardware store. For this project, you'll need:
- Chalkboard paint
- Drop cloth (optional; recommended)
- Old painting (or print)
- Paintbrush
- Palette (or paper plate; optional)
- Pliers (optional)
- Screwdriver (optional)
-
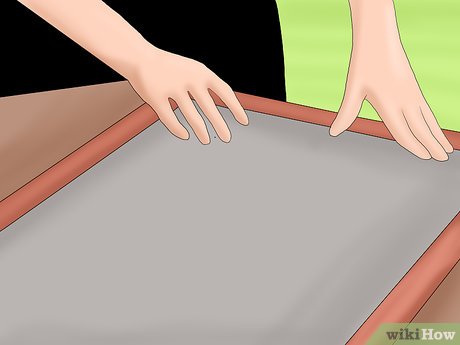
 Prepare your work area. You'll be applying chalkboard paint to your old painting to transform it into a chalkboard, so you may want to lay down a drop cloth to cover your work surface with a drop cloth to catch drips or spatter. Work on a flat, level, sturdy surface.
- When painting large pieces or multiple pieces at the same time with chalkboard paint, work in a room with good airflow to prevent the buildup of potentially dangerous fumes.[6]
-
 Remove your painting from its frame. Depending on the kind of frame your painting is in, you may have to adjust tabs holding the painting in the frame or remove fasteners with a screwdriver. In some cases, you may need to remove a hard backing, like cardboard, protecting the back of the painting.
- When working with especially old paintings, the fasteners may have degraded, rusted, or become otherwise difficult to adjust. If this is your situation, you may have to replace the fasteners.
- If your painting has been nailed to the frame, use pliers to remove these by pulling and gently twisting the nail free.[7]
- If you can't free the painting from the frame without damaging it, cover the frame with masking tape and paint directly on the painting.
-
 Mix the chalkboard paint well. For the best results, you should follow the label directions written on your paint to determine the best method for mixing. Generally, this involves closing the container and shaking the paint thoroughly.[8]
 -
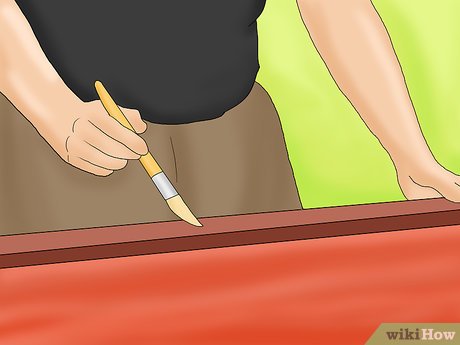
 Paint your first coat on the old painting. You may be able to dip a paintbrush straight into your paint container, but if not, pour some on a paper plate or artist's palette. Take your paintbrush and apply the paint in an even layer to the painted side of your painting.[9]
- Use horizontal strokes (left to right, or vice versa) when painting your first layer of chalkboard paint.[10]
- After your first layer is completely painted, wait several hours for the paint to dry before adding a second coat.[11]
-
 Apply the second coat. Once your first coat is finished drying, add the second one in the same fashion as the first. However, this time use vertical (up and down, or vice versa) strokes with your brush.
- When your second layer is completed, you'll need to let it cure for 24 hours to ensure a strong bond between the paint and painting.[12]
- After curing, you should condition the paint so that it writes smoothly. Take a piece of chalk and rub its side gently against the paint until it is covered.[13]
-
 Re-insert the painting in its frame. Take your upcycled painting and return it to the frame, replace the backing if there is any, and refasten the fasteners to lock the upcycled painting in place. Hang the frame, and enjoy your new blackboard.
Method 3 of 3:
Making a Collage
-
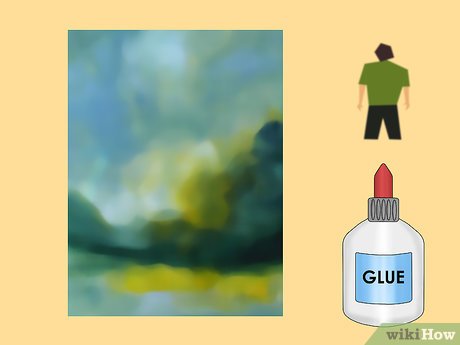
 Collect your collage making supplies. To create your collage, you can use cutouts from magazines, fabric, or other sources as well. In the example provided, you'll use one of the prints/paintings to form the background, then cut features out from other prints/paintings to add to this background. Altogether, you'll need:
- Old paintings (or prints; several)
- Glue
- Pliers (optional)
- Screwdriver (optional)
- Scissors
-
 Take your paintings out of their frames. Use your hands to release the fasteners holding each painting in the frame. If the fasteners are old and difficult to manipulate, you might need to use a tool, like a screwdriver to pry the fasteners open and remove the painting.
- Some of your paintings may have a rigid protective backing made of cardboard or cardstock. Remove this along with the painting, if necessary.
- Use pliers to remove nails from paintings that are nailed into their frames. Do this by gently pulling and twisting the nails free with the pliers.[14]
-
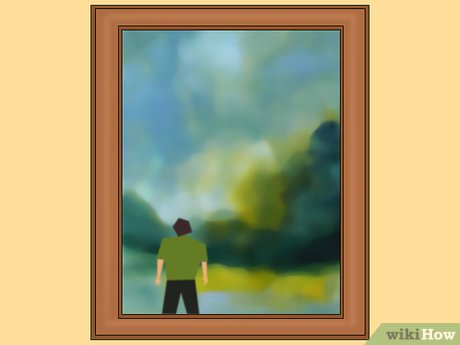
 Determine the composition of your collage. The background you choose is purely a matter of taste. When deciding your background, however, think about what aspects of the other pictures you want to use, and how these might influence the end result.[15]
- Unexpected combinations can really spice up peaceful paintings. For example, you might add army men or a killer robot to a pastoral scene.[16]
- To create the best layout, arrange the collage on a flat surface and manipulate it to your liking before putting it on the painting.
-
 Cut out and glue the additions to the painting. Take your scissors and cut out the images from other paintings that you wish to add to your background. Add a thin layer of glue to the back of the cut-outs, then stick them into place on your background.[17]
- After cutting, arrange the images on the background to see how it looks before gluing.
- Allow your glue to completely dry for the time indicated on its label. For many glues, this will only take a few hours.
- To seal the collage, apply Mod Podge or another decoupage sealer over the paper. Be sure to choose a product with your desired finish (e.g., matte or glossy).
-
 Replace the painting in its frame. Slide your upcycled painting into the frame. If there is rigid backing, place this behind the painting. Close the fasteners on the back of the painting and hang your brand new, upcycled painting.
Share by
Jessica Tanner
Update 24 March 2020
