How to Paint an Engine Bay
Method 1 of 3:
Cleaning the Engine Bay
-
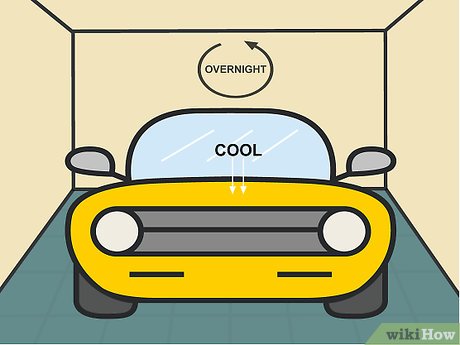
 Let the engine cool overnight if you haven't removed it. While it is easiest to paint the engine bay without the engine installed, that may not be an option for you. If so, park the vehicle where you intend to work on it the next day and leave it to cool for at least 8 hours.[1]
- Applying cleaner to your engine while it's still hot can reduce how effective it can be.
- Working on an engine before it cools is dangerous because it will burn you.
-
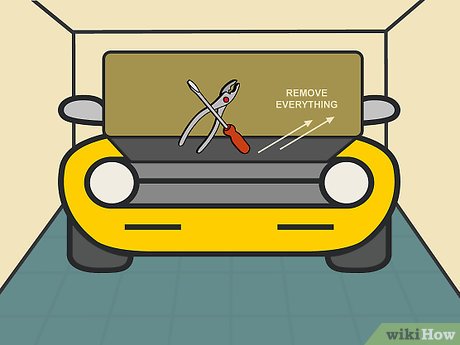
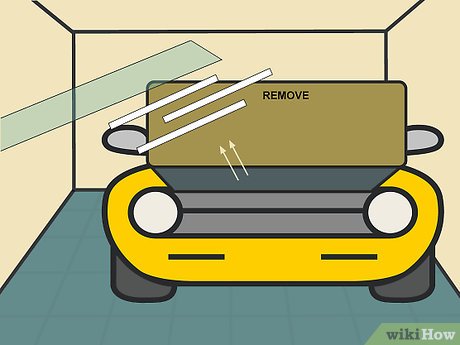
 Remove everything you're comfortable removing. If you are leaving the engine in the engine bay, you can still remove many components, based on your skill level and comfort. Don't remove or disconnect anything you don't feel comfortable reinstalling or reconnecting later.[2]
- The more you remove from the engine bay, the easier it will be to achieve a professional finish in the paint.
- Set any components you remove aside somewhere safe until it's time to put the vehicle back together.
- Common components you may want to remove are the airbox, intake, alternator, power steering pump, air conditioner, radiator, accessory or serpentine belts, reservoirs for windshield washer fluids and any number of other components that may be accessible from the engine bay.
-
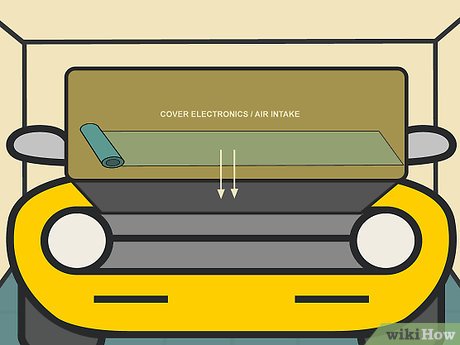
 Cover any electronics and the air intake with plastic (if you didn't remove them). Be sure to wrap the engine's alternator and fuse box in particular. If your vehicle has an airbox around the air filter, you may still want to wrap plastic around it just to be safe. Covering things will help protect the engine while you clean it.[3]
- The airbox is located at the end of the intake pipe that leads into the engine's intake manifold.
- If you have difficulty locating any of these parts, refer to your vehicle's owner's manual to locate them.
- Look for any bundles of wiring or connectors and cover them as well.
-
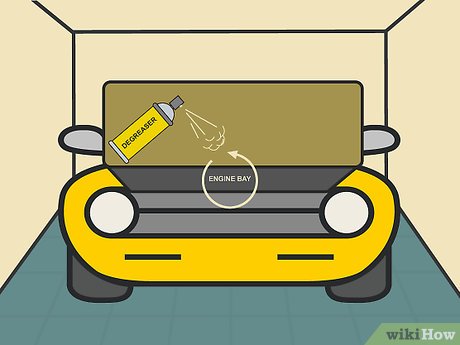
 Spray degreaser around the engine bay. Read the instructions on your degreaser and be sure to follow them exactly. Often, you'll be able to simply shake the can and spray a layer of degreaser over all exposed metal that you intend to paint.[4]
- You do not have to spray the engine, as it won't be getting painted, but you can if you'd like to clean it up.
-
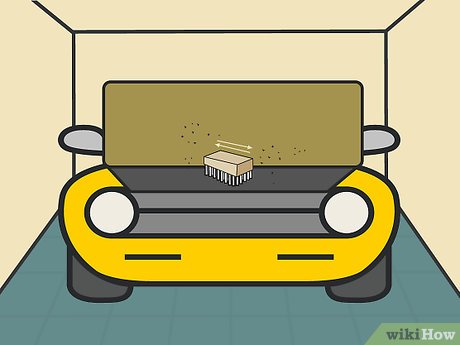
 Use a scrub brush on the dirtier parts. While the degreaser soaks in, a stiff bristled brush can help to remove the tougher bits of grime. Depending on the state of your engine bay, this step might take a good amount of elbow grease.[5]
- Apply more degreaser as you scrub if need be.
- The metal you intend to paint must be completely free of grease and grime before you can move forward.
-
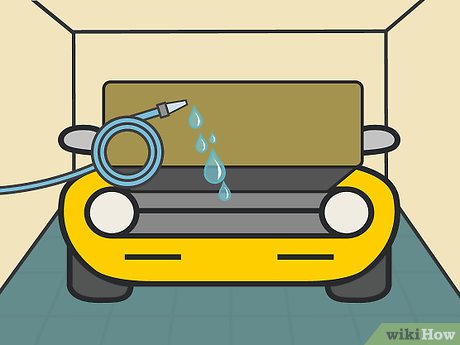
 Rinse the degreaser off thoroughly and let it dry. Once you're satisfied with how clean the engine bay is, use a hose to rinse the degreaser off (unless otherwise specified in your degreaser's instructions).[6]
- Make sure to give the engine bay a thorough rinsing. No degreaser should be left behind.
- If you spot more grease or grime after the engine bay is rinsed, go back and repeat the degreasing process.
Method 2 of 3:
Preparing the Surface for Paint
-
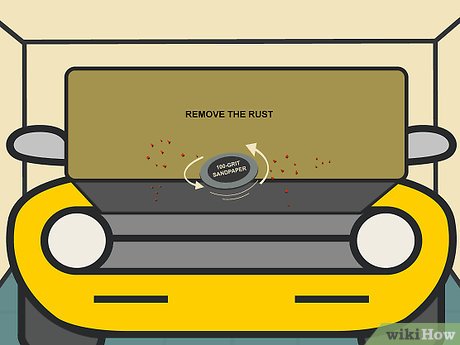
 Remove any visible rust with 100-grit sandpaper. You cannot paint over rust. It will only spread and worsen over time. Instead, sand away light rust with 100-grit sandpaper until it's completely removed and you see only bare metal. If the rust goes all the way through the metal, that portion will need to be cut out of the vehicle and you'll need to have new metal welded into place as a replacement.[7]
- Cutting the metal and welding in new steel is a job best left to professionals.
- Be sure to wear eye protection and a filtration mask while sanding.
-
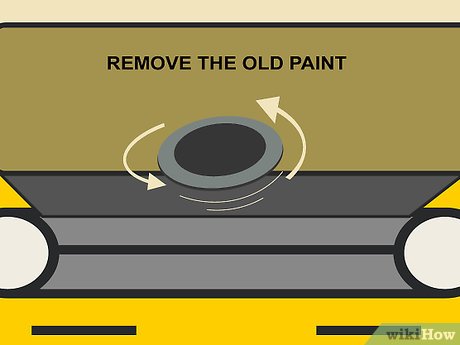
 Strip the old paint if you want a perfect finish. Stripping off the old paint completely is really only necessary for an extremely polished finish like you might find in show cars. If you want to achieve that finish, use a power sander to strip away all of the paint in the engine bay down to bare metal. Run the sander back and forth over the paint until it's all stripped away.[8]
- Stripping all of the paint out of the engine bay by hand would be extremely difficult and time-consuming.
- Make sure to strip the paint off the metal in a well-ventilated space and while wearing eye protection and a filtration mask.
-
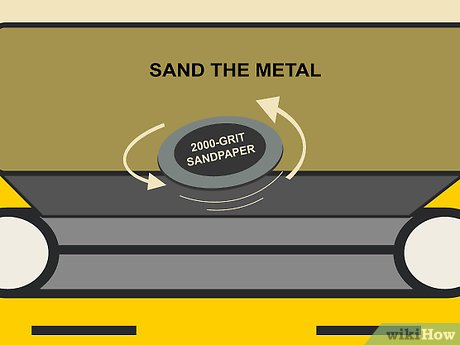
 Sand all the metal you intend to paint with 2,000-grit sandpaper. Whether you stripped the paint from the metal or not, it still needs to be a smooth, flat surface for you to begin painting. Rub 2,000 grit sandpaper into the metal in a circular motion on all of the metal until you're satisfied that the surface is flat and even.[9]
- Engine bays often have lots of nooks and crannies, so be sure to get into them with your sandpaper.
- You're done sanding when the surface feels smooth to the touch.
-
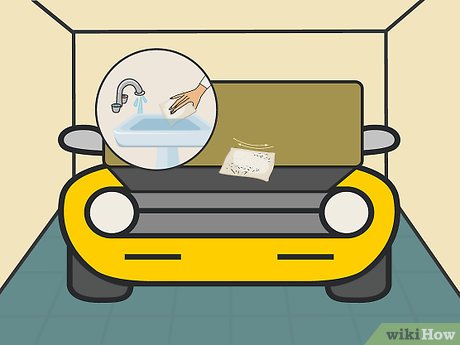
 Use a wet rag to remove all dust and debris. Not only is there paint and debris you sanded off now floating around the engine bay, but sand from the sandpaper has likely gotten everywhere. Wiping it away with a wet or damp rag to remove all the sand and debris will save you from having to wait a day for the engine to dry again.[10]
- If there's too much sand and debris to remove with a cloth, use a hose to rinse out the engine bay and then allow it to dry overnight.
-
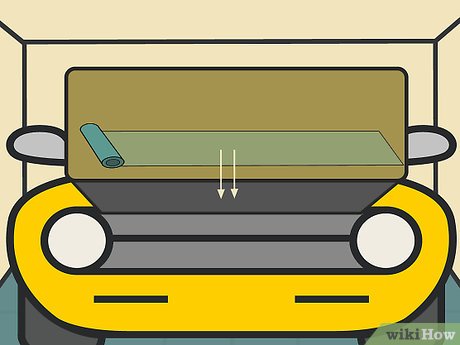
 Cover the engine and hoses with plastic or foil if they haven't been removed. If the engine is still in the engine bay, it will need to be covered, along with any accessories, pipes or hoses coming off of it. Remember, even if you don't point the spray gun or spray paint directly at the engine, paint will still be floating around. Wrap everything in plastic or foil, then use painter's tape to secure the coverings.[11]
- Large garbage bags are good for wrapping engines.
- Aluminum can be a handy way to wrap components that stick out of the engine.
-
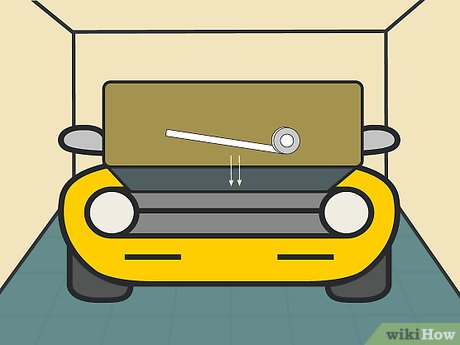
 Tape off any areas you don't want to paint. With the engine, hoses, and pipes completely wrapped up, it's time to tape off the fenders and anything else you don't want painted. Apply a strip of painter's tape along the edge of the fender where the hood sits when it's closed. Optimally, you can use that same tape to secure plastic laid over the fender to protect it from paint as well.[12]
- Look around the engine bay again and make sure everything that's not supposed to get painted is covered, and the covering is secured with tape.
Method 3 of 3:
Spraying the Paint
-
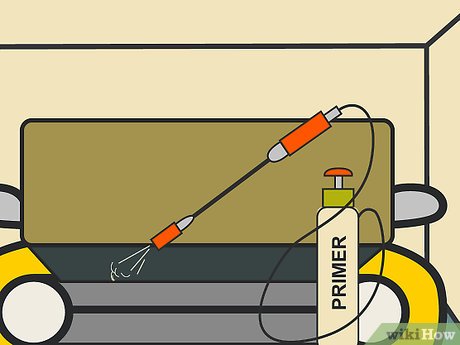
 Apply a coat of primer to the engine bay. A good quality primer will provide a great surface for your paint to bond to. Be sure to use automotive primer that's intended for use in the engine bay, as the paint will need to have a high temperature rating. Spray the primer from about 12 inches (30 cm), sweeping it side to side as you go.[13]
- Don't hold the primer in one place, or it may pool and begin to drip.
- Allow the primer to dry completely before moving on. It will tell you its cure time on the bottle.
-
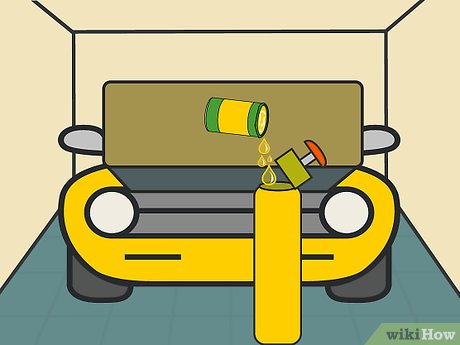
 Add paint to your spray gun or shake the can of paint, depending on which you're using. You can paint your engine bay using spray-on automotive paint from a can, but you may have access to a paint gun. If so, make sure the paint is properly mixed and then pour it into the hopper on the paint gun.[14]
- Different paint guns and air compressors work differently, so be sure to apprise yourself of how to properly use each by reviewing the owner's manual or visiting the manufacturer's website.
- Be sure to purchase high temperature automotive paint, which you can get from any auto parts store.
-
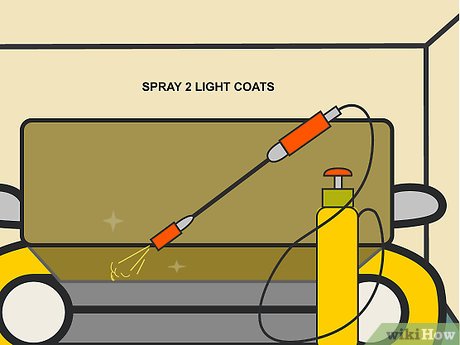
 Spray 2 light coats of paint onto the primed surface, letting each dry before moving on. You'll be applying a total of 4 coats of paint to the engine bay, but the first two should be light. Hold the can or gun around 12 inches (30 cm) from the metal and sweep it back and forth as you paint. Your first two coats should be a light dusting over the primer.[15]
- Allow the first coat of paint to dry completely before applying the second coat.
- Be sure the second coat is dry before moving on.
- Different kinds of paint will have different curing times in different environments. If it's very humid where you are, the paint will take longer to dry than in dry climates. Some paints are formulated to be quick drying. Read the label carefully to know how long you may need to wait.
-
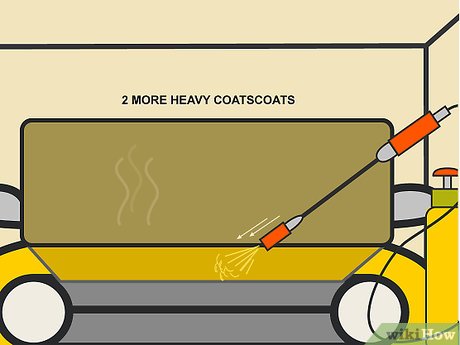
 Add 2 more heavy coats of paint, allowing each coat to dry completely in between. With both light coats of paint dry, applying 2 heavy coats will give the engine bay a deep, rich color. Spray the paint from the gun or can in a sweeping side to side motion just as you have before, but do it a little slower and go over areas a few more times to make the coat thicker.[16]
- Again, be sure the previous coat is dry before moving on to the final coat.
-
 Remove the tape, plastic, and foil while the paint is still tacky. If you let the paint dry completely before you remove the tape, it may crack. Instead, touch a bit of paint in an inconspicuous area to see if it's tacky (nearly dry, but still damp). Once it is, peel the tape off the vehicle to reveal the edge the tape provided.[17]
- Peel the tape away slowly, to make sure you don't accidentally damage the drying paint.
- Leave the plastic over the engine for now.
-
 Allow the paint to cure for the recommended amount of time. Depending on the brand of paint and how thick your coats were, the amount of time it will take to cure can vary a great deal. To be safe, let it sit overnight at the minimum, and wait a week before attempting to wash it.[18]
- At least 8 hours (overnight) is recommended, but you should consult the label on the specific paint you chose to be sure.
-
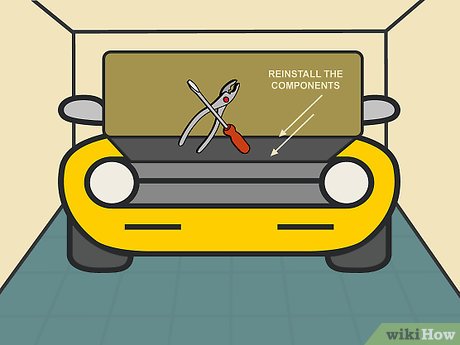
 Reinstall any components you removed. Once the paint is completely dry, the engine bay is ready for you to get back to work. Lower the engine into place using a hoist and secure it using motor mounts. If you removed components rather than the engine, reinstall them in the reverse order you removed them in.
- Be careful not to damage the paint as you install the engine and related accessories.
Share by
Kareem Winters
Update 24 March 2020
You should read it
- ★ Replace the Paint 3D application with Paint Classic on Windows 10
- ★ Top 3 favorite hand-held paint sprayers today
- ★ Learn how to use Paint to edit photos on Windows
- ★ Painter showed off painting with the top paint like Photoshop, who thought the people would show off 'good' equally
- ★ Microsoft Paint - Download the latest Microsoft Paint here
