The following article will guide you through the setup.
Step 1: Set Up Remote Mouse on iPhone
The easiest way to turn your iPhone into a wireless mouse for your PC is to install an app that will do it for you. While there are a number of apps on the market, Remote Mouse is one of the best you can use.
In addition to turning your iPhone into a wireless mouse, it also turns your iPhone into a trackpad. This allows you to use multi-touch gestures (like trackpad gestures on a Mac) to scroll, zoom, etc. So, if you own a Mac, you should definitely use this app.
While features like media player, remote volume control, and access to function keys and numeric keypad require registration, most essential functions are free and easy to set up.
- (Free, with registration)
Once you install Remote Mouse, you'll need to follow a few steps to get the app working on your computer and iPhone. Once you install the app, a prompt will appear asking for permission to find and connect to devices on your local network. Tap Allow to grant the app access.
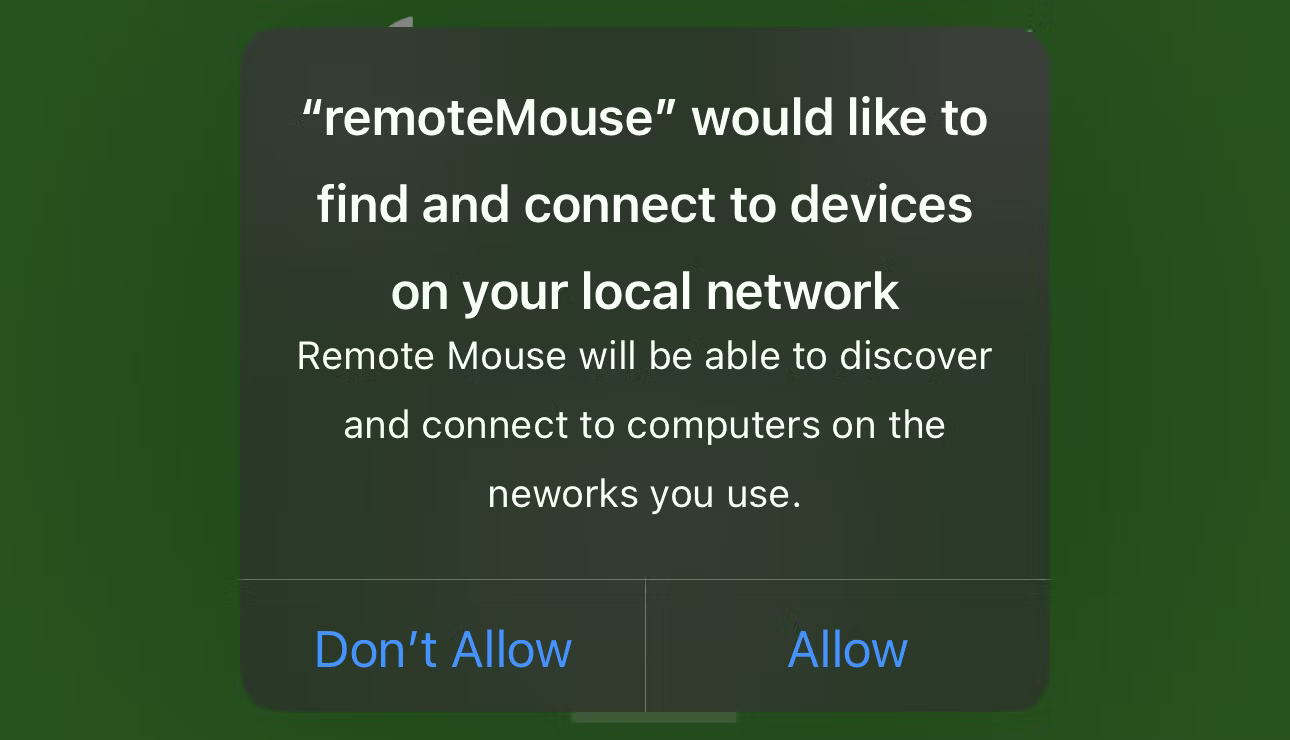
Another prompt will then appear, asking for permission to connect to the computer via Bluetooth. Tap Allow again.
Step 2: Sync Remote Mouse with iPhone and Computer
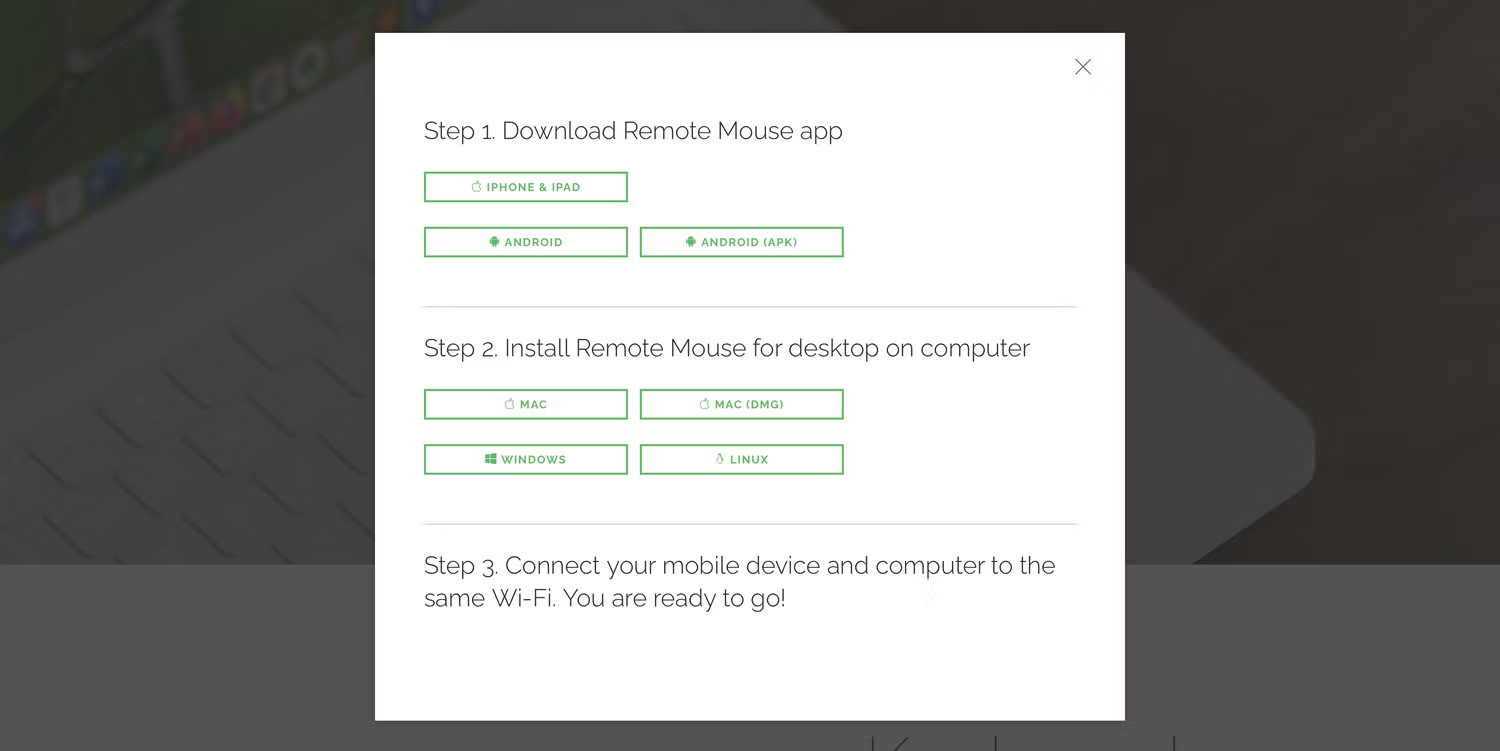
Next, you need to download the application's server to your computer. To do that, go to the Remote Mouse website, click Get Now , and select your computer's operating system.
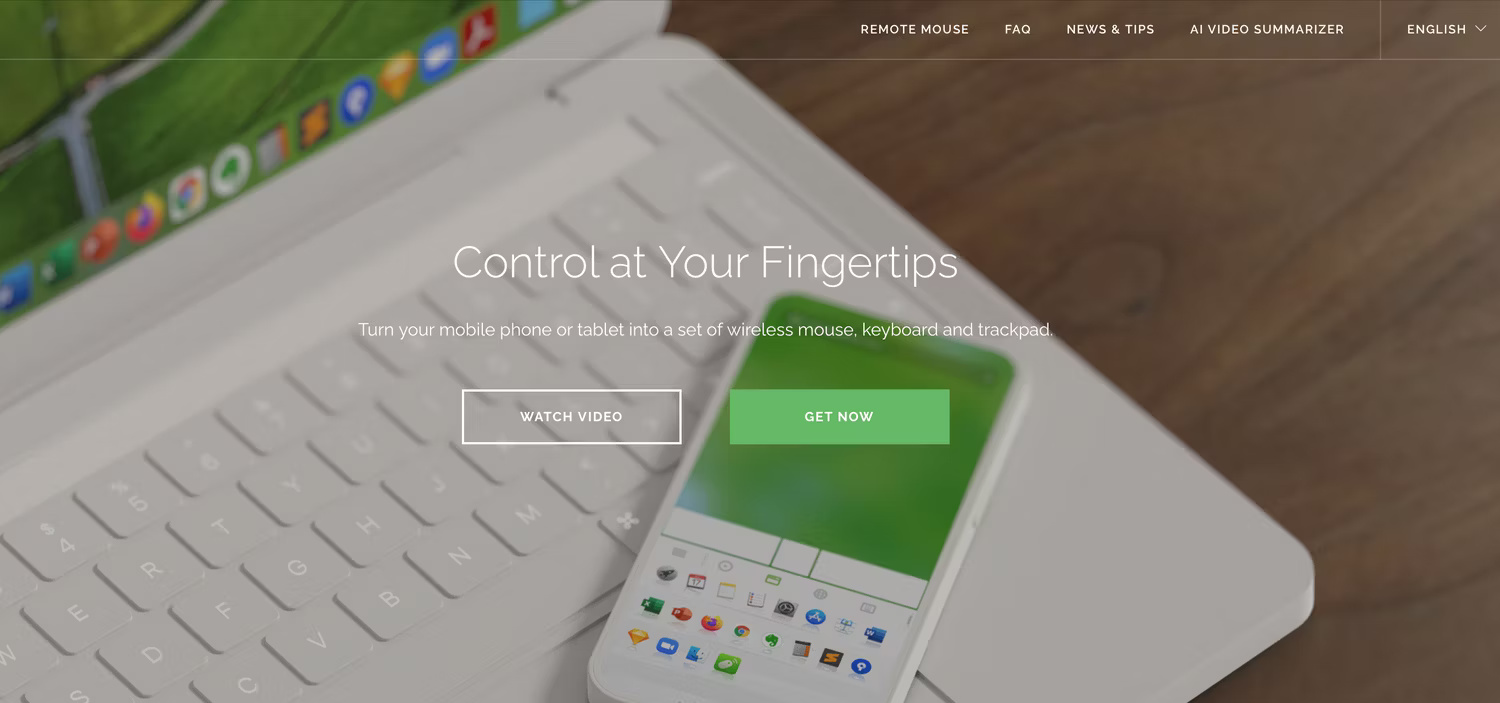
Next, download the installation file. Mac users can install the DMG file or download it directly from the App Store. Windows users can download the EXE file, while Linux users can download the TAR file. Double-click the downloaded file and run the installer to set up the server on your computer.
After you launch Remote Mouse, your computer may prompt you to grant the app Bluetooth access. Just click Allow .
If you're using a Mac, you'll need to re-authorize the app when you use it for the first time. To do this, open System Settings on your Mac and go to Privacy & Security > Accessibility . Then, turn on Remote Mouse and authenticate the change with Touch ID or your Mac password.
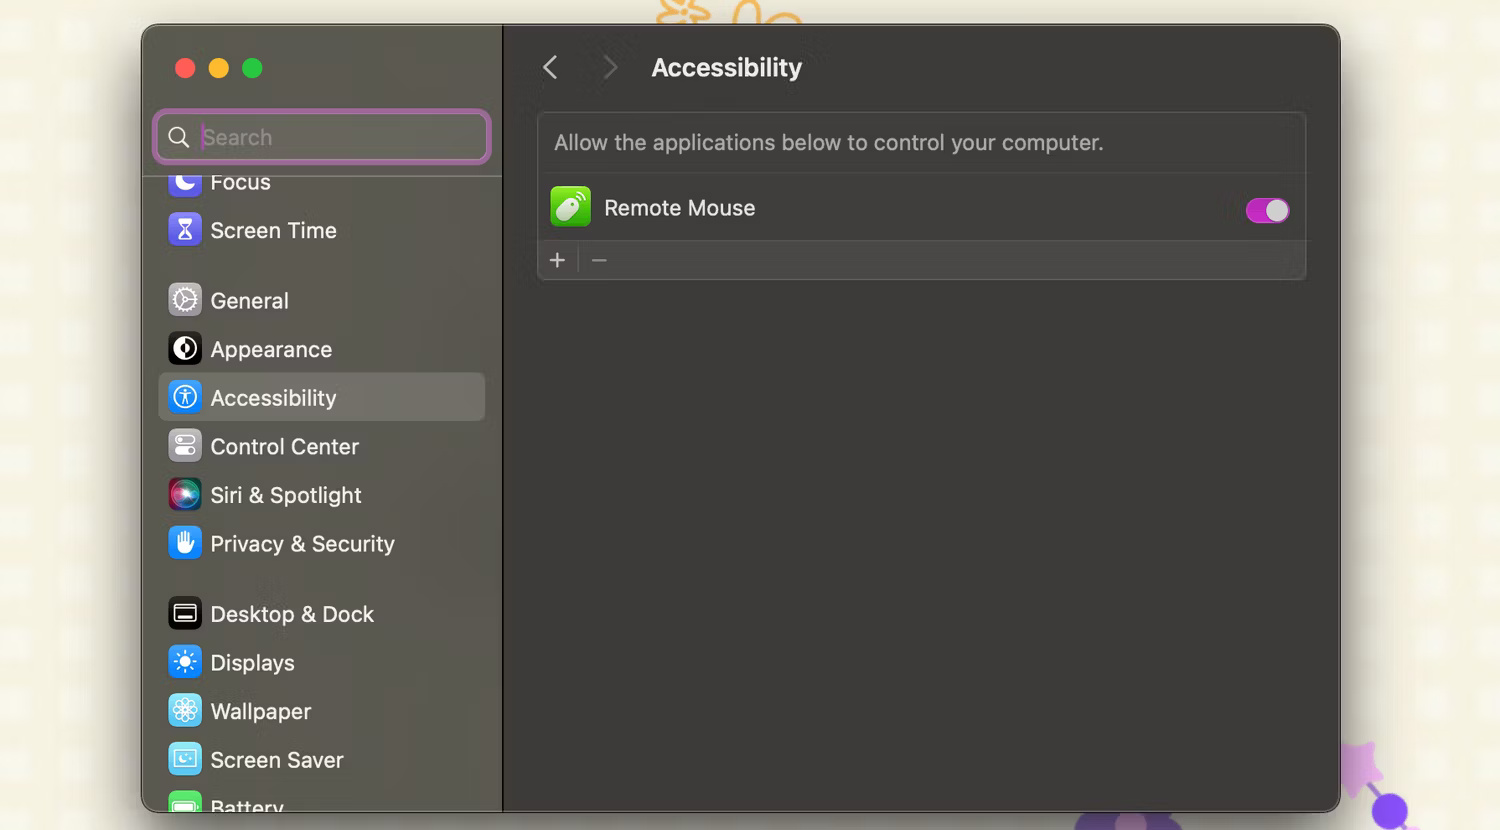
Now, you need to make sure your iPhone and computer are on the same Wi-Fi network or have Bluetooth turned on on both devices. Then you can open the app on your iPhone and computer.
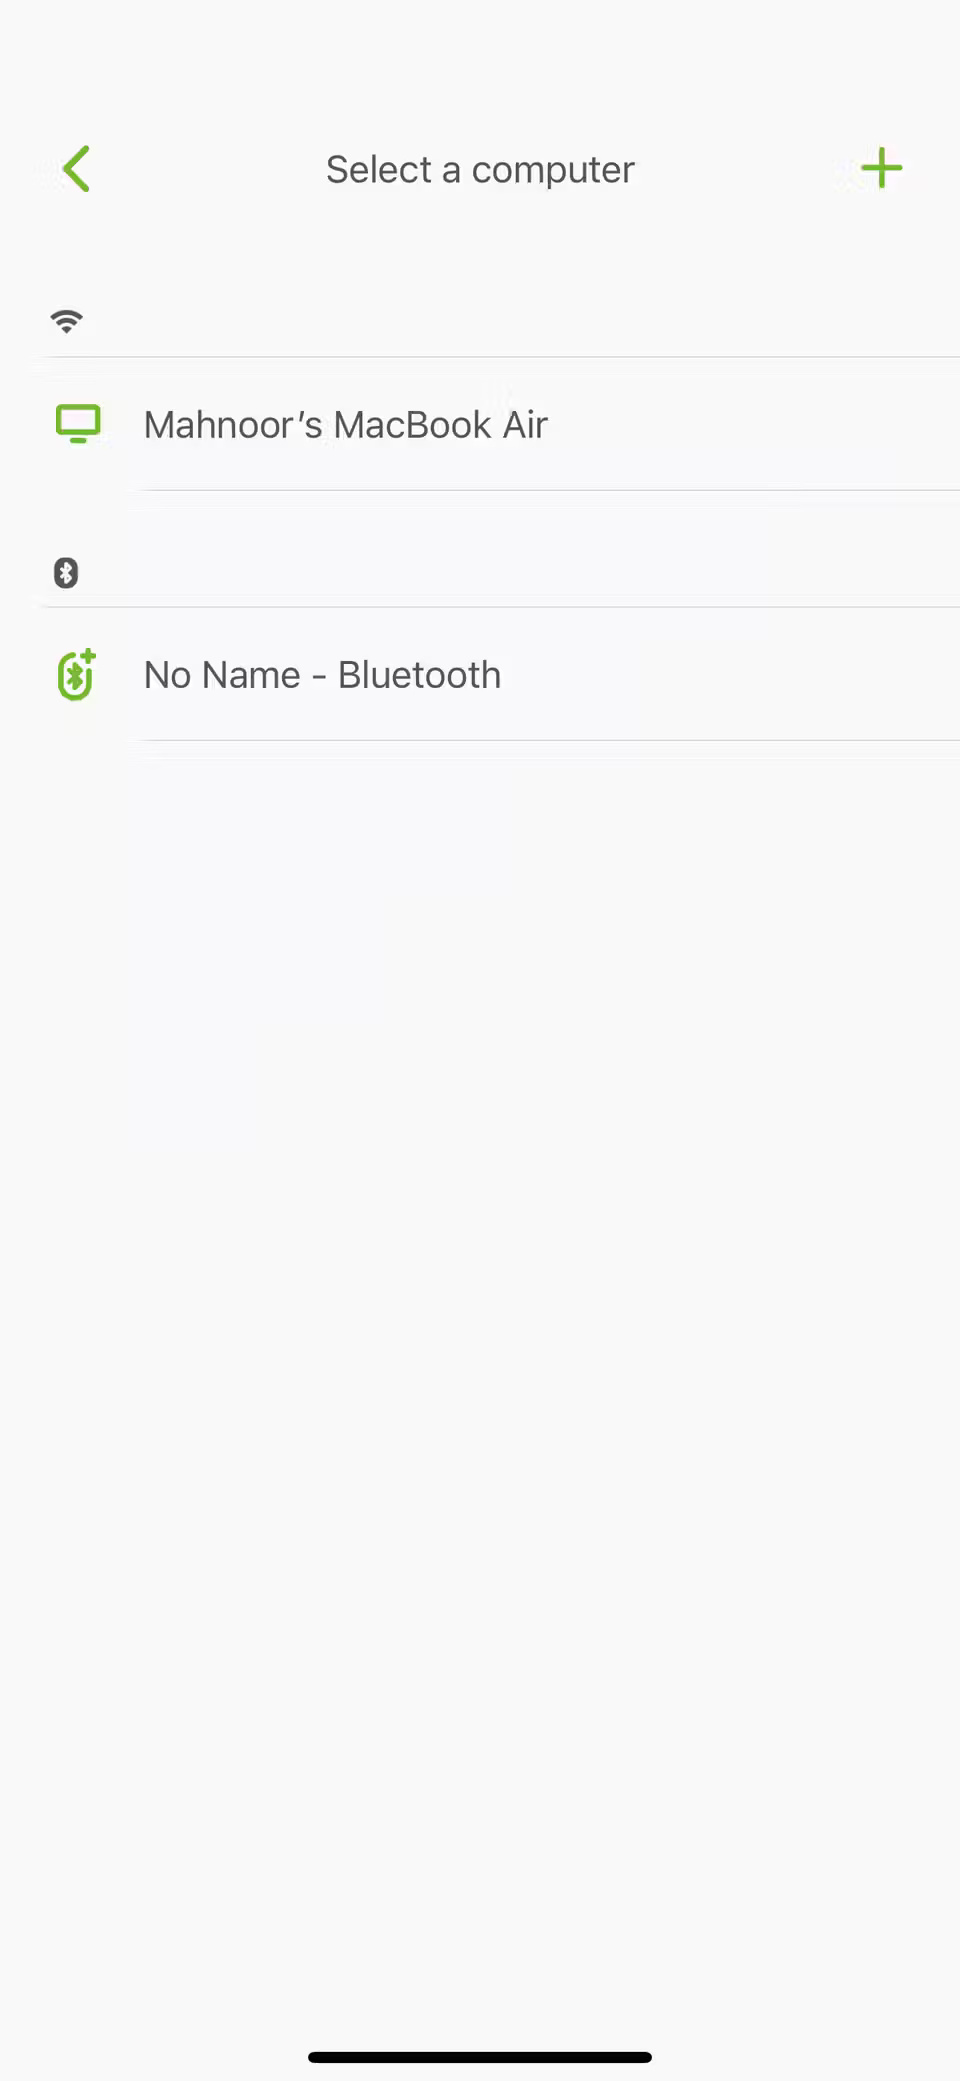
You will see your computer in the iPhone app. Select the computer where you installed the server and you will be able to use your iPhone screen as a mouse immediately!
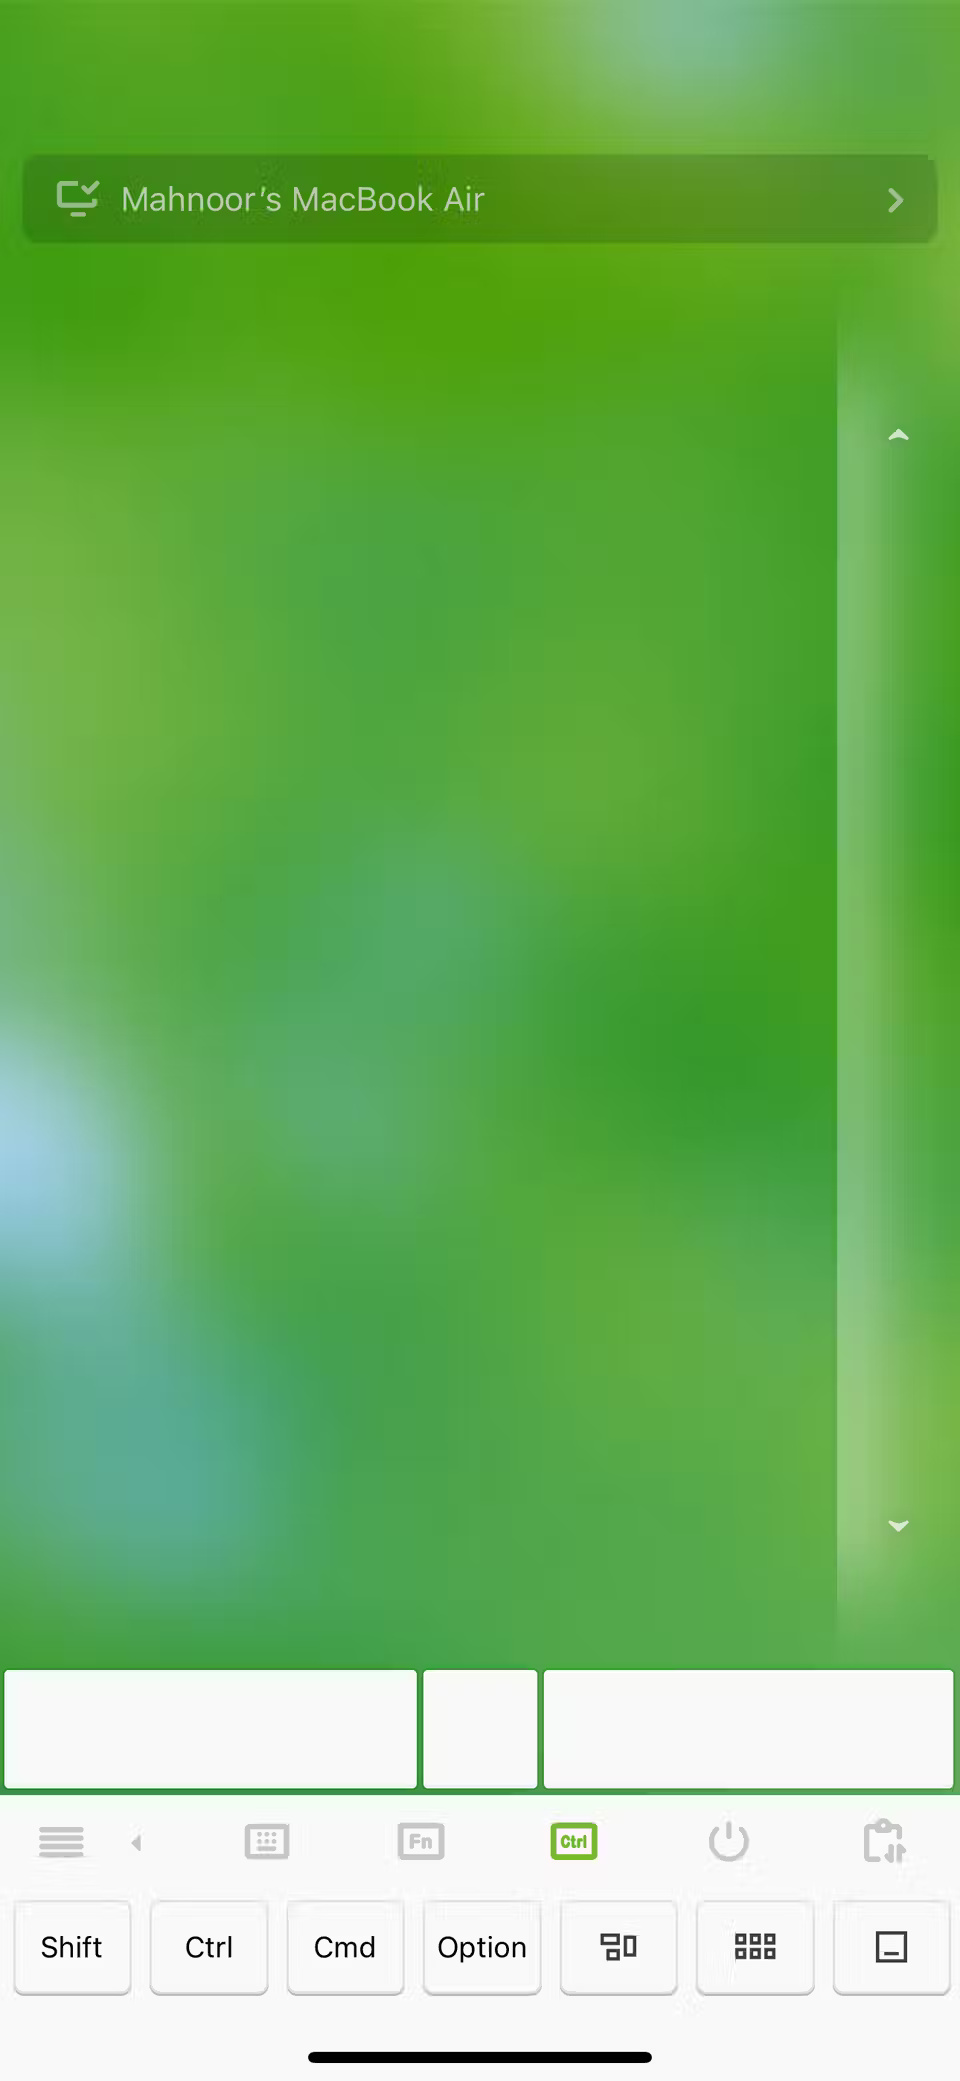
The functions are pretty straightforward and should be familiar to you. You can tap with two fingers to right-click or tap with one finger to left-click. And if you want to scroll in any direction (up, down, left, or right), just scroll with two fingers. You can select and move items by dragging with three fingers. If you're on a Mac, you can also pinch to zoom out or spread your fingers apart to zoom in.
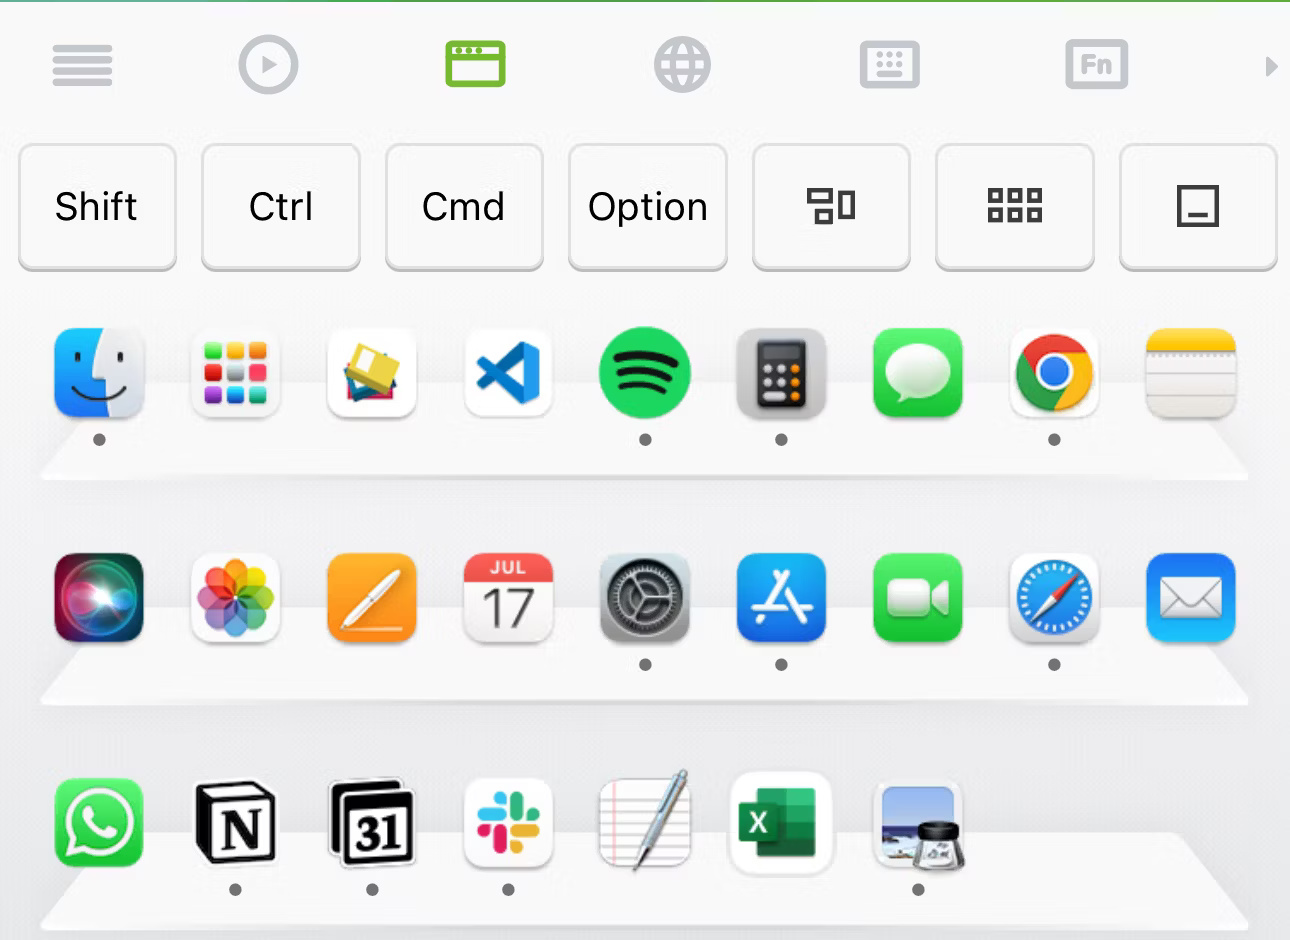
Another standout feature is the ability to open any app in your Mac's Dock by tapping your iPhone. If you want to do this, tap the App Switcher icon (third icon from the left) to see all the apps in the Dock. Just tap any app to launch it on your Mac.
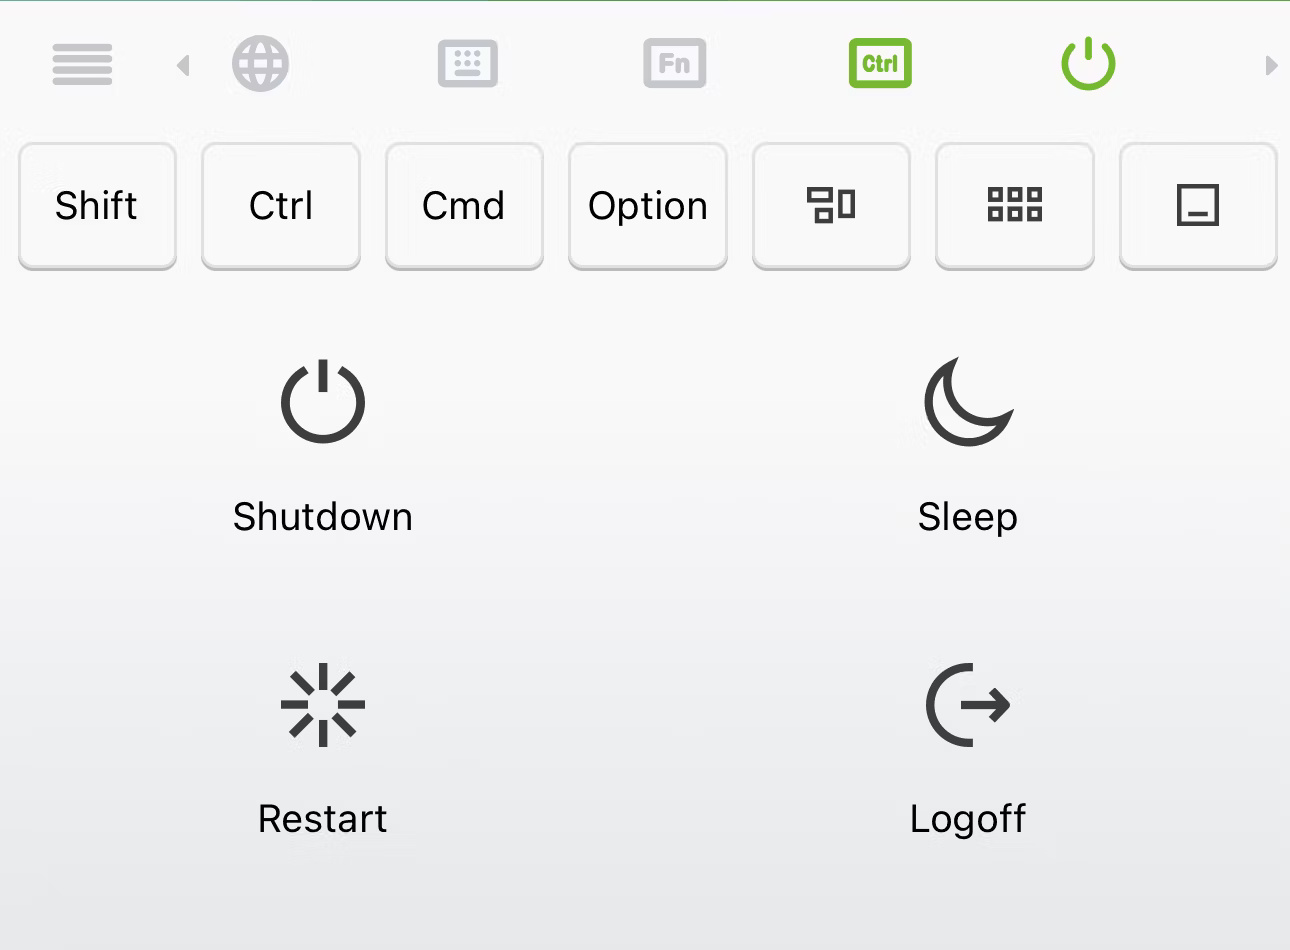
You can also use the Remote Mouse app to shut down, restart, log out, or put your Mac or Windows computer to sleep. Just scroll through the options, click the Power Options icon, and select the action you want to perform.
The app also offers great customization features. For example, if you find the scrolling speed too fast, you can quickly adjust it from the app settings.
Finally, when you want to stop using your iPhone as a mouse, close the Remote Mouse app on both your iPhone and computer.
You'll need to sign up to access some features, but if you're just looking for an app that does the basics, like using your mouse to open apps and perform simple tasks, the free version of Remote Mouse should be good enough for most people.



Reader Comments 0
Sign in with email or Google to join the discussion.