Table of Contents
This updated guide examines Take Photos on Nokia 12800: How to Take Selfie Nokia 1280 and organizes the essential facts, background, and practical takeaways in clear American English.
Instructions to take photos on Nokia 1280
Step 1:
Users visit the Ephoto360 page by following the link below to go right to the Nokia 1280 photo-effect photo stitching.
https://ephoto360.com/hieu-ung-nghe-thuat/hieu-ung-chup-anh-tu-suong-nokia-1280-216.htmlStep 2:
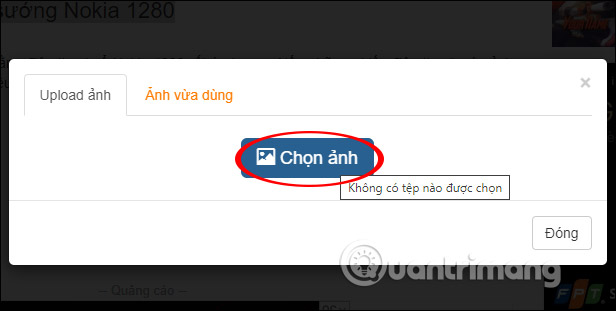
At the interface we click on Choose photos to upload your profile picture to the homepage.

Click the Select image button to upload a new image . If you have used Ephoto360 before, you will have more photos used in the Photos you've just used.
Step 3:
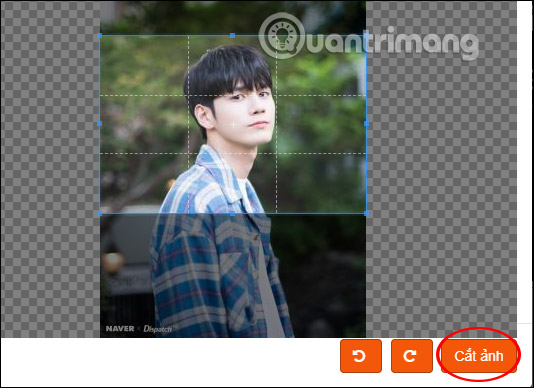
Uploaded images will be resized to select the right image area the user wants. Move the blue frame to crop and then click Crop image .
Step 4:
Finally click Create image and wait for Ephoto360 to process the image you upload.

As a result, we have a selfie image on Nokia 1280 as below. There is the option to download or share images via the link that the site provides. Looking at photos is also quite interesting.

FAQ
What is Take Photos on Nokia 12800: How to Take Selfie Nokia 1280 about?
It provides a structured overview of take photos on nokia 12800, explains the main context, and highlights practical takeaways for readers.
Why does this topic matter?
Understanding the main concepts helps readers evaluate the issue, avoid common mistakes, and make better-informed decisions.
How should readers use this information?
Use the guidance as a practical starting point, confirm details that may have changed, and follow current product, safety, or security recommendations.
Related Articles
 The 34 Best and Worst Phones in Nokia's Calendar, Which One Is Your Spring?8 minutes read
 5 Apps to Take 'Must-have' Selfie Photos on Android Phones8 minutes read
 20 Selfie Apps, Super Quality Selfie App for Android 201714 minutes read
 Gay Best Selfie: Top 5 Quality Selfie Sticks6 minutes read
 Nokia 7.1 Has Just Launched, Snapdragon 636, 4GB RAM, Dual Camera, Priced from 349 USD4 minutes read
 Nokia Is About to Launch 5 New Products3 minutes read
Reader Comments 0
Sign in with email or Google to join the discussion.