Table of Contents
This practical guide walks through how to fix iPhone Camera Error Simply and Effectively. It organizes the required steps, settings, and checks so you can complete the task with fewer mistakes.
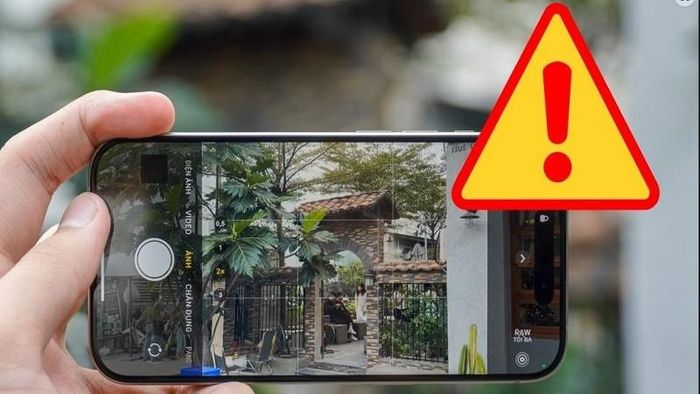
Faulty iPhone cameras can come from many different causes, from software, applications to hardware. Below are some simple and effective ways to fix iPhone camera errors that you can use.
Switch iPhone Camera Modes
The first way to fix a faulty iPhone camera is to switch between the front and rear cameras. open the camera application and select the reversing arrow icon in the bottom right corner of the screen to check the front and rear lenses.
Sometimes you may experience one of the following two iPhone camera errors:
- Black camera error: iPhone camera may be black due to software error. Switching camera modes (like front/rear, Photo/Video,.) helps restart the camera software and fix black errors.
- Blurred or blurred camera error: If the photo is blurred or blurred, switching to another mode will help the camera focus more accurately, especially in low light conditions or when the object is at close range.
Close Background Applications
To turn off apps running in the background, swipe up from the bottom of the screen to the right, then find the camera app and swipe up to close it, then reopen it to check.
Closing the background application and reopening the camera will help fix some common iPhone camera errors such as:
- Camera cannot be opened error: When there are too many applications running in the background, the iPhone may be overloaded with resources, leading to the camera not being able to start. Closing background applications frees up RAM and CPU, allowing the camera to function normally again.
- Camera lagging and jerking error: Applications running in the background can consume a lot of system resources, including CPU and GPU, causing the camera to lag and stutter when in use. Closing these applications helps the camera operate more smoothly.
- Blurry, blurry photo error: Some applications may have interfered with the camera's image processing process and lead to blurry, blurry photos. Closing these applications may fix this problem.
Restart Your iPhone
Restarting the iPhone is a simple operation but surprisingly effective in fixing many problems, including camera errors. When restarting your iPhone, all running applications and processes will be closed, freeing up memory and allowing the iOS operating system to restart from scratch. This helps eliminate temporary software errors that can cause camera problems, such as camera app crashes or messed up settings.
Select and hold the power button and the volume up button at the same time until the words Slide to power off appear, then swipe to turn off the device. Then, select and hold the power button to turn the device back on.
After restarting your iPhone, open the camera app and check to see if the camera error has been fixed. If the issue continues to occur, you can try other fixes such as updating iOS or restoring your iPhone to factory settings.
Above are shares on how to fix iPhone camera error. Thanks for watching.
FAQ
What do I need before I fix iPhone Camera Error Simply and Effectively?
Prepare the required device, software, account access, and any files mentioned in the steps. Back up important data before changing system settings.
Why does the process look different on my device?
Menus and options can vary by operating system, app version, device model, or region. Use the closest matching setting and check the official documentation when needed.
What should I do if a step does not work?
Restart the app or device, confirm permissions and connectivity, update the software, and repeat the step carefully. Avoid unofficial downloads or tools.
Related Articles
 Fix Iphone Camera Not Focusing6 minutes read
 The Cause of iPhone Shooting Error Is Vibration, Blur and Remedy6 minutes read
 iPhone Camera Does Not Work: Common Problems and Remedies8 minutes read
 Instructions on How to Fix iPhone Camera Errors Effectively and Quickly8 minutes read
 How to Fix Crashed Camera or Black Screen on iPhone6 minutes read
 Tips to Fix Camera Screen Errors on iPhone5 minutes read
Reader Comments 0
Sign in with email or Google to join the discussion.