How to create custom tags with HTML and CSS
While tag elements are often simple, there are specific criteria for you to choose from when creating them.
HTML structure for tag elements
The structure of the tag includes container, header, image, body and an optional footer.
You will create 3 simple & common card components including: content, products and personal information.
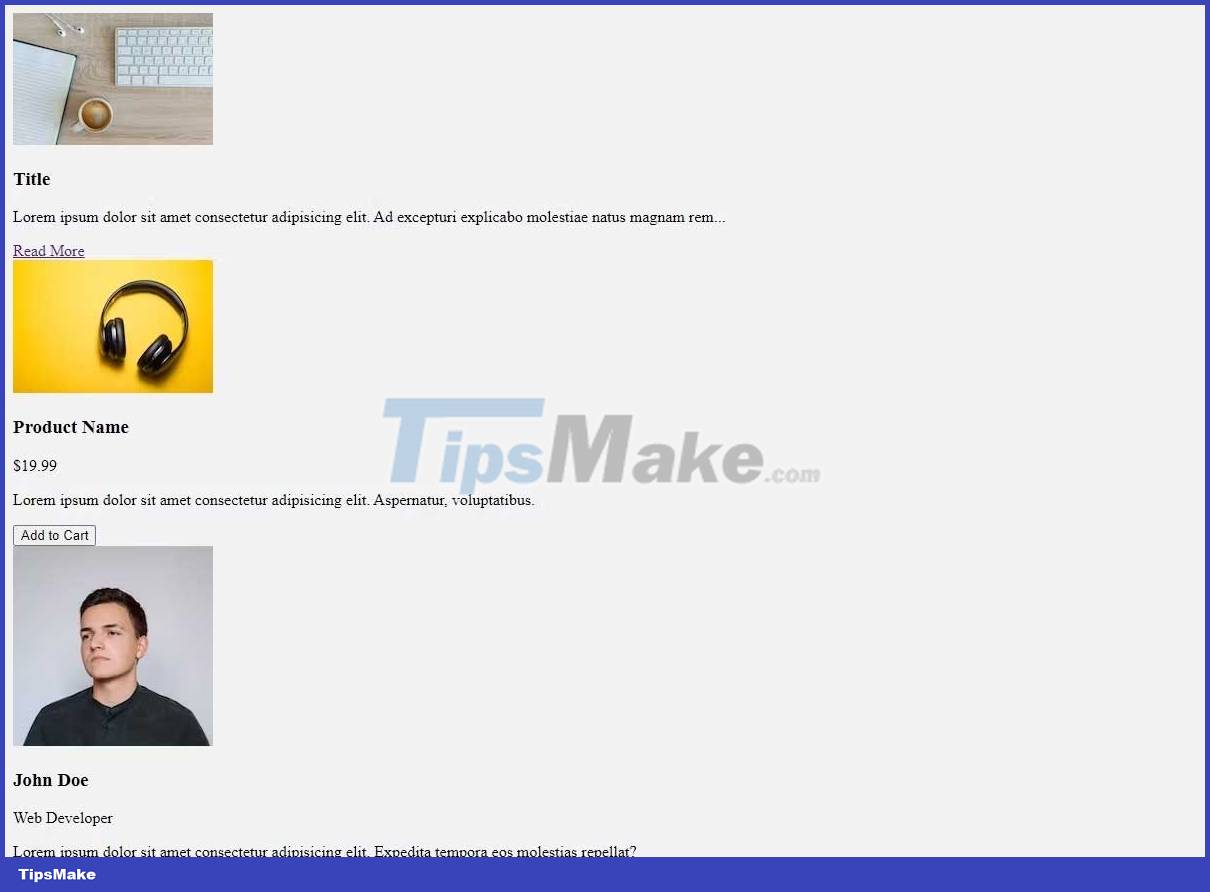
Start by creating a div container, nesting more than 3 div tags with a class attribute for each of them within it, with the appropriate child elements for each. You should use elements found in all parts of the tag structure. For example, the content tag has an image tag for the media, an h3 tag for the title, and a p tag for the text.
This is what you see in the browser, by default, before any custom styling is applied:

If you want to create more tags or include more content in one card, do this before continuing.
CSS styling for the tag element
Using CSS, you can style each card to make them look appealing. Use the global selector to reset margins , paddings and position using box-sizing . Then style the container by margining it to create some more space.
* { margin: 0; padding: 0; box-sizing: border-box; } .card-container { padding: 20px; }Next, use a selector multiple times for all the cards, margin it to provide space around each tag, and set display & flex-direction for the layout. Also set a border to define the tag, border-radius for some curves and max-width for the response.
.content-card, .product-card, .profile-card { margin: 20px; display: flex; flex-direction: column; border: 2px solid #ccc; border-radius: 7px; max-width: 250px; }Now focus on each hter, starting with the content tag, and give it a background color and padding. Add the following selector to the elements in the content tag.
Style the image with max-width and b order-radius . Set margin, font-family and font size for h3. For anchor tag, remove text decoration, set color, margin-top and font size.
.content-card { background: #E9724C; padding: 10px; } .content-card img { max-width: 100%; border-radius: 5px; } .content-card h3 { margin: 10px 0; font-family: monospace; font-size: 1.5rem; } .content-card a { text-decoration: none; color: #6f2ed8; margin:12px 0 7px 0; font-size: 1rem; }The product tag will need more styles due to its extra elements. Create selectors for each child element and style them accordingly.
The button element contains the most stylish styling properties that give you a 'call-to-action' effect. Only align the button to the right by setting align-self to flex-end in the anchor selector.
.product-card img { border-radius: 5px 5px 0 0; width: 100%; } .product-card h3 { margin: 5px 10px; font-family: monospace; font-size: 1.5rem; } .product-card p { margin: 5px 10px; font-family: Georgia, 'Times New Roman', Times, serif; } .product-card a { align-self: flex-end; } .product-card button { width: 100px; height: 30px; margin: 10px; border: 1px solid #8f3642; border-radius: 4px; background-color: #FFC857; font-weight: 700; cursor: pointer; }Finally, style the profile tag. Set the border-radius on the top-right and top-left of the image to match the container. Adjust image size and fit as needed. Use at least two additional font styles and colors on the text for definition. Alternatively, you can create an actionable element, for example an anchor tag, that stands out with a border .
.profile-card img { border-radius: 5px 5px 0 0; height: 200px; object-fit: cover; } .profile-card h3 { margin: 10px; font-family: monospace; font-size: 1.5rem; } .profile-card p:first-of-type { margin:0px 10px; font-family: 'Times New Roman', Times, serif; color: cornflowerblue; } .profile-card p:last-of-type { margin: 5px 10px; font-size: 0.9rem; } .profile-card a { text-decoration: none; margin: 5px 10px 10px 10px; padding: 5px 15px; align-self: center; border: 1px solid cornflowerblue; border-radius: 15px; color: black; font-family: monospace; font-weight: 500; }After styling, your tag should look like this:

Card layout and flexibility
Responsiveness is important in providing a seamless experience with the interface across devices. You can use CSS Flexbox or CSS Grid for this layout. Finally, you can use queries for responsiveness.
Use Flexbox CSS
First, add a display property and set it to flex on the tag container selector. Apply flex-wrap and set it to wrap, so the tags can be collapsed in a small screen size.
Also, set align-items and justify-content as you want.
.card-container { padding: 20px; display: flex; flex-wrap: wrap; align-items: center; justify-content: space-evenly; }That page will look like this:

That concludes responsiveness on larger screen sizes. For smaller views, such as mobile phones, you can use media query rules and set a maximum width (max-width).
In the media query, decide which element you want to change. In this case, the container will change.
Set flex-direction to column , the cards will stack vertically. To show the card in the center of the screen, horizontally, set justify-content and align-items to center :
@media screen and (max-width: 480px) { .card-container { flex-direction: column; justify-content: center; align-items: center; } }Using CSS Grid
First, set the display of the tag container to grid. Use grid-template-columns to allow tags to adjust width automatically. Use grid-gap for spacing between cards. Use justify-items to center the tag.
.card-container { padding: 20px; display: grid; grid-template-columns: repeat(auto-fit, minmax(300px, 1fr)); grid-gap: 20px; justify-items: center; }Result:

On mobile screens, apply media queries. In this query, edit the grid layout for the smaller viewport. Set grid-template-columns to 1fr so that each card is full width. Also, setting the justify-items and align-items properties to center will center the tag both horizontally and vertically.
@media screen and (max-width: 480px) { .card-container { grid-template-columns: 1fr; justify-items: center; align-items: center; } }Here's how to create a custom tag element using HTML and HTML. Hope the article is useful to you.