How to Create a Minecraft PE Server
Use Realm
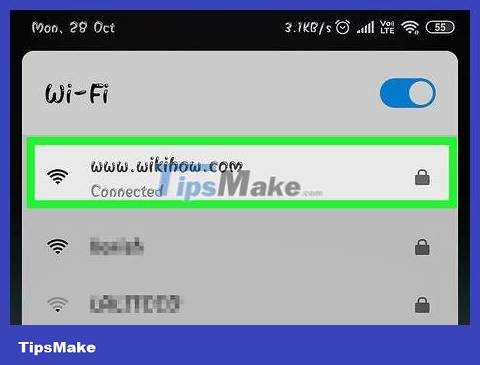
Make sure you're connected to Wi-Fi. Your iPhone or Android must be connected to Wi-Fi (not using mobile data) to do this.
You also need to be running the latest version of Minecraft. If you don't have that version yet, update Minecraft PE before continuing.
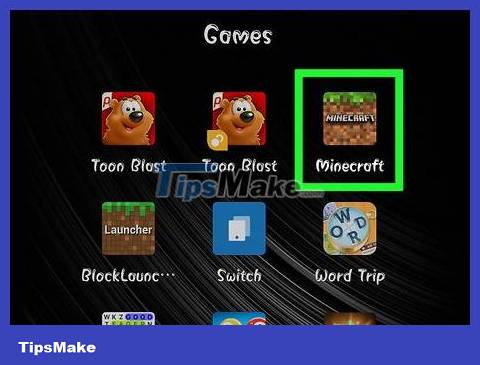
Open Minecraft. Tap the Minecraft icon that looks like a block of dirt with grass on top.
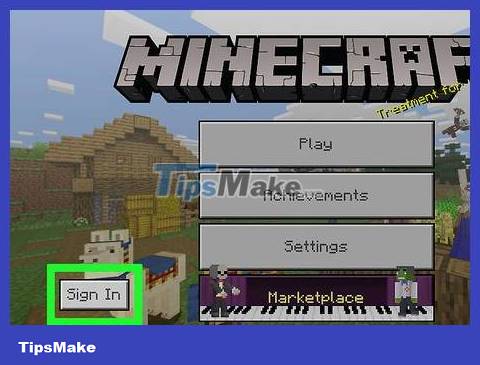
Tap Sign In located on the left side of the screen.
If you see your Xbox Live account name here, skip this and the next step.

Enter Xbox Live information. Type the email address and tap Next , type the password and tap Next , then tap Let's play when prompted.

Tap Play . This button is at the top of the list of menu options in the middle of the screen.

Tap the Worlds tab . This option is located in the upper left corner of the screen.
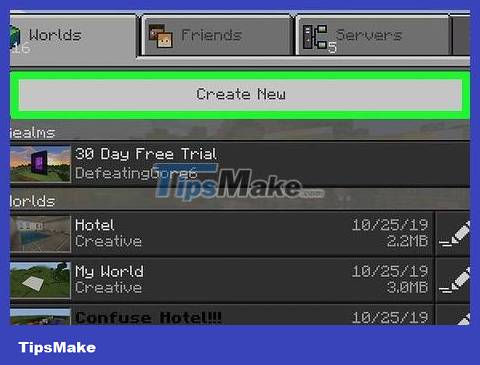
Tap Create New . This button is at the top of the Worlds page .
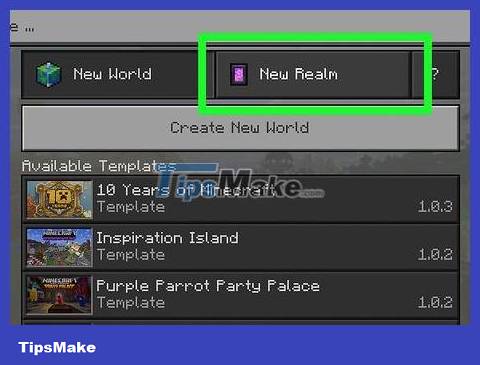
Tap the New Realm tab . This tab is at the top of the screen.

Tap Create New Realm. It's near the top of the page.

Name your Realm. Tap the "Realm Name" text box, then type whatever name you want for the Realm.

Select level. If left by default, Realm will support 10 players and you; If you want to use a cheaper server for a few friends, you can tap 2 Players under "Tier".

Check the "I agree" box on the left side of the screen.
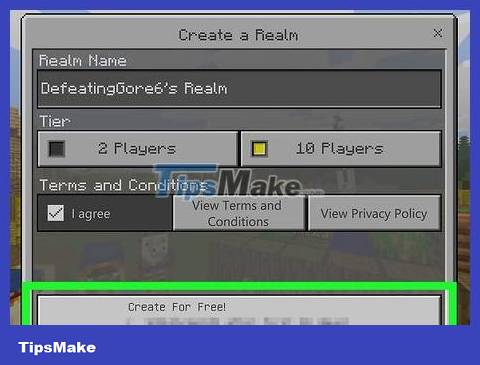
Tap the Create button located at the bottom of the screen.
If you're asked to enter your password, Touch ID, or payment information, do so before continuing.
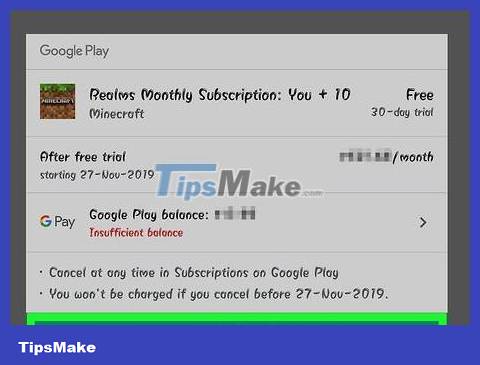
Tap Subscribe when notified. This is the step to create a Realm under the name you assigned.
You can cancel your Realm premium subscription at any time by tapping the pencil icon next to Realm, tapping Subscription , tapping Manage Subscription , then following the onscreen instructions to cancel your premium subscription .
To see Realm options, tap the pencil icon to the right of Realm. You can change many options, such as difficulty here.
Use Aternos
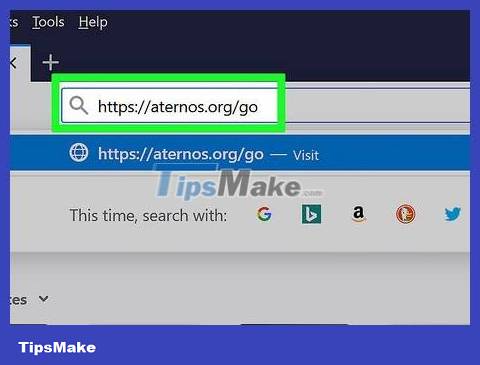
Open the Aternos website. Visit https://aternos.org/go using your computer's web browser.
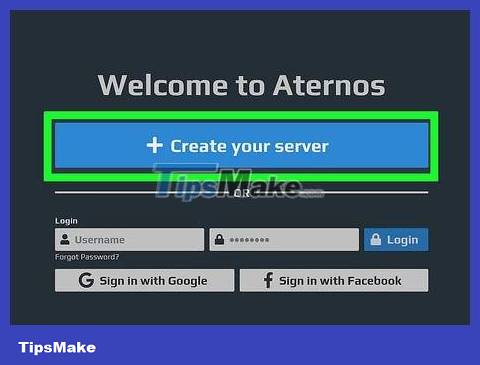
Click Create your server . This navy blue button is in the middle of the page.
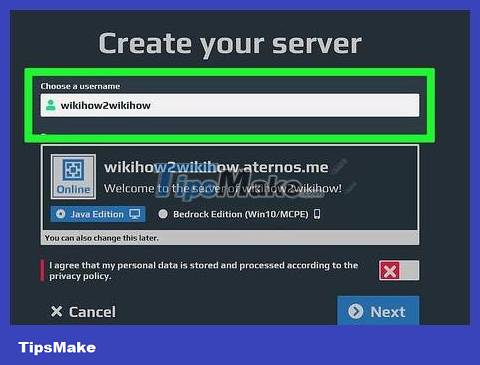
Enter username. In the "Choose a username" text box, type whatever username you want to give yourself on your server.
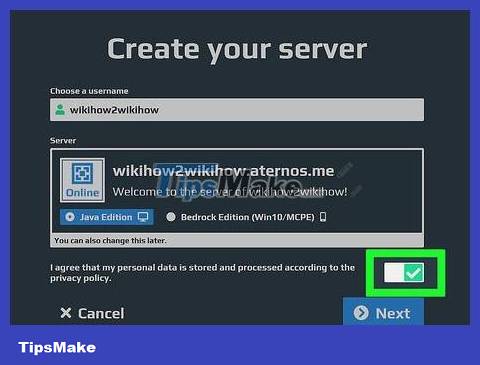
Click the "I agree" switch. It is a white "X" on a red background. You will see a check mark replacing the letter "X".
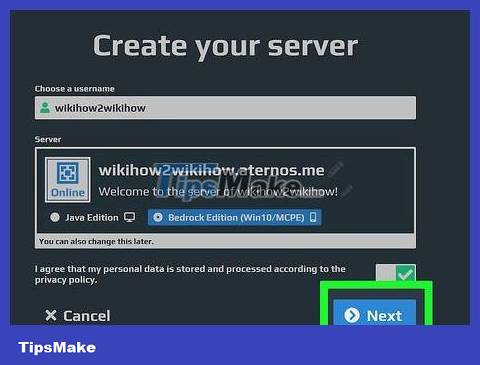
Click Next located at the bottom of the page.

Enter email address and password. Fill in the following fields:
Email — Type the email address you have access to.
Password — Type a password different from the email address password.
Retype Password — Retype the password.
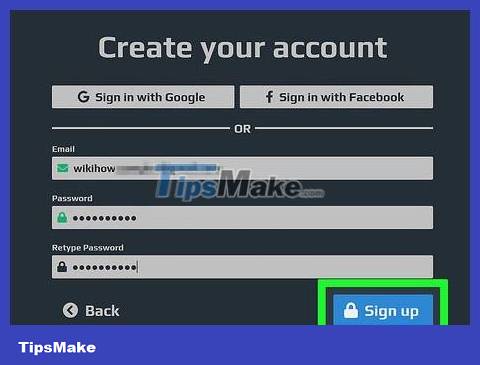
Click Sign up . This button is at the bottom of the page. This is the step that displays the Aternos dashboard.
If you're using an ad blocker, you'll see a warning on the next page. You can turn off the ad blocker and reload the page, or click the Continue with adblocker button anyway .

Click Software . This tab is on the left side of the page.
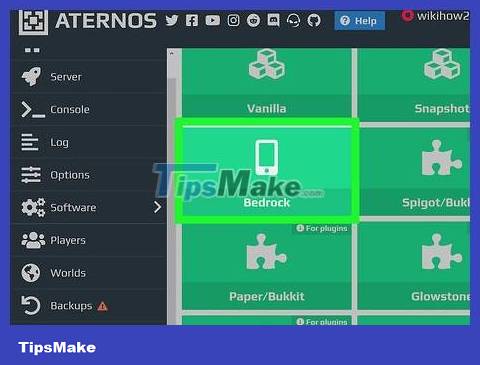
Click on Win10/MCPE located on the right side of the page.

Click Reinstall . You'll see this button in the upper right corner of the window.

Click Yes, Reinstall when prompted. This is the step to install PocketMine as an extension for the Aternos server.

Click the Server tab . This tab is on the left side of the page.

Click Start . This green button is in the middle of the page.

Click Connect . This button is near the top of the page. This is the step that displays the pop-up window.

Note down the server address and port number. You'll see them in the pop-up window; both are necessary information to set up a Minecraft PE server.

Connect to the server. To enter the server and start playing, follow the steps below:
Open Minecraft PE.
Tap Play .
Tap the Servers tab .
Tap Add Server .
Enter a name for the server in the "Server Name" text box.
Enter the server's address in the "Server Address" text box.
Enter the server's port number in the "Port" text box.
Tap Play .