What Causes Noise from Smartphone Cameras?
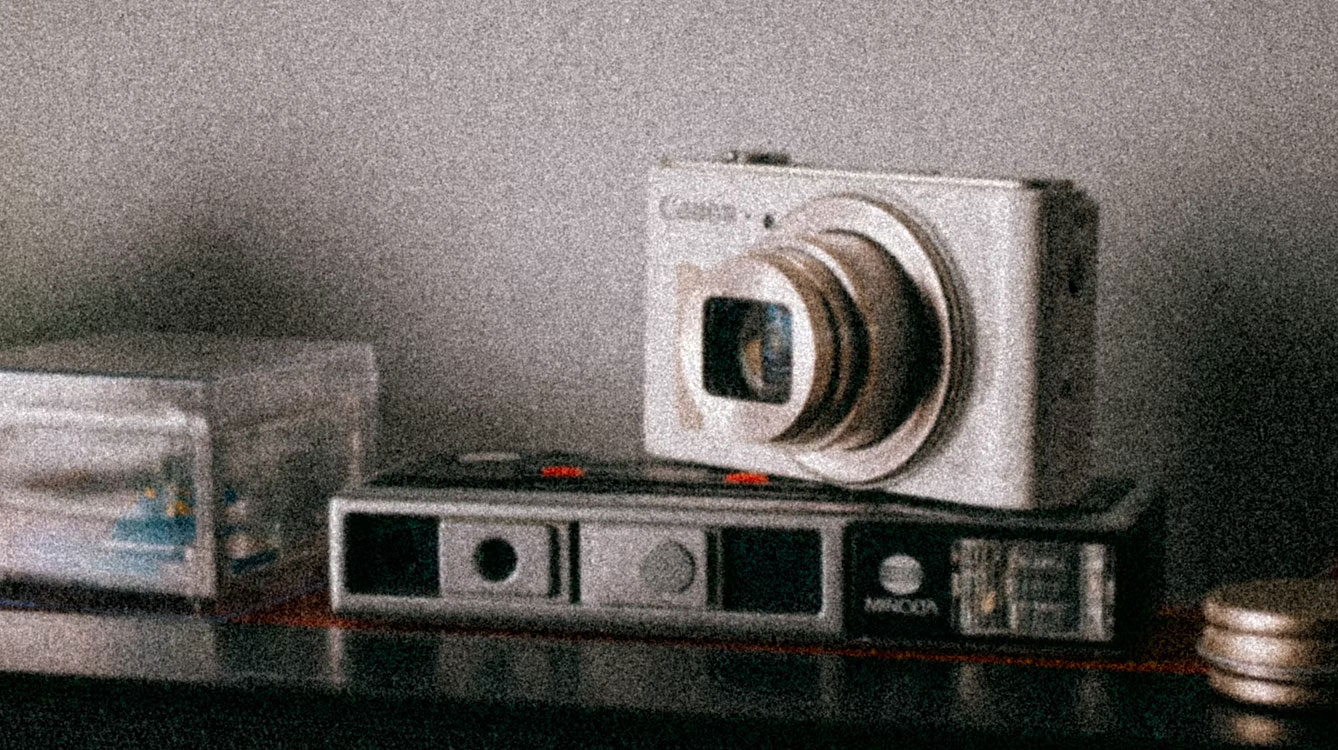
Smartphone camera sensors are really bad. Because the sensor size is so small, smartphones often have to use computational photography and software to make the image look the way they want it to, rather than using the image directly from the sensor.
This processing can often result in blurry details, over-sharpening, noise, and graininess. The grainy effect also doesn't look like what you get from a film camera, and is often less aesthetically pleasing. Of course, smartphones try to improve this every year, and even with every major update.
However, you don't always have to rely on buying a better phone or waiting for the next camera software update; you can always use these tips to avoid this phenomenon when shooting.
Improve Lighting
No matter what kind of device you're using, taking photos is easier when there's plenty of light. The more light your phone's camera gets, the more information it can process and the less processing it has to do.
To make the most of ambient light, it's best to face your subject about 3/4 of the way toward the light source. This way, the light will hit your subject where your eyes are most drawn, and will provide the most detail where you want it.
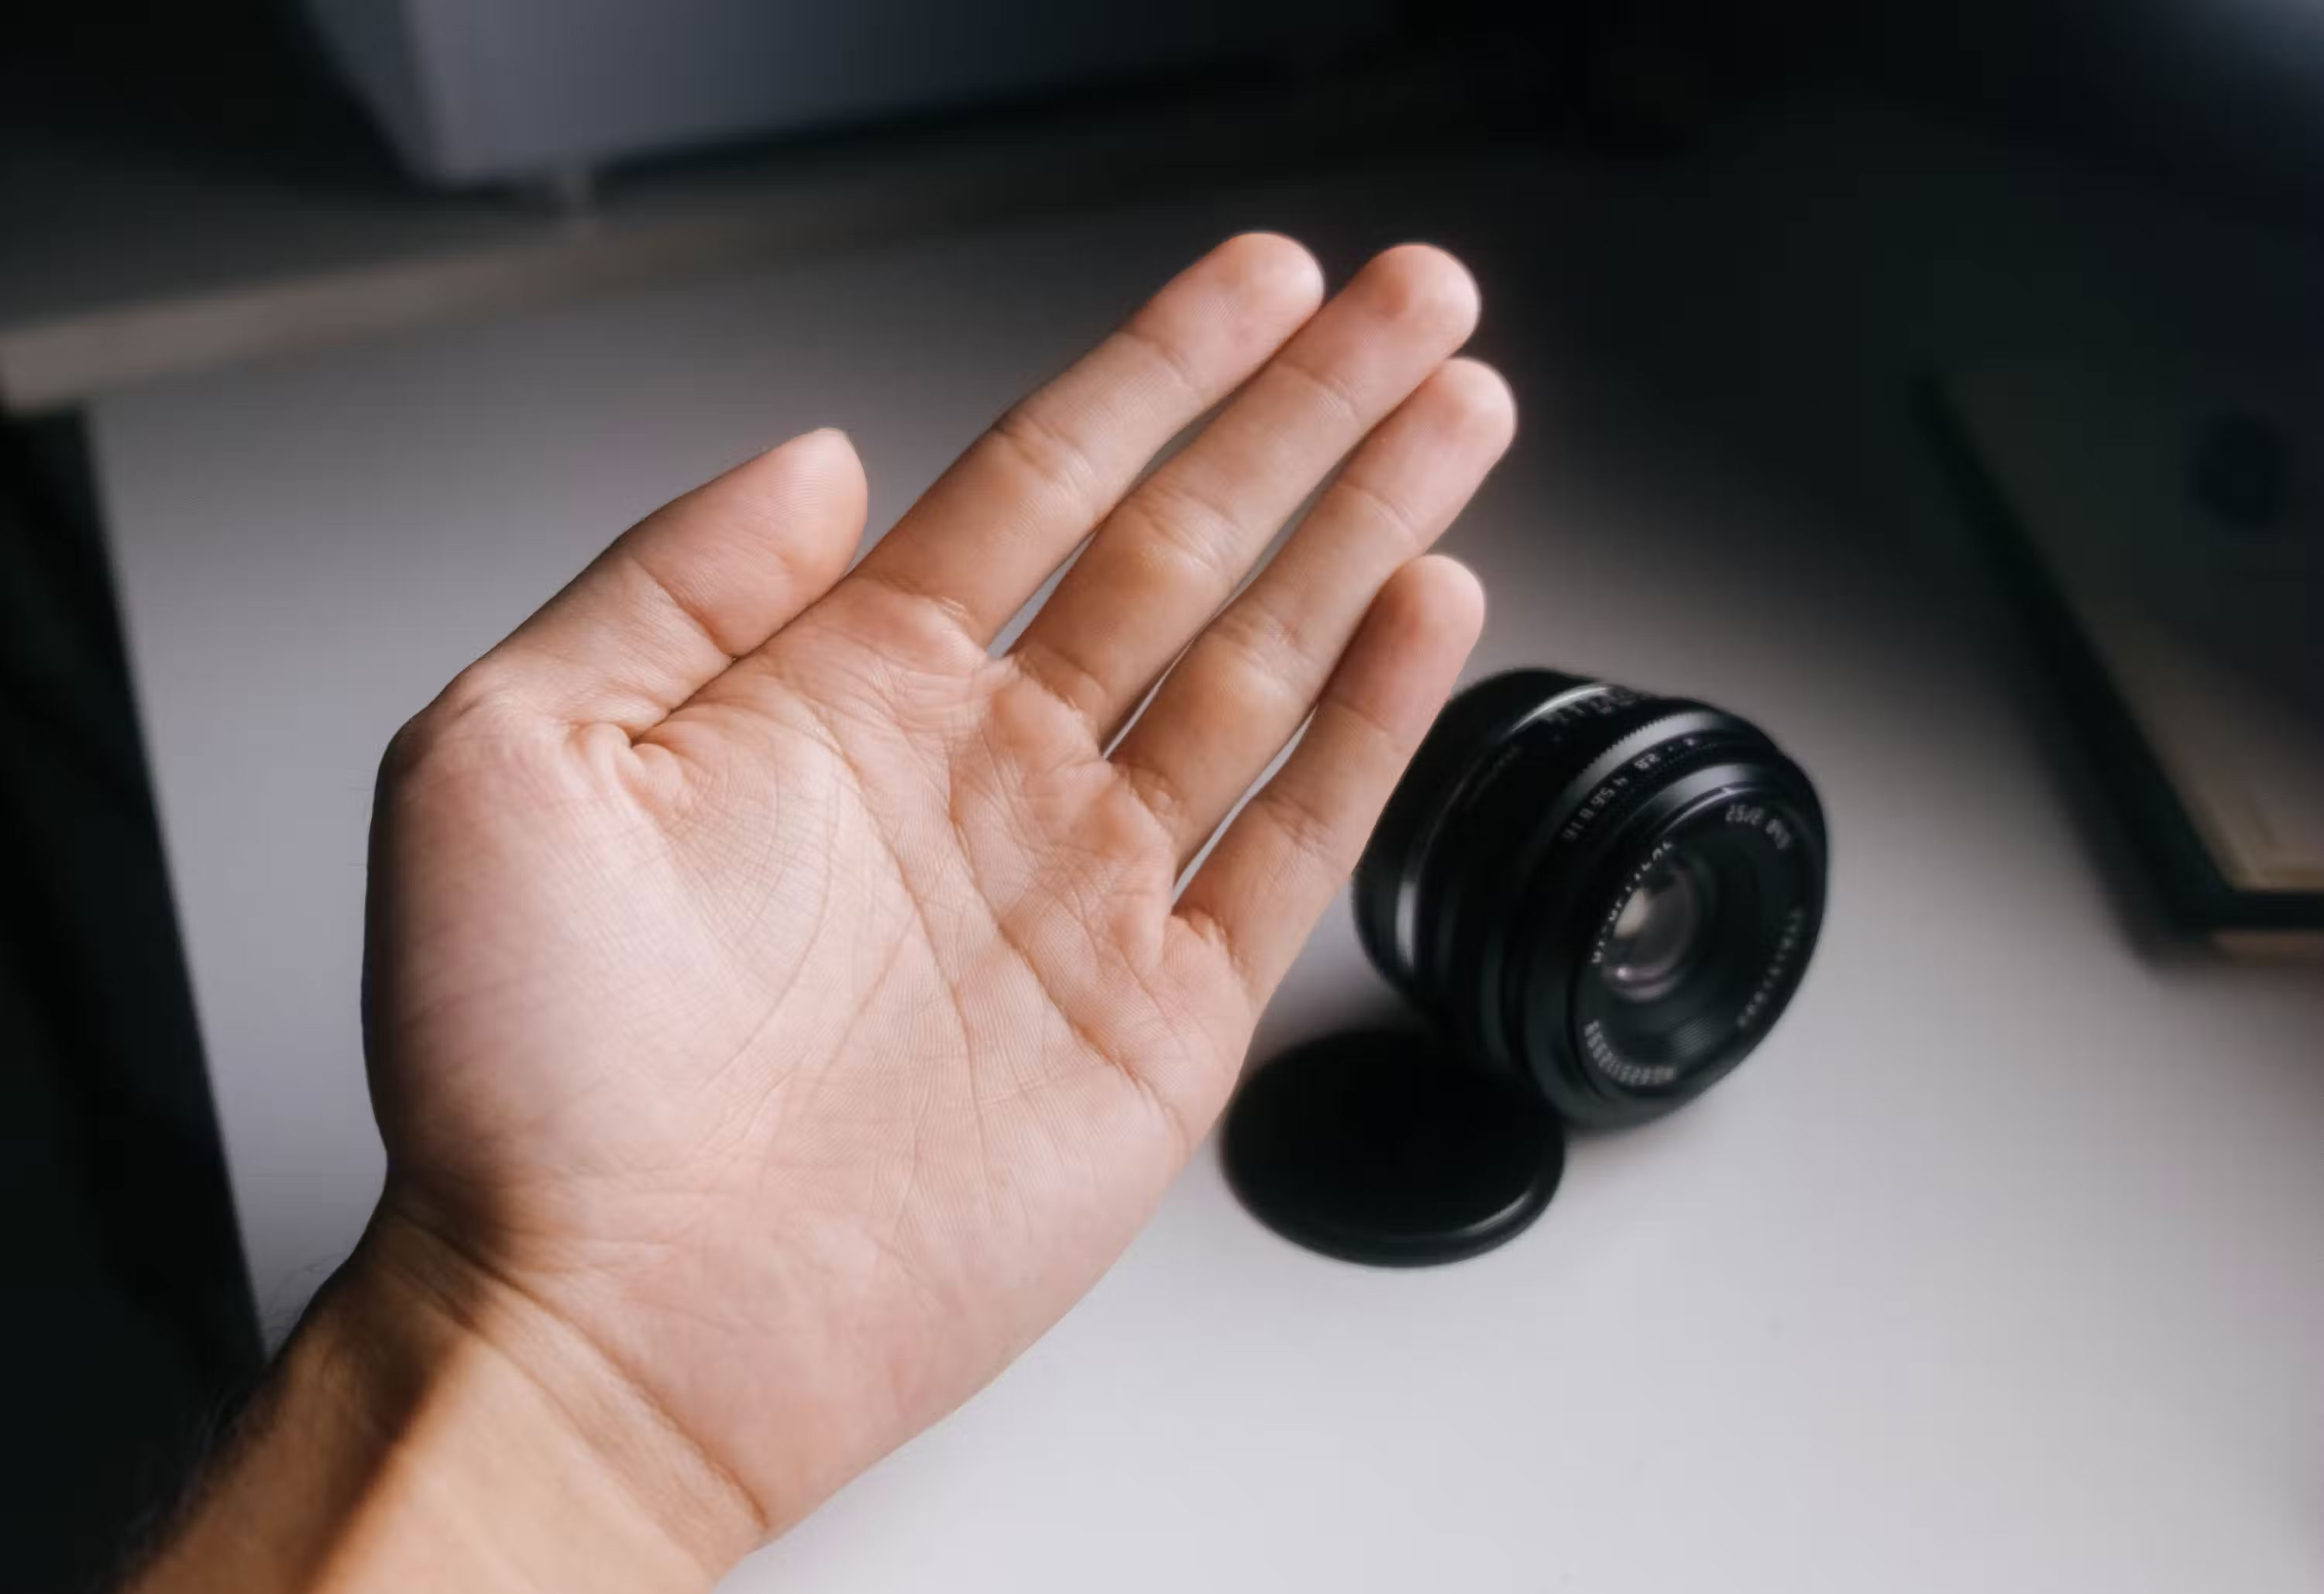
One trick to determine where the light source is pointing best is to use your hand. Hold your palm up in front of you and turn your body until your palm is nicely lit. You don't want the light to be directly on your palm as this tends to lose surface detail, a slight angle is great for portraits and detail shots.
While having lots of light is good, sometimes you also need to be careful with harsh lighting in your photos.
Reduce Exposure
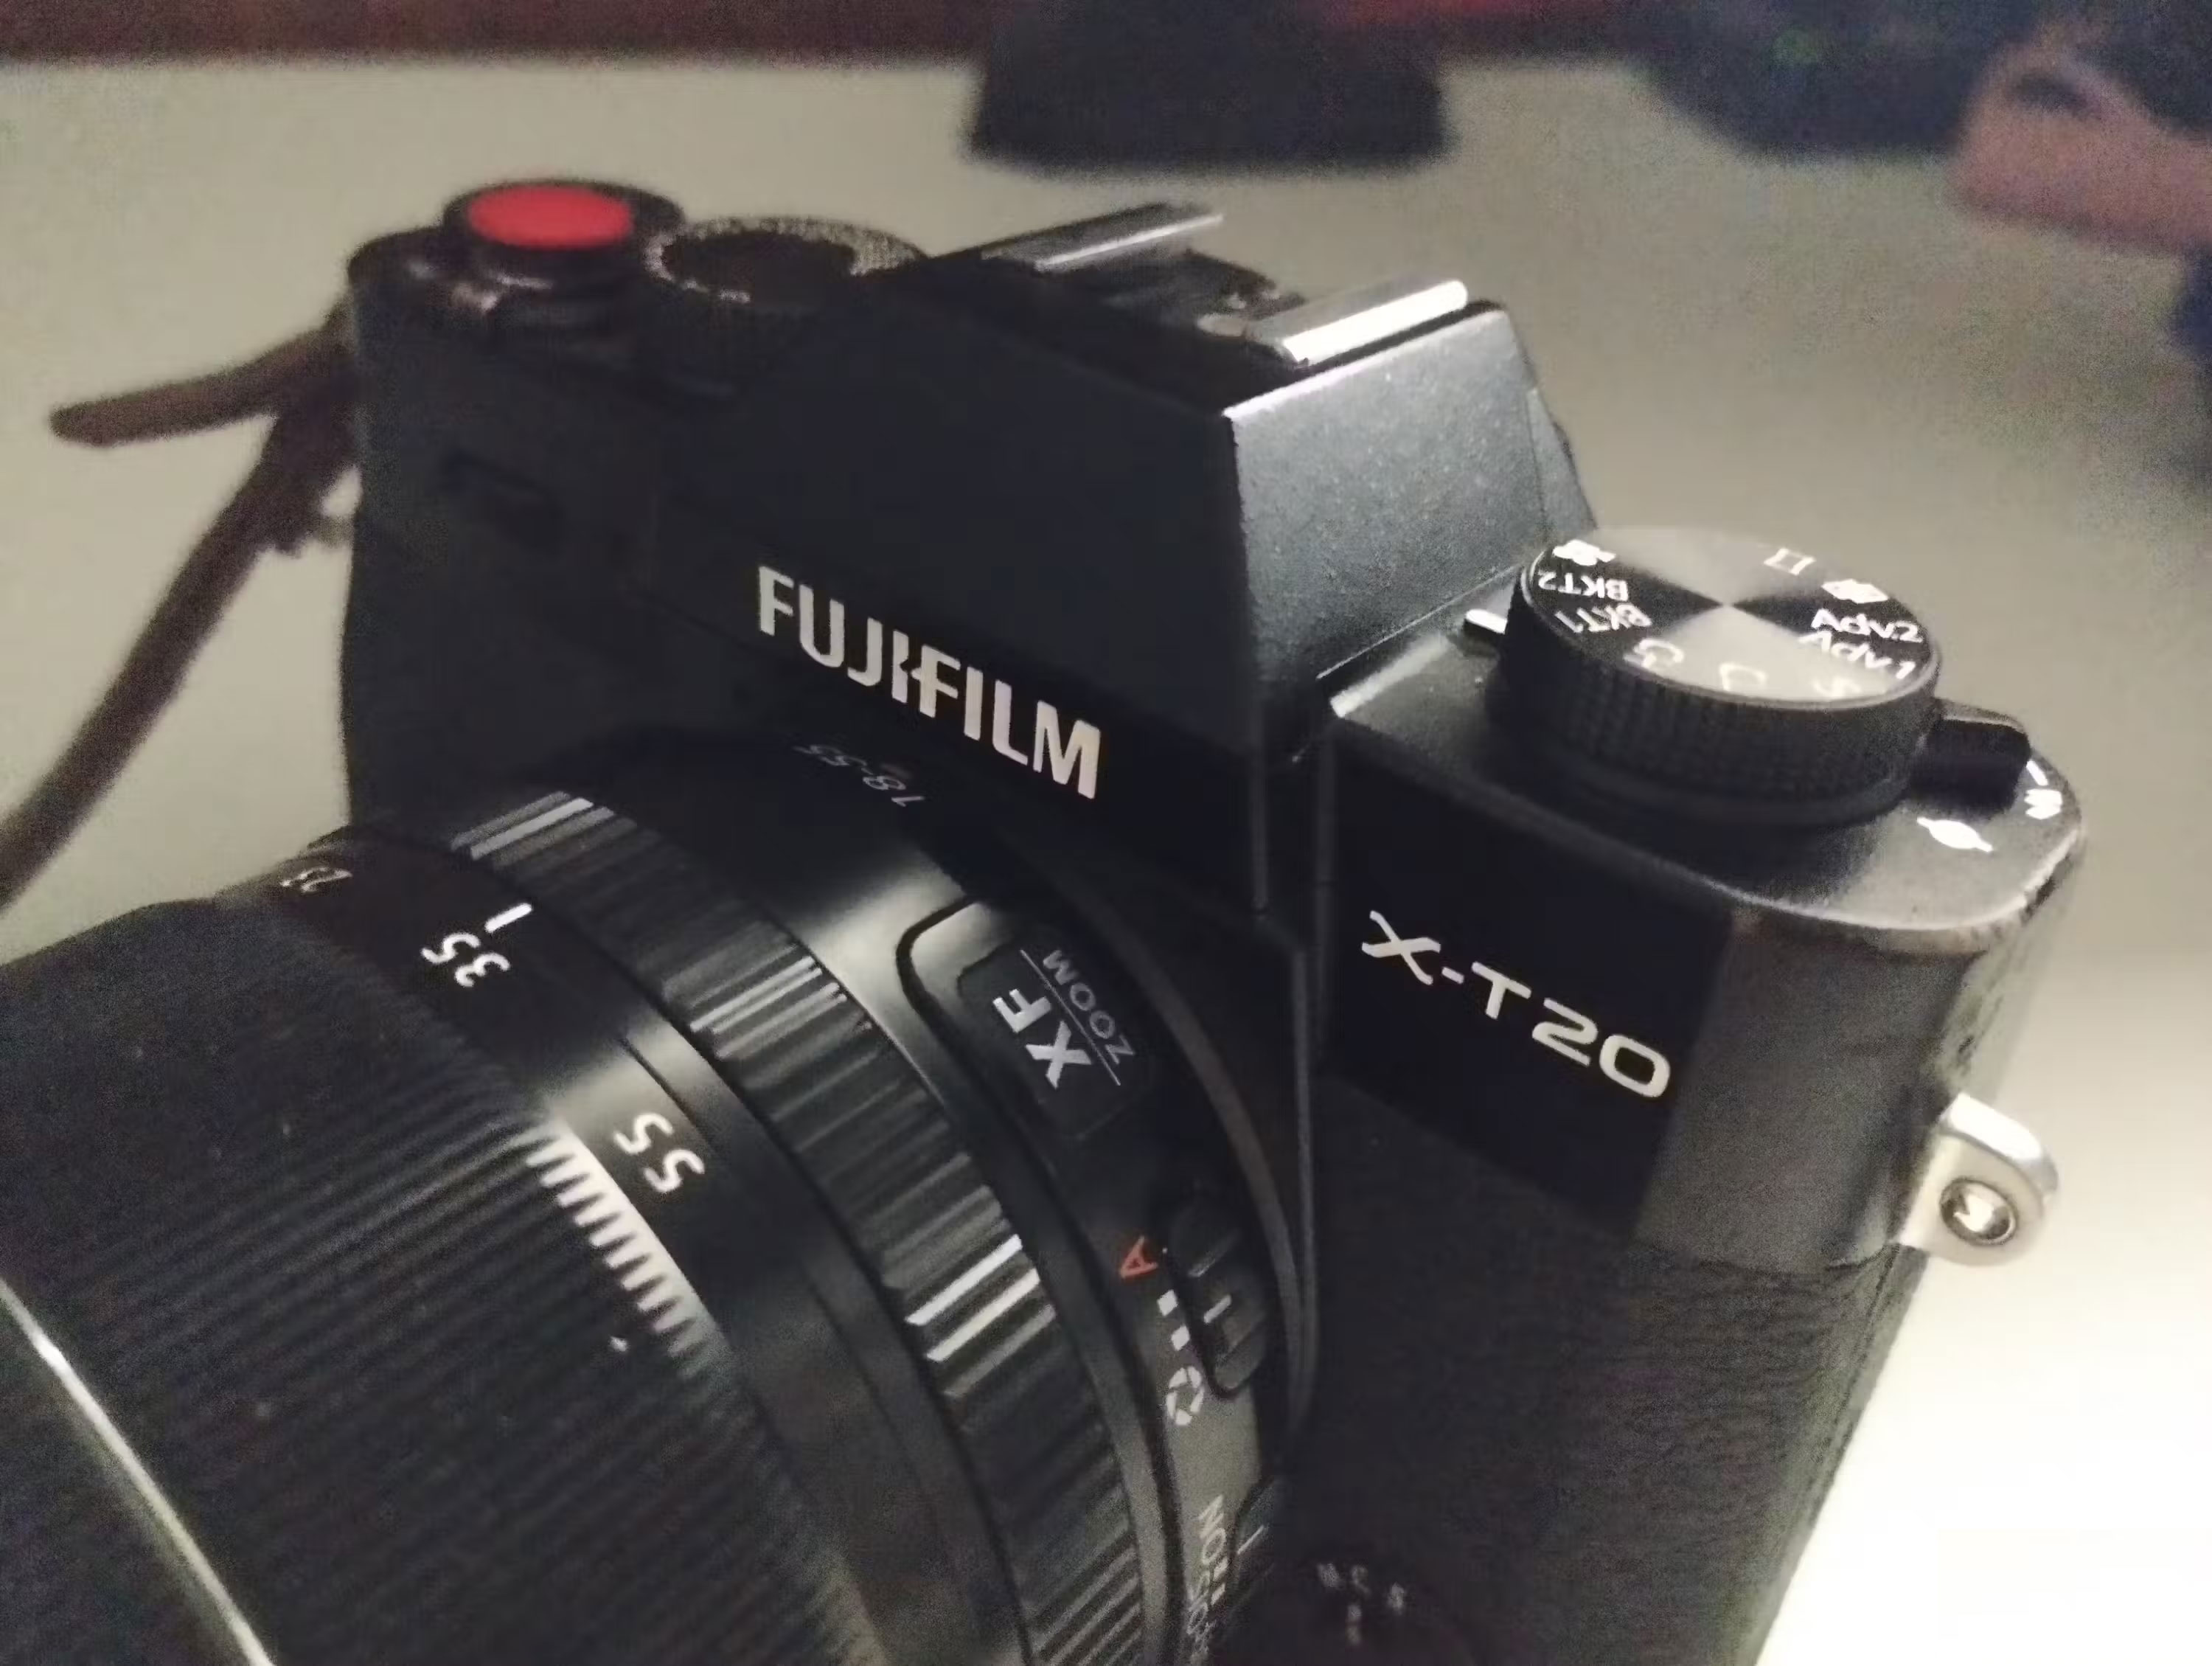
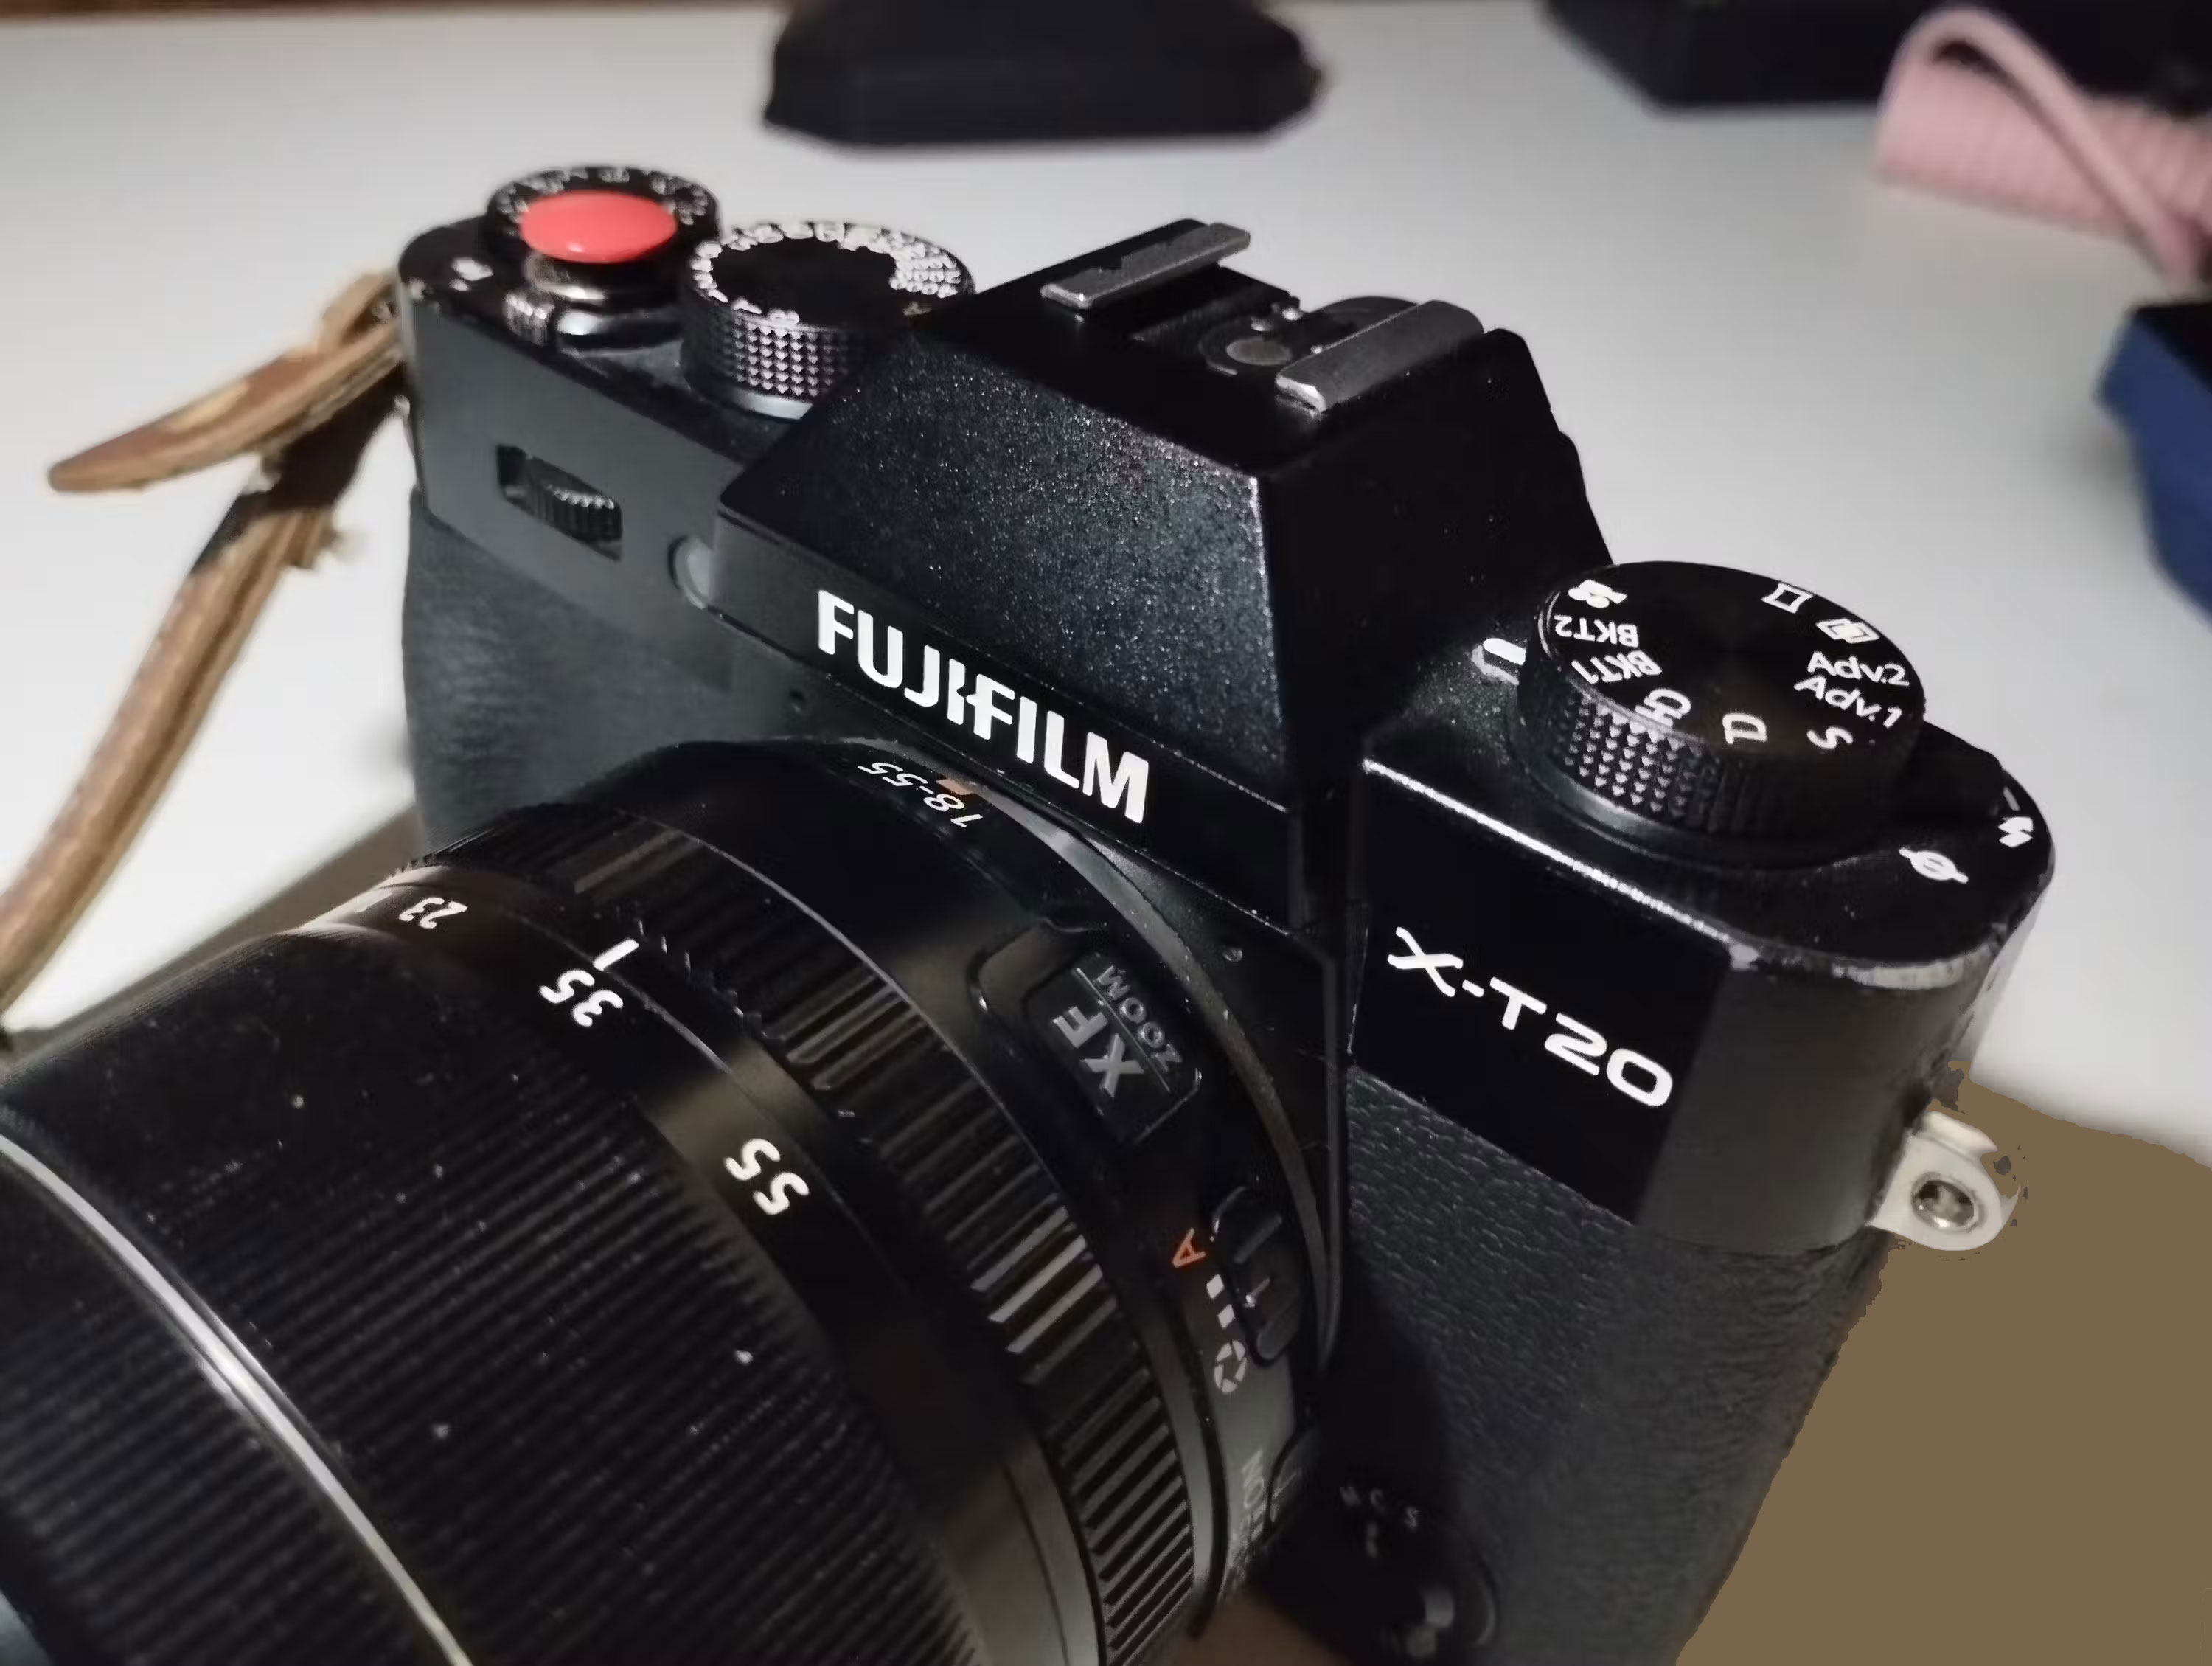
Reducing exposure is one of the quickest ways to reduce noise in a photo because you don't need extra light, extra features, software, etc. On most phones, you just tap the screen, then gently slide your finger down to reduce the brightness of the photo.
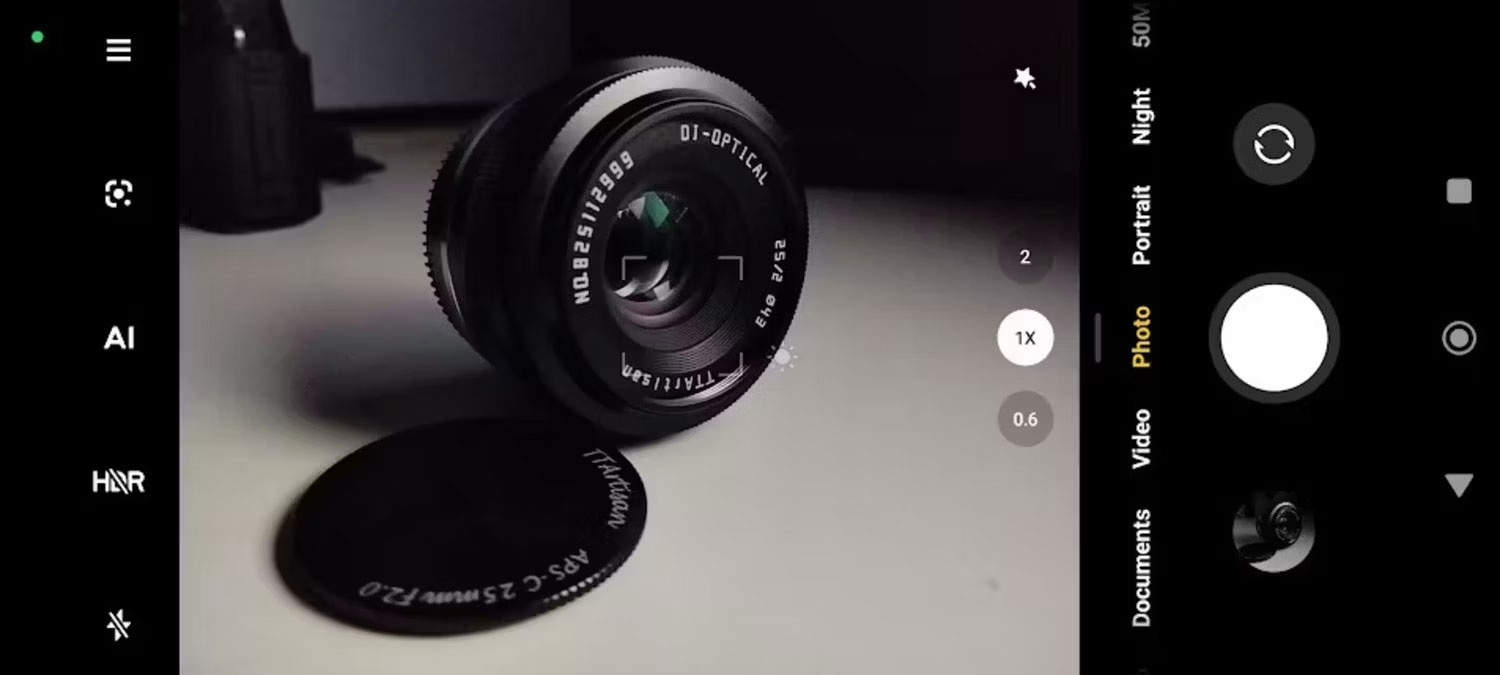
Reducing exposure may seem like a single action, but your phone is doing several things at once to reduce the brightness of the image. Since most phones have a fixed aperture, your phone is essentially doing two things; reducing the ISO and increasing the shutter speed. Reducing the ISO reduces image noise and increasing the shutter speed reduces motion blur.
Try Pro Mode and Lower the ISO
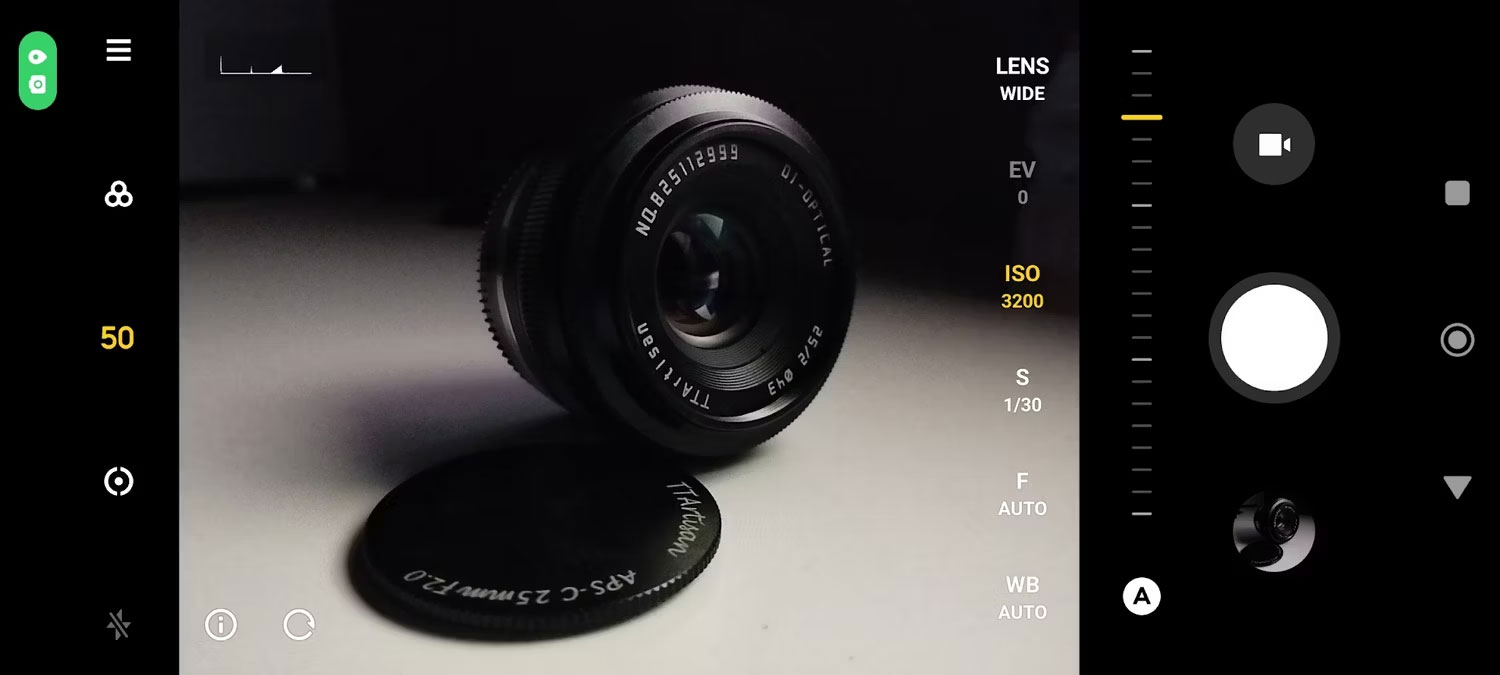
If you can't afford to darken your images, you can always get more control over your images by using Pro mode, or the equivalent manual mode if your phone has one. One of the many myths about smartphone photography is to always use Auto mode on your phone, but Pro mode in the hands of the right person can produce some great images.
Normally, this mode will allow you to choose shutter speed and ISO, along with other factors. However, shutter speed and ISO are the only two controls that directly affect exposure and noise.
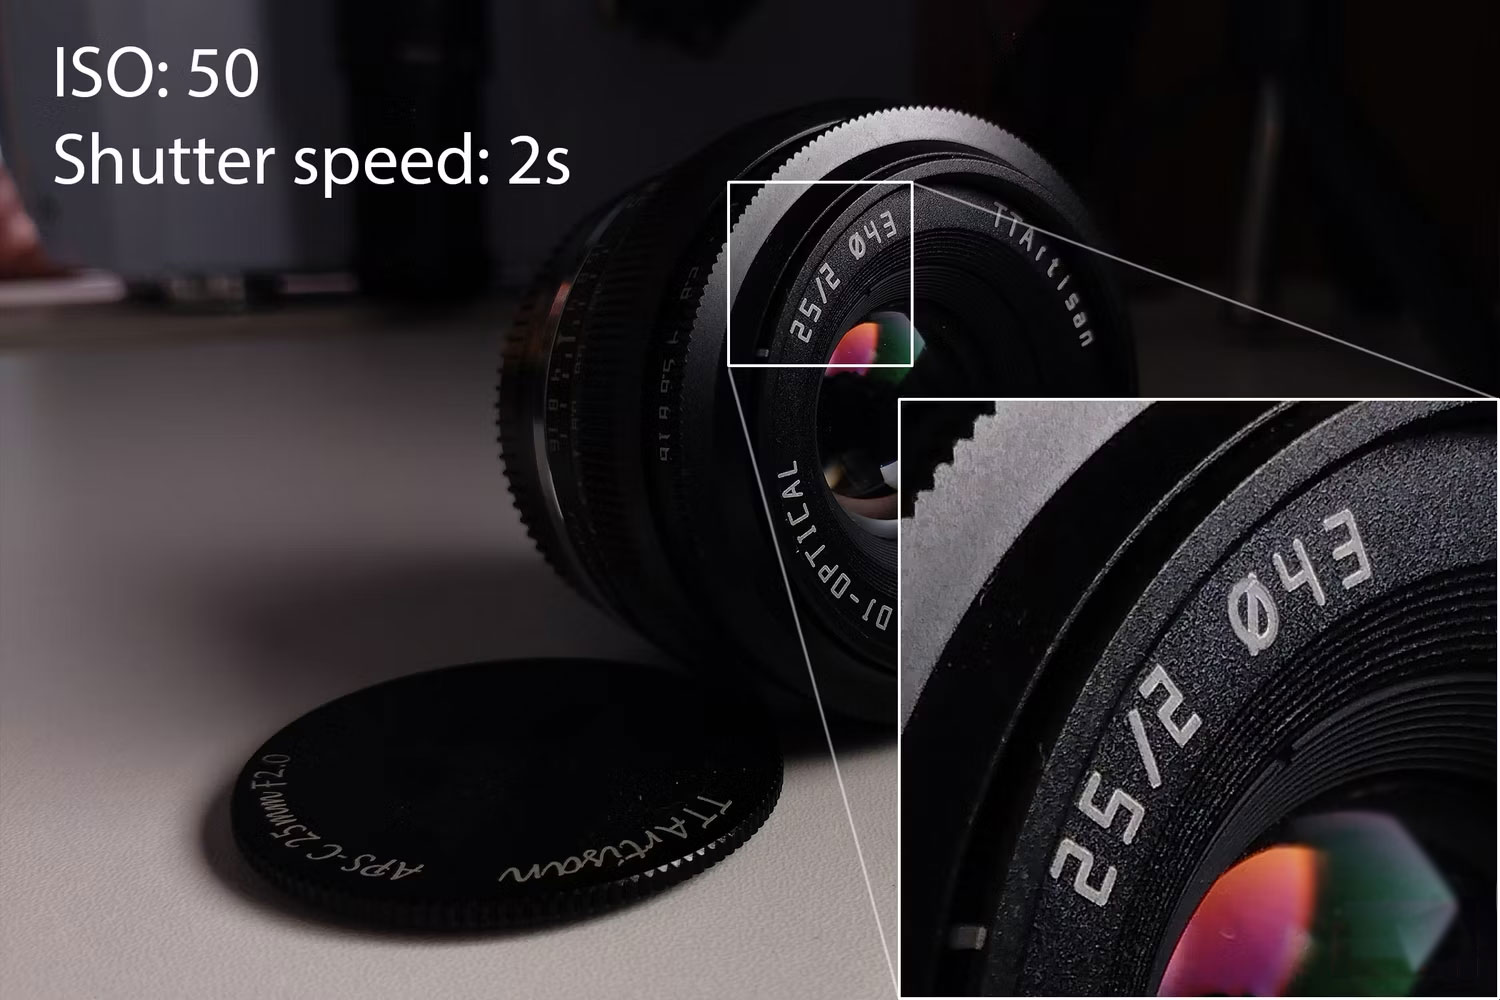
To use manual mode to your advantage, set your ISO as low as possible to get as little noise as possible. You can then adjust the exposure by adjusting the shutter speed until the image is exposed the way you like.
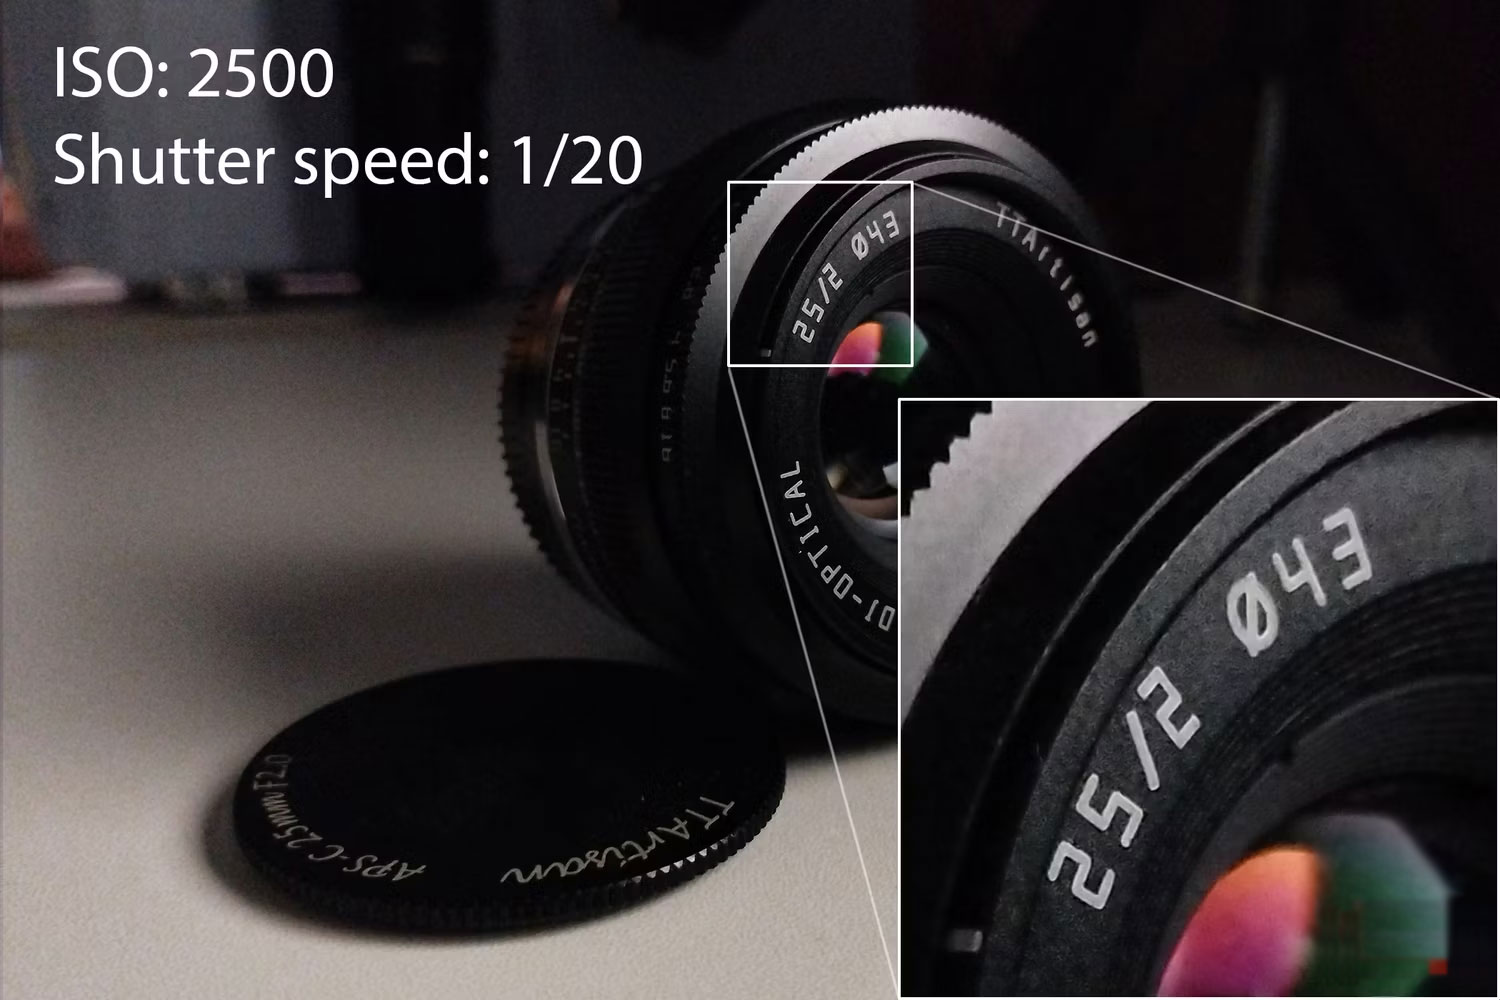
If you are shooting at shutter speeds slower than 1/20 second, it is best to use a tripod.
Use Noise Reduction Software
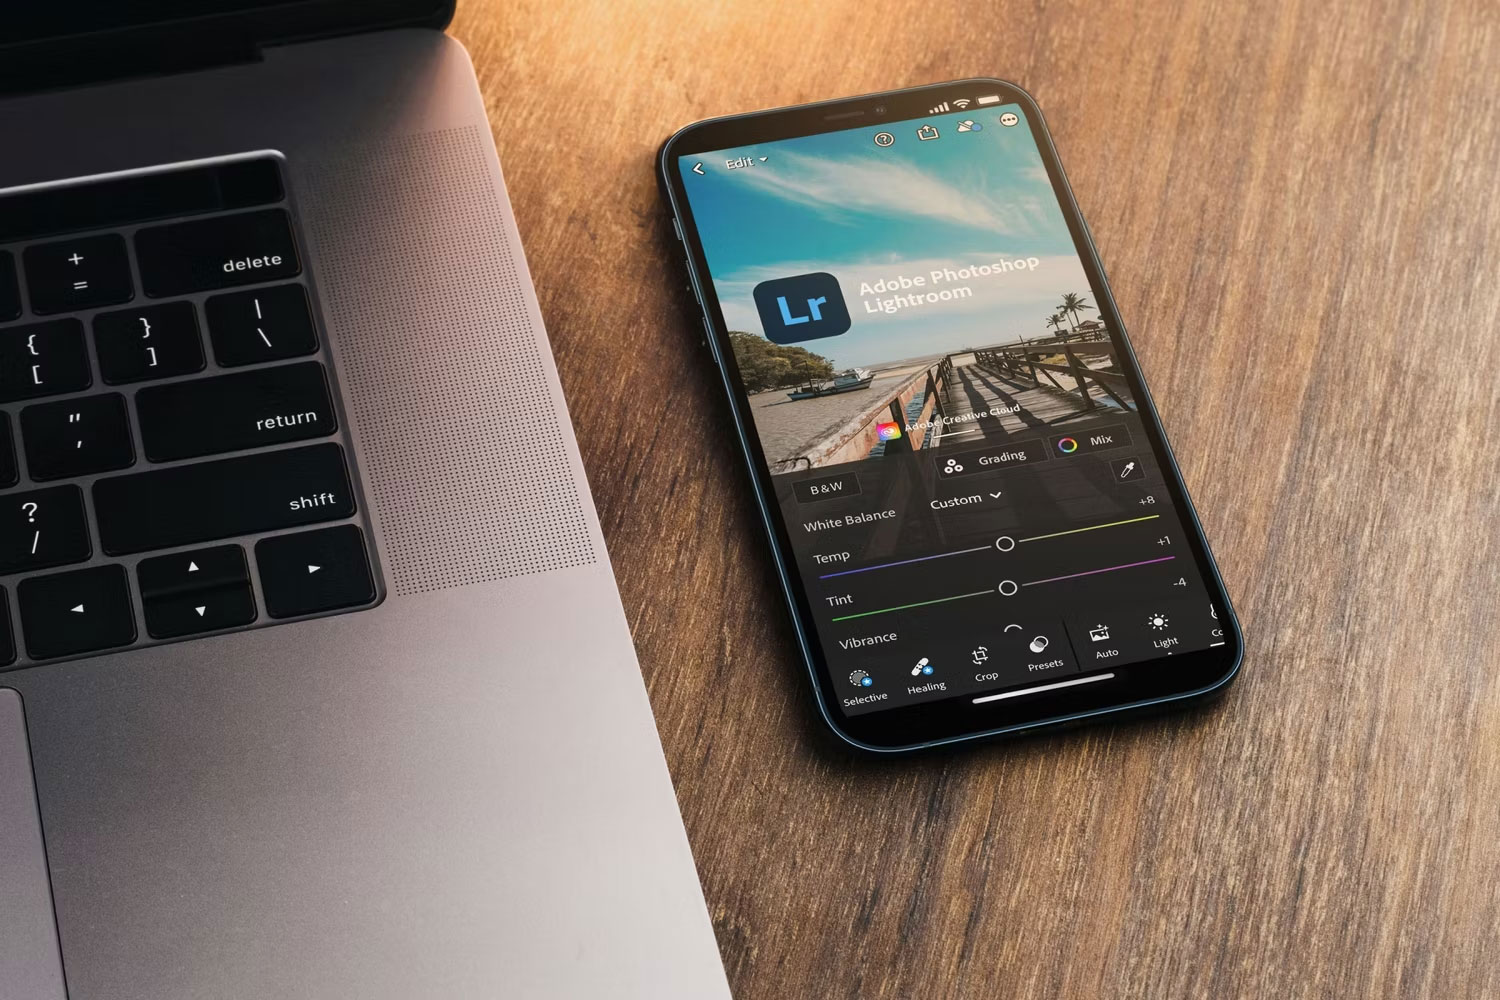
Sometimes it's just not possible to take a photo with noise. Instead of wishing you could make it better, you still have one more option: Post-processing.
You can use any photo editing software you like, but if you want an app for your phone, you can easily use Lightroom for mobile (available on Android and iOS). Lightroom for mobile has paid features, but the noise reduction slider is free for anyone to use.
Using noise reduction often softens other details in the image. However, you can recover some of that detail by using the detail slider that appears when you use noise reduction. While post-processing can do wonders, you shouldn't expect it to do the impossible. Some very noisy images will lose detail even when you use the detail slider with noise reduction.
It's best to make the image look as good as possible when you take it and only use software if absolutely necessary.






Reader Comments 0
Sign in with email or Google to join the discussion.