How to use the Brush tool in Adobe Lightroom
One of the main advantages of the Brush tool is that you can erase areas you've painted on more easily.
Table of Contents
The Brush tool in Adobe Lightroom is a useful feature for refining specific parts of your photo. It can often perform better than the Radial Gradient filter. One of the main advantages of the Brush tool is that you can erase areas you've painted on more easily.
Using the Brush feature in Lightroom is quite easy once you get used to it, but the initial stages can be a bit difficult. To help you shorten this time, TipsMake.com.com will show you how to use the tool in this article.
What is the purpose of the Brush tool in Lightroom?
The Brush tool is designed for users who want to edit specific parts of a photo in Lightroom. This is not always possible if you use the main sliders in the application, as these often adjust the entire image.
With the Brush tool, you can paint over multiple areas of your photo. In this respect it differs from the Radial Gradient filter - where you create different filters and have less freedom.
It's worth noting that using the Brush tool in Lightroom is quite different from using the Brush tool in Photoshop.
How to use the Brush tool in Lightroom
Now that you have a better understanding of why the Brush tool exists in Lightroom, let's learn how to use this feature.
1. Enlarge the photo
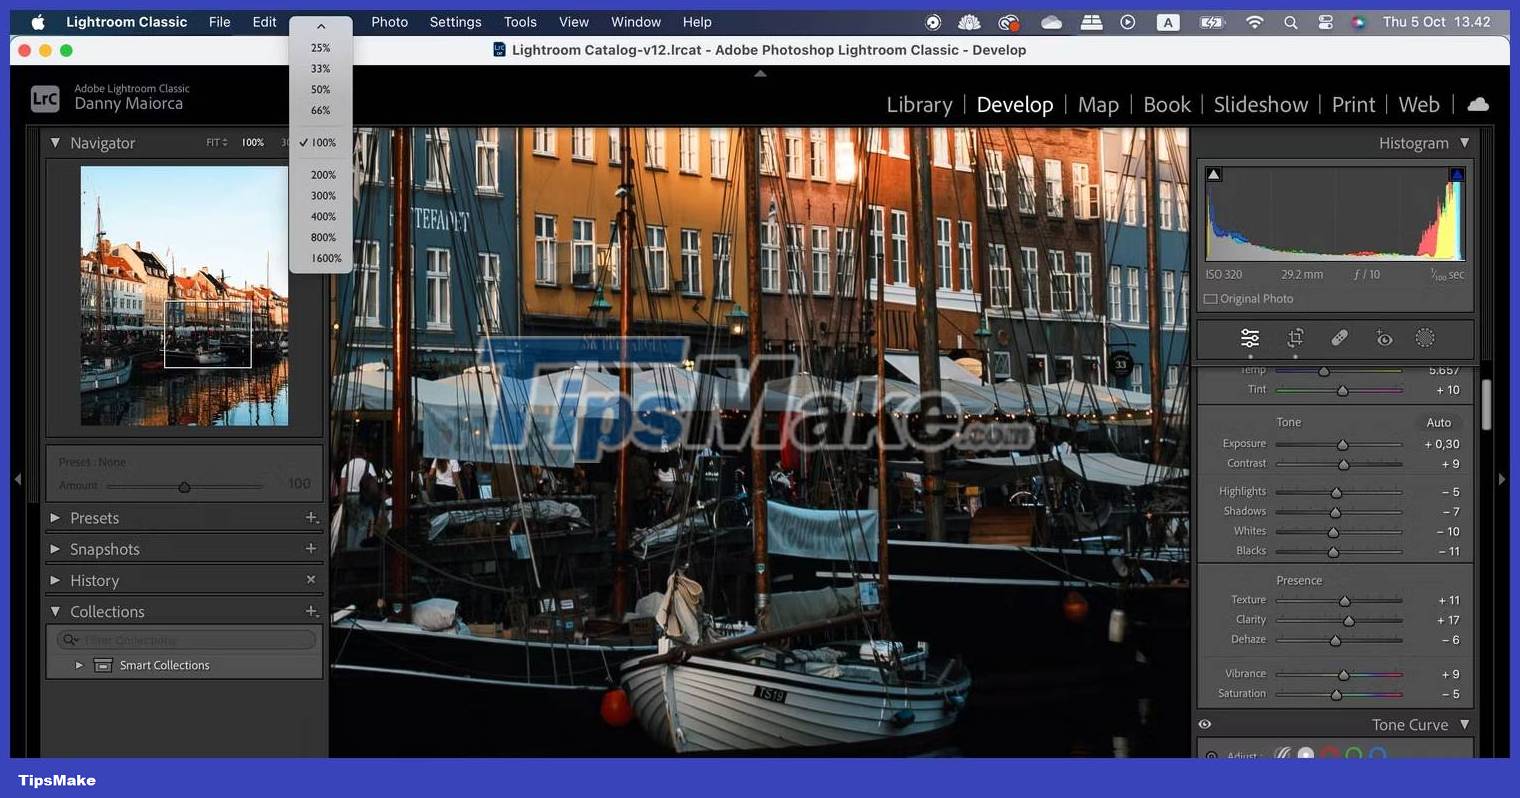
Before getting started with the Brush tool in Lightroom, you should zoom in on your photo for more detailed editing. To do this:
- Move the cursor over the part of the image where you want to use the Brush.
- Click once with your mouse or trackpad to zoom in.
- To change the desired zoom level, go to Navigator . Then, select the icon that has an arrow pointing up and an arrow pointing down.
- Select the percentage you want to change the zoom level of your image.
2. Choose brush size
You have changed the zoom level to meet your needs. Now you're ready to use the Brush tool. The next step is to change the Brush size. Here are the steps to do that:
1. Go to the Masking icon.

2. Press K on the keyboard or select the Brush option.
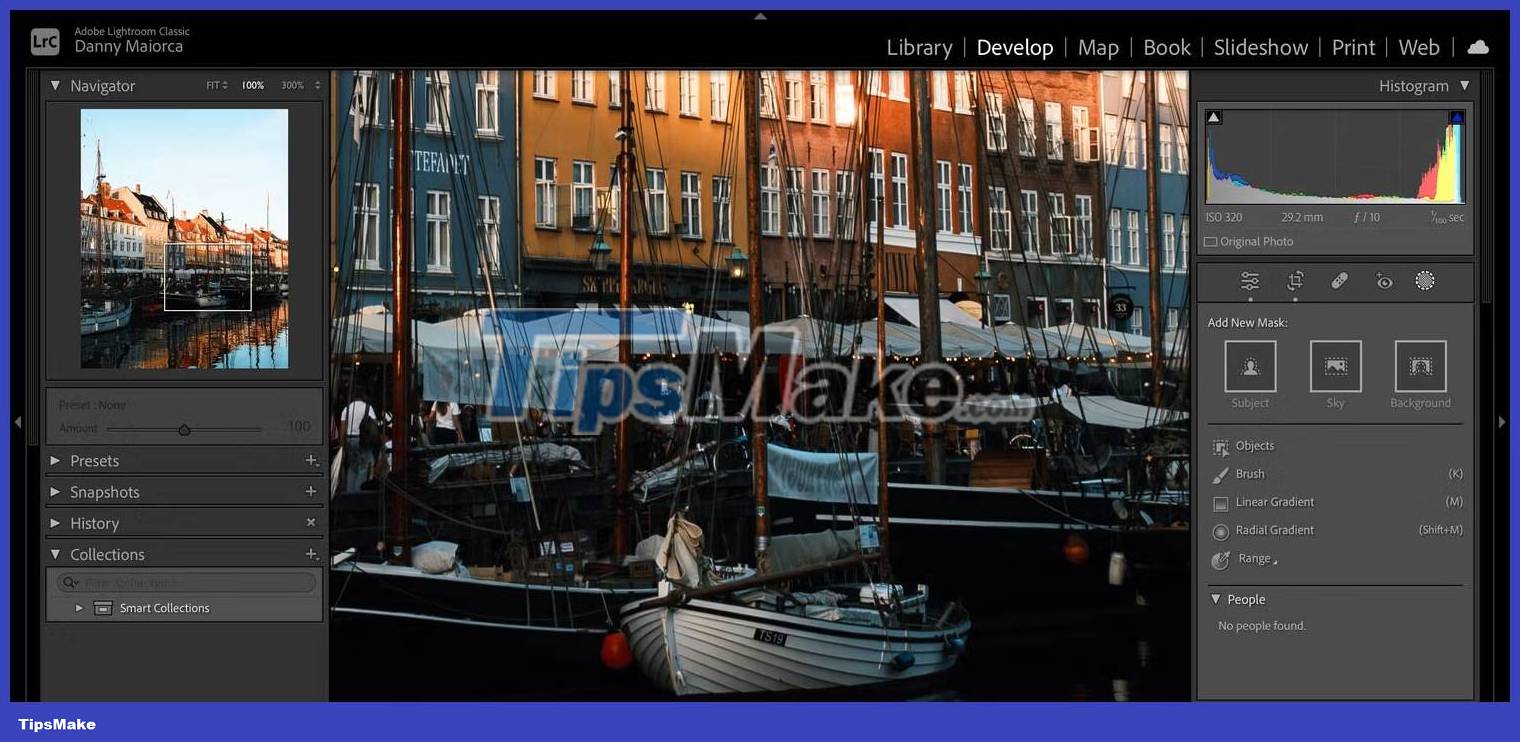
3. Move the Size slider until you are satisfied with the size. You can also adjust other sliders, such as Feather and Flow if you feel that is necessary.
3. Change the slider for the brush
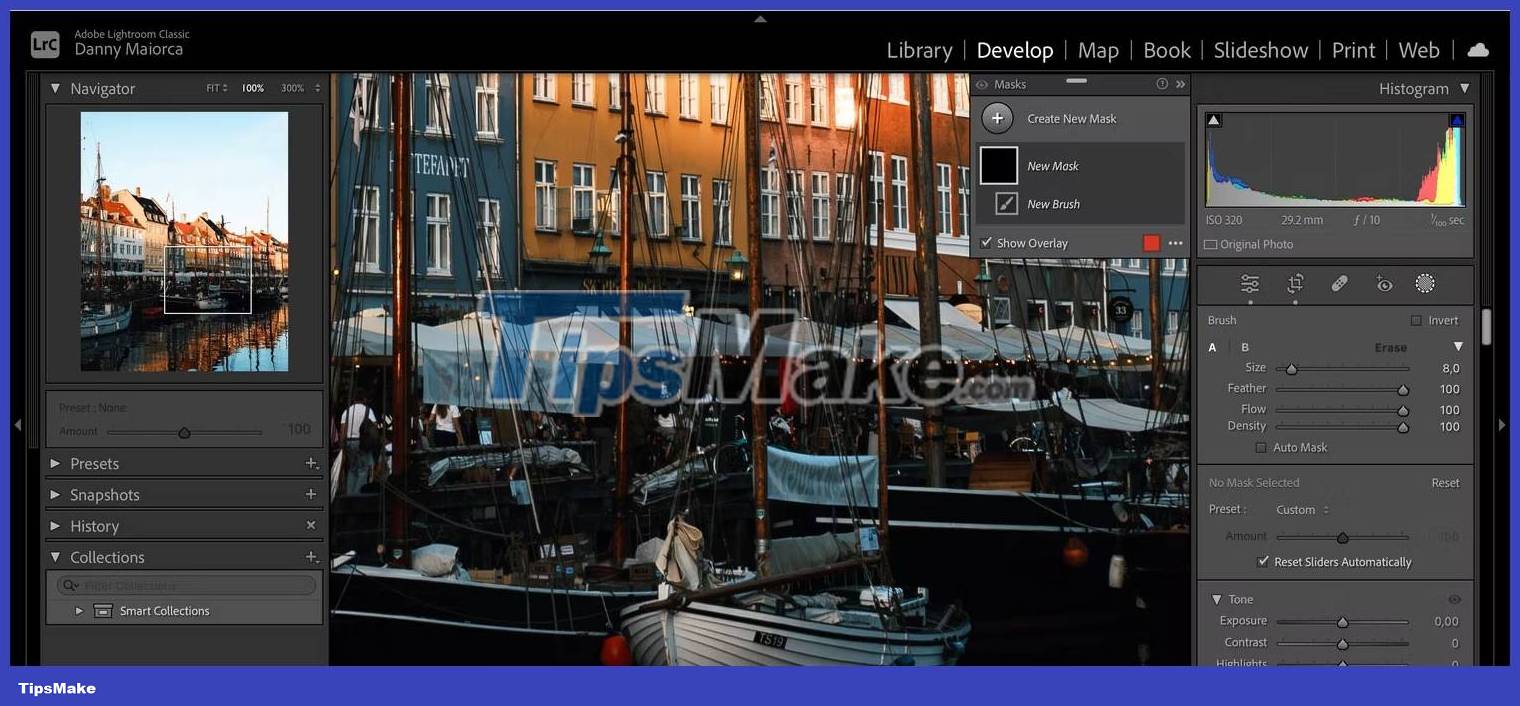
After you adjust the Lightroom Brush size, the next step is to adjust the sliders to achieve what you are trying to change in your photo. You can increase saturation and various aspects of lighting - such as shadows and highlights.

Change the sliders as you feel necessary. You don't need to edit all of them, and you shouldn't over-edit them either.
You can always edit these after applying the Brush, so don't worry too much. Another option is to apply the Brush first and then make the changes afterward.
4. Apply brush to photo
Applying the Brush tool to your photos in Lightroom is very easy. All you have to do is draw on the parts of the photo where you want to add effects.

To ensure that you can see what you are doing, you should check the Show Overlay box . You will then see the areas you drew in the photo appear in red.
5. Erase areas you have overcorrected
Freehand drawing in any computer program can lead to inaccurate results. The good news is that making adjustments in Lightroom using the Brush tool is very easy when it comes to erasing certain parts.
This process varies depending on the device you use. If you use a Mac, hold down the O ption key and you will see a hyphen (-) symbol appear on the screen. Draw over the red areas where you want to remove the effect.
On a Windows computer, you need to press the Alt key instead . Then, delete the areas you want to remove.
Although many photographers use Lightroom or Photoshop, you don't have to choose one or the other. There are many ways you can use Lightroom and Photoshop together.
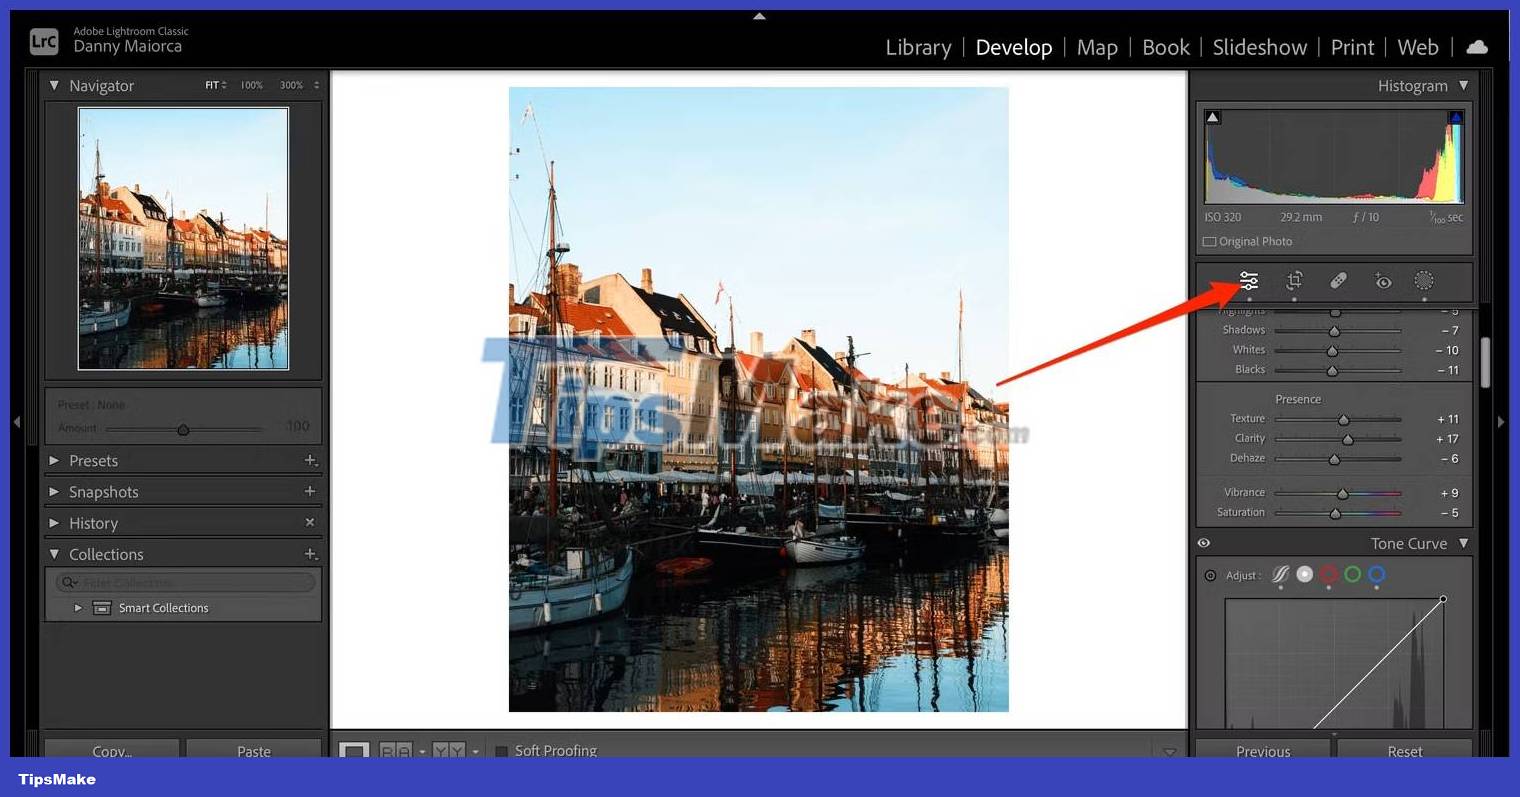
6. Return to the main editing window
After you're done editing with the Brush tool in Lightroom, you may still want to adjust other areas of the photo. With this in mind, knowing how to return to the main editing window is a good idea.
The process is quite simple:
- Press the Enter key on your computer.
- Select the Edit icon in Lightroom - there are different sliders.
Another aspect of Lightroom that can help you create high-quality edits is the Histogram tool. It can be used not only with the Brush tool but also with a number of other sliders and features. Knowing how to work with Histograms in Lightroom is essential if you want to become a professional photo editor.
Was this article helpful?
Your feedback helps us improve.
Related Articles
 Lightroom - Download Lightroom here4 minutes read
 How to rotate 'brushes' in Photoshop in just 5 seconds with this tip3 minutes read
 How to post photos to Instagram directly from Adobe Lightroom3 minutes read
 How to use Darktable, a free tool to replace Adobe Lightroom9 minutes read
 Summary of shortcut Adobe Photoshop Lightroom3 minutes read
 Lightroom keyboard shortcuts - All Adobe Lightroom keyboard shortcuts to use3 minutes read
Reader Comments 0
Sign in with email or Google to join the discussion.