How to take screenshots with Excel is extremely simple
To take an Excel screenshot, you will use the tool available right on Excel to take a screenshot of the data table, or even take a screenshot on your computer to insert the image into Excel.
Table of Contents
The article below will guide you how to use the screenshot feature in Excel.
Take Excel screenshots with the Camera tool
Step 1:
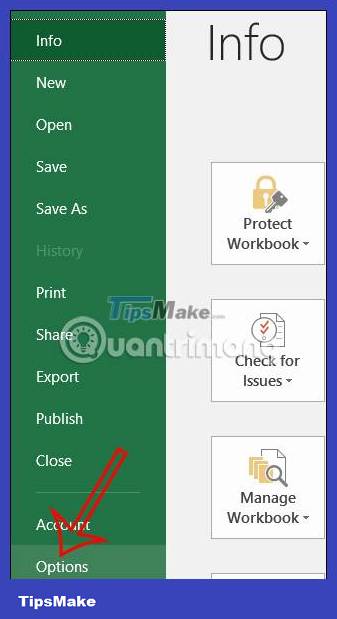
At the Excel interface, click on the File tab and then select Options .
Step 2:
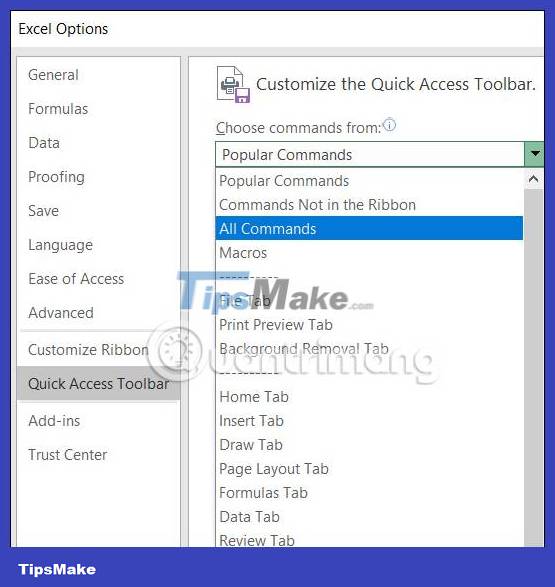
Switch to the new interface, click on Quick Access Toolbar then look to the right, click on All Commands in the list displayed as shown below.
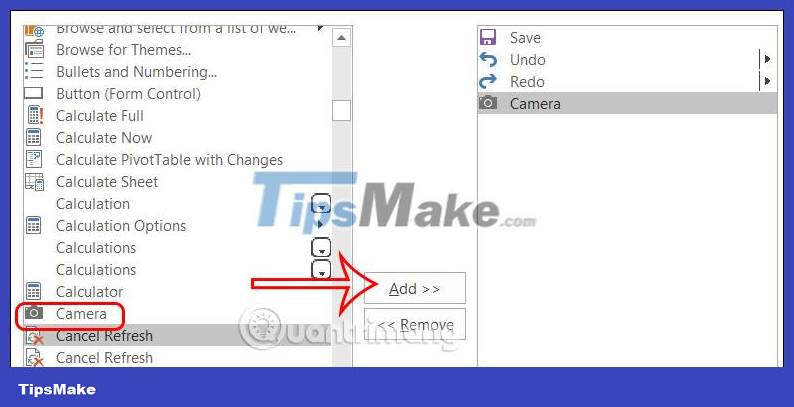
Now you find the Camera tool and then click to select this tool, continue to click Add to add the tool to Quick Access.
Step 3:
Now in the data table and content in Excel, to take a photo of any content in Excel , you first localize that content and then click the camera icon .

Step 4:
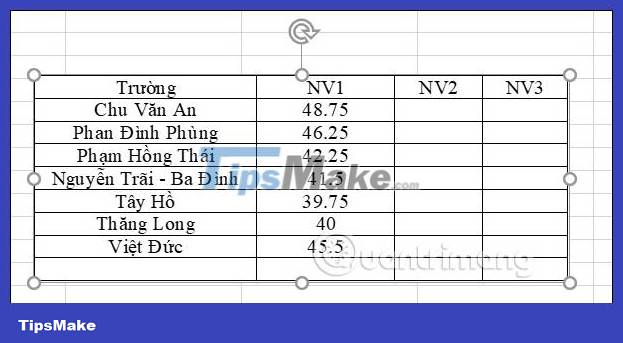
Immediately after that the content area you selected has been captured . You just need to switch to another sheet, draw a frame and release the mouse . The results of the captured content will be displayed as shown below.
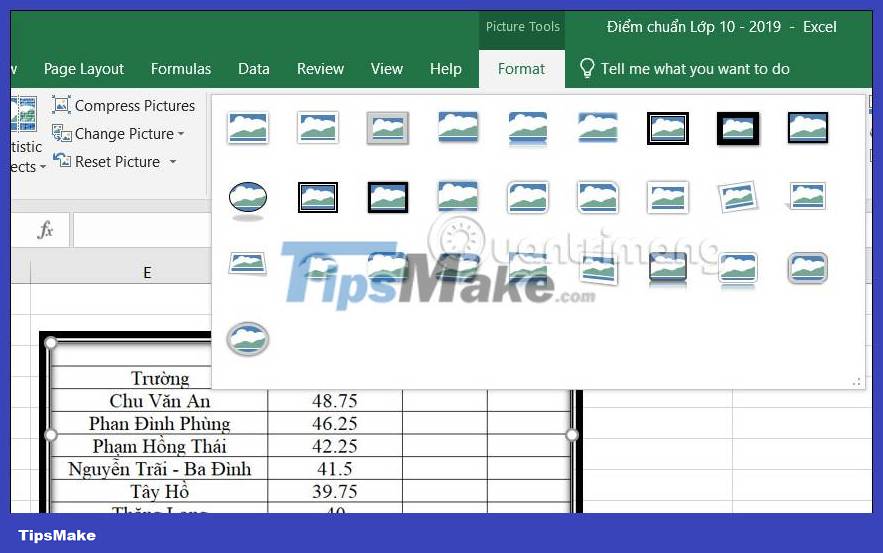
The content is displayed as an image, so you can adjust the image format to your liking.
Take an Excel screenshot using the Copy option
Step 1:
First, you also localize the content you want to take screenshots in Excel. Then click Copy on the Home tab and select Copy as Picture to copy the content as an image.

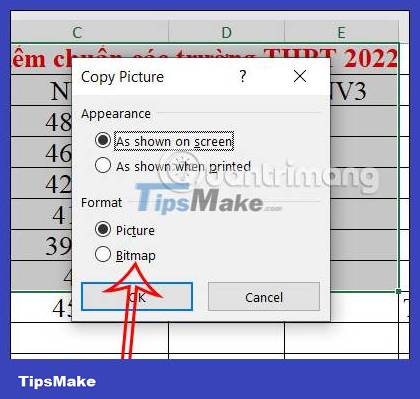
Step 2:
To display more pop-up options, click on Bitmap and then click OK below.
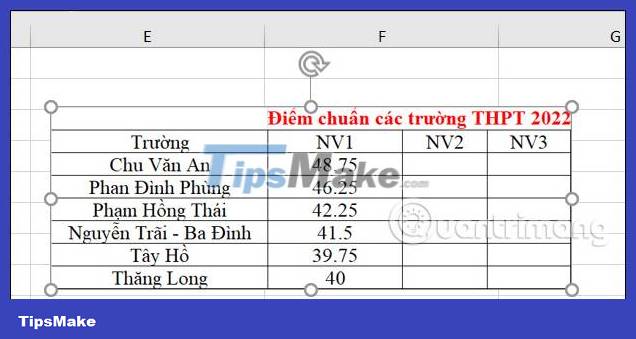
Step 3:
Then you switch to another Excel page to paste the newly captured content. As a result, we get the Excel screenshot as below.
Next, you can also edit the display interface for images in Excel if you want.
Take a screenshot of your computer screen in Excel
Step 1:
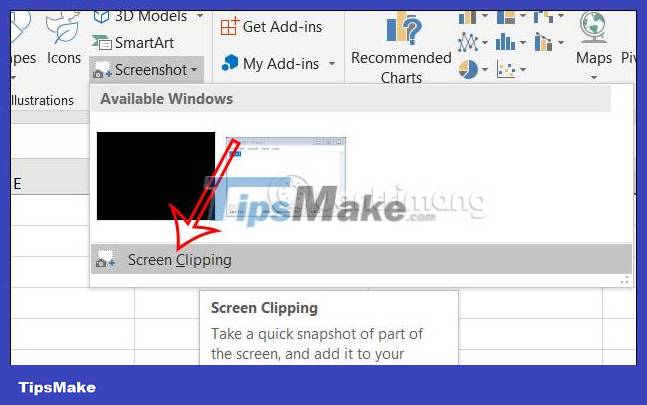
First, open the interface where you want to take a photo to insert into Excel. Then at the Excel interface, click the Insert tab .
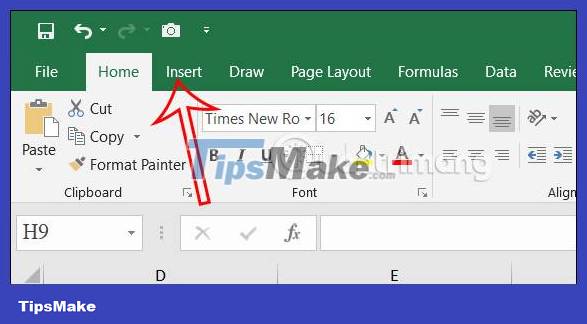
Next, look down at the tool below, click Screenshot and then select Screen Clipping .
Step 2:
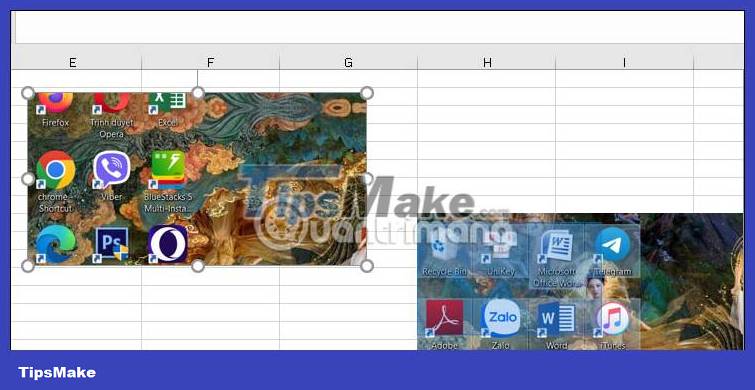
Then use your mouse to circle the area you want to take a photo to insert into Excel.

Next open the Excel interface and release the mouse , the screenshot will immediately be inserted into Excel as shown below.
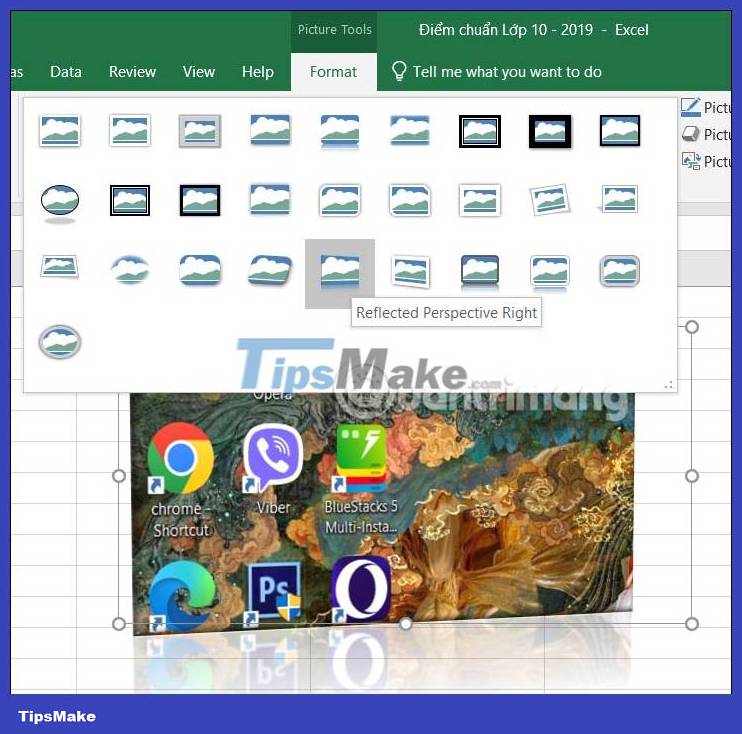
Now you can edit the image, crop the image in Excel if needed, change the Excel display interface if desired,.
Was this article helpful?
Your feedback helps us improve.
Related Articles
 Ways to take screenshots in Windows 8 extremely fast and simple3 minutes read
 How to take screenshots Laptop HP fast and simple2 minutes read
 How to take screenshots on a Macbook extremely fast and easy4 minutes read
 How to convert Excel files to PDF for free, extremely simple5 minutes read
 Instructions on how to create input forms in Excel extremely fast and simple4 minutes read
 How to create charts in excel 2007 is extremely simple!7 minutes read
Reader Comments 0
Sign in with email or Google to join the discussion.