How to Program a Philips Universal Remote
Initial setup

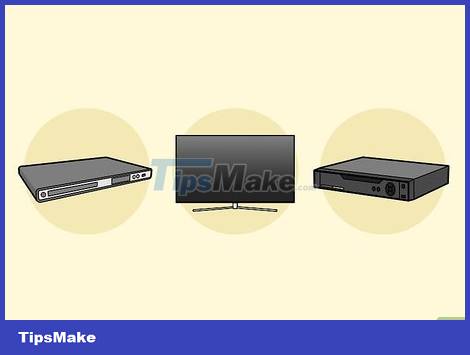
Check if the Philips remote is compatible with the device. The Philips universal remote can be synced with most TVs, DVD players, Blu-ray devices and cable boxes. Although most major brands on the market are compatible, there are some exceptions. Check the product manual or look online to see if this remote works with your device.
Universal Remotes often clear their memory settings after being synchronized with more than 3 devices. You should consider buying 2 separate remotes if there are more than 3 devices that need to be used.
A list of compatible brands will be listed in the remote's manual. You'll find a list with a bunch of codes at the back.

Turn on the device you want to sync with the remote. Whether it's a TV, DVD player or other device, just plug it in and turn it on. Wait a few minutes for the device to activate all components and begin operating. The product you are syncing with the remote must be turned on during setup.
You need to make sure the remote has batteries installed before starting the installation process. Universal remotes usually don't come with batteries, but this one uses AA batteries so it's easy to handle.

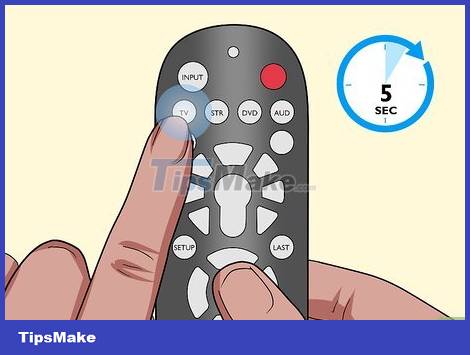
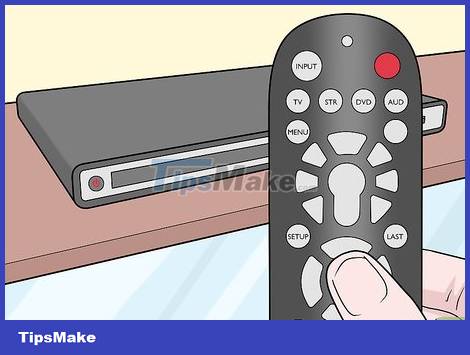
Press and hold the 'setup' button on the old remote. Check to see if there is a setup button on the top left of the remote. If you don't have it, you can skip this step. If so, this is a fairly old version of the remote control. Point the remote at the device and press the setup button. Press and hold the setup button for 5 seconds and release when the red LED near the top of the remote lights up.
The LED light can be blue, but most older remote models use red.

Press and hold the device button for 5 seconds until the blue or red LED lights up. At the top of the remote there is a row of buttons for the devices the remote can sync with. Popular options include TV, DVD or DVR. Press and hold the button corresponding to the device you are setting up. Once the LED at the top lights up blue or red, you can release your hand.
With the old remote, you don't need to wait for the light to turn on after holding down the device button. The light may or may not flash. We just need to hold down the device button for 5 seconds and continue programming.
Tip: Most device buttons are quite obvious. TV, VCR and DVD all correspond to those devices. STB represents the decoder and this is the button you need to press when you want to synchronize the remote with a new cable box and playback device (like Roku or TiVo). BD represents Blu-ray player.
Enter a valid code for the TV

Find the 4 or 5-digit code by consulting the instruction manual. Open the universal remote's instruction manual and flip it to the back. You will see a list of brand names and corresponding codes. Once you find the brand name, search the device list and find the unique code for your product model. Underline or highlight the code in your notebook to ensure that you can find this information quickly in the future.
Familiar brands like Samsung, Westinghouse or LG have 20-30 codes for their devices. Mark the specific device so you don't have to spend too much time searching in the future.
With newer remotes and TVs, a list of available codes will pop up on the screen after you activate programming mode with the device button.
Older devices often use 4-digit codes, while more modern products use 5-digit codes.
Tip: If one of the device-specific codes doesn't work, you can try the entire process again with a different model number from the same brand. Sometimes patches and updates can interfere and cause the code to not work on certain devices.

You can look it up online if you don't have the remote's instruction manual. Device codes for universal remotes are widely available online. If you don't have the manual or don't remember where you got it, enter the universal remote model number and 'equipment code' into an online search engine. You will find the code for the remote online.
The model number is usually located on the back of the remote.

Enter the code using the numeric keypad for the device to recognize the remote. Use the numeric keypad on the remote to enter the corresponding 4 or 5-digit code for the device. Depending on the remote control model, the blue or red light on the remote will turn off when you enter a valid code.
If the code doesn't work, you likely won't be able to enter a new code right away. With most older remotes, we need to do the entire setup process from scratch. If the red or green light on the remote control flashes once and stays lit, it means the previous code is invalid and you can re-enter the new code.
Use remote

Press and hold the 'standby' button on the SR remote control. The 4-digit SR remotes are the only models that need to be reset before use. Press and hold the standby button, then release it as soon as the device and remote are both turned off. The remote and device will be reset to start a new synchronization process.
It may take 5-60 seconds for the device and remote to turn off.

Try pressing the most used buttons to test the device. To check if the remote has been programmed successfully, you can try pressing some basic commands such as increasing/decreasing volume, changing channels or inputs. If the device responds to commands after you press the essential button on the remote, the synchronization process was successful.
Note: some buttons on the Philips remote will not work with certain devices. For example, the 'record' button may not work with cable boxes or DVR devices, but will work with TVs and receivers.
Move trees or obstacles to ensure that the remote's signal fully reaches the device.

Repeat this process with 1-2 other devices if desired. Depending on the version you are using, a standalone Philips universal remote can be programmed to work with 2-8 other devices (but usually less than 4). It is recommended that you unplug the device that has just been programmed before starting the process with the next product nearby to avoid signal confusion.
Tip: When you take out the battery in the Philips universal remote, the memory settings are retained for 5 minutes. After that time, you will have to program the device from scratch.