How to Install Security Cameras for Your Home
Prepare the house before installation
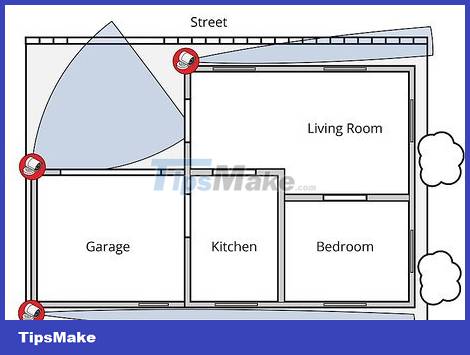
Draw a diagram of the locations that need monitoring. It's a waste to install cameras to monitor every corner of the house, so you need to prioritize the areas you need to observe the most. Sketch a plan of your house or print out a house plan and note the locations where you want to install the camera. Once you have the diagram, you will check each location to make sure there is nothing blocking your view and the best viewing angle. You may need to install a camera for:
Front door and back door.
The windows are away from the street.
Large common area (kitchen, living room, etc.)
The driveway leading to the house
Main gate
Stairs

Buy a camera system that suits your needs. You can buy each device individually, but if you buy the full system, it will be cheaper and more convenient. At a minimum, your home needs to install 1-3 cameras, a digital video recorder (DVR), appropriate signal cables (Siamese and BNC cables), and electrical wires. Unless you want to monitor a large area, a wireless camera with a wall mount can usually meet your needs.
Basic home security: Buy a system of 2-3 cameras (to monitor doors), and a DVR that can record for at least 3 days.
Monitor large valuables/children: 1-3 indoor wireless cameras can effectively monitor a small room, and transmit images to a computer.
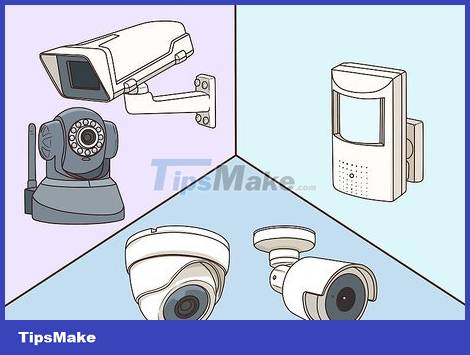
Another way is to buy each camera individually. After determining the number of cameras you need, you will consider what type of camera you need. A home surveillance camera system can cost from a few million to several tens of millions of dong, so you need to consider which type of camera to buy -- the features below will be clearly stated on the product packaging. Although you can buy each device individually, buying an entire set is often cheaper and easier to install.
Wireless vs. wired: Wireless cameras are easy to install without wall drilling and wiring, but image quality will be poor when placed far from the receiver. If you need to monitor a large area, you should choose a wired camera, but many people find wireless cameras easier to install.
Indoor or outdoor: Cameras that are not designed for outdoor use will quickly deteriorate when exposed to rain and humidity, so you must buy the right type.
Motion sensing: Some cameras will only record when they detect motion, saving a lot of memory and power by only recording when there are people in the room.
Remote viewing: Many high-end cameras have the ability to transmit images to a phone or laptop anywhere in the world, helping you check your home through an accompanying application or program.

Set up the recording device and monitor. To store and view images, you need a digital video recorder (DVR). This device receives all video signals and transmits them to a screen, usually a computer or small television. DVRs have diverse memory capacities that allow storing images for a certain amount of time, from one day to hundreds of hours.
If you buy a full set, the DVR is usually sold with the camera.
Network video recorders (NVRs) and analog recorders are also available on the market, operating similarly to DVRs, using internet signals (NVRs) or tape (VCRs) to record instead of digital hard drives. The installation instructions below are also suitable for these two types of DVRs.
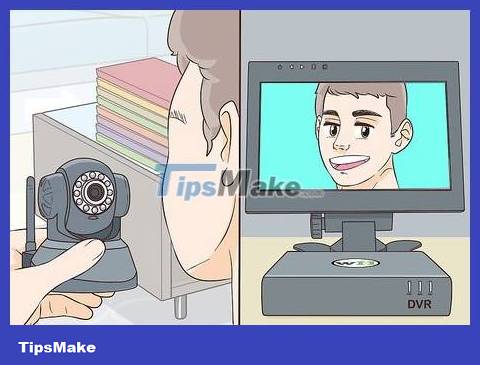
Check the device before installation. Make sure the cables, DVR, camera and monitor are all working properly by connecting them before installation.
Install the camera
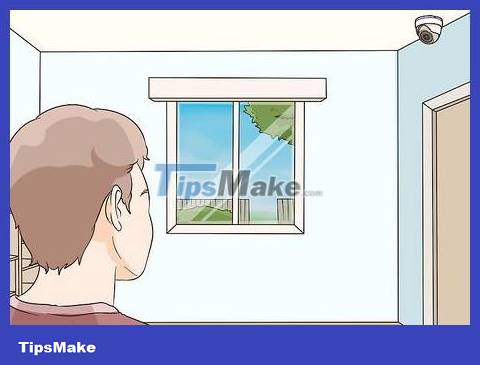
Choose a location with a wide and high viewing angle for the camera. The best viewing angle in a room is usually from above at the corner of the ceiling. You must choose a corner where you can clearly see all entrances and exits, and is located near a power outlet.
If you hang the camera outdoors, install it at a location higher than 3 meters to avoid being hit.
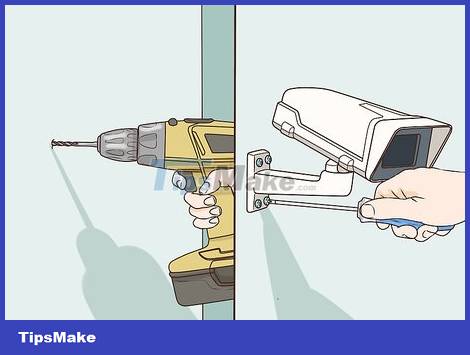
Mount the camera to the wall. Some cameras have stickers to stick to the wall, but screwing is the safest way to hang the camera in the long term. Although each type of camera is different, most can be mounted in the same way:
Place the mount in the desired location.
Use a sharp object to mark each screw position on the wall.
Use a drill to drill holes for each position.
Close the switch against the wall.
Screw the mounting bracket to the wall.
Position the camera at the desired viewing angle.
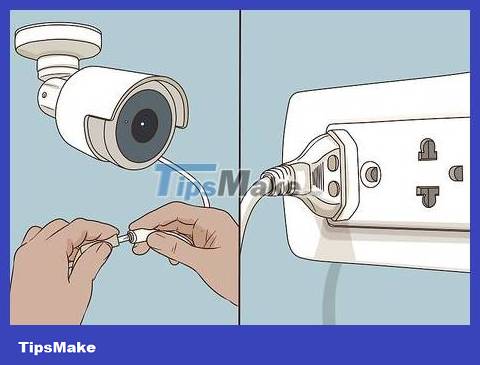
Attach the camera to the power source. Almost every camera comes with a voltage adapter for plugging into a regular electrical outlet. Plug the round end of the cable into the jack located on the back of the camera, and plug the other end of the cable into the output device.
If the voltage converter is damaged or there is no converter, you should contact the manufacturer.
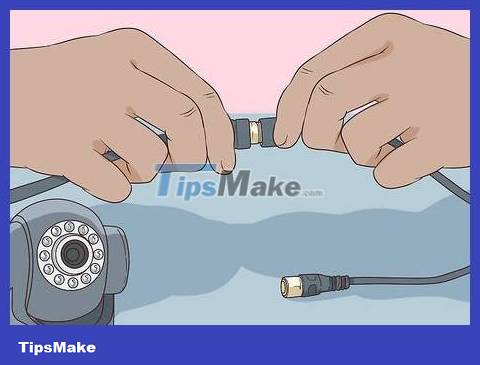
Attach the wired camera to the DVR head. The surveillance camera is connected using a BNC cable (Bayonet Neill–Concelman). BNC cables are quite simple to use -- both ends of the cable are the same and you just need to plug them into the appropriate port, turning the small knob on the end of the cable to lock it in place. Plug one end into the camera's 'Output Port' and the other end into the DVR's 'Input Port'.
Note the input port on the top of the DVR -- this is the port where the DVR is set up to receive images from the camera.
If your cable doesn't have a BNC connection, you can buy a BNC cable adapter online or at an electronics store. You will insert the adapter onto the end of the cable to make it compatible with the BNC connection.
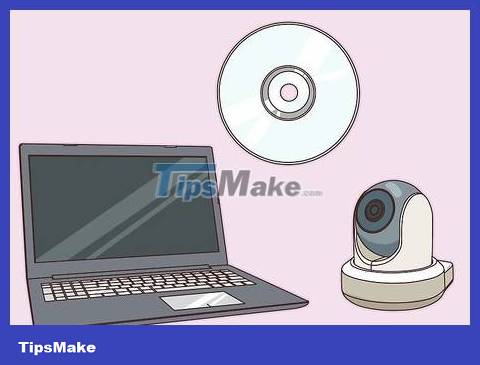
Connect the wireless camera to the computer. The wireless camera will come with a software disc that needs to be installed to view transmitted images. See on-screen instructions to access the camera.
Some cameras will have a miniature adapter that attaches to a USB port on a computer. You must attach this receiver to your computer.
Record the camera's IP address (eg: 192.168.0.5) if available -- this number will be entered into the web browser to view the camera remotely.
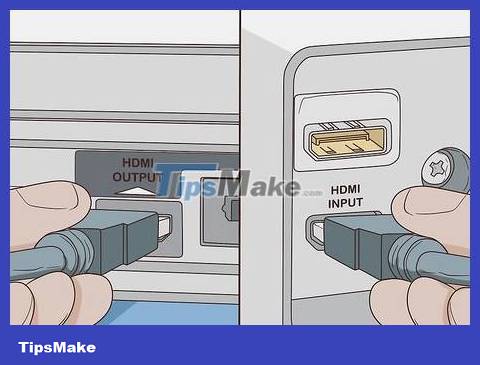
Connect the monitor to the DVR. This connection also usually uses a BNC cable, but some DVRs can attach to an HDMI cable or coaxial cable. Using the appropriate cable, plug one end into the DVR's 'Output Port' and the other end into the monitor's 'Input Port'.
As many input ports as the DVR has, there are as many cameras as you can plug in -- it will automatically record images of every camera you install.
Note the input port on the screen -- this is the input port you need to select to view the camera.
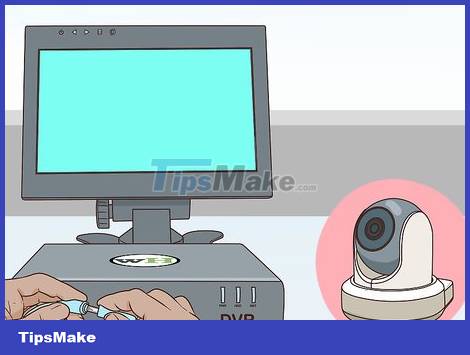
Handle connection problems. Make sure the camera, DVR, and monitor are all plugged in and turned on. Check that the cables are securely attached, and that you have selected the correct input ports on the DVR and monitor. Some screens will display every camera simultaneously, others have an 'input' button that allows you to switch between cameras.
Unified surveillance camera system
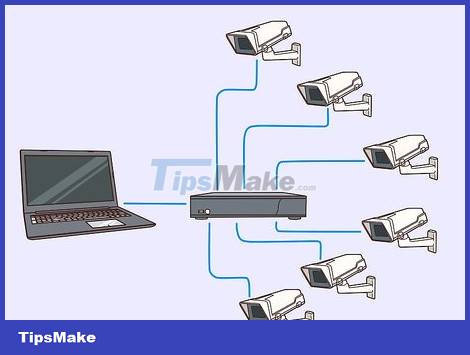
Set up a 'surveillance camera center'. When you install multiple cameras at the same time, you will need to find a convenient place to bring all the images to the DVR. This should be easily accessible, and you can wire it easily from anywhere in the house. Attics, offices, and routers are good locations for central surveillance cameras.
You only need one DVR for all cameras.
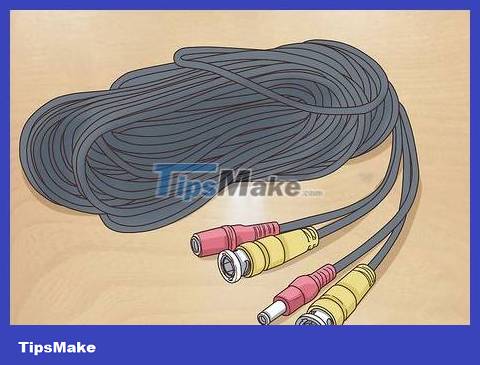
Use Siamese cables to connect the system more effectively. The most common type of cable used for surveillance cameras is the Siamese cable because it has two cables that go together. One fiber transmits electricity and one fiber transmits image signals. This means you only need to run one line in your house to install each camera. This type of cable is often denoted as RG59 or RG6.
The cable has red and black wire pairs to transmit electricity. Red is the positive pole and black is the negative pole.
A single cylindrical cable used to transmit images. Each end will have a BNC or coaxial cable connection.

Use a power supply cabinet to supply power to multiple cameras through one output port. Power supply cabinets are sold online or at electrical stores for $30-$50 (in the US), allowing power to be supplied to multiple cameras through a single wall output port. The power supply cabinet has many ports and is suitable for powering camera clusters located close together or cameras not located near any electrical outlets, such as in the attic. However, you will have to run long lines to attach each camera to the same cabinet.
Always attach the camera to the cabinet before connecting the cabinet to the power source.
Remember to buy a power supply cabinet large enough to accommodate every camera in the house. The number of output ports supported will usually be written on the cabinet.
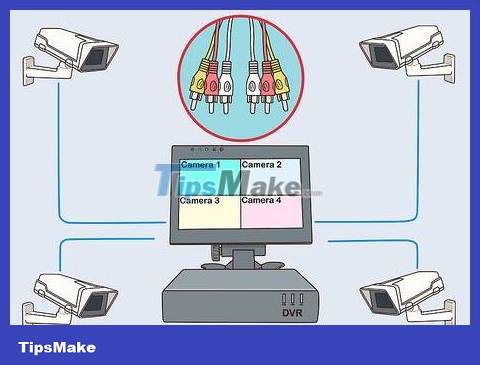
Attach each video cable to a separate DVR port. The DVR can handle multiple cameras at once, allowing you to record images of every room in the house with just one DVR. The screen will display images of each camera, or you can cycle through each camera via the 'input' button on the DVR.

Hide the line. For a truly professional camera system, you can run cables through the wall and lead to the camera hub. You must clearly know the design of the walls and the location of pipes, wires or wall studs when running cables. Running the cable requires you to drill holes in the wall, then thread the cable through the wall to the DVR head, through crawl spaces in the house, usually the attic.
If you are not familiar with drilling walls and running cables, you should hire an electrician or carpenter to take care of running the wires.
You can also attach cables to walls or baseboards using a nail gun.
Consider hiding the cable under the floor, but tape it close to the floor to avoid tripping.
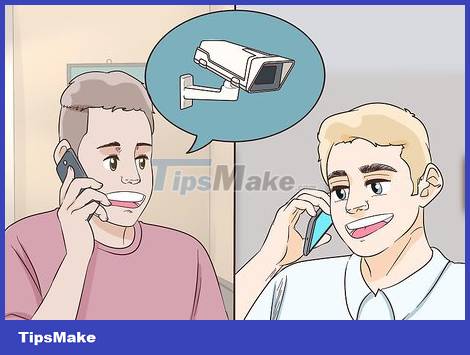
Or you can contact a security system installation specialist for support. Many home security companies are willing to install cameras, motion sensors and emergency alarms for you, but it will be much more expensive than installing it yourself. However, if you have a large house and aren't familiar with running cable, or want additional features like motion sensors and alarm systems, call a security company near you.
In the US, ADT, LifeShield, Vivint and SafeShield are major companies providing home security systems.