How to film the screen of iPhone and iPad
How to film the screen of iPhone and iPad. On iOS 11 and above, Apple has integrated screen recording feature without external applications such as Airshou, Bbrec ... Invite you to track how to film your iPhone and iPad screen in the following tutorial!
On iOS 11 and above, Apple has integrated screen recording feature without external applications such as Airshou, Bbrec . Invite you to track how to film your iPhone and iPad screen in the following tutorial!

To record screen on iOS 11, 12, we must enable this feature in the control center first.
Step 1: Go to Settings => Control Center .
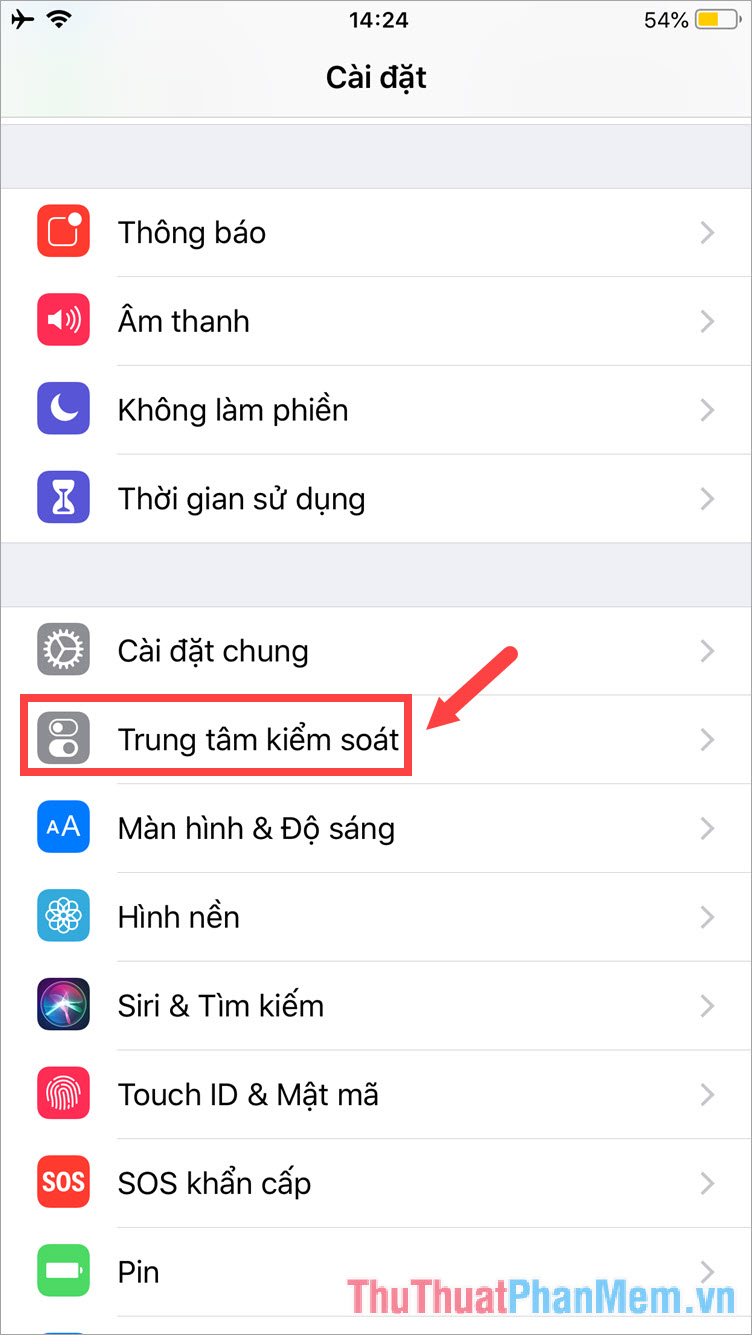
Step 2: Touch the Customize controls and add Screen Recorder item .

Step 3: You swipe the screen from the bottom up to open the control center, if there is a circular icon as shown below. Click the Screen Recording icon to start screen recording.
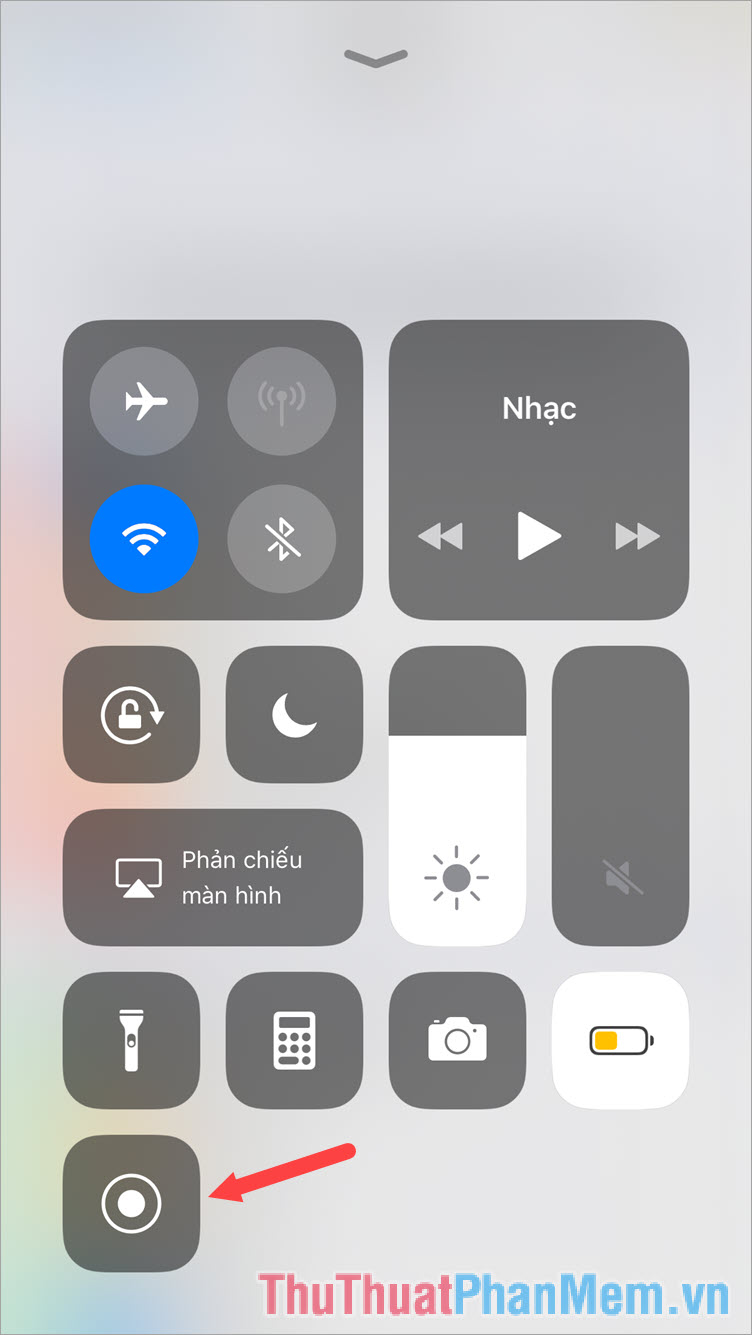
Step 4: To finish the screen recording process, you swipe the screen from the bottom up to open the control center and touch the screen recording icon again to turn it off. Notice Video screen recording is saved to the image is done.

Step 5: To view the video recording screen, you open Photo Album and touch the video to record.

Above is a guide to screen recording for iPhone and iPad on iOS 11, 12 is simple and easy to understand. Please follow the instructions above and write down your comments and reviews about the article in the comment section below! Good luck!
Was this article helpful?
Your feedback helps us improve.
Related Articles
 How to split screen on iPad7 minutes read
 Instructions for recording iPhone and iPad screen videos on the computer6 minutes read
 How to delete the home screen page containing apps on iPhone and iPad3 minutes read
 What to do when the iPhone or iPad can't turn on?4 minutes read
 Instructions for using X-Mirage project the iPhone and iPad screens on your computer4 minutes read
 How to prevent notifications from making iPhone screen light up4 minutes read
Reader Comments 0
Sign in with email or Google to join the discussion.