How to Coat Something in Silicone
Silicone is a versatile, recyclable, and flexible compound that is water-resistant and heat-resistant. It is used in many arts and crafts projects and home improvement and repair plans. Because it is a durable, malleable, and non-toxic....
Using a Silicone Spray
-
 Use a silicone spray on a variety of surfaces. A silicone spray in an aerosol container can help lubricate, protect, and waterproof a surface. It can be used on a wide variety of surfaces, including metal, glass, painted surfaces, and even fabrics.[2] In addition, it is safe to use on plastics, vinyl, and rubber.[3]
- Silicone sprays can be purchased at hardware stores and typically cost less than $10.[4]
- Consider using a silicone spray on a work surface in your home or garage to prevent objects from sticking to it.
- Spray the outside of a backpack to help create a water-resistant barrier.
-
 Keep away from open flames. When using a silicone spray, be sure you are in a well-ventilated area. This product is flammable, so keep the spray away from open flames.[5]
 -
 Protect your eyes. Wear protective eye goggles to shield your eyes from vapors and debris while using the spray. These can found at home improvement and hardware shops and cost around $20.[6]
 -
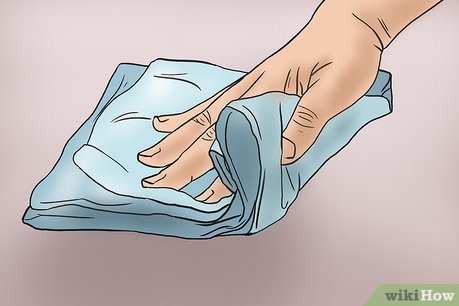 Clean the surface. Before coating the surface with a silicone spray, be sure to remove dirt or debris so it will not become trapped beneath the coating.[7] Use warm water and soap to wash the surface. Allow it to dry completely before applying a silicone coating.
 -
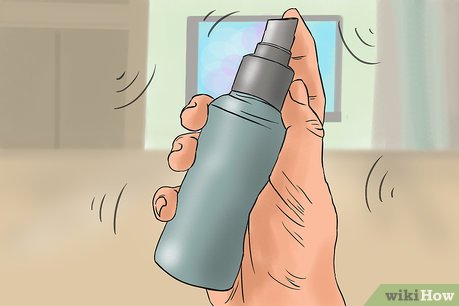 Shake the product before using. Before using the product, be sure that the contents are thoroughly mixed. Keep the cap on, and gently shake the can for several seconds.
 -
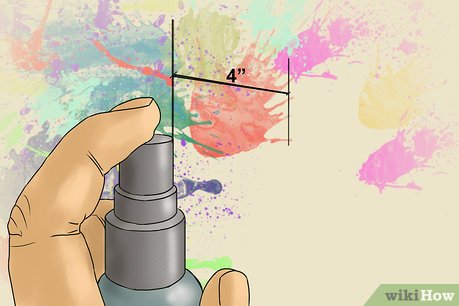 Position the nozzle four inches away from the surface. Remove the cap and place the nozzle toward the surface you would like to coat. Keep the nozzle about 4 in (10 cm) away from the surface.
 -
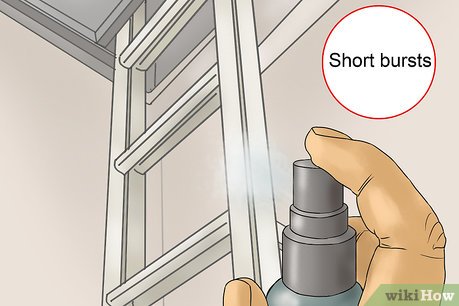 Spray in short bursts. Do not continuously spray the product. Use it in short bursts. This will help you control the amount of silicone that is released.
 -
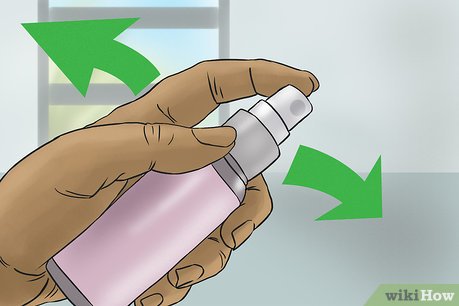 Glide the can along the surface. As you spray, gently and slowly move the can along the surface. Using a sweeping motion while spraying will help evenly distribute the product.[8]
 -
 Allow it to dry for three days. The object will lose its stickiness in about an hour, but it will take at least 72 hours for it to dry completely.[9] Keep it in a safe place where it won't be disturbed or knocked over.
- If you are spraying an object with multiple sides like a tool handle or a pot handle, spray each side one at a time. Allow each side to dry for about an hour before moving on to the next.
Dipping a Light Bulb in Silicone
-
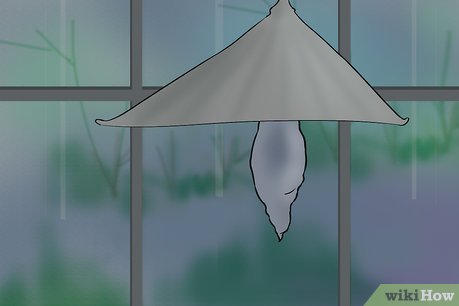
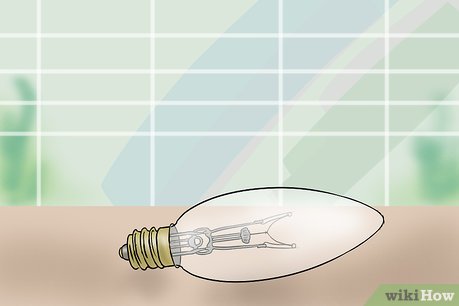 Select a light bulb size. Dipping a light bulb in silicone is a fun and creative project that allows you to spruce up a typical light bulb. Choose what type of light bulb you would like to use. If you would like to make a small votive light, select a 60-watt candelabra bulb. Select a 60-watt standard light bulb if you are using it in a desk lamp.
 -
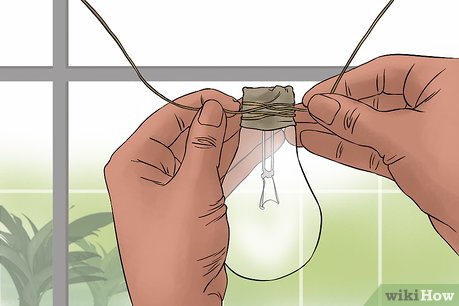 Wrap wire around the base of the bulb. Secure some craft or jewelry wire around the base of the bulb by tightly wrapping it around several times. Leave a string that is about 4 or 5 in (10 to 13 cm) long, or long enough for the bulb to be secured as it is hanging to dry.[10] Wire can be purchased online or at an arts and crafts shop and can cost between $3 to $8.[11]
- Use a pair of pliers to clip the wire.
-
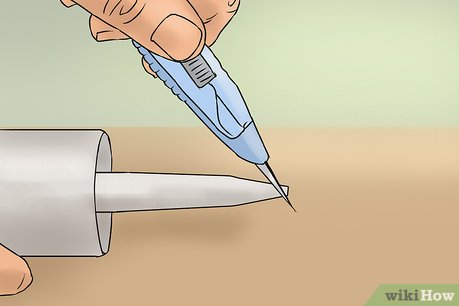 Cut the tip of the silicone caulk nozzle. Silicone caulk comes in a tube and can be purchased at a general store or a hardware store. It typically costs between $3 and $10.[12] To open, use a pair of scissors or a box cutter to carefully slice off the tip of the nozzle.[13]
- Be sure to use 100% silicone. You can use either white or clear silicone.
-
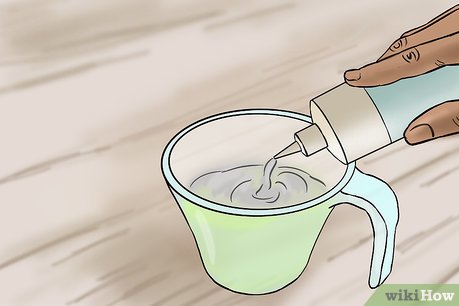 Squeeze the silicone into a plastic cup. Use a clear and disposable plastic cup to hold the silicone. Hold the nozzle above the cup and gently squeeze the contents into the container. Fill it up about half-way.[14]
- Add several drops of a scented oil like cinnamon or lavender into the silicone. The bulb will give off a pleasant aroma as it glows.
- To add some color, use a few drops of oil-based paint and mix it with the silicone.[15]
-
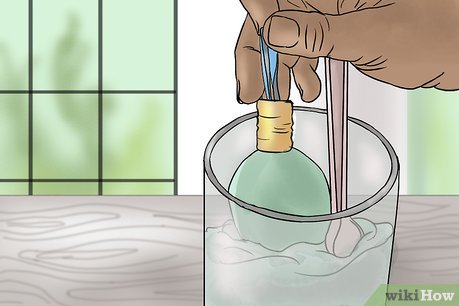 Dip the bulb into the silicone. Hold the cup securely with one hand. In the other, grip the base of the light bulb. Dip the bulb into the center of the cup into the silicone mixture.[16]
 -
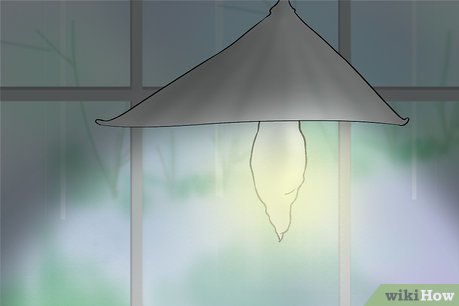
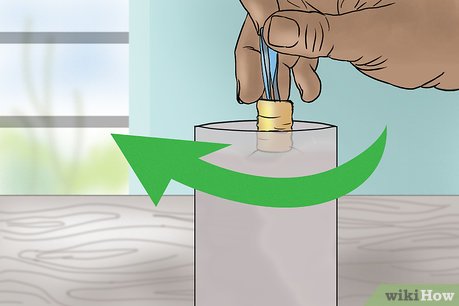 Coat the bulbs. Once you have dipped a bulb in the silicone, twirl the bulb a couple of times to evenly coat the surface. Be sure not to submerge the base of the light bulb.[17]
- Create an elongated, decorative tip by pulling the bulb out of the silicone quickly. You can dip the bulb into the mixture several times to achieve the look you desire.[18]
-
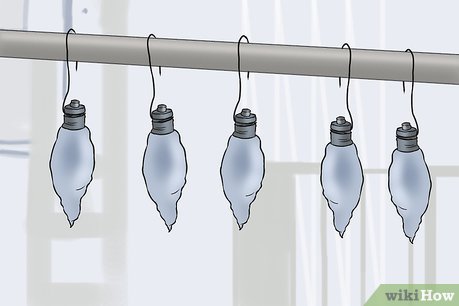 Hang the bulbs to dry. Use the metal wire to fasten the bulbs in a safe place to dry. Hang the bulbs on a coat hanger, but be sure that they do not touch. Suspend the hanger in a safe, dry, bright place to dry. Leave them to dry for several days. Silicone caulk can take 24 to 48 hours to dry completely.
 -
 Place the bulbs in a nightlight or lamp. Purchase a small nightlight or lamp at a home goods store or a general store. If the nightlight has a cover, gently slide it off to remove. Once the bulbs are dry, remove the wire. Secure the silicone-coated bulbs into the light sockets.[19] Be sure the lamps are not connected to a power source as you insert the bulbs.
 -
 Turn on the lamps or nightlights. Plug in the lamps or nightlights to showcase your unique, quirky light-bulbs. The silicone coatings will add a warm, diffused glow to a bedroom or hallway.
- If you added drops of essential oil, you should be able to smell a hint of the aroma as the bulbs glow.[20]
Covering a Roof with Silicone
-
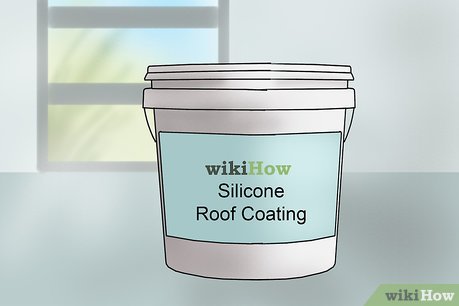 Purchase silicone roof coating. Visit your local hardware store and talk to an employee about adding a silicone coating to your roof. Coating your roof with silicone is an environmentally-friendly way to repair and restore your roof. The silicone coating can protect against water damage and ultraviolet light, and its reflective surface can help you cut back on energy costs.[21]
- A 5-gallon (19 L) bucket of silicone coating can cost between $80 and $200.[22]
- To cover an area of 100 sq ft (9.2 sq m), use about 1.5 gallons (5.6 L) of the silicone coating.[23]
-
 Use this product on a flat or gently sloped roof. This product works best on flat roofs or roofs with a gentle slope. Do not coat a steep roof with an incline of 20° or greater. The coating could make the roof slippery and dangerous.[24]
 -
 Clean the roof. Before applying the product, clean the roof to remove dirt and debris. Be sure to clean the gutters and remove any plants that may be growing on the roof. Rinse the roof with water using a pressure washer or a hose. Allow it to dry completely.[25]
 -
 Repair any damage on the roof. After washing your roof, repair any cracks, splits, or blisters to make the roof water-tight before applying the silicone coating. Use a roof sealant and apply the product directly to the damaged spot with a paintbrush.[26] Cement, rubber, silicone, or fibered roof sealants can be purchased online or at hardware stores and range between $10 to $50.[27]
 -
 Seal seams on the roof. Use the sealant to secure any curbs, transition areas, or areas where different materials meet. Sealing these areas can help ensure that the roof is watertight.[28]
 -
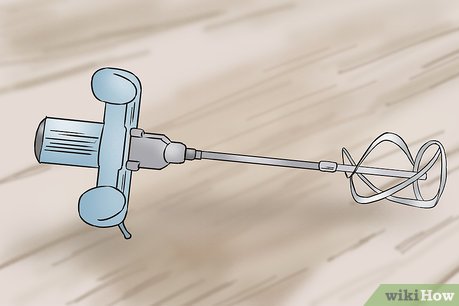 Mix the silicone coating thoroughly. Use a paint-mixing drill or a wooden paint stick to thoroughly mix the product.[29] This will blend the product and remove any clumps that may have formed. When you are not using the product, keep the container sealed.
 -
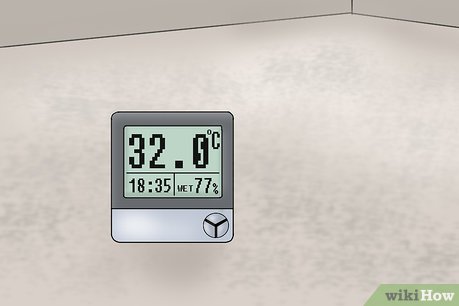 Apply during a warm day. For the best results, apply the silicone coating to your roof on a warm day in the morning. The ideal temperature should be around 65° F (18° C) and no higher than 90° F (32° C).[30]
 -
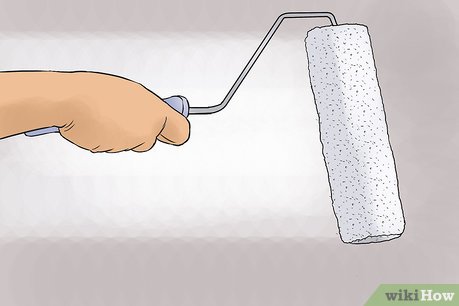 Use a paint roller to apply. Pour the product into a paint tray and use a paint roller to lift some of the product onto the roller. Opt for a 1 to 1.5 in (2.54 cm to 3.8 cm) lint-free paint roller. Try to work quickly as the product may dry or collect moisture.[31]
- On rubber surfaces, apply a primer coat to create a consistent thickness. [32]
-
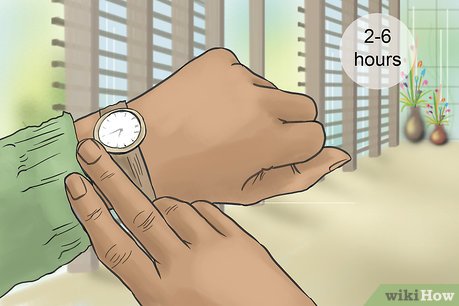 Let it dry for two to six hours. If you apply multiple coats to the roof, allow it to dry for at least two to six hours between coats. The coat will fully cure in 48 hours. If you wait 48 hours to apply another coat, you may need to wash the roof again before application.[33]