How to change the default location of the Windows 11 Documents folder
If you want, you can move the Documents folder and its contents to another location on your computer, following the instructions below.
Table of Contents
The Documents folder on Windows is part of your user profile, used as a folder to store personal data. By default, the Documents folder is located in your user profile, and is used as the default storage location for saved documents. If you want, you can move the Documents folder and its contents to another location on your computer, following the instructions below.
How to change the location of the Documents folder on a Windows computer
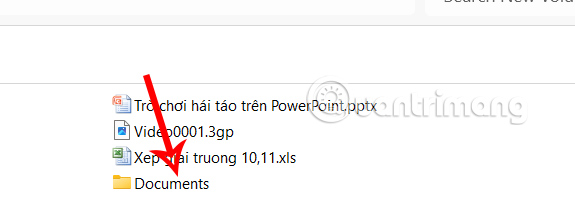
Step 1:
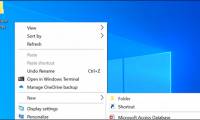
You move to the new location for the Documents folder, then create a new folder and name the new folder Documents.
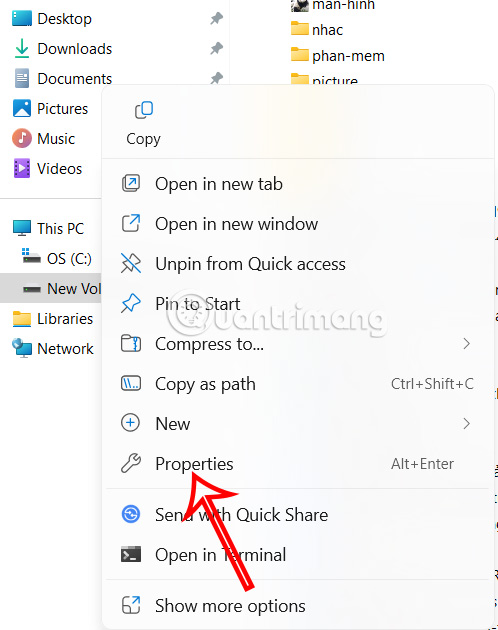
Step 2:
Right- click the Documents folder in the left sidebar of the File Explorer interface and click Properties .
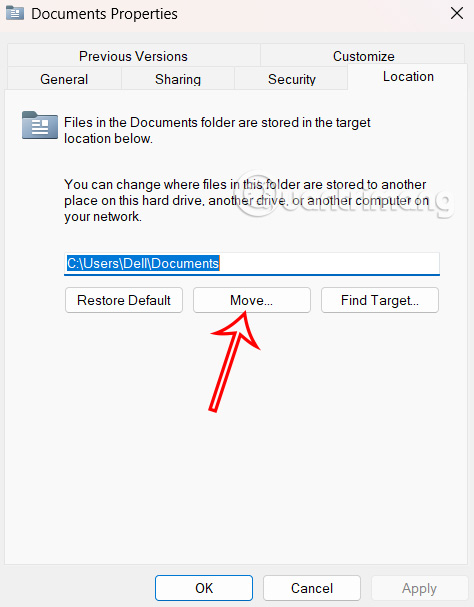
Step 3:
The new interface appears, select Location and then click the Move button below to move the folder location.
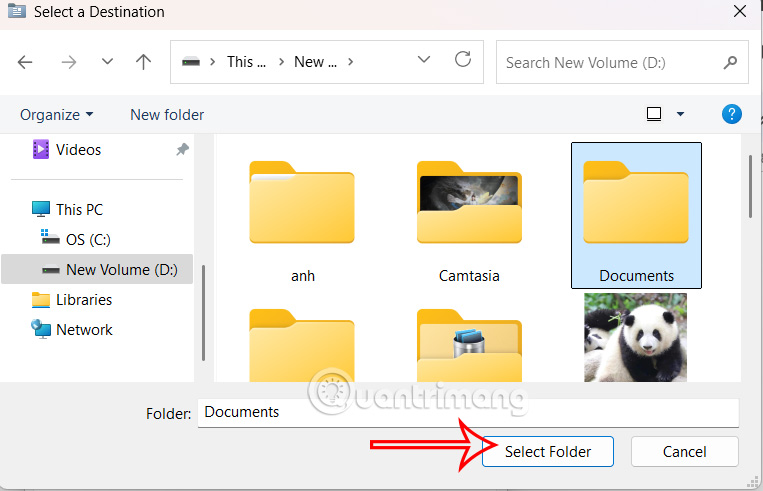
Navigate to and select the newly created Documents folder , then click Select Folder to choose the new location.
Step 4:
Now you will see the new Documents folder location on your computer , click OK to save.
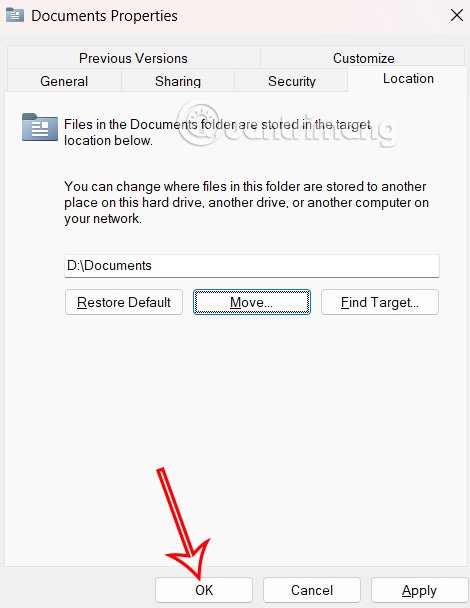
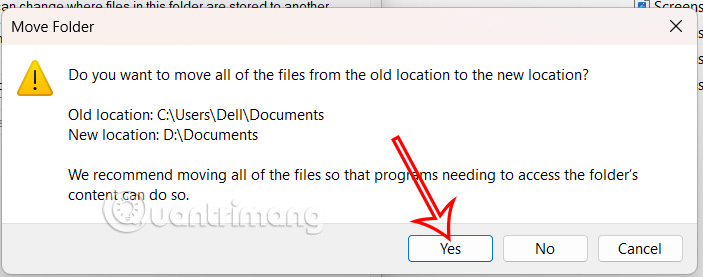
Finally click Yes to complete the operation .
In case you want to return to the default location of the Documents folder, follow the steps above and click Restore Default.
Was this article helpful?
Your feedback helps us improve.
Related Articles
 How to change the Dropbox folder default location?3 minutes read
 How to change the download folder Windows Update in Windows 104 minutes read
 How to change the default Download path on Windows?2 minutes read
 How to restore the default location of individual folders on Windows 103 minutes read
 How to change the default name 'New Folder' of a newly created folder in Windows 103 minutes read
 How to set the default name of a newly created folder according to the current date on Windows 104 minutes read
Reader Comments 0
Sign in with email or Google to join the discussion.