4 ways to make blurry photos sharp
In fact, if a photo is so blurred that details are hard to distinguish, you won't be able to fully restore it, and even AI can't help. If the photo just needs a little editing, a simple sharpening tool will solve the problem.
Picsart - The best tool to sharpen blurry photos on mobile devices
Picsart is a favorite mobile photo editing app thanks to its vast collection of tools and uses, and it also has a browser version. The article will show you how to use both.
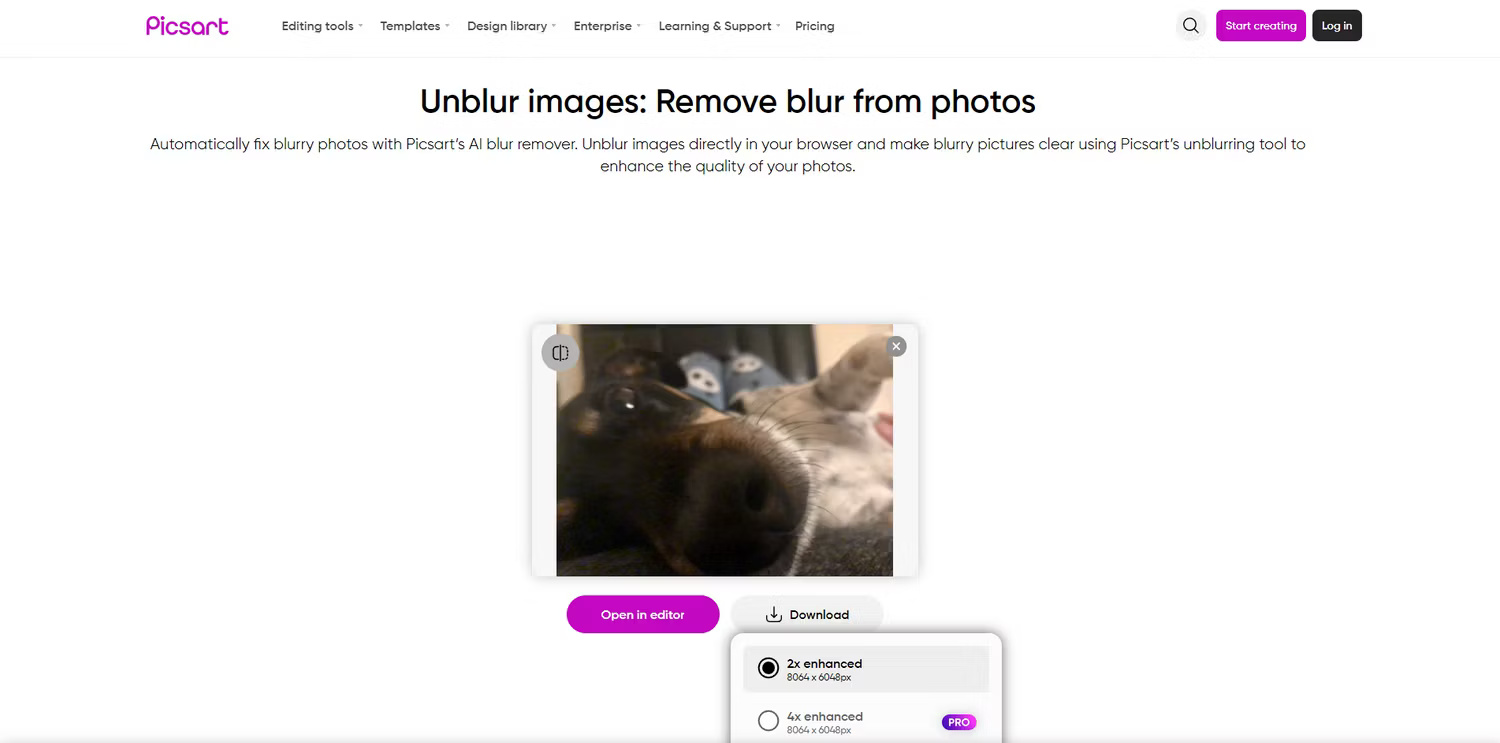
In your browser, access Picsart's Unblur Image tool and upload a photo from your device. It will take a while to upload because Picsart will sharpen the blurry image at the same time.
Once completed, you will immediately see the result that you can download or open in the editor to continue editing. Free users can only download in 2x quality, while Pro users can enjoy 4x enhanced quality. You can always download the 2x version and run it through the upgrader one or two more times. Photos will download without watermark.

The AI Enhance tool on the Picsart mobile app does a better job of sharpening blurry photos than the browser version, but you'll need to purchase a subscription to use it and download the results.
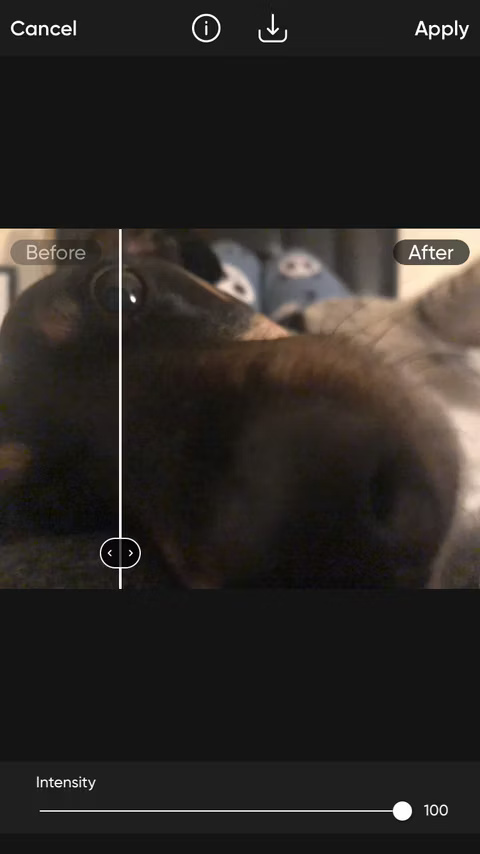
After opening the photo, go to Tools in the bottom panel, select AI Enhance and give the app some time to do its thing. You can change the boost intensity and also see before and after for direct comparison. Click Apply and download or share your photo via the arrow icon at the top.


- Download Picsart for | (Free, in-app purchases available)
Apple Photos - No need to download third-party apps
You don't need to download a photo editing app, the native iPhone photo editor can do the trick. While Apple Photos doesn't have a dedicated sharpen blurry feature, it does have a number of features that, when combined, produce great results for blurry images.
Locate the photo in your camera roll and tap Edit . In the editor, make sure you're on the Adjust tab and scroll all the way to the left.
First, let's adjust the Definition . Look at the difference between the first and second screenshots with Definition turned all the way up - the opacity has definitely improved. Then, increase the Sharpness all the way. Again, you can see the difference between the third and fourth screenshots.


While not a true sharpener for blurry photos, the Definition and Sharpness features in Apple Photos work wonders for blurry photos. You can also use the Sharpen tool in Google Photos if you don't have an Apple device.
PineTools - Custom settings
PinTools is an online hub for free tools for your creative, programming, and math needs. PinTools has dozens of image-specific tools, but all we need is Sharpen Image. No need to create an account, just visit the link and select your files from your device.
The biggest advantage about PineTools is the customization it offers you when it comes to improving blurry photos. You can choose between a 3x3 or 5x5 convolution mask, and an intensity slider lets you choose the intensity of the sharpening effect. Another thing to love about this tool is that it doesn't use AI, which is a breath of fresh air amid the oversaturation of AI photo tools.
Click Sharpen at the bottom when you're happy with your settings and the results won't take long to load.

Here, the example has selected a 5x5 convolution mask and set the slider to about 90%. At first glance, this is the most blur-free of all the other tools here. However, it does seem to have added some grain effects to the photo, but don't worry too much as this has improved the overall look of the photo.
The author tested the settings and found that the 3x3 convolution mask does not add grain, but it also does not sharpen the image much, so there is no choice in this situation. To download the image, simply right-click and select Save Image As .
Artguru - The fastest and easiest tool to make blurry photos sharper
If you don't like the grain that PineTools leaves on your unsharpened photos, Artguru might be a better choice. Just visit the link, upload the photo and wait for the results.
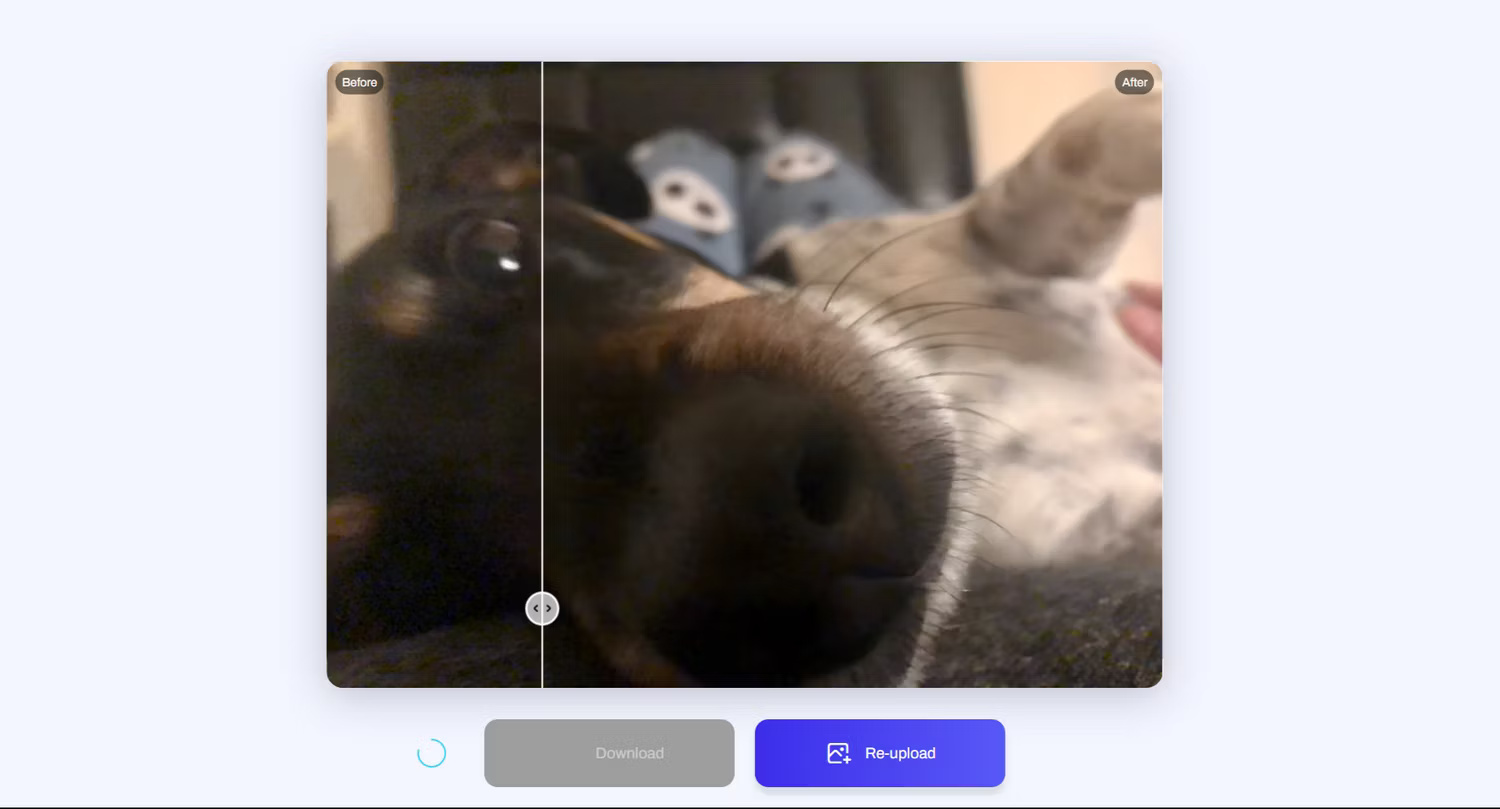
You can drag the slider to see a live comparison between before and after photos. If you are satisfied with the result, click Download and it will save to your file.

The blur in the example photo has definitely improved and there is no grain. Instead, it smoothes some parts, as opposed to the results from PineTools, but both improve the image, in their own way.
It might be worth running the results through Artguru a second time to get the improvement you want.
Additionally, if you are using an Android device, you can refer to how to fix blurry photos on Android for some other options.
 NVIDIA quietly launched the RTX 2000E 'Ada' graphics card, what's remarkable?
 OpenAI is worried that users will 'love' ChatGPT, affecting interactions between people
 Brave - Fast and secure personal web browser
 5 best PlayStation 5 controllers
 How to combine multiple monitors into one using AMD Eyefinity
 Many iPhone apps stop working due to problems