Tutorial for creating slideshows in JavaScript with 3 easy steps
If you are studying or interested in programming, do not skip the article below to guide how to create slideshows in Java Script with 3 simple steps.
You will need to know some things before you start coding.In addition to choosing a suitable web browser and text editor (many people recommend Sublime Text), you will need some experience working with HTML, CSS, JavaScript and jQuery.
If you are not confident about your skills, please refer to some of the following articles to gain more knowledge about these programming languages.
- What is JavaScript? Can the Internet exist without JavaScript?
- 10 simple CSS codes you can study in 10 minutes
- Learn about how jQuery works
1. Start
This slideshow requires some features:
- Image support
- Controls to change images
- Text annotation
- Auto mode
Seems like a simple list of features.Auto mode automatically switches to the next image until the end of the slideshow.This is a rough sketch many people still do before writing any code:

There will be many people who are wondering why they have to plan.However, this planning helps you work more science and thereby master the rules to be able to write larger codes.
You should start with HTML as shown below.Save this content to a file with an appropriate name, such asindex.html:
MUO Slideshow

Windmill

Plant

Dog
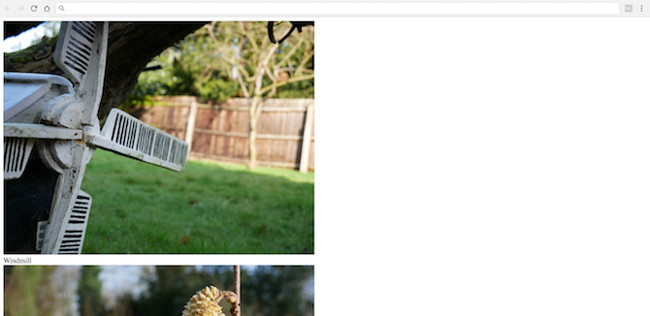
The above code will look like this:

Looks very complicated and incomplete, so let's analyze it before improving it.
Thiscode contains 'standard' HTML , tag head , style , script and body.These sections are an essential component of any website, including JQueryvia GoogleCDN. What is unique or special.
Inside the body is a div and an id ofshowContainer.This is the external frame (wapper) or container (container) for storing the slideshow.You will improve later with CSS.In this container, there are three pieces of code, all of which have the same function.
A parent class is defined with a class name ofimageContainer:
This code isused to store a single slide - an image and caption are stored inside this container.Each container has a unique id, includingim_charactersand a number.Each container has a number ranging from one to three.
In the final step, the image is referenced and the subtitle is stored inside a div with thecaptionclass:
< div class = " caption ">
Dog
div>
So we've created images with digital file names and stored in a folder calledImages.You can name it whatever you like, as long as you update the HTML accordingly.
If you want to increase multiple images to or from photos in a slideshow, you can simply copy and paste or delete the code with theimageContainerclass.Note the need to update the file name and id as required.
Finally, create navigation buttons.This allows users to navigate images:
These HTML character codes are used to display forward and return arrows.
2. CSS
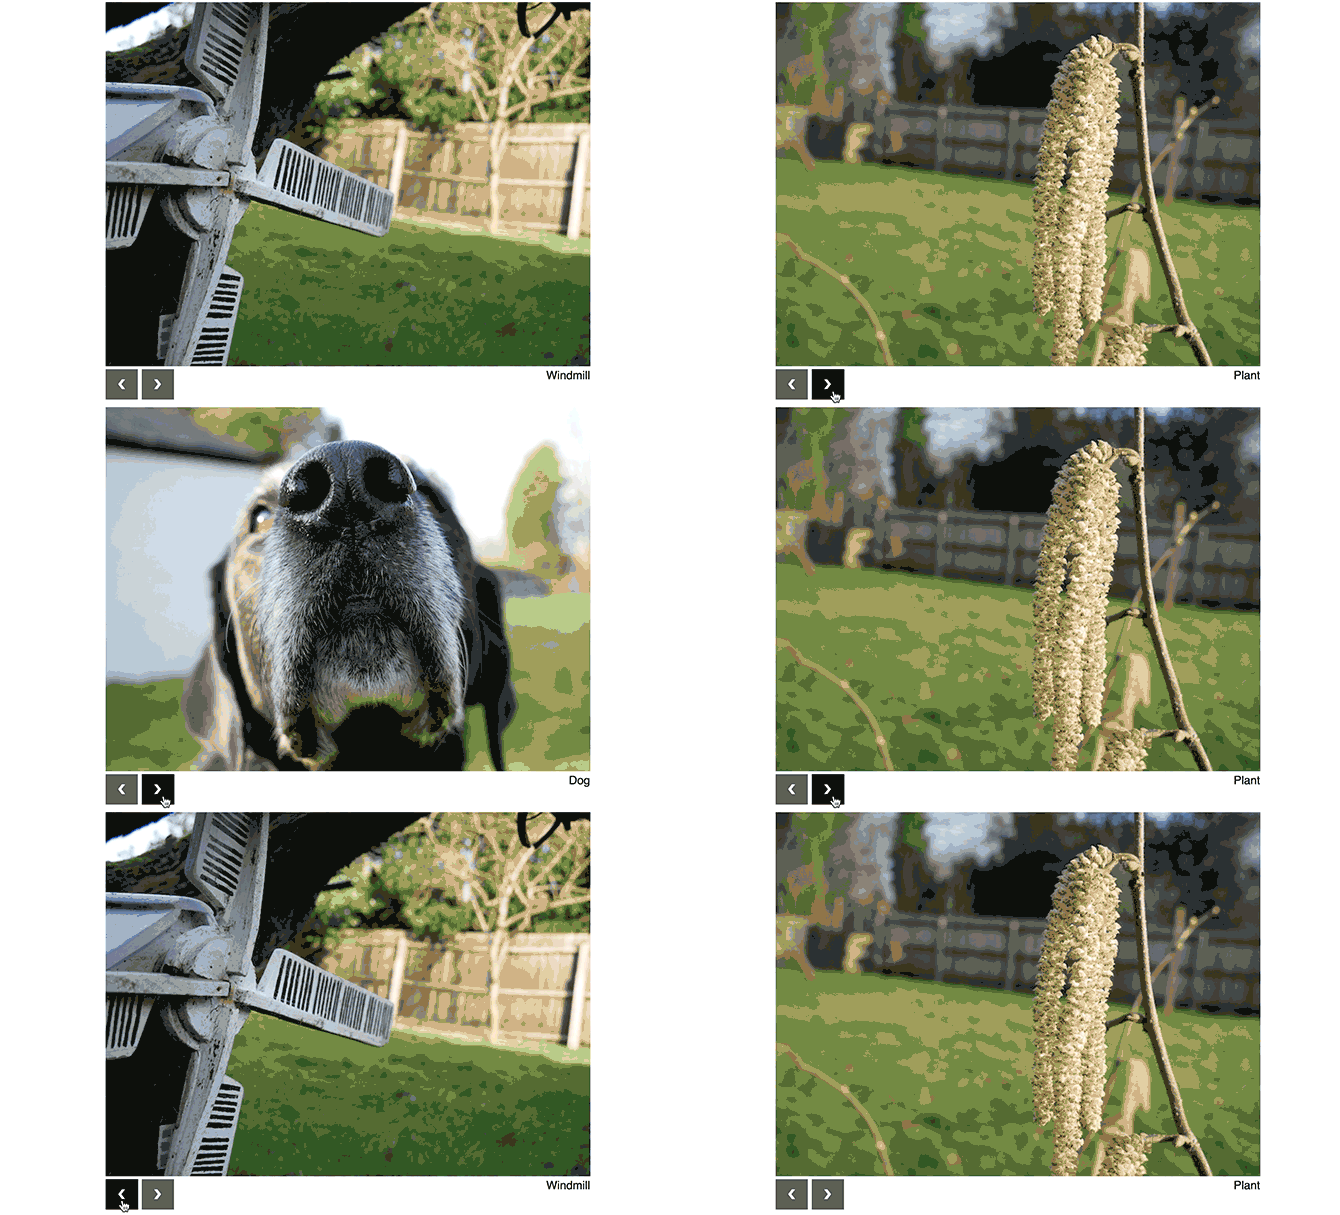
After completing the core structure, it's time to make it look better.After adding new code, your slideshow will look like this:

Add this CSS between yourstyletags:
html{
font-family : helvetica, arial ;
}
#showContainer {
/ * Main wrapper for all images * /
width : 670px ;
padding : 0 ;
margin : 0 auto ;
overflow : hidden ;
position : relative ;
}
.navButton {
/ * Make buttons look nice * /
cursor : pointer ;
float : left ;
width : 25px ;
height : 22px ;
padding : 10px ;
5px margin-right :
overflow : hidden ;
text-align : center ;
color : white ;
font-weight : bold ;
font-size : 18px ;
background : # 000000 ;
opacity : 0.65 ;
user-select : none ;
}
.navButton: hover {
opacity : 1 ;
}
.caption {
float : right ;
}
.imageContainer: not (: first-child) {
/ * Hide all images except the first * /
display : none ;
}
Let's analyze the code above.
The images used are 670 x 503 pixels in size, so this slideshow is mainly designed with images of that size.You will need to adjust CSS appropriately if you want to use different sized images.One advice for beginners is to have the image the same size.You can resize your images to the same size - images with different sizes will cause many sorting problems.
The code above includes codes that determine the size of the container to store images, center, specify fonts, along with buttons and text colors.There are several styles you may not have seen before:
- cursor: pointer- change the cursor from the arrow to the index finger when you move the cursor over the buttons.
- opacity: 0.65- Increases the transparency of buttons.
- user-select: none- make sure you don't accidentally mark the text on the buttons.
You can see the results of most of these code in the buttons:

The most complicated part here is that the code looks odd:
.imageContainer: not (: first-child){
First, it targets any element in theimageContainer class . Syntax : not () excludes any element inside parentheses from this type (style). Finally, the syntax : first-childmeans that CSS will identify any element that matches the name but ignores the first element.The reason for this is simple.Since this is a slideshow, it only requires that each time an image appears, this CSS hides all images outside the first image.
3. JavaScript
The last part is JavaScript.This is the logic to make the slideshow work correctly.
Add this code to your script tag:
$(document).ready(function(){
$ ( '#previous' ). on ( 'click' , function () {
// Thay đổi vào ảnh trước
$ ( '#im_' + currentImage ). stop (). fadeOut ( 1 );
decreaseImage ();
$ ( '#im_' + currentImage ). stop (). fadeIn ( 1 );
});
$ ( '#next' ). on ( 'click' , function () {
// Change to the next image
$ ( '#im_' + currentImage ). stop (). fadeOut ( 1 );
increaseImage ();
$ ( '#im_' + currentImage ). stop (). fadeIn ( 1 );
});
var currentImage = 1 ;
var totalImages = 3 ;
function increaseImage () {
/ * Tăng currentImage by 1.
* Resets to 1 if larger than totalImages
* /
++ currentImage ;
if ( currentImage > totalImages ) {
currentImage = 1 ;
}
}
function decreaseImage () {
/ * Decrease currentImage by 1.
* Resets to totalImages if smaller than 1
* /
- currentImage ;
if ( currentImage < 1 ) {
currentImage = totalImages ;
}
}
});
It seems a bit counterintuitive, but first we will skip the first code and explain the second half of this code.
You need to define two variables.This can be considered the main configuration for the slideshow:
varcurrentImage=1;
vartotalImages=3;
These two variables indicate the total number of images in the slideshow and the number of images started.If you have more images, simply change thetotalImagesvariable tothe total number of images you have.
Two functionsincreaseImage and decreaseImage used to increase or decrease currentImage variable . If this variable is lower than one or higher totalImages , it will be reset to one or totalImages.This ensures that the slideshow will repeat when it is finished.
Go back to the code at the beginning.This code " targets " the next button and returns.When you click on each button, it will call theincrease or appropriate decrease method . Once completed, it simply needs to blur the image on the screen and gradually increase the new image (determined by the currentImagevariable).
Thestop () method is built into jQuery. This will cancel any pending event (event). This ensures every time the button is pressed smoothly. The fadeIn (1) and fadeOut methods (1)fade or fade the image as required.The number indicating the fuzzy time is calculated in milliseconds.Try changing this number to a larger number such as 500. Big numbers mean a longer conversion time.If you have too little conversion time, you will feel a strange event or "blinking" in the image change.Here is the slideshow:

Automatic advancement feature
Now, this slideshow looks pretty good, but still needs a final edit to finish.Automatic advancement is a real feature that makes slideshow 'shine'.After a certain amount of time, each image will automatically switch to the next image.However, users can still navigate to forward or back to the previous image.
This is an easy job with jQuery.Need to create a timer to execute your code everyXseconds.Instead of writing new code, the easiest thing is to simulate a "click" on the next image button and let the existing code do all the work.
This is the new JavaScript you need - add this function after thedecreaseImagefunction
window.setInterval(function(){
$ ( '#previous' ). click ();
},2500);
Thewindow.setInterval method will run a specified code according to the time specified at the end. The time of 2500 (in milliseconds) means that this slideshow will change the image after 2.5 seconds. Smaller numbers mean that each image will be forwarded at a faster rate. The method of clicking toactivate the buttons to run the code as if the user clicked the button.
Above is the basic way to create automated slideshows on the web with JavaScript.I wish you all success!