Instructions for installing and removing optional features in Windows 11
Windows 11 offers a lot of features that are not installed by default on your computer. And you can also remove the default installed features if that feature affects your work performance.
Table of Contents
Windows 11 offers a lot of features, and many features like Windows Subsystem for Linux and language packs are not installed by default on the computer. Besides, users can also remove default installed features if they affect work performance. Below are instructions for installing and removing optional features in Windows 11.
How to install Windows 11 optional features
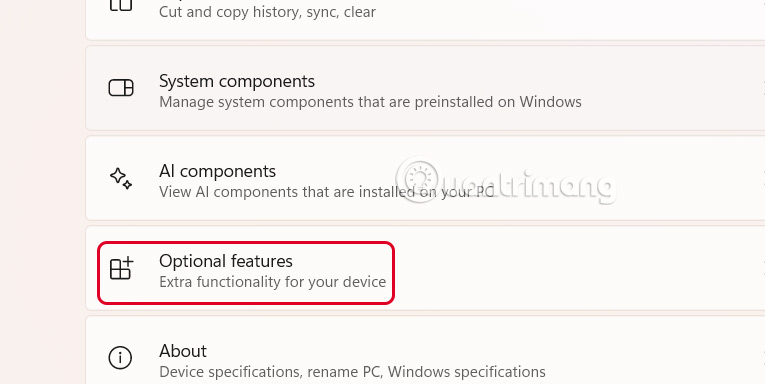
Step 1:
Open Settings on your computer, then click on System and then click on Optional Features in the next interface to proceed to access.
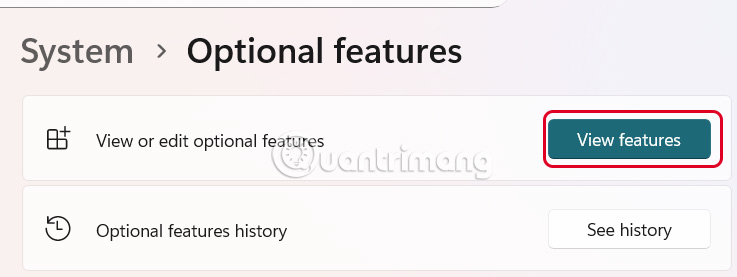
Step 2:
Switch to the new interface, click on View Features to see the features.
Step 3:
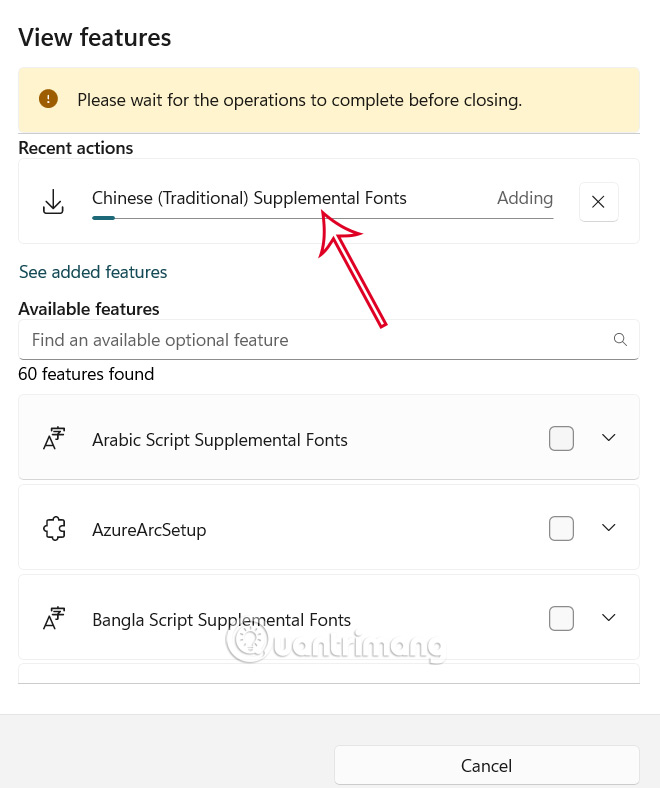
You'll then see a pop-up menu listing the features installed by default. Now tap See Available Features to switch the list to features you can install but don't have yet.
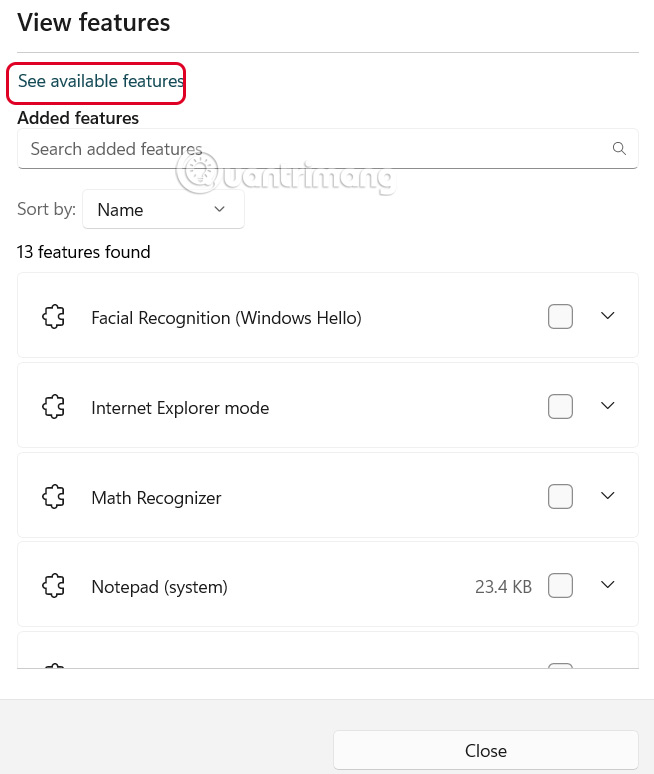
Next to each feature is a square box for you to select to use , then click Add below to continue.
If you don't find the feature you want in the list, you can use the search bar at the top of the pop-up window to search by name.
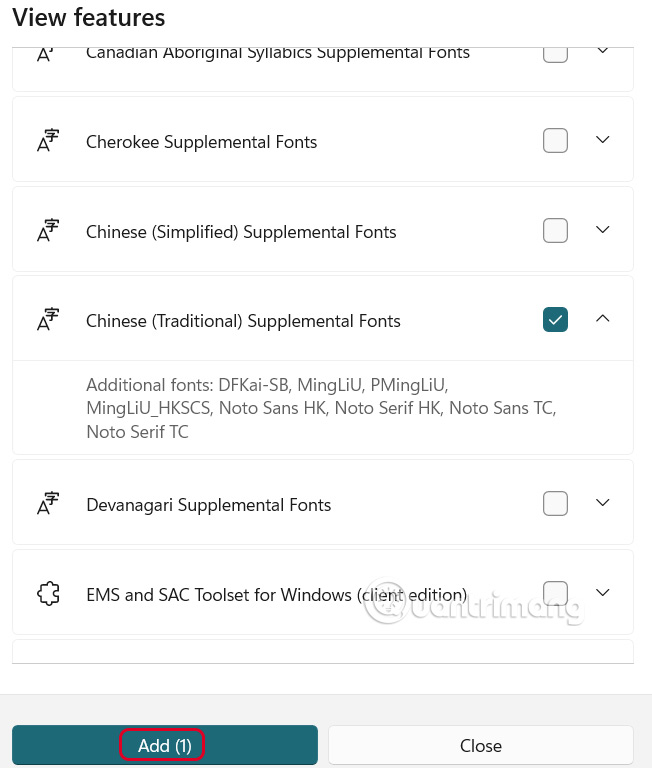
The customization feature installation process will start immediately. While this process is going on, you should not close the interface. Once the installation is complete, you will see the new features added to the See added features list to use.
How to remove Windows 11 optional features
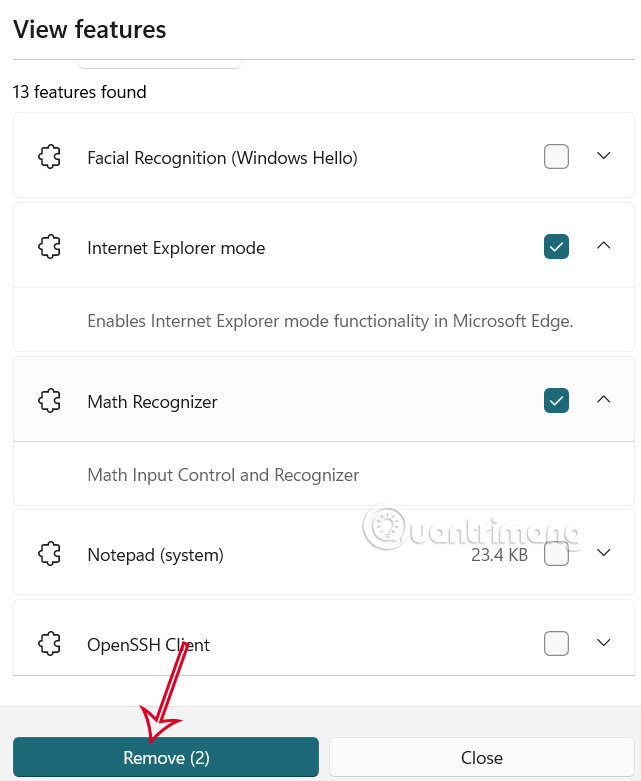
You can also remove unwanted features from the Optional Features menu.
We select the features we want to delete and then click Remove below.
Was this article helpful?
Your feedback helps us improve.
Related Articles
 How to install and remove optional features in Windows 113 minutes read
 What are the features of Windows 10 Windows Features?13 minutes read
 Paint and WordPad will become optional features on Windows 10 20H13 minutes read
 Installing, updating software will become easier in Windows 10 20H13 minutes read
 Instructions for installing screensavers on Windows6 minutes read
 Windows 10 now allows users to update drivers for more devices through Windows Updates3 minutes read
Reader Comments 0
Sign in with email or Google to join the discussion.