Install operating system for mini laptop
Instead of having to bring it to the store, you only need the support of a USB device and a few tricks to reinstall the operating system for your device.
Netbooks available on the market do not have room for optical drives like CDs. Instead of having to bring it to the store, you only need the support of a USB device and a few tricks to reinstall the operating system for your device.
First, you need to prepare some of the following tools: USB_PREP8, PeToUSB, Bootsect.exe. These are utilities that are provided free of charge at many technical websites. You can go to any search site to see the link to download them.
Next is the need for the help of a second computer running Windows XP or Vista, with a CD reader with a win installation disc suitable for configuring your mini laptop. A completely formatted white USB.
The steps to proceed are as follows
First, unzip the USB_PREP8 folder and run the file usb_prep8.cmd in it. The "Press any key to continue" message appears in the Command line window, press any key to continue. Leave it as it is and move on to the next step.
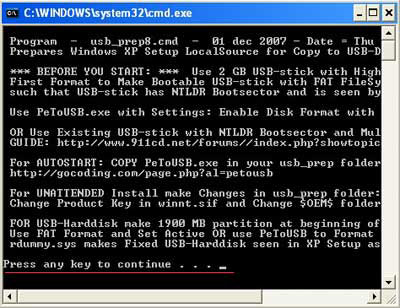
Command line window after running file usb_prep8.cmd.
In the second step, click on the Start bar and select Run and type "cmd" to open another Command line window. Use the CD command to move into the directory containing the downloaded bootsect.exe file.
Example: CD D: BOOTUSB
Then type "bootsect.exe / nt52 G:" where G is a USB drive and press Enter.
The message "Bootcode was successfully updated on all targeted volumes." Will appear at the end.

Close the Command line windows leaving only the "usb_prep8.cmd" frame at first.
Step 3:
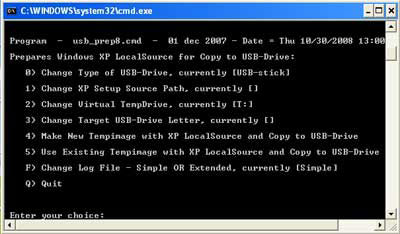
Command line window usb_prep8.cmd.
You switch to the window window usb_prep8.cmd, press 1 and Enter to select where to get the data source to install win. Here this example is taken from the CD drive.
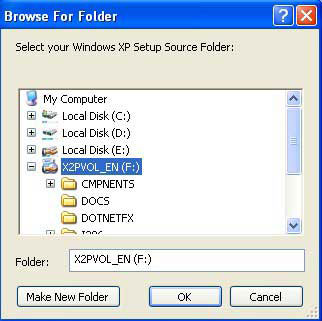
Select the CD drive where the operating system installation files are located.
Press 2, Enter and select the wildcard character for virtual drive to store temporary images of win data. Virtual drive names cannot be identical to those available on the machine.
Press 3 and enter the wildcard for USB. The example here is G.
The messages appear in turn: the warning will Format the virtual drive T, copy the installation files to T, do you want to copy the installation files to the USB, remove the virtual drive. You just need to select Yes in each dialog box that appears for the program to continue.
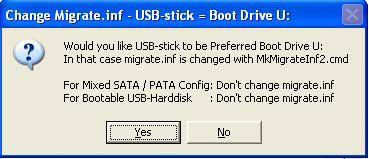
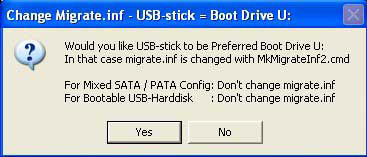
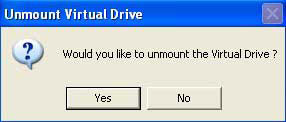
Just select Yes to continue the process when the messages appear.
At this point, all preparations have been completed. With this USB, you can reinstall the operating system for the mini laptop wherever you are without any additional support. Manipulate the CMOS reset (where hardware system control is set up) for the USB select machine as the first boot device and start the usual Windows installation steps.
Was this article helpful?
Your feedback helps us improve.
Related Articles
 Top 10 best mini laptops 201817 minutes read
 How to Install a New Operating System on a Computer10 minutes read
 Sony upgraded Vaio P mini laptop2 minutes read
 How to Install an Operating System on a New Computer17 minutes read
 Mini notebook under 500 USD3 minutes read
 Score Windows 7 laptop face before G3 minutes read
Reader Comments 0
Sign in with email or Google to join the discussion.