Table of Contents
This practical guide explains how to teach kids to code with raspberry pi with clear steps and useful context. It also covers common requirements, potential problems, and the details that can help you get better results.
1. Getting Started with Raspberry Pi
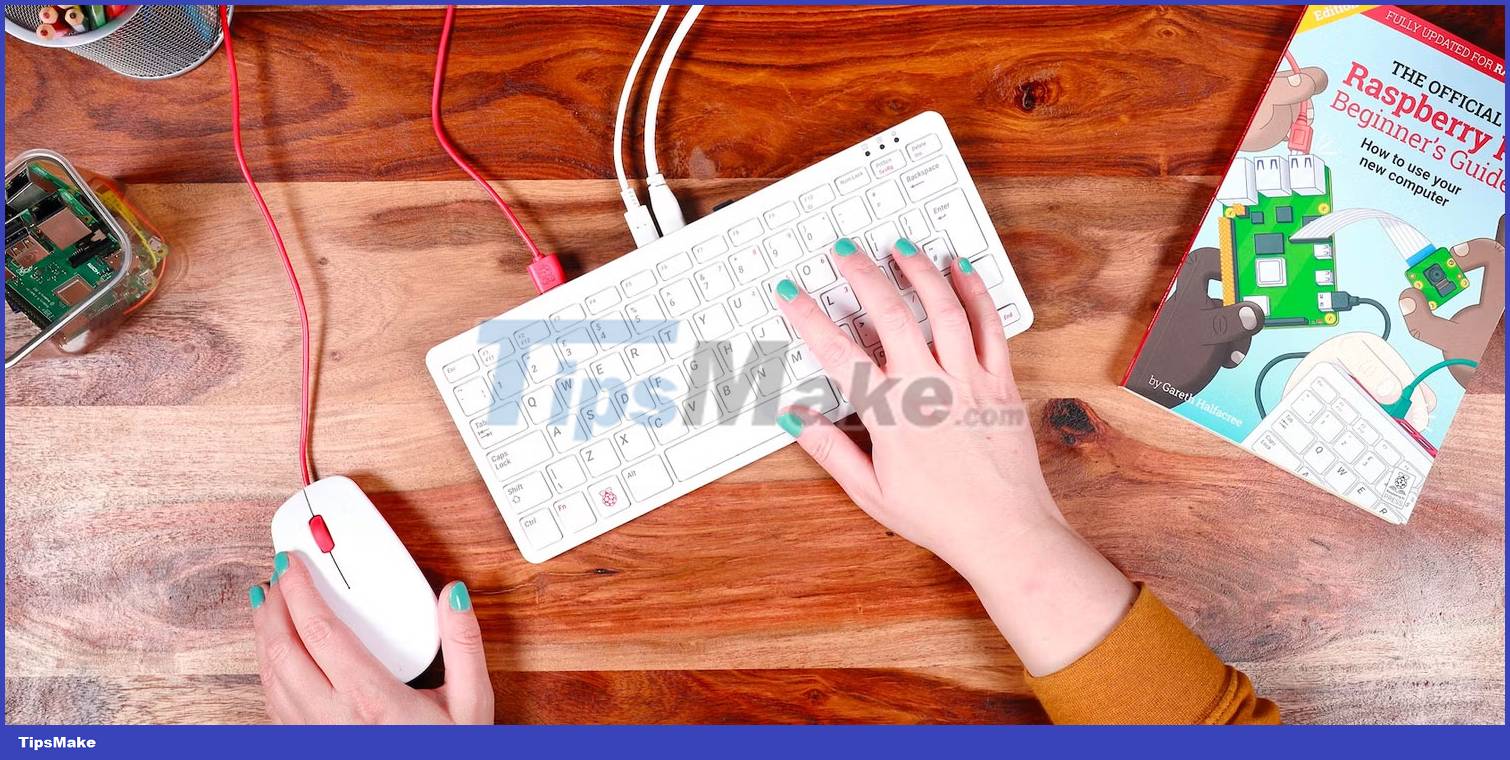
In an effort to make computers and digital products accessible to everyone, the Raspberry Pi Foundation created the inexpensive and widely available Raspberry Pi computer. Several models and revisions have been made available since the first Raspberry Pi was introduced in 2012.
If you don't have a Pi yet, you can get one for as little as $35. Go for the top-of-the-line Raspberry Pi 4, although the older Raspberry Pi models have some commendable points. You can also buy the Raspberry Pi 400, which offers many of the same features as the Pi 4 and comes in the form of a keyboard.
The official Raspberry Pi 4 desktop kit costs more but comes with most of the components you need to use the Raspberry Pi, including the keyboard, mouse, case, power supply, and microSD card. Then all you need is a compatible HDMI display that you can connect to your computer.
The microSD card in the official kit comes pre-installed with Raspberry Pi OS, a Linux distribution created specifically for Raspberry Pi computers. You can also follow the How to install the operating system on the Raspberry Pi.
Your child can begin their coding journey as soon as the initial setup is complete. A good place to start is at the Raspberry Pi Foundation's project website.
2. Choose a Child-Friendly Programming Language

It is essential to choose a child-friendly programming language to make programming fun and engaging for your child. Scratch, Python, and Ruby are just a few of the most popular choices.
Scratch
Scratch is an interactive programming environment that uses a block-based visual interface. It is one of the few languages designed to be used by children. Due to its intuitive programming style, Scratch is simple and intuitive to learn. The concepts introduced in Scratch can be applied to more advanced languages like Python and Java.
The Scratch website has a lot of tutorials dedicated to teaching you how to use the language. It is also possible to remix user-created projects on the site.
In addition to learning to code, Scratch can also serve as a springboard for your child to explore his artistic ideas in other areas such as visual arts and music.
Python
Python's syntax is simple and intuitive for newbies. This language is widely used - arguably the most popular programming language for Raspberry Pi. For this reason, there are many resources available to help beginners.
It provides access to libraries of pre-written code that can be integrated into individual applications. This is the main benefit of Python as it makes it easier to communicate with the physical electronic components connected via the Raspberry Pi's GPIO header and allows you to create advanced projects.
Ruby
Yukihiro "Matz" Matsumoto created Ruby in the 1990s in Japan. It's a general-purpose language known as "a programmer's best friend" and has a lot in common with Python. It is also one of the easiest languages to start with.
Like Python, Ruby's syntax is both simple and expressive. It also doesn't rely on indentation to separate blocks of code. Ruby focuses more on object-oriented programming compared to Python. It has dwindled in popularity over the years, but is still a great language loved by developers and programmers.
In addition to the languages listed above, other great options for teaching your child to code include Lua, JavaScript, Swift, and Java (for older kids).
3. Projects and Practice Tests

To strengthen their programming skills, it's important to encourage your child to take on hands-on projects and challenges using the Raspberry Pi. Here are some ideas:
Create a Simple Game
Video games are a project with great appeal to most children. There are several ways to create a game console using Raspberry Pi. You can start by creating a classic game console with Raspberry Pi without writing code, then move on to more engaging projects.
Build an RC. Car
This can be a good project if your kid already has an RC car. It can be wired up so that it is controlled from the Raspberry Pi instead of the included remote.
If you don't want to go through the process of tinkering with a stressful but rewarding RC car, you can purchase a Raspberry Pi RC car kit such as SunFounder's PiCar-V that already has programming functionality.
Security Cameras with Motion Detection
If your kids are interested in home security and surveillance technology, they may also find installing motion-activated security cameras an engaging pastime.
By using Raspberry Pi and Camera Module, kids can create a surveillance camera that records still images or video and can also detect motion. The Raspberry Pi can be programmed in Python to trigger recording of any motion it detects and save files to a USB or online cloud storage service.
4. Join Communities and Coding Clubs
In addition to choosing programming languages and working on projects, coding clubs allow your child to develop essential skills such as collaboration and communication faster.
You should encourage your child to join coding groups or other offline platforms that cater to young programmers to stay motivated and build a sense of community. They can often find collaborators and get advice from experts in these environments. These groups also regularly encourage and help those who are new to coding develop their skills.
Conclusion
Understanding Raspberry Pi makes it easier to compare options, avoid common mistakes, and apply the information in this guide more effectively. Review the relevant requirements before making changes or choosing a solution.
FAQ
How do you teach kids to code with raspberry pi?
Follow the steps in this guide in order, confirm the required settings or tools, and verify the result before making additional changes.
Is it safe to teach kids to code with raspberry pi?
It is generally safe when you follow the recommended instructions, use trusted tools, and avoid changing settings you do not understand.
What should you do if the process does not work?
Recheck the requirements, restart the device or application when appropriate, and review each step for missed settings or compatibility issues.
Related Articles
 5 Interesting Activities to Learn About Programming on Raspberry10 minutes read
 Raspberry Pi Foundation: Complete Guide3 minutes read
 TOP Best Programming Games and Apps for Kids4 minutes read
 How to Teach Kids About Computers: Step-by-Step Guide6 minutes read
 Card: How to Get Started with the Raspberry Pi15 minutes read
 How to Add an ADC to Raspberry Pi: What You Need to Know: Clear Instructions11 minutes read
Reader Comments 0
Sign in with email or Google to join the discussion.