How to take beautiful night photos on smartphone
Nighttime photography requires a different approach than daytime photography. Limited light, shaky hands, and noise can result in blurry, grainy photos. But with the right techniques, you can take sharp nighttime photos on your phone—sometimes even better than a professional camera.
1. Use a tripod
Shooting in low light requires a solid base to avoid motion blur as even small movements can ruin a great shot. That's why it's always a good idea to use a tripod for night photography. It allows you to be creative without worrying about camera shake. It keeps everything steady and reduces blur in the final image.
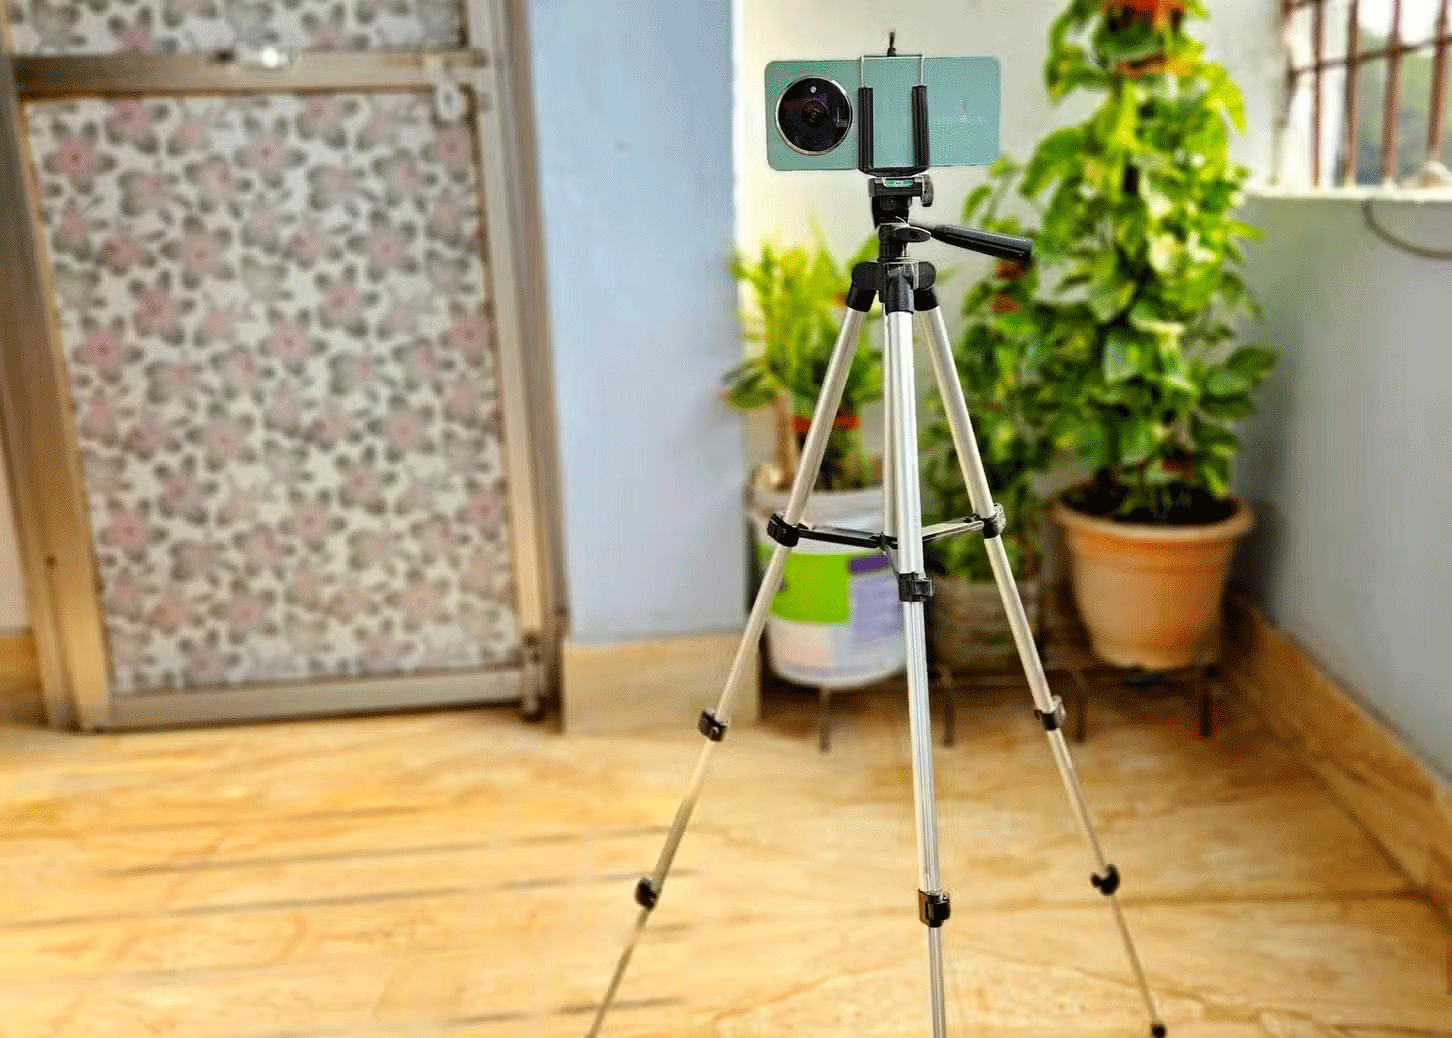
If you don't have a tripod, use a solid surface like a wall or rock to keep your camera steady. Additionally, use the timer on your camera app to avoid any small shakes that might occur when you press the shutter button. Setting this for a few seconds gives you enough time to take your hand off your phone before taking the photo.
2. Clean the camera lens
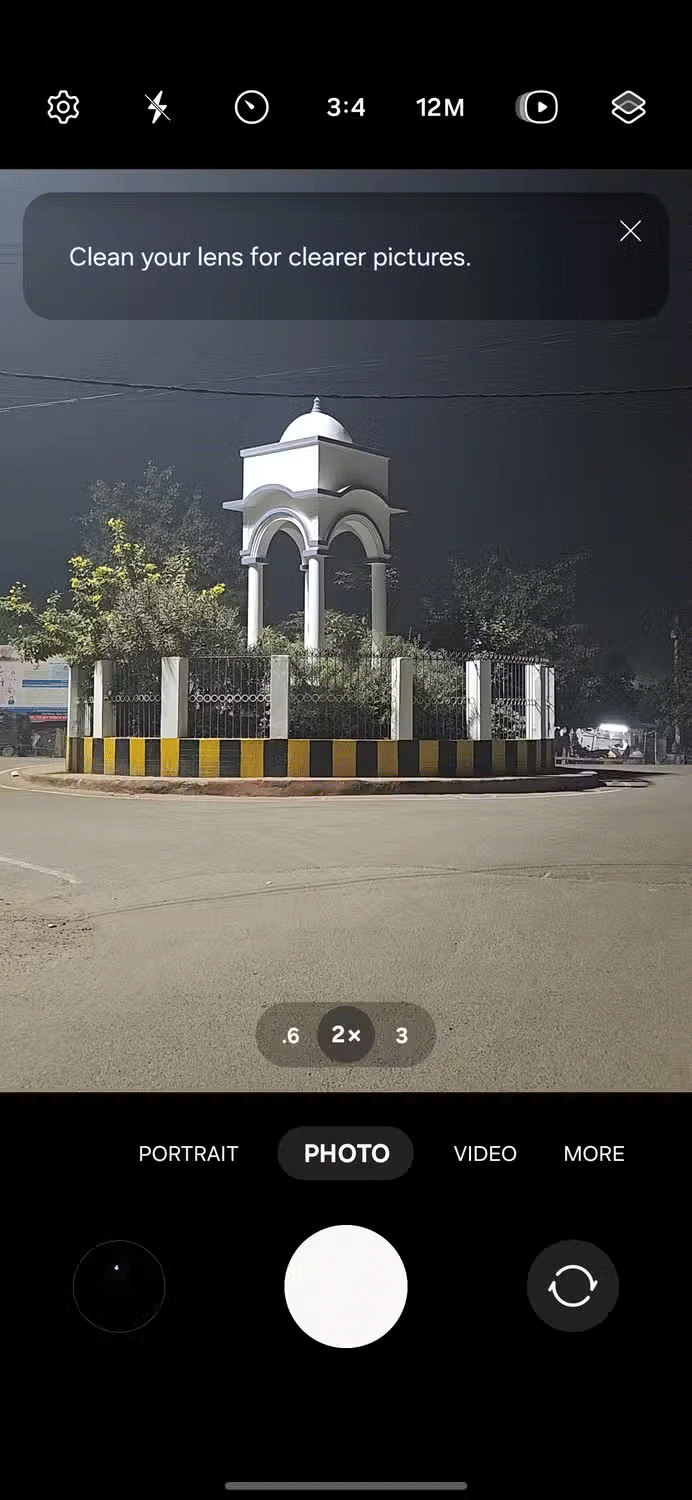
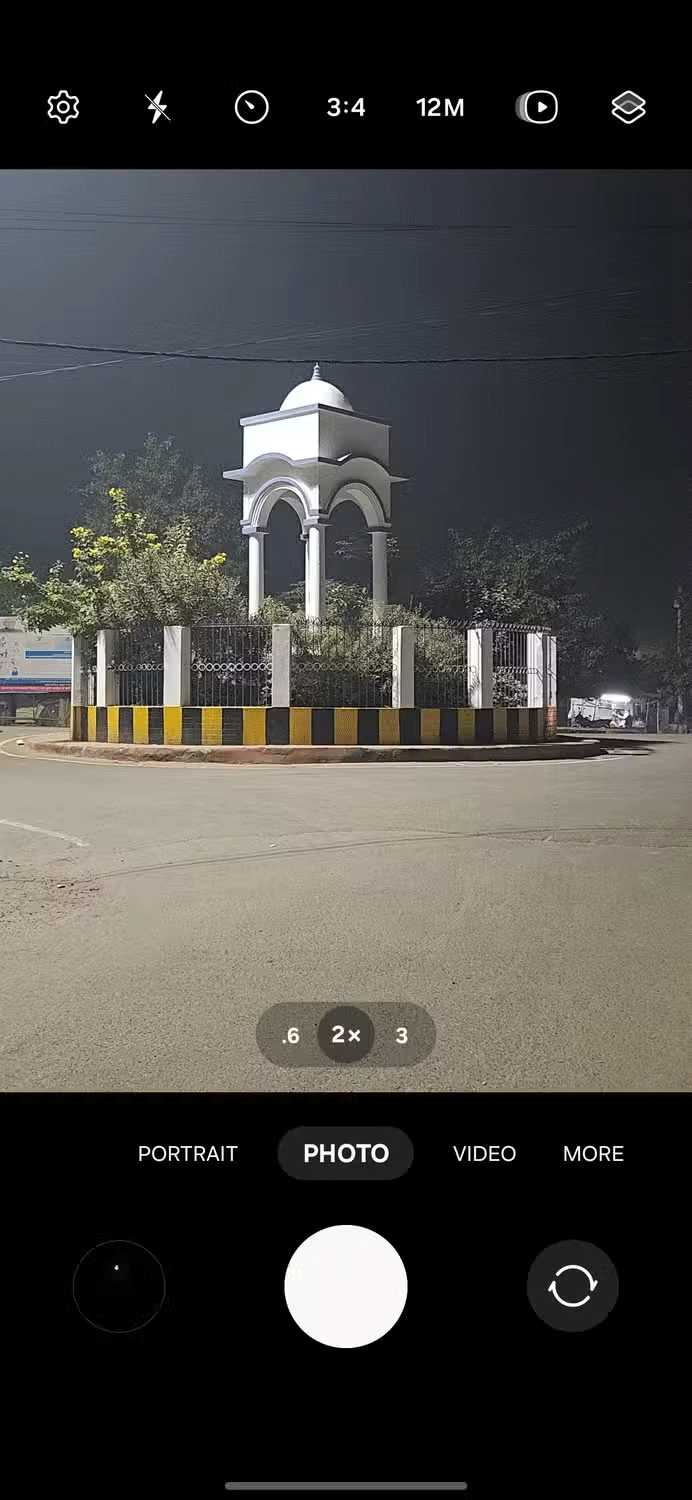
To get sharp night shots, make sure your lens is clean. Dust, smudges, or fingerprints can ruin image quality. Even if your camera is steady, a dirty lens will cause blurry photos. It only takes a few seconds to clean, but it makes a big difference in the final image.
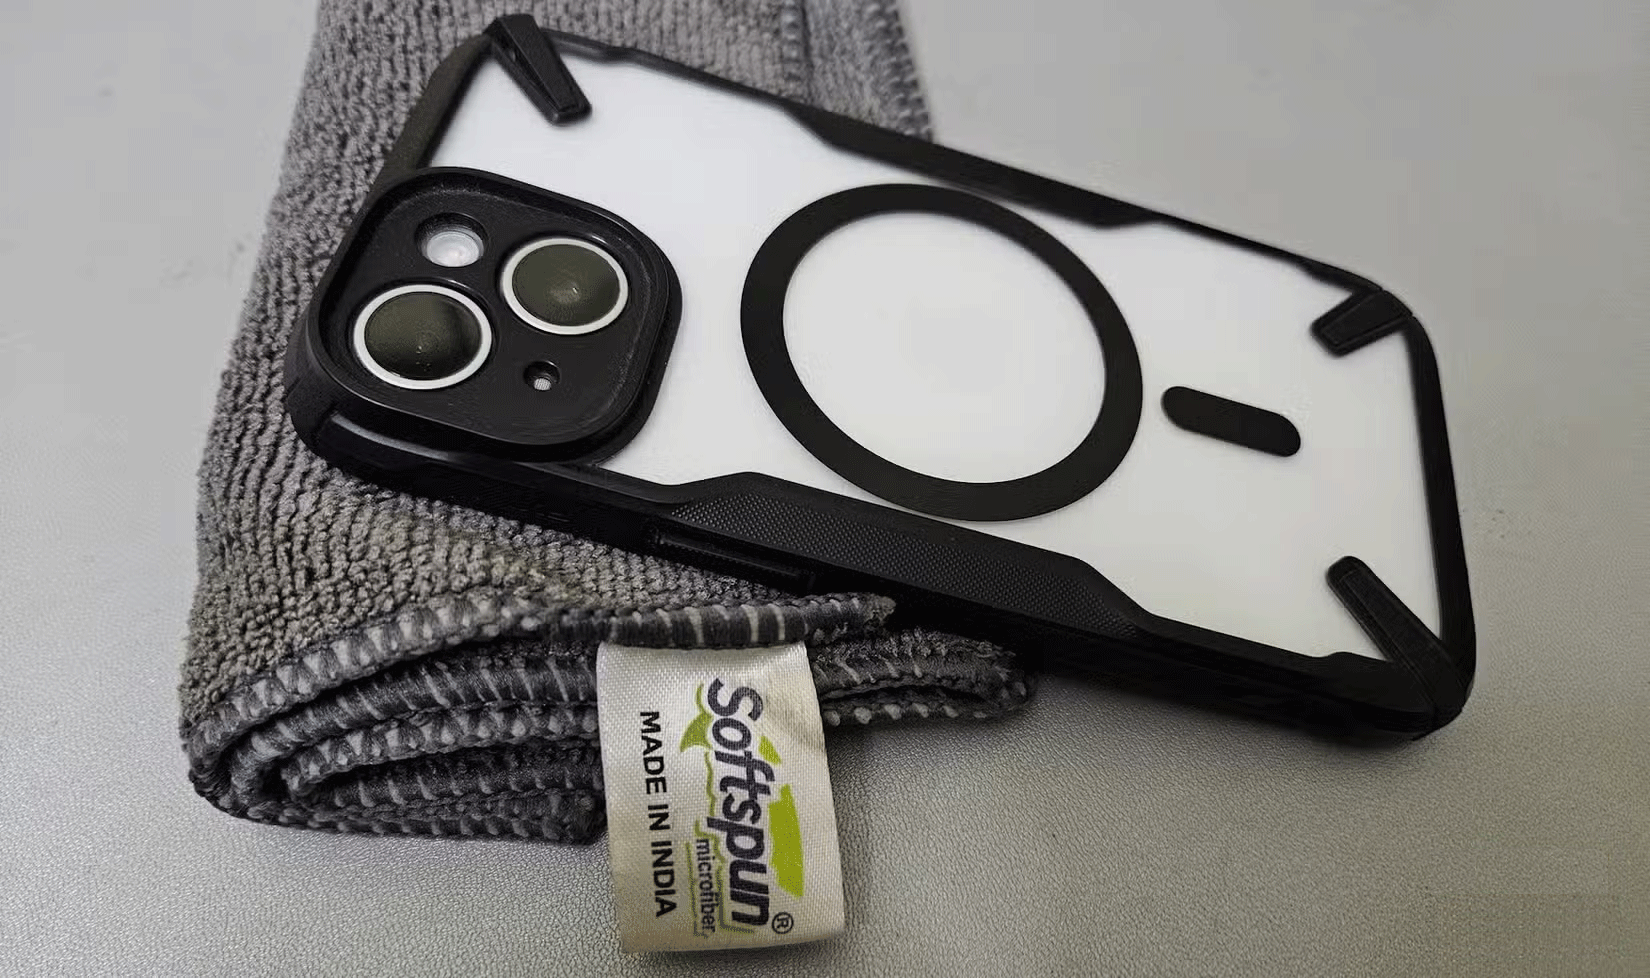
When taking night photos, clean your lens thoroughly. Use a microfiber cloth to wipe away any dust or smudges - it's gentle and won't scratch the lens. Wipe in a circular motion from the center outward, then gently blow on the lens to remove any remaining debris.
3. Avoid flash and direct light sources
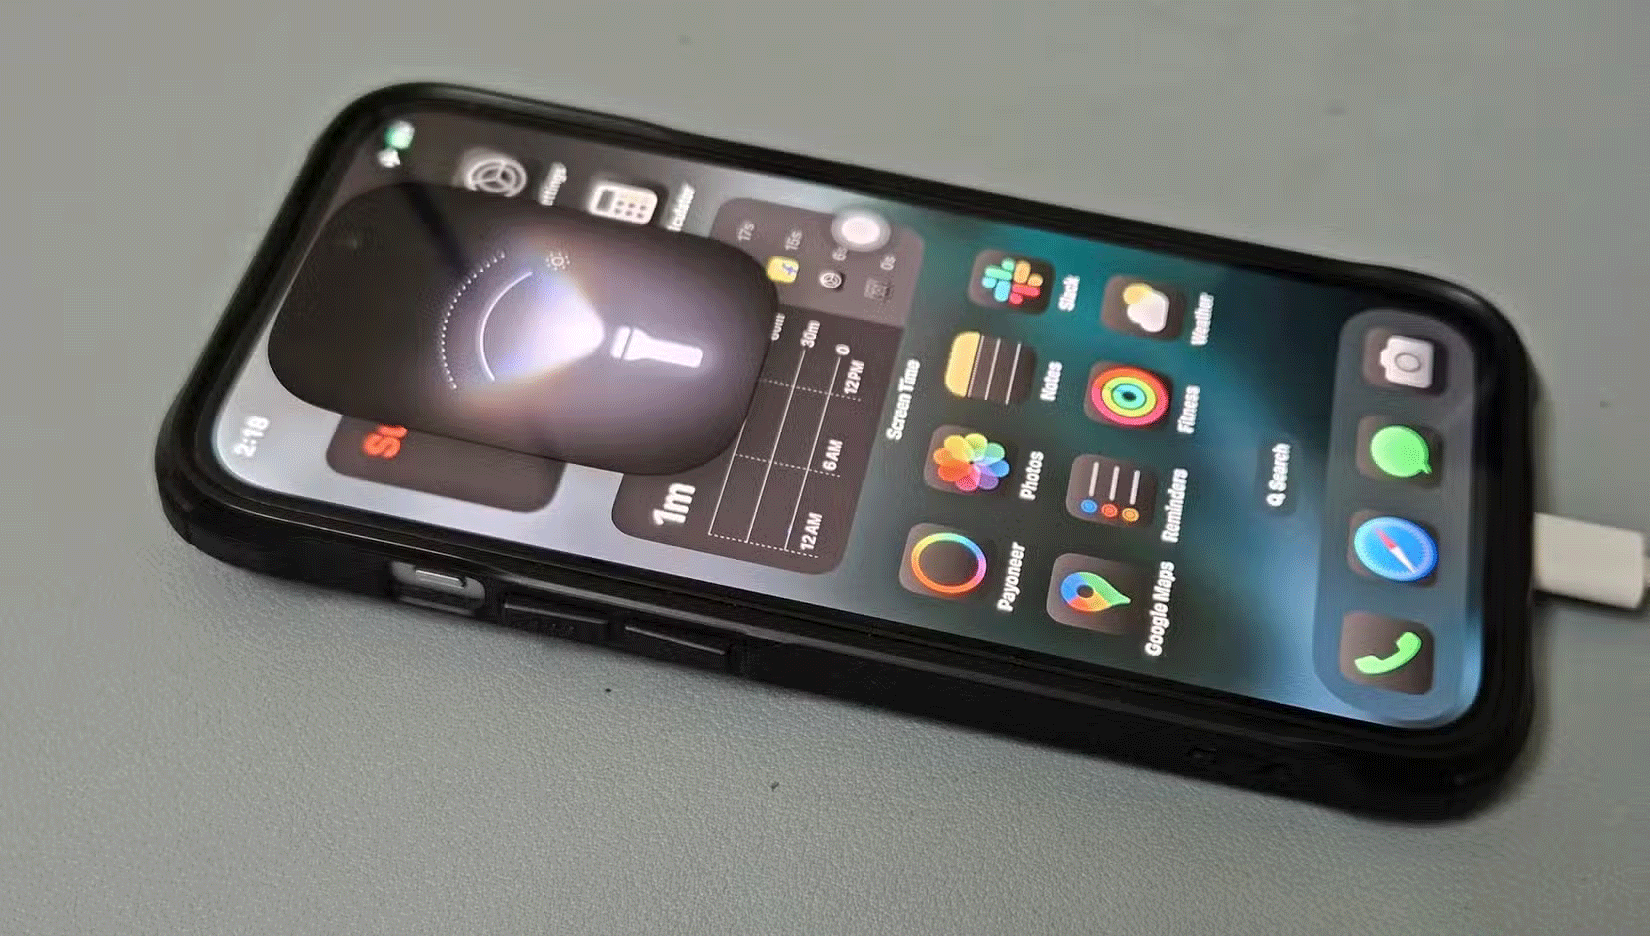
Flash may seem like a good idea for night photography, but it's often not. Flash throws harsh, unnatural light that washes out color and texture. Instead, try using the natural or artificial light that's already there. Streetlights, building lights, and even moonlight can add great atmosphere to night photography.
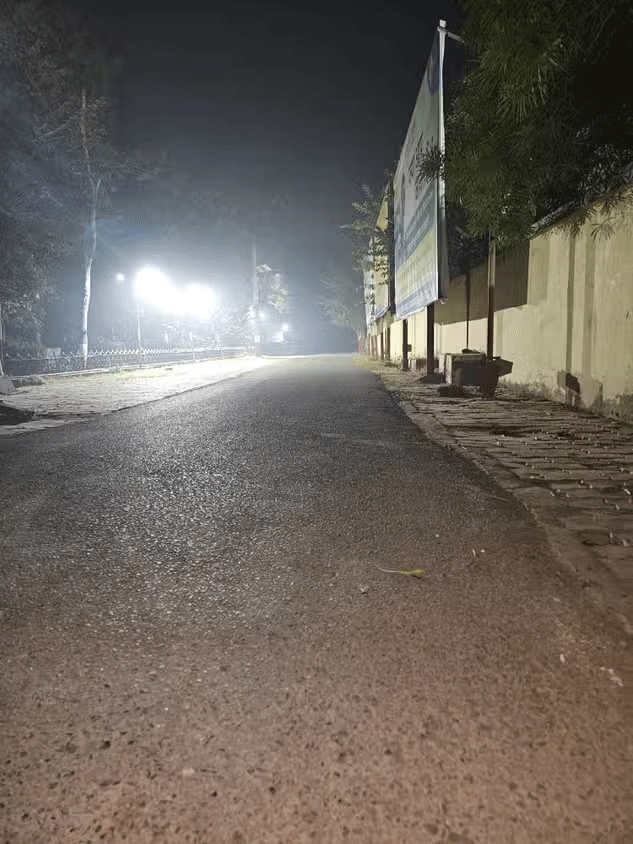
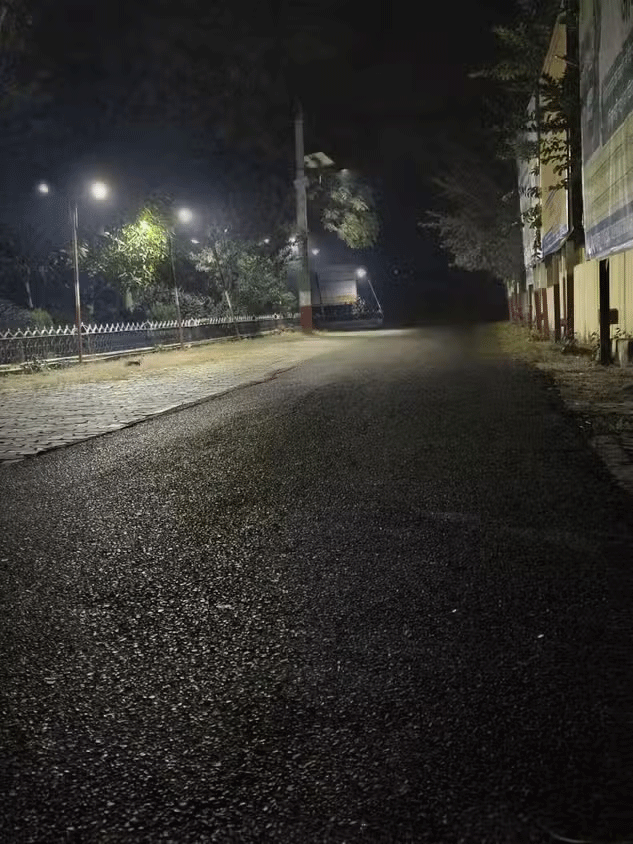
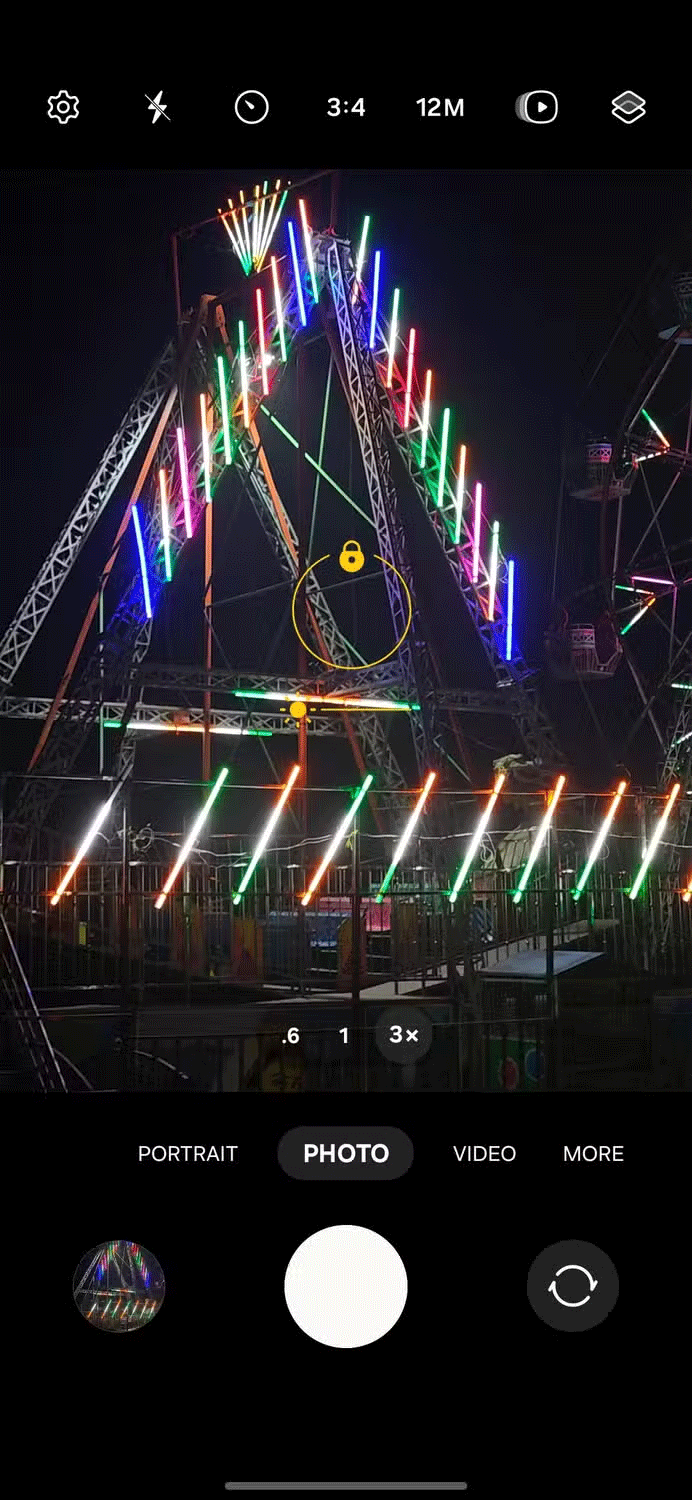
4. Manual exposure adjustment
Exposure is the amount of light that enters the camera when you take a photo. Too much light will result in an overexposed photo, while too little will result in a dark photo. Getting the exposure right is the key to taking great photos.
In low light situations, the camera tends to brighten things up to capture more detail, which can result in overexposed highlights and grainy shadows. So you should adjust the exposure manually in these situations to get the results you want.
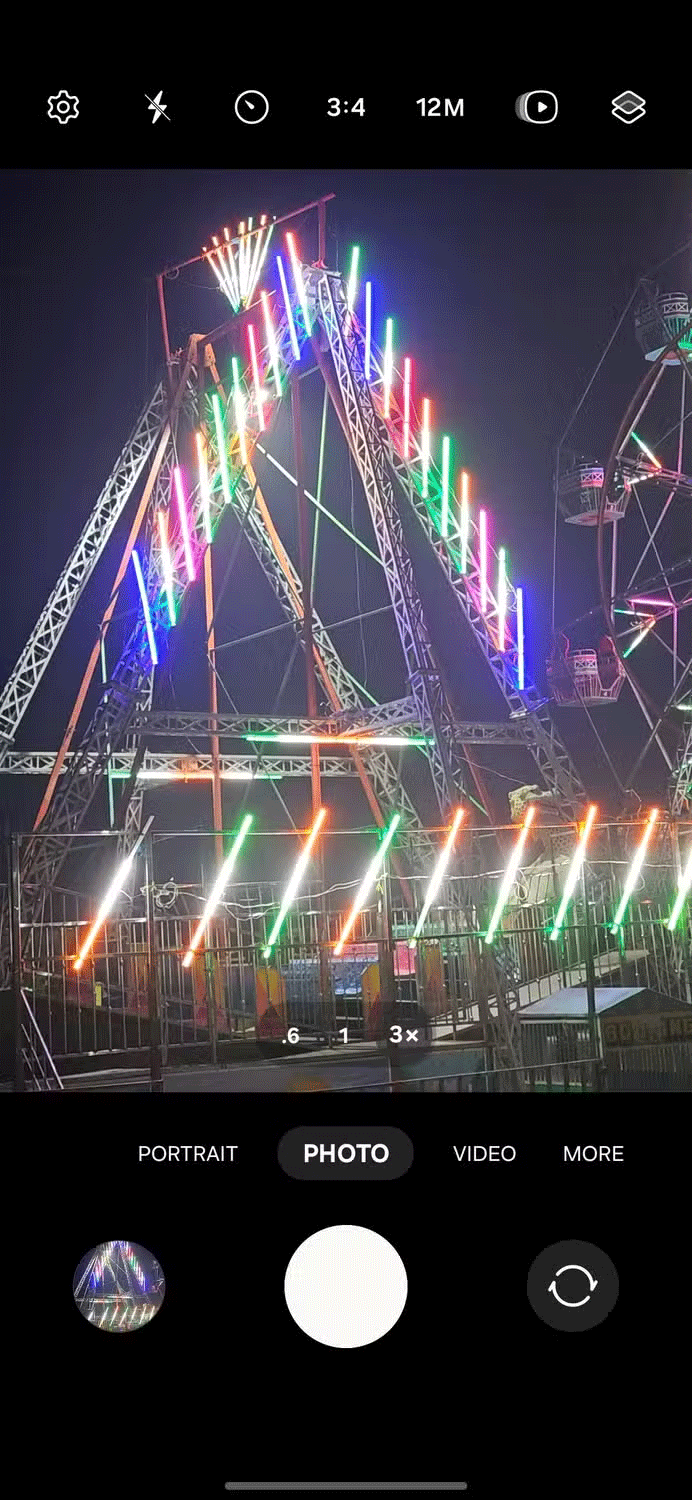
5. Turn on night mode or adjust HDR settings
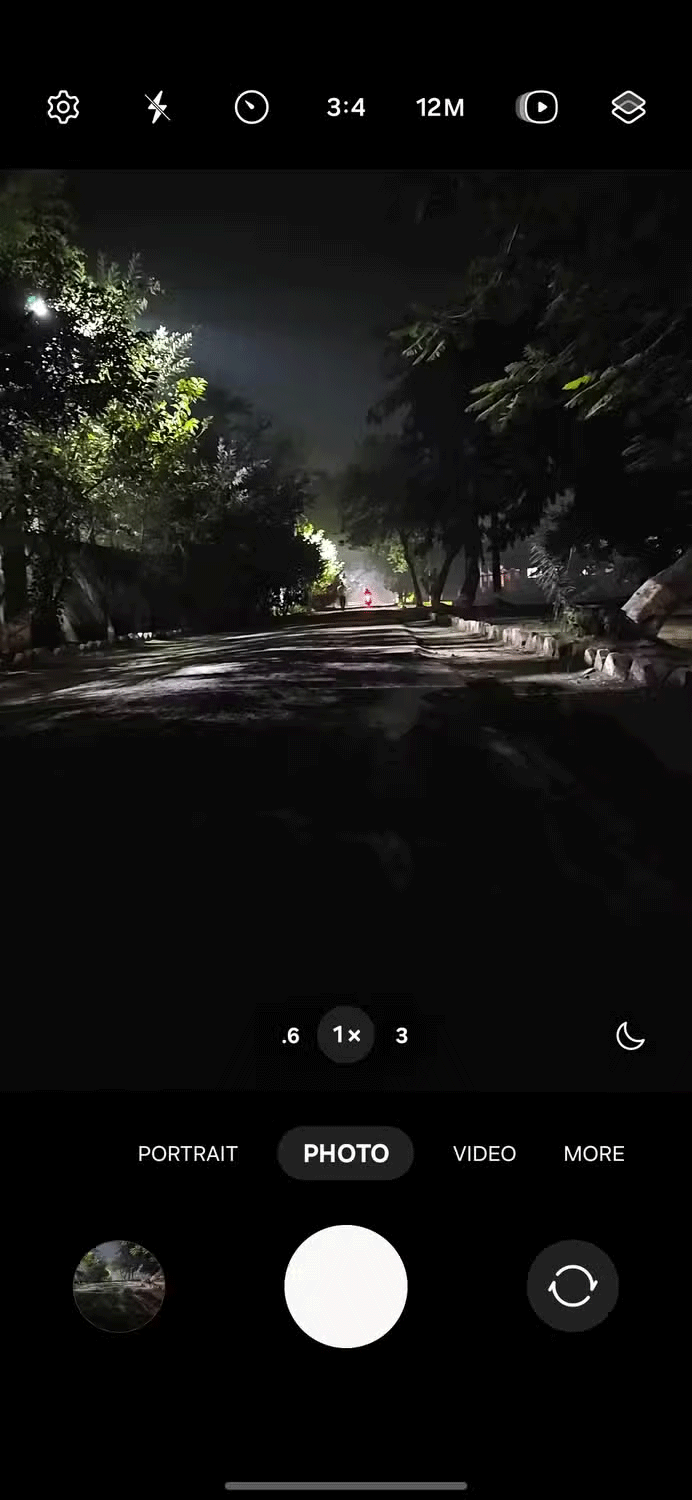
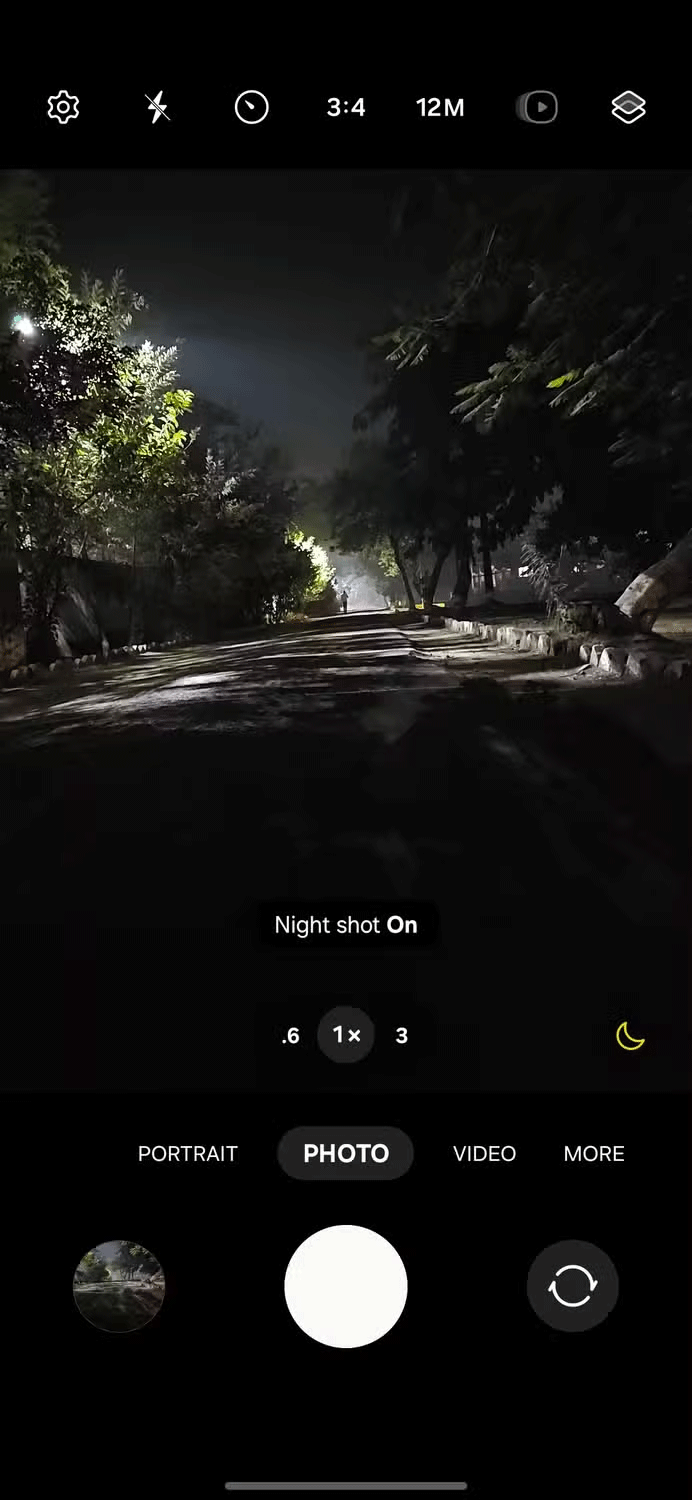
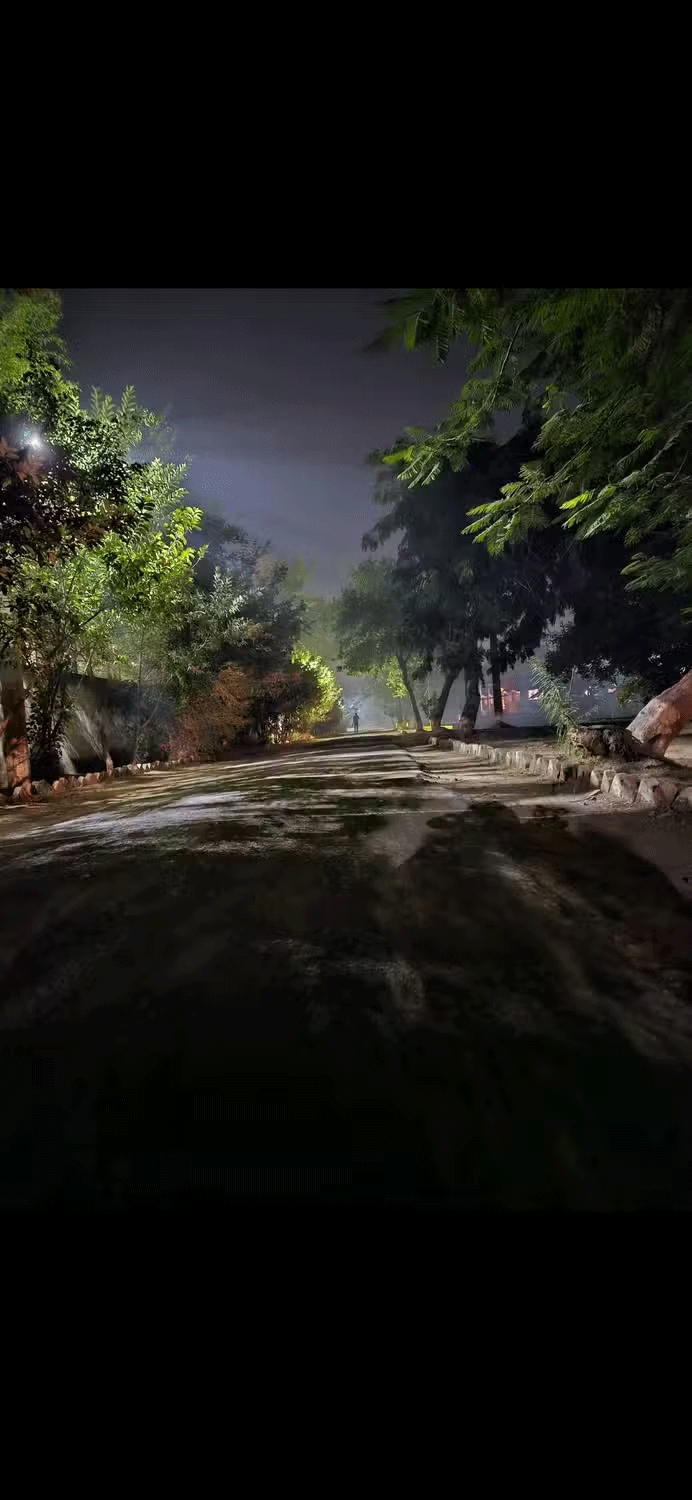
Almost all smartphones today have a night mode camera. Some brands may call it Low Light or Night Sight, but they all do the same thing. The feature detects low-light conditions and adjusts the camera settings accordingly. It can increase exposure time, slow down the shutter speed, or take multiple photos and combine them into one stunning photo.
This way, you can take clear night shots without any extra equipment. Just be careful about motion blur if you or your subject moves. To avoid this, use a tripod or prop your phone up on something stable.
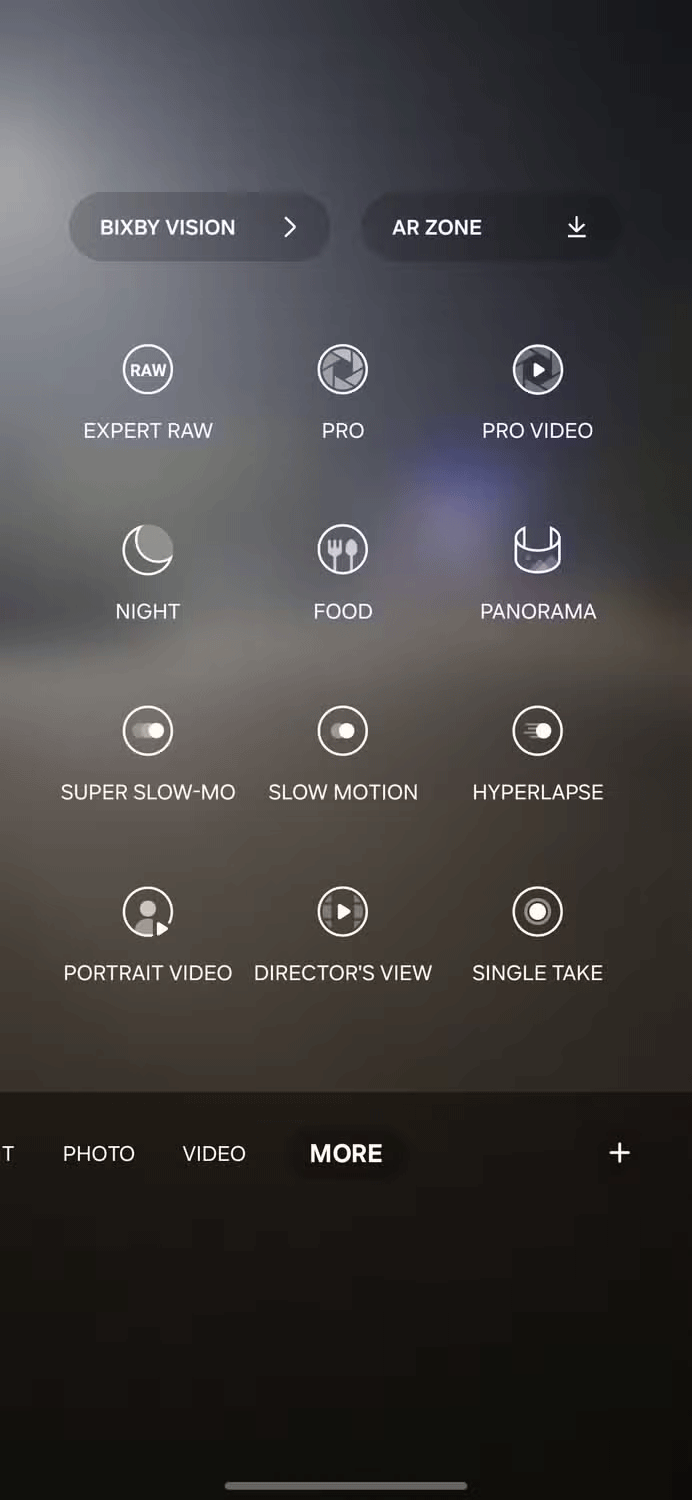
6. Use Pro Mode for more control
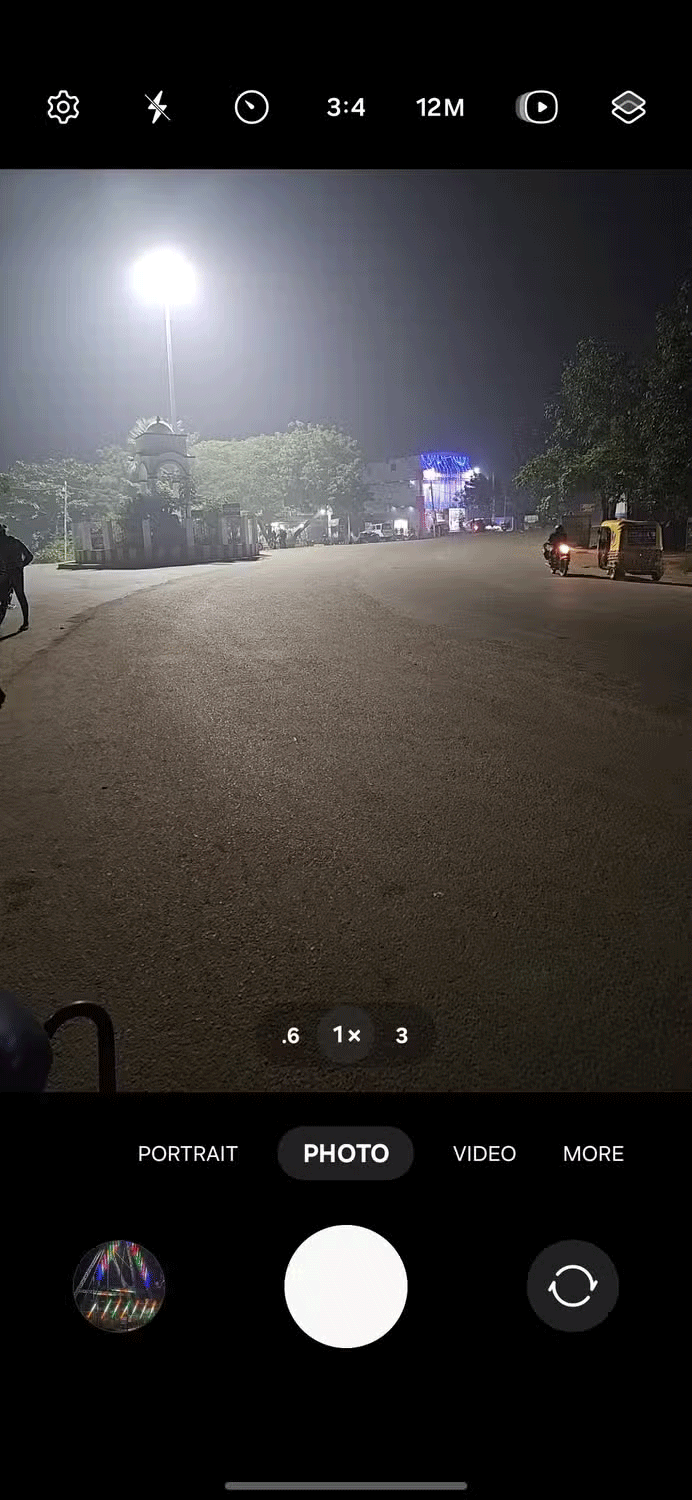
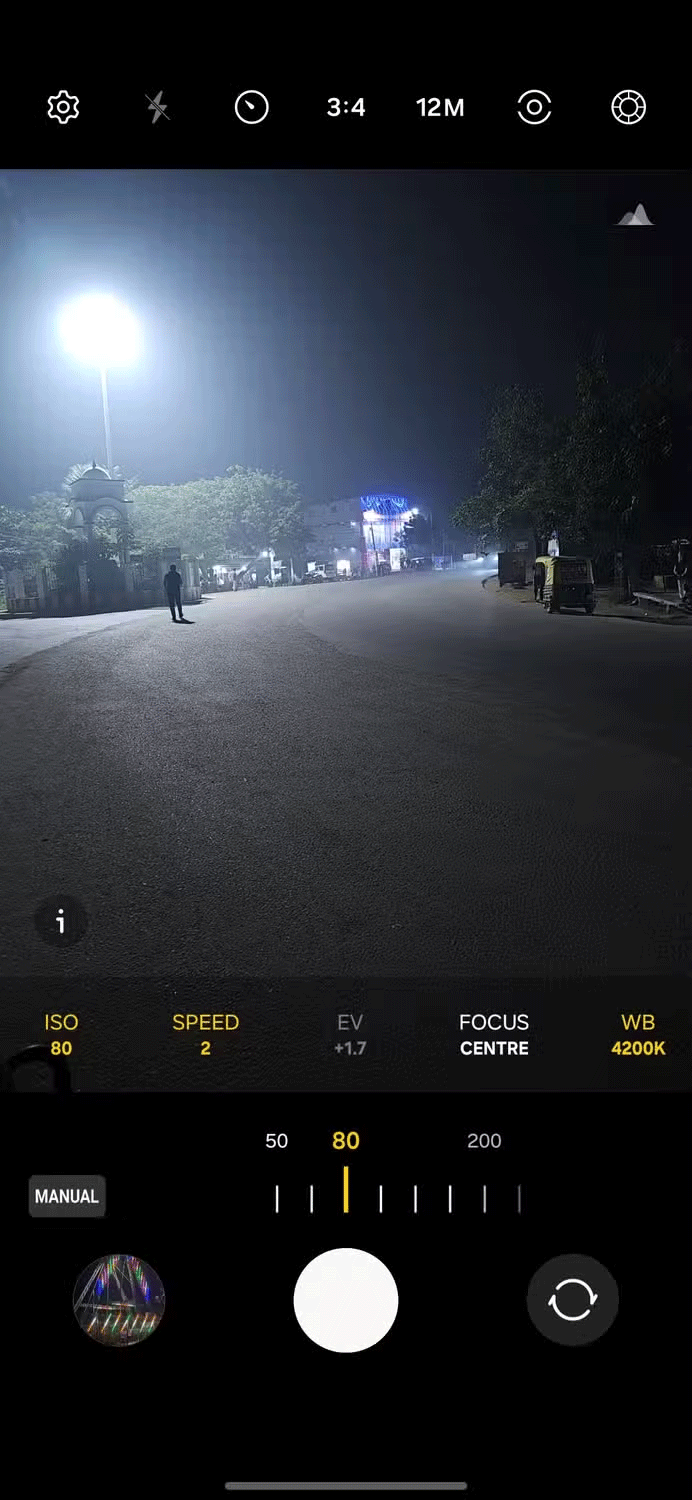
Pro Mode on your smartphone camera allows you to manually control various settings. Unlike automatic mode, where the camera decides everything, Pro Mode gives you control over how you take your photo. This feature is usually found on high-end smartphones, where you can manually adjust the shutter speed, ISO, and white balance.
When taking photos at night, use a longer shutter speed, around 1/4 to a few seconds. This lets more light into the camera, giving you a brighter photo. But be careful – longer shutter speeds can blur your photos if your hands aren't steady. Use a tripod or place your phone on something sturdy to avoid this!
7. Shoot in RAW format
The RAW format is like a digital version of negative film. It captures and stores raw data from your camera's sensor without compression or processing. This means you get the highest quality images possible and a lot of flexibility when it comes to editing.
With RAW files, you have complete control over the final image. You can adjust exposure, white balance, and color temperature without losing quality or detail. Unlike JPEGs, which are compressed and lose data every time you edit them, RAW files retain the data and can be edited multiple times without losing quality.
The key to taking a great photo is finding the right balance between your settings and experimenting until you get the perfect shot. So experiment and see what works for you.
Good luck!
See also the following articles:
You should read it
- ★ Huawei P20 Pro photographed at night is even more beautiful than the Pixel 2 XL
- ★ 5 types of photos ideal for those who like to travel
- ★ Photographic tips that cast shadows in photography
- ★ The secret to photography is backlit in the bright sunny days
- ★ 10 simple photography techniques for impressive photos