How to Preserve Fresh Okra
Okra is a tall-growing, annual vegetable known for its edible seed pods that can be used to thicken soups and stews or served whole as a side dish. No matter what your plans, you should first learn how to properly preserve fresh okra.....
Method 1 of 3:
Refrigerating Fresh Okra
-
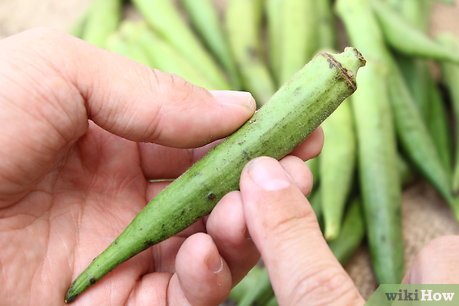
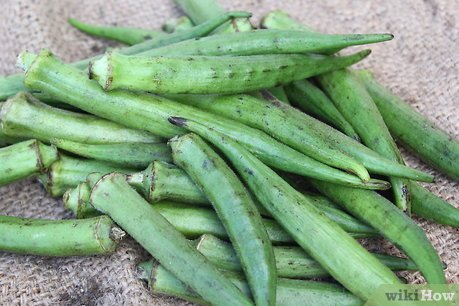
 Harvest fresh okra from your garden. Focus on choosing the youngest, most tender pods. Separate the small pods (4 inches (10 cm) and under) from the large pods (over 4 inches (10 cm)).[1]
- Pods that are 2 to 3 inches (5.1 to 7.6 cm) long are ideal.[2]
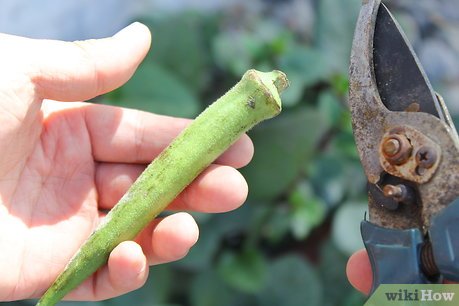
- Cut the stem right above the cap using garden scissors. If it is too hard to cut, the pods are too old and should be disposed of.
-
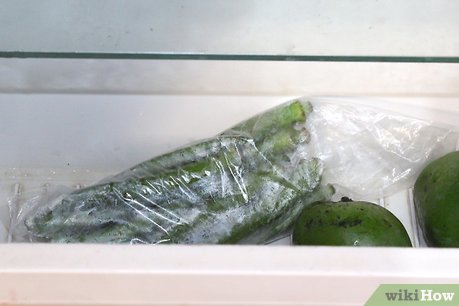 Store your dry, unwashed okra pods in your refrigerator. Loosely wrap them in perforated plastic bags and store them in your refrigerator's vegetable crisper. Don't wash them prior to storage, as moisture will promote mold growth and make them slimy.[3]
- Store them for 2 to 3 days. Use them immediately if their ridges and tips turn black.
- Keep your pods away from raw meat and meat juices to prevent cross-contamination.
-
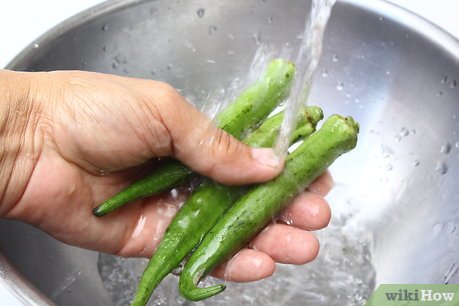
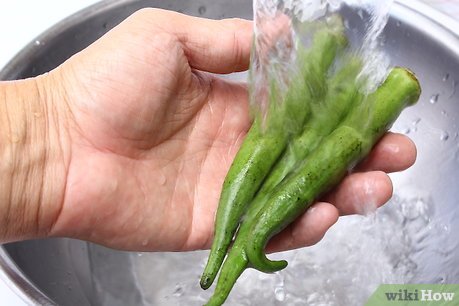 Wash your okra pods thoroughly after removing them from the fridge. Use cold or room temperature water. Gently move them under the water with your fingers to ensure that their entire surface is cleaned.
- Wash your hands before and after handling your fresh okra.
- Prepare your okra before using it in meals.
Method 2 of 3:
Canning Your Okra Pods
-
 Harvest okra about 2 months after planting. When the first harvest is ready, choose pods that are 2 to 3 inches (5.1 to 7.6 cm).[4]
- Cut the stem just above the cap using garden scissors. If it is too hard to be cut with a knife, the pod is likely too old and should be disposed of.
- About 1.3 pounds (0.59 kg) fills a 1⁄2 litre (0.13 US gal) jar.[5]
- About 1.5 to 2 pounds (0.68 to 0.91 kg) fills a 1 litre (0.26 US gal) jar.
-
 Clean your plants thoroughly to remove dirt and insects. Gently wash the pods under cold or room temperature water. Rub their surface and move them around to ensure thorough cleaning.
- Keep an eye out for any residual dirt or bugs.
-
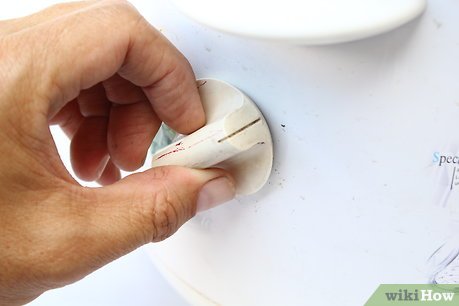
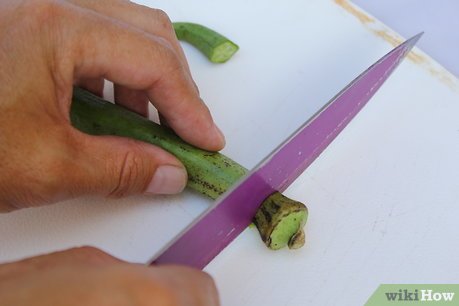 Prepare the pods for blanching. Trim the ends of your pods using a kitchen knife. Afterwards, you can either leave them whole or slice them horizontally into 1 inch (2.5 cm) pieces.[6]
- Wear gloves and long sleeves to avoid skin irritation from okra spines. If you're using a spineless variety, you don't need to worry.[7]
-
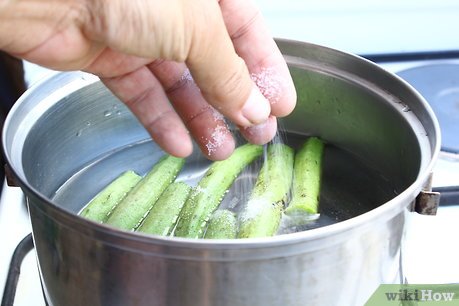 Blanch your okra pods to prevent loss of flavor, color, and texture. Put your pods into a medium saucepan with a small amount of lightly salted water.[8] Pour hot water over them to boil them quicker. Once your okra pods begin to boil, leave them in the saucepan for 2 minutes.
- Drain your pods using a kitchen strainer after blanching.
-
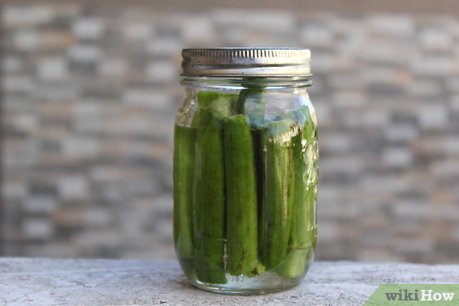
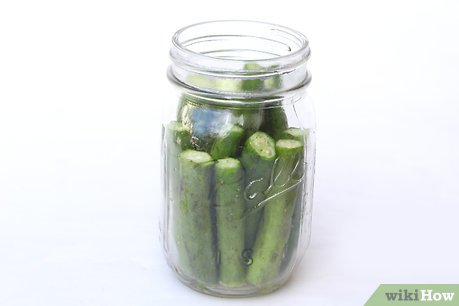 Put your boiled okra pods into jars. Use either 1⁄2 litre (0.13 US gal) or 1 litre (0.26 US gal) jars.
- Add 1⁄2 teaspoon (2.5 ml) of salt to 1⁄2 litre (0.13 US gal) jars.
- For 1 litre (0.26 US gal) jars, add 1 teaspoon (4.9 ml).[9]
-
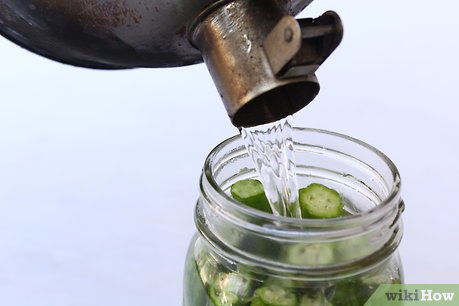 Fill your jars with the leftover cooking liquid or boiling water. Add your cooking liquid or fresh boiling water from a kettle. Pour the liquid or water 1 inch (2.5 cm) from the top and remove any air bubbles.[10]
- To remove air bubbles, place a nonmetallic spatula or plastic knife inside the jar. Position it between the food and side of the jar. Gently press it against the food to create a path for air to escape.[11] Repeat this process around the inside of the jar until air bubbles are minimized.
-
 Set your canner pressure. Use 10 pounds (4.5 kg) for weighted gauges and 11 pounds (5.0 kg) for dial gauges. If your altitude is over 300 metres (980 ft) per 1,000 feet (300 m), adjust pressure accordingly.[12]
- Processing time for higher altitudes can be viewed here: http://msue.anr.msu.edu/resources/michigan_fresh_okra.
- Process your boiled okra pods in your pressure canner. Place your okra pods into your pressure canner for 25 minutes for 1⁄2 litre (0.13 US gal) jars and 40 minutes for 1 litre (0.26 US gal) jars. These times apply to all weights and altitudes.
- Let your jars of fresh okra sit undisturbed for 24 hours. Afterwards, remove the rings, label, and store them.
-
 Store your okra jars in the proper environment. Let the jars sit for 7 to 10 days max at between 45 to 50 °F (7 to 10 °C) and at 90 to 95% humidity.[13]
- Jars that do not seal properly must be resealed in a clean jar with a new lid. You can refrigerate them. For refrigeration, wrap them loosely in perforated plastic bags a maximum of 2 to 3 days.[14]
Method 3 of 3:
Freezing Your Okra Pods
-
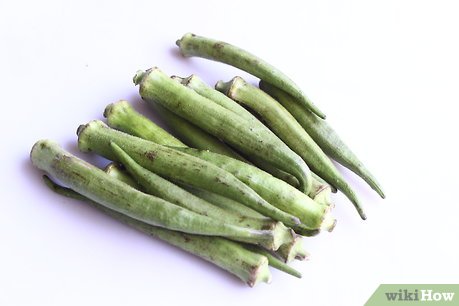
 Harvest the youngest okra pods. Select the youngest and most tender pods and separate them based on size. Small pods are those that are 4 inches (10 cm) and under. Large pods are anything over 4 inches (10 cm).[15]
- Smooth varieties of okra typically freeze more effectively than ridged varieties due to their resistance to splitting.[16]
- If you're going to freeze okra, select pods no longer than 2 to 2 and 1⁄2 inches (5.08 to 6.35 cm).[17]
-
 Wash your pods in water to remove dirt and bugs. Use cold or room temperature water, between 59 to 80 °F (15 to 27 °C). Gently move the pods around to ensure that they are properly cleaned.
- Always watch out for residual dirt and insects.
-
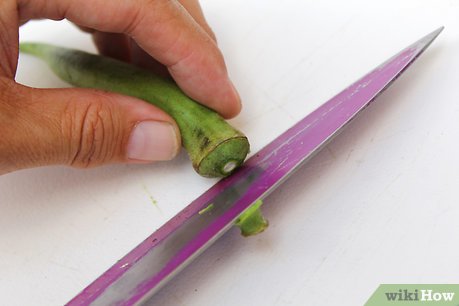 Cut the stems from your fresh okra pods using a kitchen knife. Remove the stems located on the end of the seed cells. Use caution and be careful not to expose the seed cell.[18]
- Always prioritize safety, but cut at a good pace. If you leave okra pods to sit for more than a ½ hour, they will begin to discolor.
-
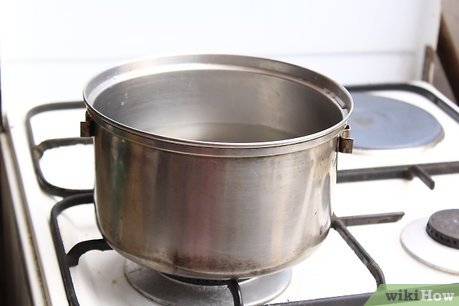 Prepare boiling water in a pot. Fill a pot of boiling water about 2/3 of the way to the top. Use around 1 gallon (3.8 L) water per 1 pound (0.45 kg) of prepared okra.[19]
- Prepare a large bowl of ice and cold water to receive the okra pods following blanching.
-
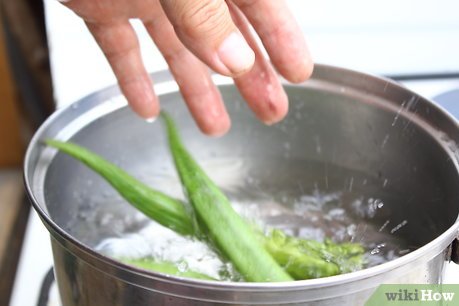 Blanch your okra pods to destroy unfavorable enzymes and bacteria. To prevent discoloration and nutrient loss, place your fresh pods in boiling water. This brief treatment is called blanching.
- Cook small pods for 3 minutes and large pods for 4 minutes.[20]
-
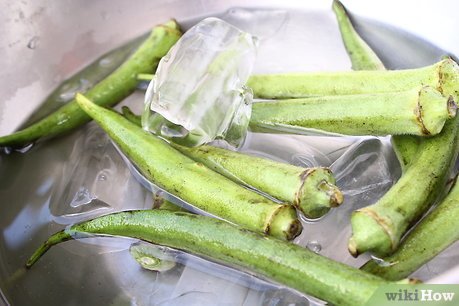 Cool your blanched okra pods to prevent it from overcooking. After blanching your pods, remove them from the boiling water using a slotted spoon and place it in your ice water for approximately 5 minutes.[21]
- Add more ice to your bowl if previous cubes begin to melt.
-
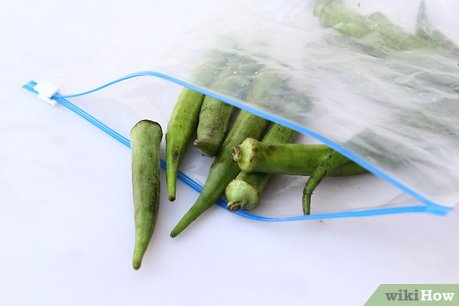 Seal your fresh blanched okra in plastic bags to preserve them. Place your fresh pods in vacuum sealed plastic bags. Remove any air bubbles to prevent your okra from drying out and experiencing freezer burn.[22]
- If you don't have vacuum sealed bags, ziploc bags will work fine.
- When zipping the top of ziploc bags, leave a small space to accommodate the tip of a soda straw. Remove air through the straw by sucking out. Afterwards, press the straw closed where it is inserted and remove it as you press the bag closed.
-
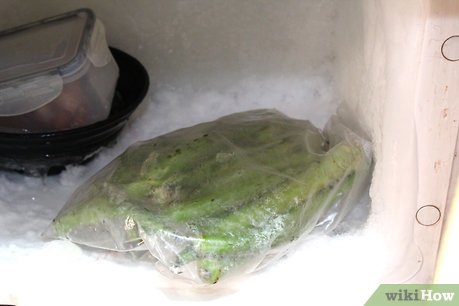 Put your sealed bags in the freezer. Fresh pods can usually be frozen for up to 9 months in a Ziploc bag stored in a standard freezer. If stored in a deep freezer in a vacuum-packed bag, they can last up to 14 months.[23]
- Exceeding the recommended time will decrease the quality of taste.
- If there's going to be a delay between harvesting and freezing, you can put your fresh okra pods in the refrigerator. Loosely wrap them in perforated plastic bags for 2 to 3 days max.[24] When the ridges and tips of the pods darken, it's time to use them immediately.
-
 Finished.