How to Make Cosplay Armor
Part 1 of 3:
Creating Your Design
-
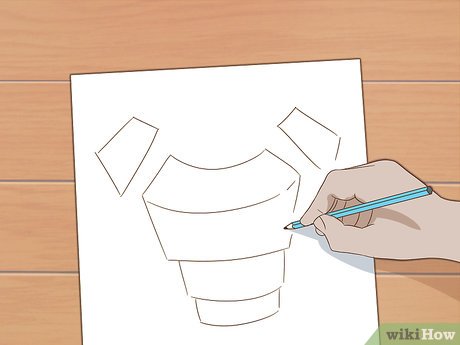
 Decide on the general design you want. Look up images of your character online and think about what pieces of armor you'll need. Start to sketch out the basic look on a piece of scratch paper.[1]
- For basic armor, you should at least have a chest pad and some shoulder or arm pieces. You can also add armor on your legs and a helmet.
- You can copy or draw inspiration from a specific look or even from other cosplayers, if you want. Run a Google Image search or look on sites like Pinterest as a place to start.
-
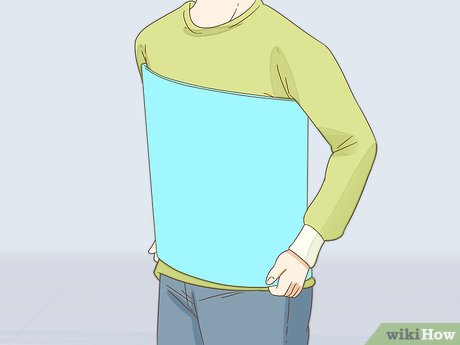
 Tape poster board onto your body. Now you'll transfer your design to a larger sheet of paper, which will serve as a rough draft and measuring tool for your final product. To do this, first tape stiff poster board paper around your chest, arms, and legs. You may need to bend it around your body or create large 'tubes' out of the paper to get complete coverage.[2]
- Your real armor will be made of craft foam, but you'll use this poster board rough draft to make sure it's the right size.
-
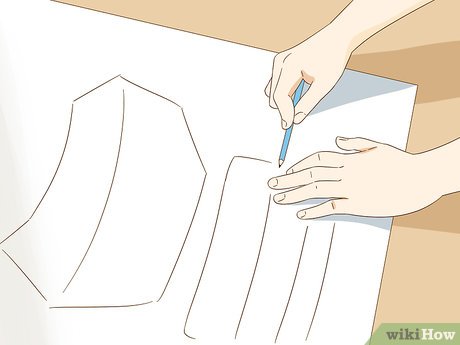
 Sketch the shapes for each piece of armor onto the poster board. Use a pencil or pen to draw the design onto the paper. The design doesn't need to be perfect; you're just looking to get an accurate size for the main pieces of your armor. Don't add any embellishments yet, either—just get the general shape of the pieces.
- You can save time by using the same tracing for identical pieces, like arm or leg segments.
- You can also use a mannequin or measure your armor on a friend instead.
-
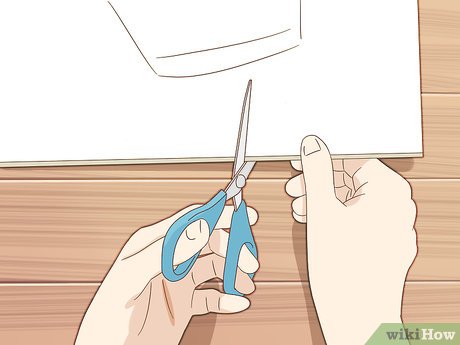
 Cut the poster board into the armor shapes. Remove the armor from your body and carefully cut it out with scissors. Make sure each piece is separate from the others and cut exactly as you want your armor to look.
 -
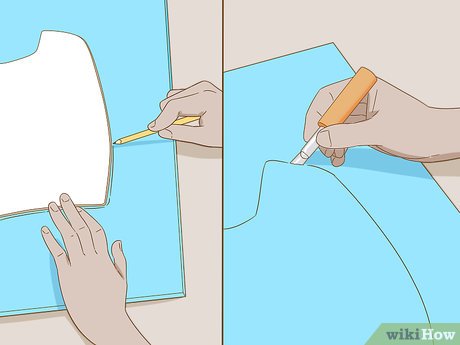
 Trace the armor onto craft foam and cut it out. Set a thick piece of cardboard down on your cutting surface to protect it, then lay the cut out poster board pieces on your craft foam. Trace around them with a pen or pencil, labeling them if necessary to help you assemble them later. Then, use a sharp blade or exacto knife to cut out the pieces one by one. Cut slowly and make sure the edges are neat and smooth.[3]
Tip: You can find craft foam online or at crafting stores.
Part 2 of 3:
Shaping and Assembling the Armor
-
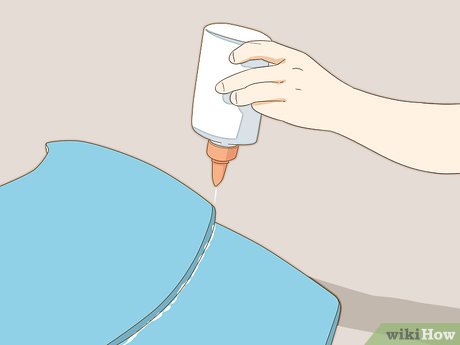
 Glue together any pieces that need to attach to each other. For some costumes, you'll need to cut out pieces separately, then attach them later to get a certain look. If this is the case with your cosplay outfit, start putting these pieces together now with liquid glue. Use a thick, even layer, then press the pieces together for a minute. Let them dry for 5 minutes before moving on.[4]
- You can use hot glue if you want, but liquid white school glue should be strong enough to hold the pieces together.
-
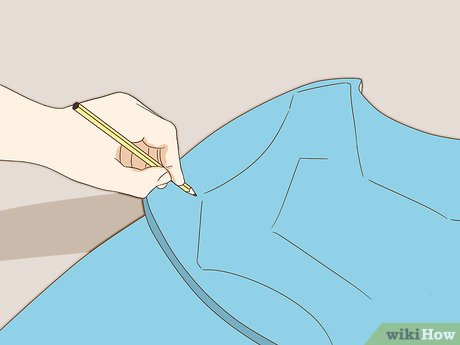
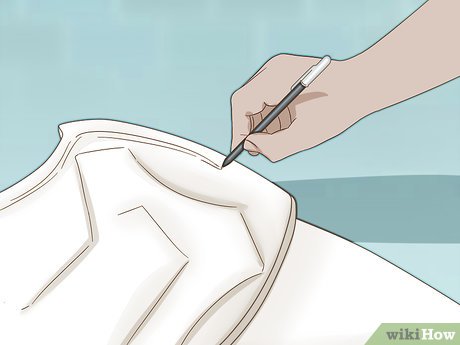
 Draw on any designs you want with a pen or pencil. If you know want to add any designs or embellishments to your armor later, it's easiest to draw them on now, before you start shaping the armor. Use a pen or pencil and sketch lightly so you don't dent the foam.[5]
- Look at your design and pictures of your cosplay character for ideas of what designs to add. You'll make them colorful or shiny later—for now, you're just sketching where you want them to go.
-
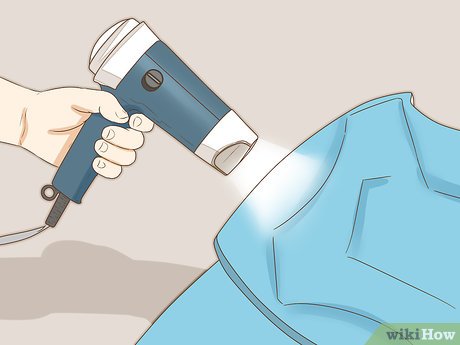
 Heat the craft foam armor over a heat gun or with an iron. To shape the armor so that it fits your body, you'll first need to heat it up with a heat gun, a flameless gas stove, or an iron. Hold your foam over the heat for just a few seconds. You can wear oven mitts to protect your hands, but you shouldn't heat the foam long enough for it to be painful to hold.[6]
- The easiest way to heat your foam is with a heat gun, which you can find in the stamp section of crafting stores, but you can also use other options, like a gas stove or an iron over an ironing board.
- Don't use a lit stove with a flame, which could cause the foam to catch fire.
Tip: Practice heating your foam with a few scratch pieces first. See how long you need to heat it for it to get pliant and floppy, but not bubbly or melted.
-
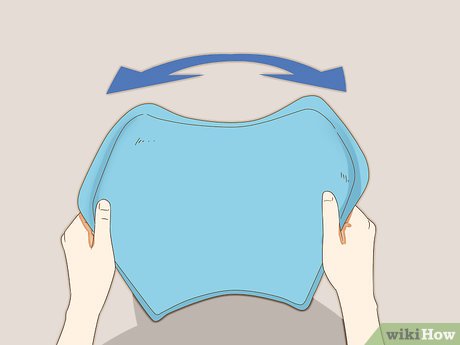
 Shape the armor while it's still warm. When the foam gets soft, take it off the heat and immediately start bending or folding it into the shape you want. You can mold it over a form, like a rolling pin, a box, or even your body, or bend it into shape with your fingers. The foam will cool quickly and will hold its new shape once the heat fades.[7]
- If you don't shape it right the first time, return the foam to the heat source and try again.
- Try on the armor once it's cooled and make any adjustments you need to.
-
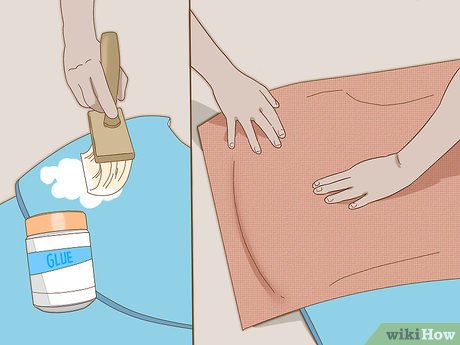
 Strengthen the armor with fabric backing. If you want to make your armor more stable and durable, you can add an extra layer of fabric backing. Lay out a piece large enough to cover the the back side of your piece of armor, then paint the back of the armor with an even coat of liquid glue. Place the fabric over it and smooth it into place, then let it dry and cut off the excess with scissors.[8]
- Once it dries, brush on another coat of glue on top to seal it. If you want your armor to be even stronger, add a second layer of fabric backing; if not, simply let the glue dry.
- Use a fabric like cotton crinkle gauze, which is lightweight and easy to work with.
Part 3 of 3:
Adding Extras
-
 Add etchings with a ballpoint pen. Now that your armor is put together, it's time to decorate it! Etchings are simple to do and can give your armor a sense of depth and realness. To add them, simply press into the foam with a ballpoint pen in the design you want.
- Don't worry about getting ink on the foam—you'll be painting over it soon.
-
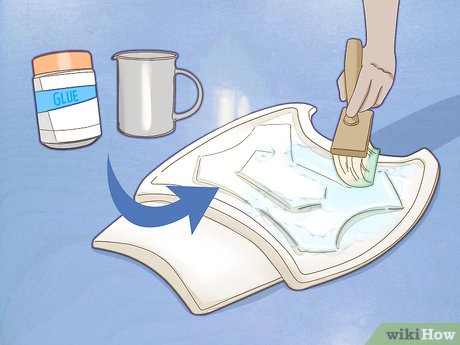
 Seal your craft foam with a mixture of glue and water. Mix together 1 part liquid glue, 1 part fabric glue, and 2 parts water. Use a paint brush to apply it to your foam in thin, even coats, letting it dry in between each coat. Keep adding coats until you get a smooth finish with no air holes.
- You may need up to 7-8 coats to achieve a smooth, even look.
- Sealing your armor will protect it and help the paint and extra embellishments stay in place.
-
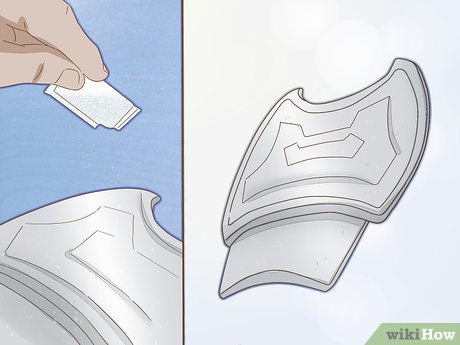
 Use acrylic paints to give your armor some color. Every set of cosplay armor needs a coating of paint, even if it's just a simple silver or gray color. Once you've sealed your craft foam, use a paint brush to apply acrylic paint to the back of the armor. Put on 2-3 thin coats, letting it dry in between, then flip it around to the front and repeat.
- It's important to paint both the back and the front so that people seeing your armor from behind will see the same color as the front.
-
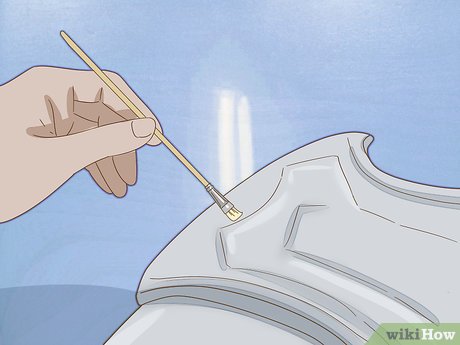
 Add jewels, glitter, or puffy paint for extra texture. Let your imagination and creativity take over! Start adding extra features, like plastic jewels, bursts of glitter, or embellishments in puffy paint. Look at other cosplayers' outfits and images of your character to get ideas. Be creative and decorate your armor so it's uniquely yours.
- To add a weathered look to your armor, paint on a thin layer of black or dark green paint, rubbing it into every crevice. The original color should still come through, but it'll look rougher and more realistic.
Tip: If you want to add raised designs that blend in with your armor, add them before you seal and paint the armor. Then, when you paint over them, they'll seem to rise naturally from the armor.
Share by
Lesley Montoya
Update 24 March 2020
You should read it
- ★ How to Clean Vive Foam
- ★ Admire the real-life Iron Man armor made of titanium, resist bombs and fly with 5 jet engines
- ★ Should a foam bottle be used for a car wash?
- ★ Replace the Paint 3D application with Paint Classic on Windows 10
- ★ Ulefone Armor X5: Military standard smartphone, 5,000 mAh battery, price more than 3 million
