Table of Contents
Windows 10 Creators Update is version 1703, an obsolete 2017 release. This archived guide shows how its bootable USB was created and how a clean installation worked. Do not deploy version 1703 on a normal internet-connected PC.
A USB clean install can erase the entire target disk. Back up personal files, verify the backup, save encryption recovery keys, and disconnect unrelated external drives before starting.
Requirements
- A trusted Windows 10 version 1703 ISO that matches the licensed edition, language, and architecture;
- a USB flash drive with at least 8 GB, with all needed files copied elsewhere;
- a PC compatible with the release and its storage, network, and graphics drivers;
- a valid Windows license;
- a complete backup and recovery media.
For an actively used PC, follow the current Windows 10 USB installation guide or install a newer supported Windows release.
Create the bootable USB
The original tutorial used the Windows 7 USB/DVD Download Tool. Its screenshots are preserved below, but a current Microsoft media tool or Rufus is more appropriate for modern UEFI/GPT and legacy-BIOS choices.
Step 1: Open the USB-writing tool. Verify its source before allowing administrator access.
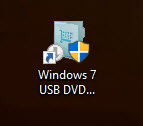
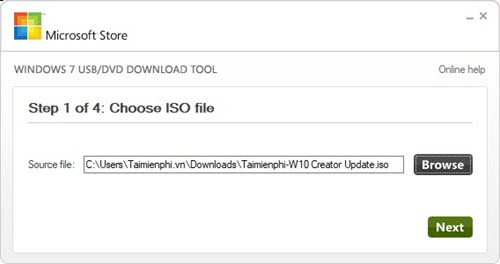
Step 2: Select the verified version 1703 ISO and continue.
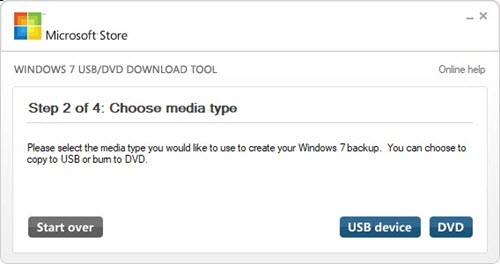
Step 3: Choose USB device as the media type.
Step 4: Select the exact USB drive and choose Begin copying. Confirm its name and capacity—do not rely on the drive letter alone.
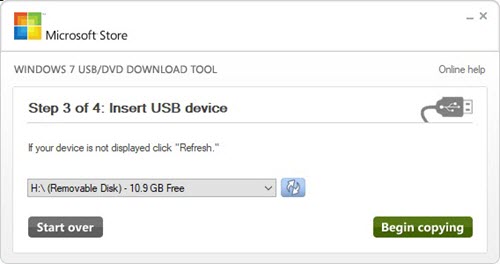
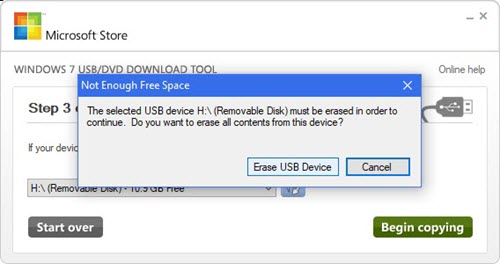
Step 5: The erase warning is literal. Choose Erase USB device only after confirming that the selected drive contains nothing you need.
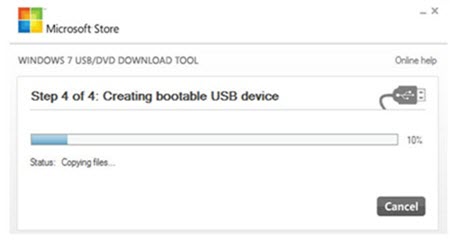
Step 6: Wait until copying finishes, then safely eject the USB.
For clearer GPT/UEFI and MBR/legacy options, see how to create a Windows 10 bootable USB with Rufus.
Boot from the USB
Step 1: Connect the installer to the target PC, restart it, and open the one-time boot menu. Select the USB entry that matches the way the media was created, normally a UEFI entry on modern hardware.
Install Windows 10 version 1703
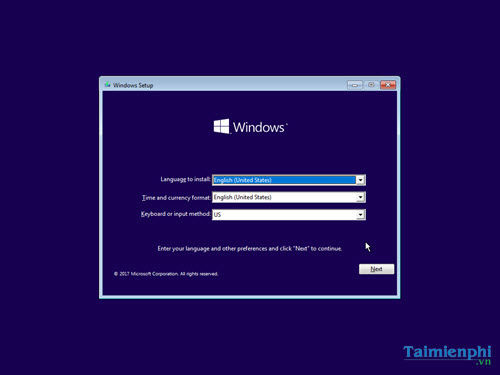
Step 2: Choose the language, time format, and keyboard layout, then select Next.
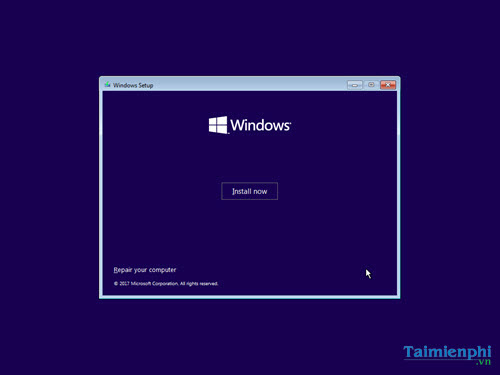
Step 3: Select Install now. Choose the repair link instead when your goal is recovery rather than replacement.
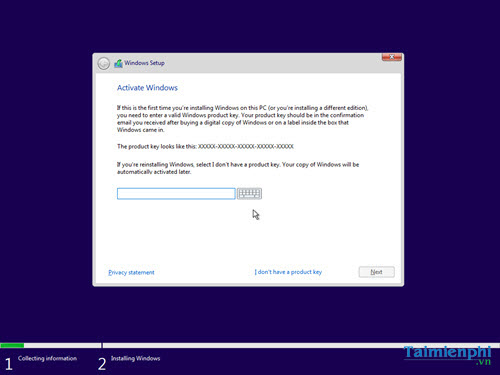
Step 4: Enter a valid product key. Select I don’t have a product key only when the machine already has a matching digital license or legitimate activation will be completed later.
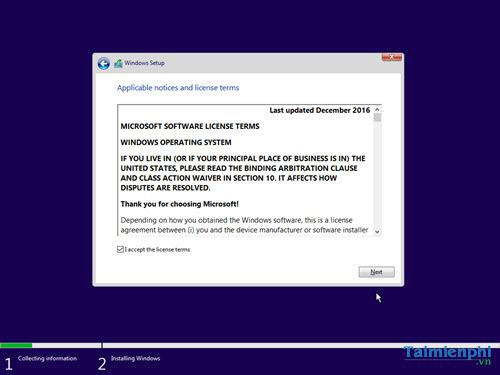
Step 5: Read the license terms and accept them only if you agree.
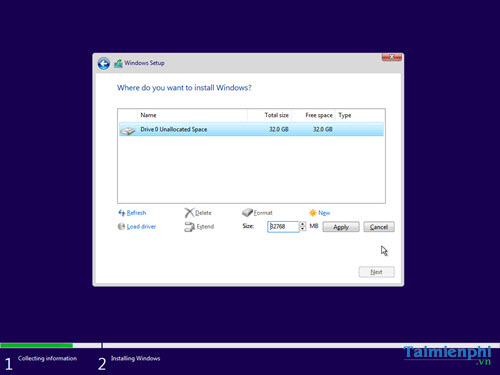
Select the destination disk carefully
Step 6: Identify the correct physical disk using its capacity and partitions. If any partition contains files you need, stop and back them up.
For a clean installation on a fully backed-up target disk, delete only the target disk’s old Windows partitions until it shows unallocated space, then select that space. Do not format a partition simply because an old screenshot shows it selected.
Complete installation
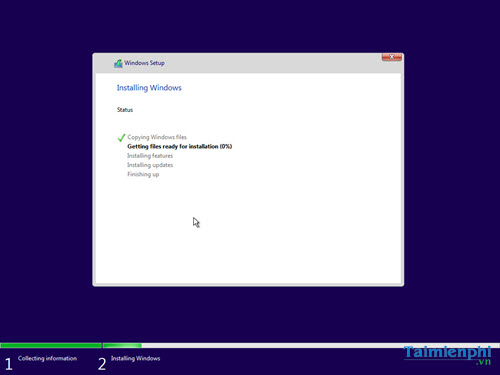
Step 7: Windows copies and prepares files. Do not remove power or the USB while files are being read.
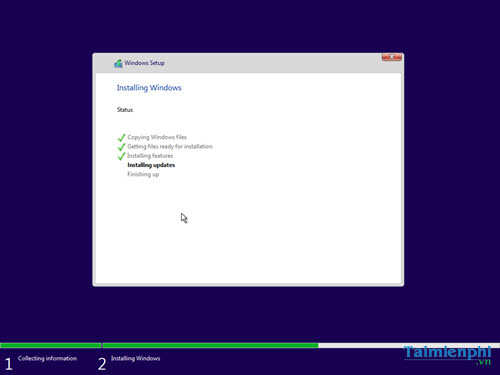
The PC restarts several times. If it returns to the first Setup screen after restarting, remove the USB or choose the internal system drive.
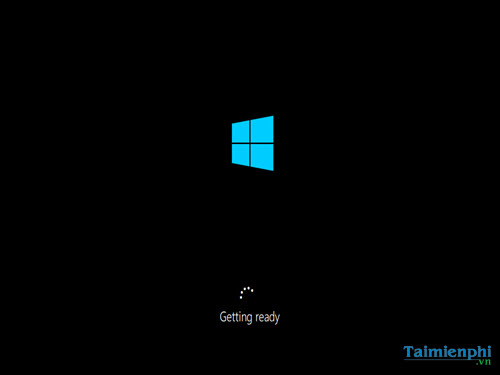
Step 8: Complete the first-run account, privacy, network, and device settings. The exact screens differ across Windows 10 builds.
When the desktop appears, install verified drivers and check activation.
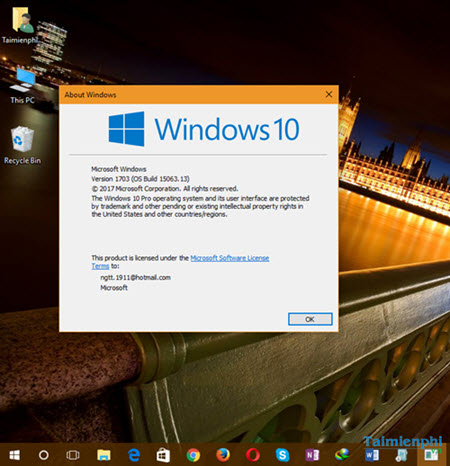
After installation
- Run Windows Update and restart until no required updates remain.
- Install manufacturer drivers for chipset, graphics, storage, network, and specialty devices when needed.
- Verify files, network access, security software, audio, sleep, and critical applications.
- Do not use version 1703 for sensitive or internet-connected work.
If version 1703 is required for a legacy lab
Use media retained and verified by your organization, keep the machine isolated, and document why the legacy build is required. Plan a migration rather than treating the unsupported installation as permanent.
Related Articles
 Users Only Need Less Than 30 Minutes to Install Windows 10 Spring Creators Update3 minutes read
 Instructions for Installing Windows 10 Spring Creators Update4 minutes read
 How to Install Windows 10 Fall Creators Update6 minutes read
 How to Disable Windows 10 Creators Update Ads7 minutes read
 Instructions for Delaying Updating Windows 10 Spring Creators5 minutes read
 How to Control Application Installation on Windows 10 Creators4 minutes read
Reader Comments 0
Sign in with email or Google to join the discussion.