How to Create P2P Mesh VPN with Tinc
Tinc is an open source virtual private network (VPN) adapter that provides a simple way to create private peer-to-peer (P2P) networks in Linux, Windows, and macOS..
Tinc is an open source virtual private network (VPN) adapter that provides a simple way to create private peer-to-peer (P2P) networks in Linux, Windows, and macOS. Similar to OpenVPN and Wireguard, it can link multiple computers on different network topologies into a single virtual LAN. Today's article will show you the benefits of using Tinc and how to install and create a simple mesh network based on Tinc.
Install Tinc on Linux
The first step in installing Tinc is to make sure your system is up to date. In Ubuntu, run the following command:
sudo apt update && sudo apt upgrade -yDownload and install Tinc directly from Ubuntu's package repository:
sudo apt install tinc
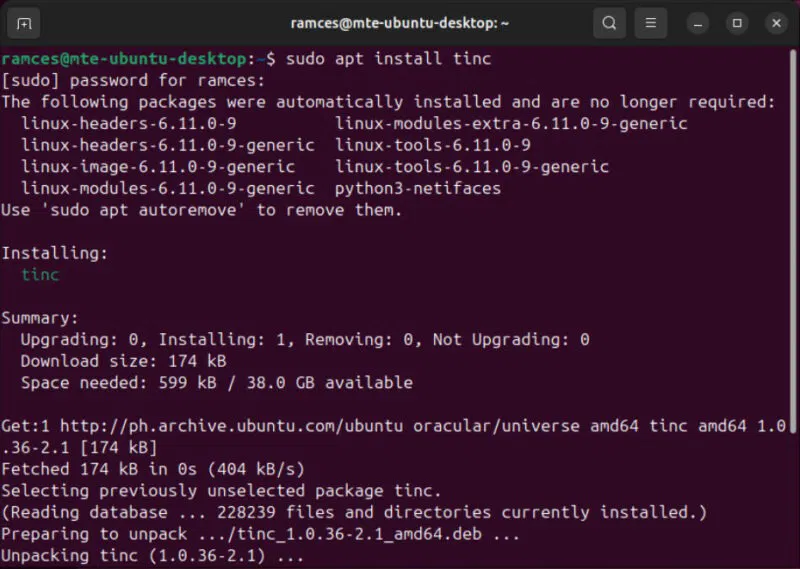
To install Tinc on other Linux distributions, use the appropriate package manager for that system. For example, you would need to run sudo dnf install tinc to get the program in Fedora.

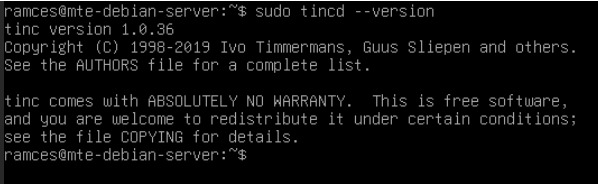
Confirm that you have installed Tinc correctly by opening a Terminal instance and running tincd --version .

Creating a basic mesh network with Tinc
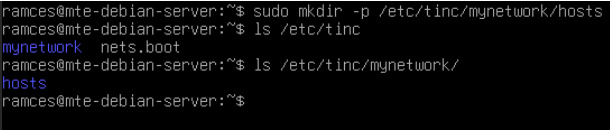
With Tinc on your machine, you can now configure your first Tinc-based network. Create a new directory inside '/etc/tinc'. This will contain all the files related to your Tinc node:
sudo mkdir -p /etc/tinc/mynetwork/hostsCreate a new configuration file using your favorite text editor:
sudo nano /etc/tinc/mynetwork/tinc.confPaste the following code block into the new configuration file:
Name = mynode Device = /dev/net/tun

Note : Some Linux distributions may change the location of the tun adapter inside '/dev'. To find its exact path in your system, run:
find /dev -name *tun* -type cCreate a text file in the 'hosts' folder with the name of your Tinc node and paste the following content inside:
Subnet = 192.168.11.1/32 Address = ĐỊA-CHỈ-IP-MÁY-CỦA-BẠN Port = 655Replace the value of the 'Address' variable with your machine's IP address. You can find this by running ip addr .

Note : You need to provide your machine's public IP address if you want to create a publicly accessible VPN.
Save your machine's hosts file, then create two files in '/etc/tinc/mynetwork' :
sudo touch /etc/tinc/mynetwork/tinc-{up,down} sudo chmod +x /etc/tinc/mynetwork/tinc-(up,down}Open the 'tinc-up' file, then paste the following Bash code inside the file. This creates a virtual network interface for Tinc and assigns an IP address to that interface:
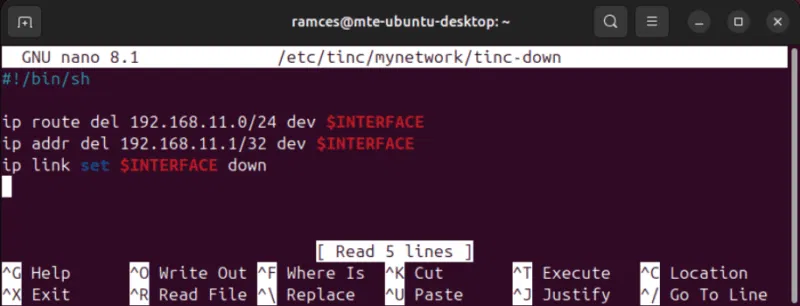
#!/bin/sh ip link set $INTERFACE up ip addr add 192.168.11.1/32 dev $INTERFACE ip route add 192.168.11.0/24 dev $INTERFACESave the file, then open the 'tinc-down' file and paste the following content inside it. This does the opposite of 'tinc-up:' it will unassign the IP address from your Tinc interface and remove it from your machine:
#!/bin/sh ip route del 192.168.11.0/24 dev $INTERFACE ip addr del 192.168.11.1/32 dev $INTERFACE ip link set $INTERFACE down
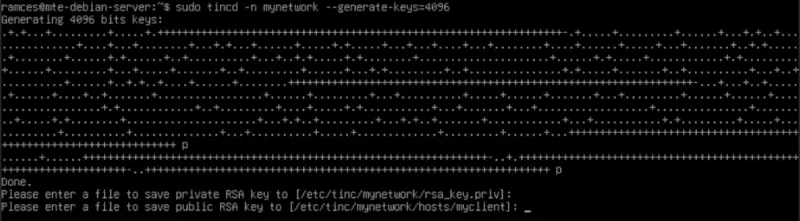
Generate a key pair for your Tinc node by running tincd:
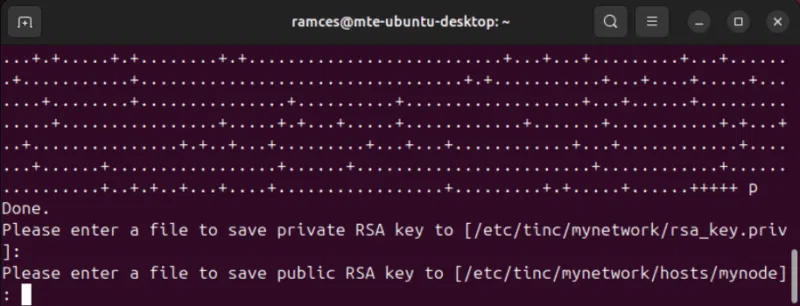
sudo tincd -n mynetwork --generate-keys=4096
Press Enter twice to accept the default save location for both private and public keys on your Tinc node.
Add the first Tinhc client
To add a new Tinc client, first make sure you have Tinc properly installed on your second machine.
Create the directory structure for your Tinc configuration using mkdir -p.
Use your favorite text editor to create a configuration file for the Tinc client:
sudo nano /etc/tinc/mynetwork/tinc.confPaste the following lines of code into the configuration file of the second machine:
Name = myclient Device = /dev/net/tun ConnectTo = mynodeCreate a file with your Tinc machine name in '/etc/tinc/mynetwork/hosts'. In this case, I named my second machine "myclient", so a file named "myclient" will be created
sudo nano /etc/tinc/mynetwork/hosts/myclientPaste the following block of code into the new hosts file. Similar to the first node, this determines the network configuration of the Tinc daemon:
Subnet = 192.168.11.2/32 Port = 655Save the new hosts file, then create the "tinc-up" and "tinc-down" scripts on the second machine:
sudo touch /etc/tinc/mynetwork/tinc-{up,down} sudo chmod +x /etc/tinc/mynetwork/tinc-{up,down}

Open the tinc-up file with your favorite text editor, then paste the following code block inside:
#!/bin/sh ip link set $INTERFACE up ip addr add 192.168.11.2/32 dev $INTERFACE ip route add 192.168.11.0/24 dev $INTERFACESave your tinc-up file, then open tinc-down and paste the following lines of code inside:
#!/bin/sh ip route del 192.168.11.0/24 dev $INTERFACE ip addr del 192.168.11.2/32 dev $INTERFACE ip link set $INTERFACE downComplete the Tinc client configuration by generating its key pair:
sudo tincd -n mynetwork --generate-keys=4096
Run mesh network
At this point, you have two Tinc daemons configured correctly. However, you still need to link these two Tinc daemons to create a P2P VPN in Linux. To do that, you need to copy the server configuration file from your Tinc node to the client and vice versa.
Start by opening the node's Terminal and navigating to its '/etc/tinc/mynetwork/hosts' directory :
cd /etc/tinc/mynetwork/hostsCopy the configuration file inside this directory and transfer it to the client. In this case, the example will use scp to send this file over ssh:
scp ./mynode YOUR-CLIENT-IP-ADDRESS:~
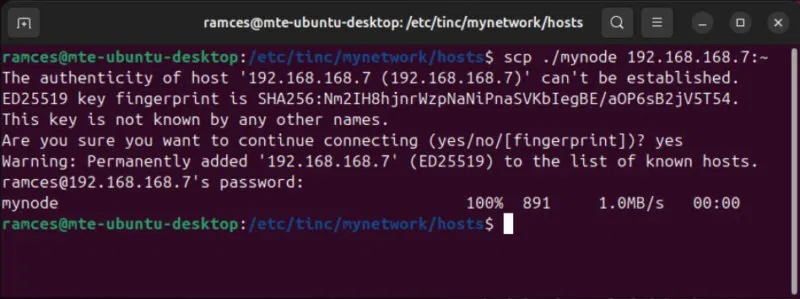
Note : Although this example used scp, you can also transfer them manually using a flash drive.
Go to the client and copy the hosts file you just moved to the client's '/etc/tinc/mynetwork/hosts' directory:
sudo cp -v ~/mynode /etc/tinc/mynetwork/hosts/Then, run scp on the client side to transfer the client's hosts file back to the node:
scp /etc/tinc/mynetwork/hosts/myclient YOUR-NODE-IP-ADDRESS:~

Copy the client's hosts file to the node's hosts directory:
sudo cp ~/myclient /etc/tinc/mynetwork/hosts/Start Tinc mesh network
Start your fully configured Tinc network by running the following command on each host:
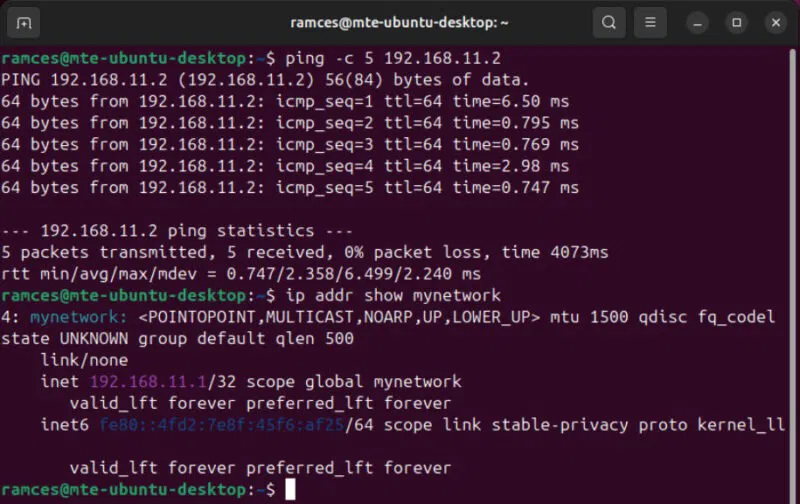
sudo tincd -n mynetworkConfirm that you can communicate with your nodes via the Tinc interface by executing a simple ping command:
ping -c 5 192.168.11.2
Finally, enable the Tinc service to ensure that your VPN will be active at system startup:
sudo systemctl enable --now tinc@mynetwork.service

Learning how to create your own P2P Mesh VPN in Linux using Tinc is just the first step to exploring this wonderful world of computer networking. Good luck!