How to build CRUD REST API using class-based viewer in Django REST framework
Following the step-by-step instructions below, you will grasp the core of a CRUD API to develop your programming skills with Django.

Django Rest Framework (DRF) is a Django framework that provides support for building REST APIs. Like Django, DRF allows you to build API viewers with function or class based viewers.
Although class-based viewers can be difficult to work with at first, they offer many benefits such as better code structure, reuse, inheritance, and uniformity.
Create an API recipe manager using Django REST Framework
A recipe manager app is a great way to learn about class-based viewers in DRF. Features like adding, deleting, and editing formulas will help you understand how to implement CRUD (Create, Read, Update, Delete). The following steps will show you how to create a CRUD API.
Step 1: Install the Django REST framework and configure your project
1. Create a virtual environment for the project and install the following dependencies:
pip install django djangorestframework2. Create a Django project named core with the following command:
django-admin startproject core .3. Create an app named recipe_manager :
python manage.py startapp recipe_manager4. Open the core/settings.py file and navigate to the INSTALLED_APPS listing to register your application:
INSTALLED_APPS = [ # custom apps 'rest_framework', 'recipe_manager', ]Step 2: Create a template for the application
1. Open the file recipe_manager/models.py and create a model for your application. Here's a basic example of a formula template:
# models.py from django.db import models class Recipe(models.Model): recipe_name = models.CharField(max_length=255) ingredients = models.TextField() instructions = models.TextField()2. Create migrations and move them to the database with this command:
python manage.py makemigrations && python manage.py migrateStep 3: Create Serializer for your application
A serializer is a Django component that helps you convert complex data types like query groups to a displayable format, like JSON or XML…
To create a serializer, follow these steps:
1. Create a file named recipe_manager/serializers.py .
2. Import the serializers module with the pattern you want to serialize:
# serializers.py from rest_framework import serializers from .models import Recipe # the model to serialize3. In the same file, create the serializer class for your template and define the Meta class within it:
# serializers.py class RecipeSerializer(serializers.ModelSerializer): class Meta: model = Recipe fields = ('recipe_name', 'ingredients', 'instructions')In this code, the Meta class defines the pattern to serialize and the fields that the serializer will process. The fields property can be a list or a tuple. If you want to serialize all the fields in the form, you can do so as follows:
class Meta: fields = "__all__"Step 4: Write a viewer for the CREATE operation
You can create class-based views for your application by importing the common views available in Django. To implement CRUD's CREATE operation, you should import CreateAPIView . You should also import the serializer into your module:
# views.py from rest_framework.generics import CreateAPIView from .models import Recipe from .serializers import RecipeSerializerTo implement the CREATE operation, you simply need to define the serializer that the viewer will use. For example:
# Tạo view class RecipeCreateView(CreateAPIView): serializer_class = RecipeSerializerWith this setup, you can create a POST query to the application.
Step 5: Write a READ activity viewer
1. To implement the READ operation, import ListAPIView for the viewer. It helps you list sample objects:
# views.py from rest_framework.generics import CreateAPIView, ListAPIView2. Create a class for the viewers and define the serializer and query to use:
# Liệt kê view class RecipeListView(ListAPIView): serializer_class = RecipeSerializer queryset = Recipe.objects.all()Create a viewer to read a specific formula. To make this work, you need RetrieveAPIView , add it to your list of imports:
# views.py from rest_framework.generics import CreateAPIView, ListAPIView, RetrieveAPIViewNext, create the viewer you need:
# truy xuất view class RecipeRetrieveView(RetrieveAPIView): serializer_class = RecipeSerializer queryset = Recipe.objects.all()Step 6: Write viewers for UPDATE and DELETE operations
To implement UPDATE and DELETE operations, you need UpdateAPIView and DestroyAPIView respectively, so import them:
from rest_framework.generics import ( ListAPIView, CreateAPIView, RetrieveAPIView, UpdateAPIView, # new DestroyAPIView, # new )Next, create the viewer, just like you did before. This time, the viewers will inherit UpdateAPIView and DestroyAPIView respectively:
# Update view class RecipeUpdateView(UpdateAPIView): serializer_class = RecipeSerializer queryset = Recipe.objects.all() # Xóa view class RecipeDeleteView(DestroyAPIView): serializer_class = RecipeSerializer queryset = Recipe.objects.all()Step 7: Create a URL for the application
1. Add this code to core/urls.py to configure the URL:
from django.urls import path, include urlpatterns = [ path('api/', include('recipe_manager.urls')) ]2. Add the following code to file recipe_manager/urls.py :
from django.urls import path from . import views urlpatterns = [ # Liệt kê view (Đọc tất cả) path('recipes/', views.RecipeListView.as_view(), name='recipe-list'), # Tạo view path('recipes/create/', views.RecipeCreateView.as_view(), name='recipe-create'), # Truy xuất view (Đọc lần lượt) path('recipes//', views.RecipeRetrieveView.as_view(), name='recipe-retrieve'), # Update view path('recipes//update/', views.RecipeUpdateView.as_view(), name='recipe-update'), # Xóa view path('recipes//delete/', views.RecipeDeleteView.as_view(), name='recipe-destroy'), ]From the code above, you will see that class-based viewers use the as_view() function to generate their URL patterns.
Step 8: Test the API endpoint
From the project directory, run:
python manage.py runserverThis will start your server, run some tests, print a URL you can access.
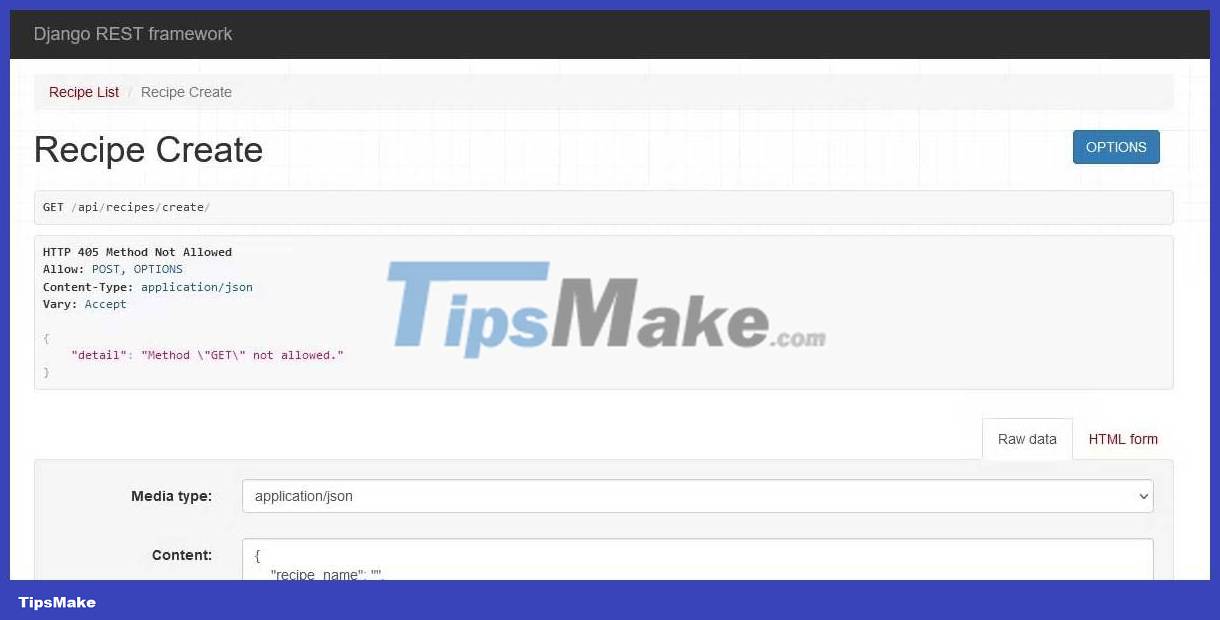
You can now test API endpoints by navigating to the corresponding URL and submitting HTTP query methods for CRUD operations. You will see the default interface as follows:

It's done! Hope the article is useful to you.