Weak WiFi waves, try doing this before you intend to replace the new Wi-Fi router set
Probably when using Wi-Fi indoors, you often encounter cases where some of the house catches Wi-Fi waves but is very weak or even unable to catch Wi-Fi. Me too, I have some Wi-Fi dead spots like the basement and the living room on the first floor. I have tried 9 different routers from companies like Linksys, Buffalo, Apple. and Netgear as well as Wi-Fi waveformers like Belkin and TP-Link. However, they don't seem much better.
- Tips to increase Wifi signal to the highest level
So how to improve performance and increase Wi-Fi coverage in the home? I have tried a simple and successful way that is by moving the router. Specifically, I raised it with a cardboard box and adjusted its antenna to see the difference. Please see the instructions below!
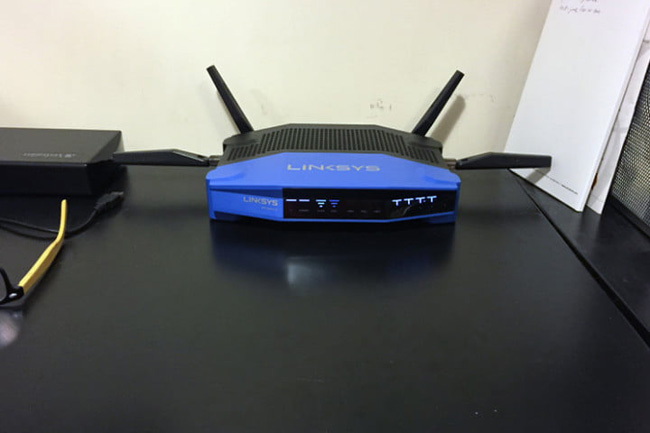
The first step is to make sure the router is working properly. Here, I use the most modern Linksys router and third-party firmware - WRT 1900 ACS (priced at US $ 220). It uses dual band, a / b / g / n / ac router with 4 external antennas and a 1.6 Ghz dual-core processor.
To find the right location for Wi-Fi performance, I use iPerf software. With iPerf, you set up a device on your network (preferably a computer with the ethernet port input of my router such as my iMac) as a server, then run an iPerf compatible application on the device. Wireless as a client (I have used free .NET for iOS running on iPhone 6). The client sends to the server the choice of your protocol (TCP or UDP), the size of the packet and forwards the ping results back to the client. You will see the amount of data sent, the speed it can reach and the time it is sent.

Basic configuration (baseline): Before installing the new WRT 1900 ACS, I measured with my current router, the Linksys WRT 1200 AC - dual-band router and 2 antennas.
1. Configuration 1 (original location): WRT 1900 ACS is located directly on the top of a 2-foot-3-inch wide metal locker, about 1 inch from the wall, the same location used for Baseline. The rear antenna is located at a 45-degree angle, the front antenna is facing straight up.

2. Configuration 2: Same as (1), but put the router on its cardboard box, 4.5 inches above the surface of the locker.
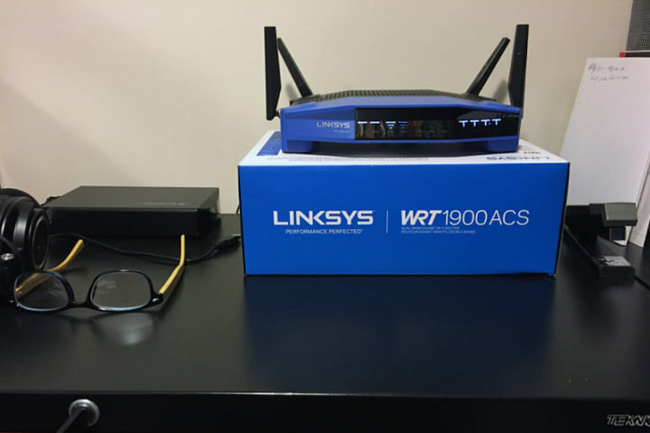
3. Configuration 3: Same as (1) but the router is placed on the cardboard box vertically placed about 12.5 inches from the cabinet.
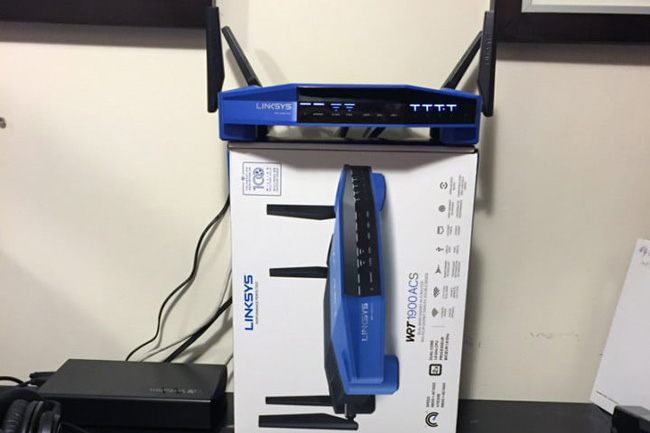
4. Configuration 4: Same as (3), but the front antenna is set at an outer angle of 45 degrees compared to the rear antenna.
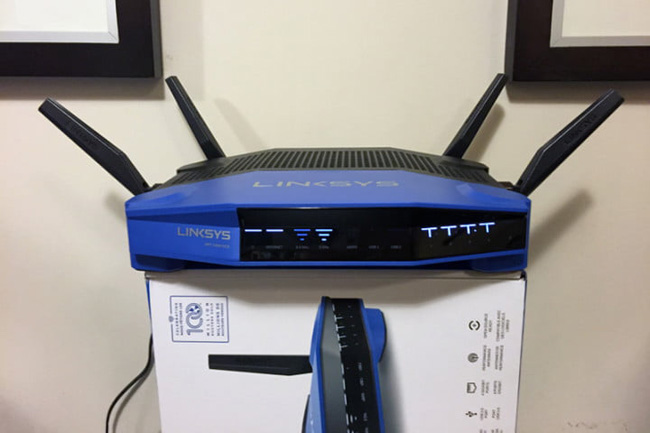
5. Configuration 5: Same as (3) but the front antenna is set at 90 degrees outside (parallel to the floor).
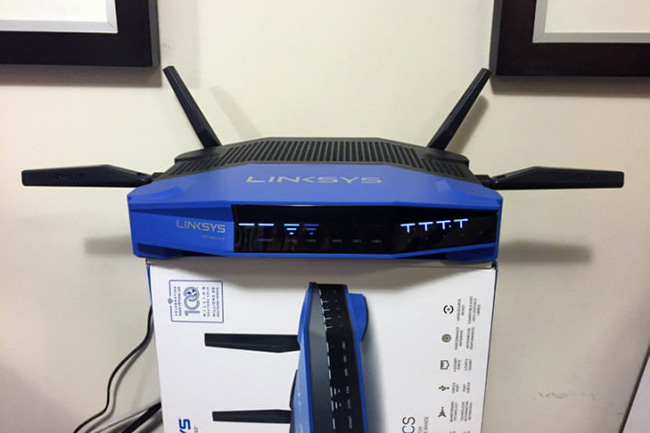
6. Configuration 6: Remove the cardboard box from configuration 5, leave it as it is.
Test areas
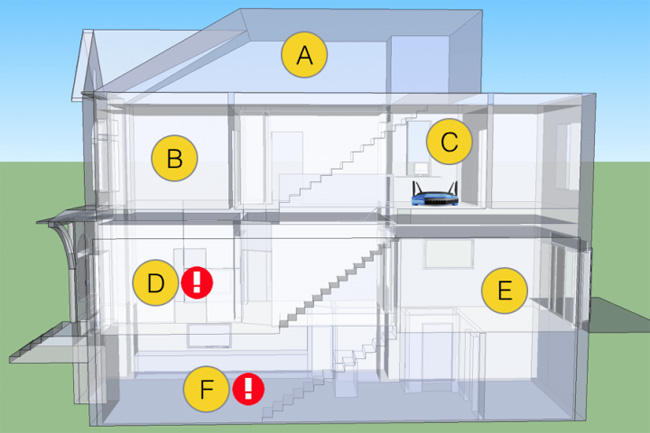
- 3rd floor bedroom.
- 2nd floor bedroom.
- Room on the second floor (where the router is located).
- Living room on the first floor (in front of the house).
- Kitchen on the first floor (behind the house).
- Basement.
Result
For the basic configuration test for the original router, I measured all 6 locations in the house. After that, I changed the WRT 1200 AC to WRT 1900 ACS, mainly to see the effect of using the router with two additional antennas that would have the overall connection.
You can see, the speed in the "good" areas has improved significantly, in which zone B has the biggest leap. The problem area is D and F does not seem to improve at all. In fact, the F region is getting worse.
Moving the router from the metal surface (Configuration 2) of the cabinet has worked. Raising the router (Configuration 3) increased Wi-Fi performance in zone D but reduced the speed of access in region F.
I tilted the front antenna to 90 degrees (Configuration 5), the speed was significantly improved in zone D up to 2000% and zone F was 64,000% compared to the previous configuration.
To find out why the combination of height and antenna angle from configuration number 5 was so successful, Linksys product manager Mathieu Whelan said: "Most side antennas Imagine a 3D space model, it looks like a round cake, when you tilt the antenna at a 45-degree angle, imagine that circle is tilted at the same angle. ".
When you look at my house, they can be visualized as a cake, the angle starting from configuration number 1 (45 degrees in the back and straight in front) creates a series of circles that never Direct contact with 2 dead spots in the house.
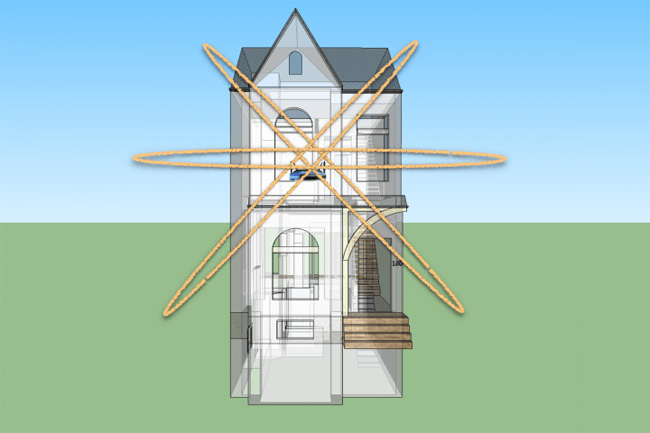
This explains why when you rotate the antennas forward to 90 degrees, this circle will also change and provide better coverage.
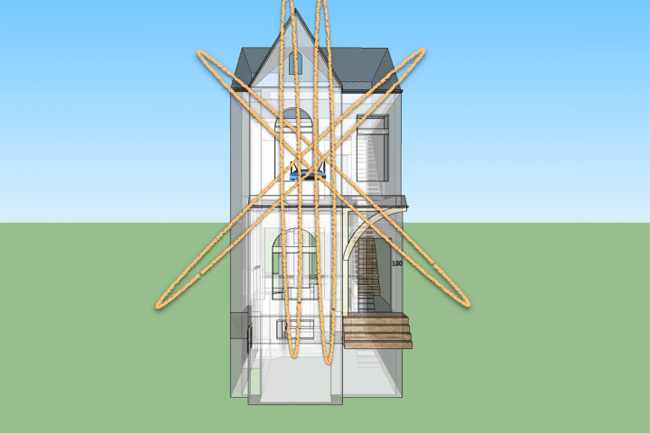
Both the front room (zone D) and the basement (zone F) are in the signal path generated by the front antenna. However, this represents an optimal arrangement, without any obstacle to the signals as they disperse around the house.
Thus, changing the router position and adjusting the antenna direction as configuration 5 is considered to be the most optimal. If you have a similar situation, try doing the above before attempting to replace another Wi-Fi router!