Table of Contents
Owning a stylishly designed coffee table Shabby Chic with classic, romantic beauty of houses in the British countryside is the desire of many people. With a gentle, simple and sweet beauty, Shabby Chic makes us feel anxious every time and want an "em" right away.
In fact, the price of buying a table designed in this style is not cheap and the table is more beautiful, the more expensive it is. However, you can fully utilize an old door to build it without spending too much money.
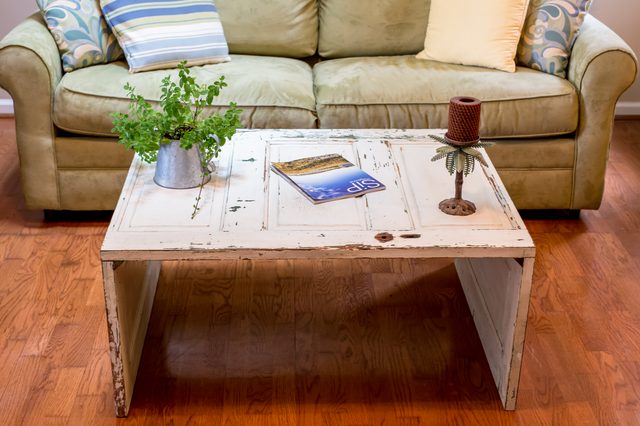
The image below is a recycled table from an old door. Obviously, the "old" feature plus simple fear has made the living room unique and feels very cozy. If your house currently has a door and it has been attached to your family for years, don't hesitate to use the following steps to turn it into a simple Shabby Chic style coffee table. In this way, not only can you take advantage of old things but also make a difference for your home.
Prepare
- Pencil.
- An old door.
- Dustproof glass.
- Facemask (used for dust and poison protection, helps protect the respiratory tract).
- Circular saw machine.
- Tape measure (tape measure).
- Square.
- Wood glue.
- Wooden clamps.
- Protractors.
- Drilling (Optional).
- Screws (Optional).
- Sandpaper and sanding machine.
Steps to proceed
Step 1: Select the old door.
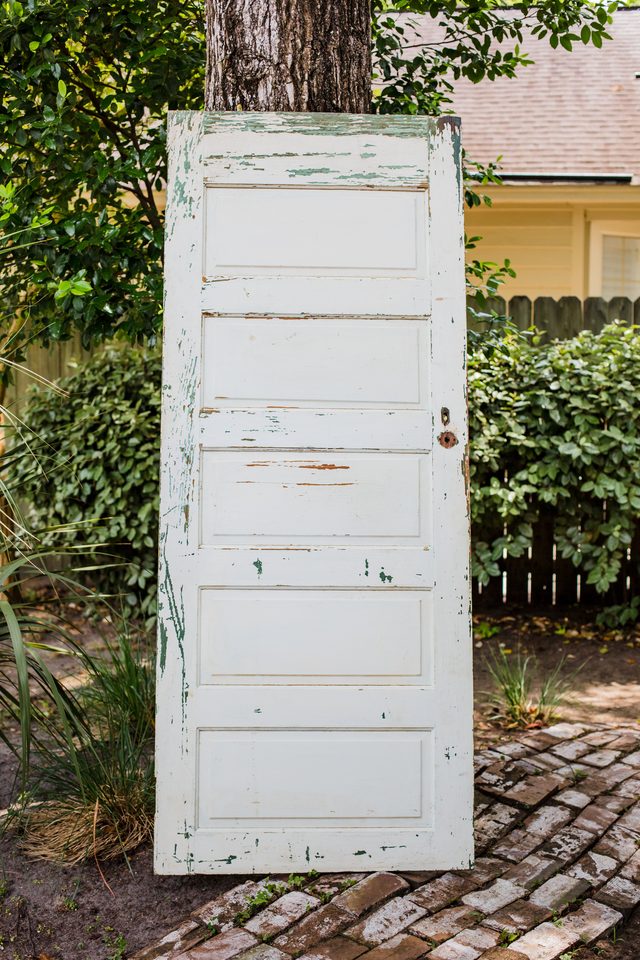
Buy an old door from the pawn shop, second hand shop or if your home is available as well. However, this old door needs some special features such as faded paint, which has been worn in some places and used for a certain period of time. In addition, the door also needs to be made of raw wood (raw wood or wood) to ensure durability.
Tip:
You can visit Craigslist To choose a nice old door. There are lots of second-hand goods at affordable prices and are often sold for recycling purposes.
Step 2: Measure and mark the lines that will be cut.
Before cutting the door, you need to determine the height as well as which side of the door will become the top and which part will become the sides of the table. Then, use the tape measure, square eraser and pencil to measure and mark the positions to be cut.
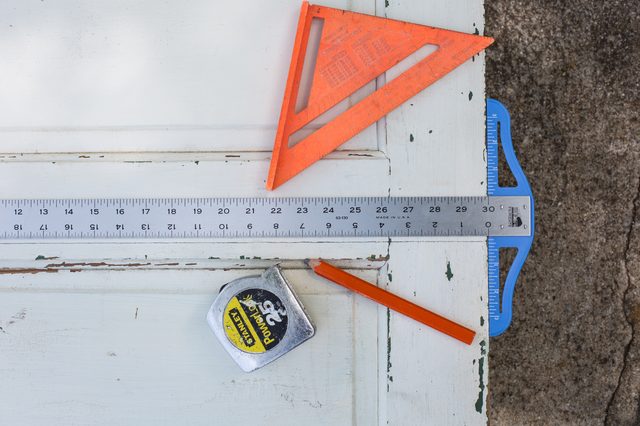
Ideally, the middle part of the door will be the table, the lower part and the top will be two legs (two sides).
Tip:
The height of the table is very important and the standard is usually 16 - 18 inches (equivalent to 40.64 cm - 45.72 cm).
Step 3: Cut the door
Before cutting the door, wear dustproof glasses and use a circular saw to cut. In this step you need to take care to ensure safety. Finished, you have created the side and table legs.

Some people also often use a circular saw to cut a table. However, you need to be more careful so that the cut lines are exactly like the lines (straight) that were originally defined.
Step 4: Stick the table leg on the table.
Pour wood glue into the bottom edge of the tabletop. Do not put too much or too little glue to ensure that the table legs are adhered.
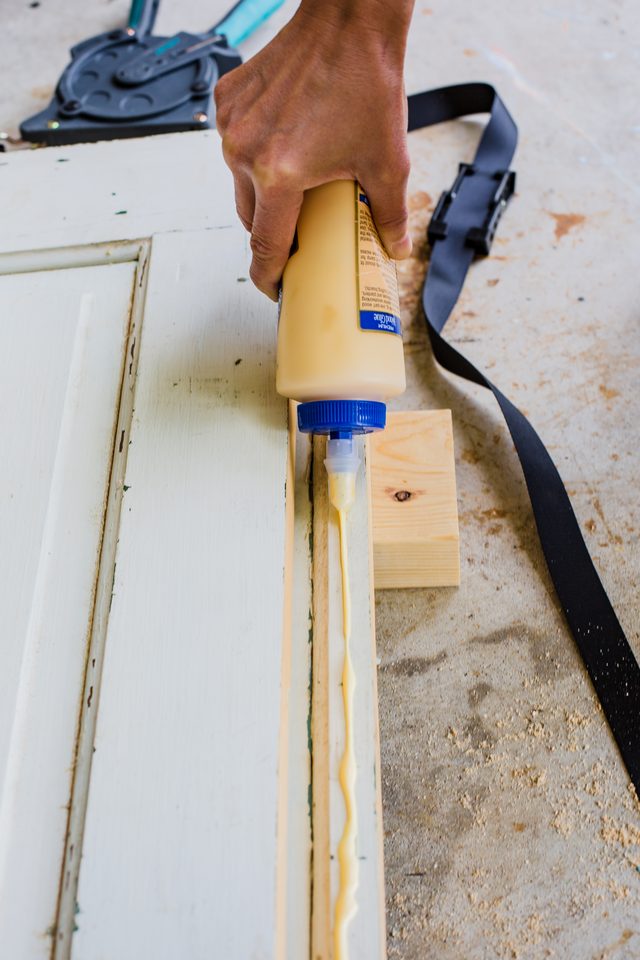
Next, you need to use a wooden clamp to secure the connection points (between the tabletop and table legs) while waiting for the glue to dry and use a protractor to ensure the angle between the table and the table is 90.°.
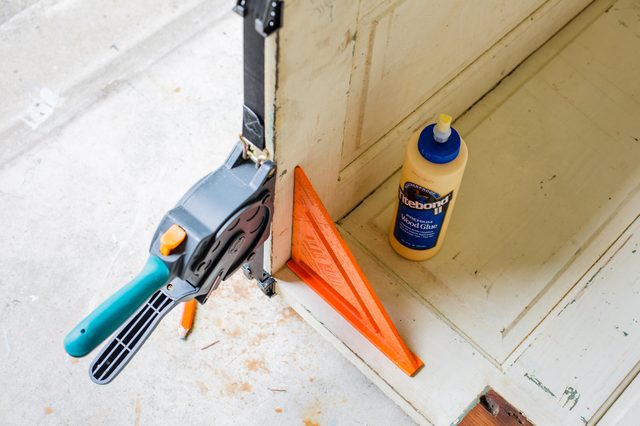
Note that be sure to thoroughly clean the streaks of adhesive that spread to the top of the table and you can also leave it overnight to allow the glue to really dry.
Tip :
You can use the press frame so that the table and table legs are tighter.
Step 5: Create support panels
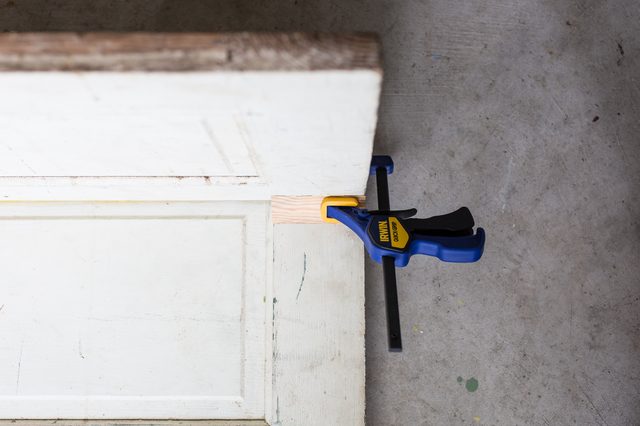
After the table legs are firmly attached to the table, you can use the excess wood (cut from the door) to create fulcrum for the 4 corners (corresponding to 4 floating points) of the table leg and continue keep pouring wood glue to stick them (or use braces to increase grip).
Tip :
You can also use screws instead.
Step 6: Complete
Wear a dust mask and glasses, then use sandpaper to sharpen the edges (of the table). Scrape off any peeled paint and clean the table thoroughly before putting it in the house.
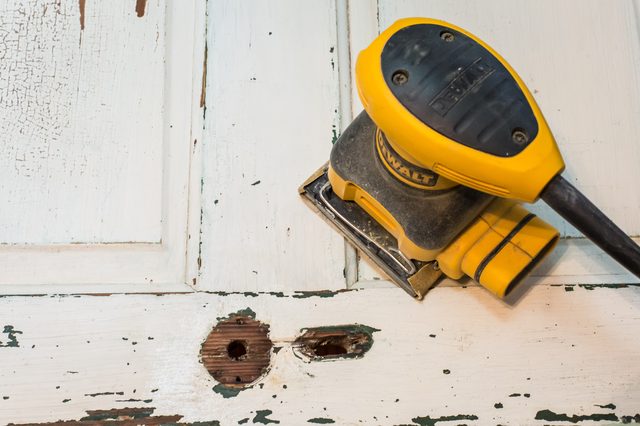
With just 6 steps above, you have a coffee table with a very sophisticated classical direction to put in the house, very simple and not too expensive compared to buying a new one. Try it and know where you can create a very unique product.
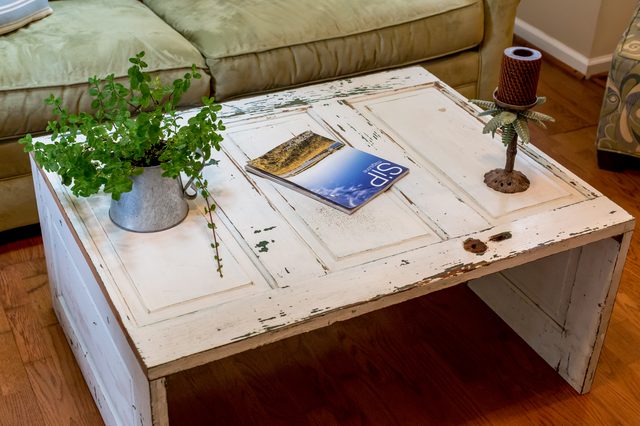
Good luck.
FAQ
What is coffee table?
The image below is a recycled table from an old door.
What makes coffee table notable?
Step 4: Stick the table leg on the table.
What are the key facts about coffee table?
Tip: You can use the press frame so that the table and table legs are tighter.
Related Articles
 The Body's Amazing Change After You Drink a Cup of Coffee from 106 minutes read
 How to Make Delicious Dalgona Korean Coffee3 minutes read
 What Is a Coffee Maker? Classify Coffee Makers on the Market5 minutes read
 Top 5 Good Quality Coffee Machines, Cheap Prices Are Currently Rated16 minutes read
 Funny Science: What Flavor Does Your Favorite Coffee Reveal About7 minutes read
 Pocket the Address of the Cheapest Genuine Coffee Grinder in8 minutes read
Reader Comments 0
Sign in with email or Google to join the discussion.