Table of Contents
Spoiler warning: This walkthrough explains the full solution to Chapter 7, The Loop, including its puzzle answer and collectible locations. On the default PC controls, E interacts and Shift sprints.
The chapter repeatedly returns you to the same corridor, but the room changes on each pass. Check the digital alarm clock to the right of the entrance to see the current loop number, and inspect new objects before going through the next door.
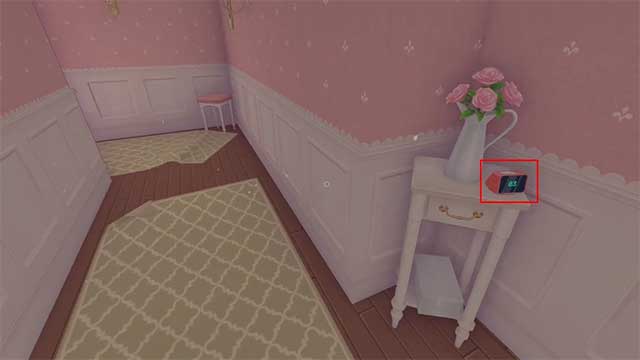
Advance through the early loops
Walk down the hallway and pass through the door to start the next loop. Continue doing this while watching for changes. The corridor becomes darker, and the game eventually provides a flashlight automatically. Do not rush past a new object simply because the route looks familiar.
Loop 11: Pick up the baseball bat
When the window breaks, progress stops until you collect the baseball bat from the floor. Look down near the shattered area, pick up the bat, and continue through the hallway.
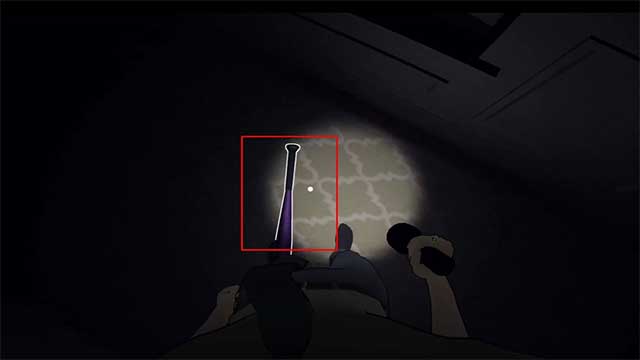
Loop 13: Hit the creature
The bug-like creature seen earlier returns near the corridor. Approach it and press E to strike it with the bat. Repeat the interaction until the obstruction is cleared, then proceed to the door.
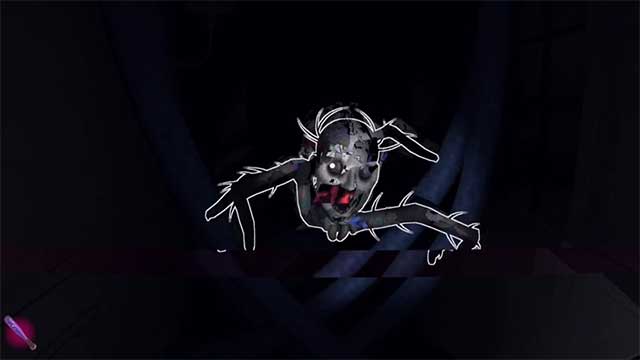
Loop 14: Collect Player 4's Cartridge
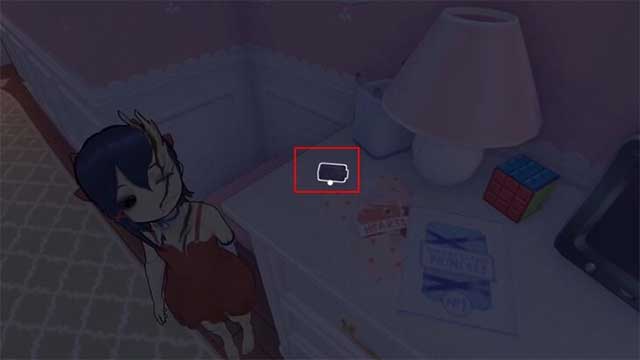
Before solving the clock, turn left near the entrance and inspect the small table beside the flower pot. Pick up the Cartridge there. This optional collectible is easy to miss if you walk directly to the far end of the hall.
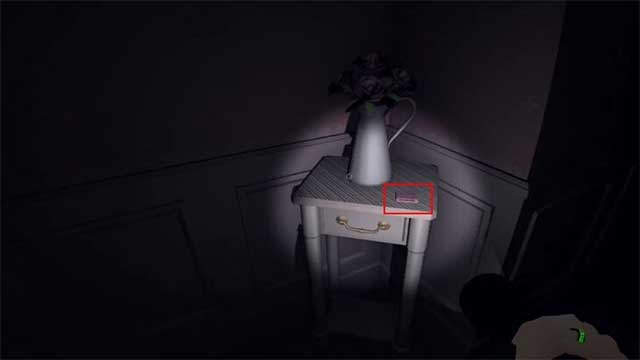
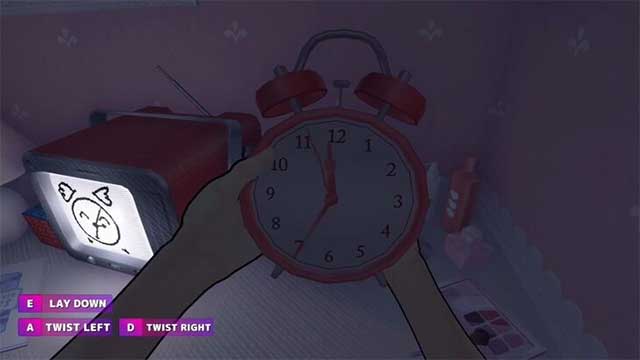
Set the clock to 12:55:35
At the end of loop 14, interact with the analog clock near the television. The other clocks in the room provide the clue. Set the display to 12:55:35:
- Hour hand: 12
- Minute hand: 11, representing 55 minutes
- Second hand: 7, representing 35 seconds
After aligning the hands, press E to put the clock down and trigger the next part of the sequence.
Loop 15: Help Tiny Mita
Tiny Mita appears as the corridor breaks apart. Interact to release her, then hold Shift and follow the viable route through the distorted hallway. At the far end, press E to help her stand, and continue through the next door.
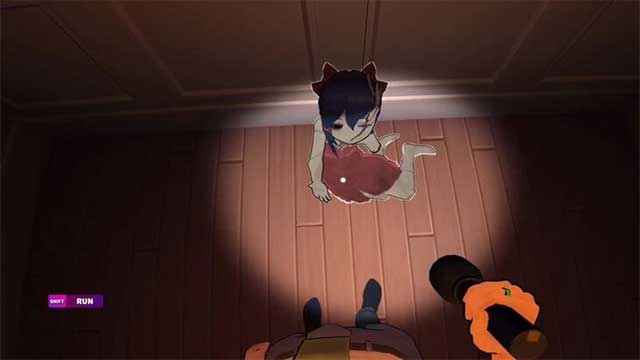
Collect the Tiny Mita Character Cartridge
When Tiny Mita sits on the stool beside the wardrobe, speak to her. She warns that the doors will not help. Before trying to escape, turn toward the wardrobe next to her and collect the Tiny Mita Character Cartridge on top. This is separate from the Player 4 Cartridge found on loop 14.
Escape through the window
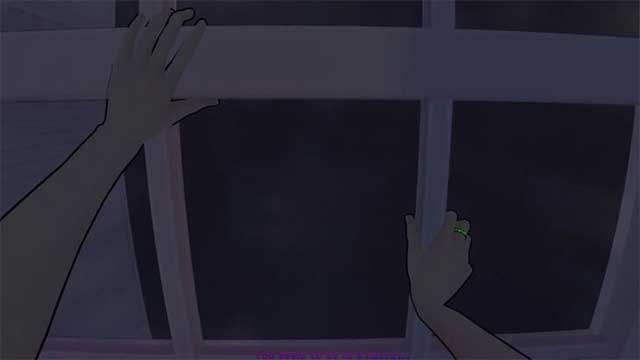
If you keep using the door, the corridor continues to loop and becomes increasingly corrupted. Follow Tiny Mita's clue: the door is not the exit. Move to the window, wait until it becomes interactable, press E to break or open the escape route, and jump through.
If the sequence appears stuck
- Check the loop number on the alarm clock and confirm you did not miss the bat.
- On loop 13, look toward the creature near the corner and complete every required hit.
- On loop 14, make sure the analog clock is set to 12:55:35 and then put it down.
- After Tiny Mita's hint, approach the window rather than continuing through doors.
- If an interaction prompt never appears, reload the most recent checkpoint and repeat the current loop.
Related Articles
 Loop in Unix // Linux: Loop in Unix // Linux4 minutes read
 WHILE Loop in SQL Server: Explained1 minutes read
 The Loop Technique in Python8 minutes read
 While Loop in SQL Server: FOR Loop in SQL Server3 minutes read
 Loop Control in Unix // Linux: Control Loop in Unix // Linux5 minutes read
 C ++ Programming Language: C ++ Loop3 minutes read
Reader Comments 0
Sign in with email or Google to join the discussion.