How to make distilled water at home
Distilled water can be incredibly useful to have around. Your aquarium, car maintenance, humidifier, CPAP machines or other health-related equipment can all require or benefit from distilled water.
If you don't have sufficient access to distilled water right now -- your local grocery is out of stock or you're just trying to do your part by social distancing -- you're not out of luck. I'm going to take you through the different types of water you drink, and the steps for creating your very own unlimited supply of distilled water at home. The best part is you probably don't need to buy anything to do it. Read on!

What is distilled water?
If you don't know the difference between tap, filtered, purified and distilled water, don't feel bad. It's confusing.
Tap water is the easy one. Turn on your kitchen faucet. Voila! Tap water. The quality of tap water varies by location, and might contain traces of minerals specific to the geology of your region, as well as traces of chemicals used on municipal water treatment. Hopefully your tap water is safe to drink, but over 45 million Americans don't have that luxury. Filtered water is one solution.
Filtered water starts out as plain tap water. You may already have filtered water in your home by way of a whole house filtration system, a faucet filter or a water filtration pitcher (you can even get a filtered water bottle). Most filtered water passes through some combination of carbon and micron filters, which help to remove chemicals such as chlorine (commonly added to municipal tap water as a disinfectant) or pesticides, and metals like copper or lead. Filters can also eliminate foul odors and tastes.
Purified water usually begins as tap water as well. It will go through many purification processes, including those used for water filtration. Purified water goes a step further than filtering, with a process that removes chemical pollutants, bacteria, fungi, and algae. You'll often find purified water in bottles at your local grocery.
Distilled water is a more specialized type of purified water, but much easier and cheaper to produce at home. As with purified water, it meets the classification requirement of 10ppm (parts per million of total dissolved solids, aka, contaminants) or less. The process of distilling is simple. Heat tap water to the point that it turns to vapor. When the vapor condenses back to water, it leaves behind any mineral residue. The resulting condensed liquid is distilled water.
Is distilled water safe to drink every day?
The downside of distilling is that it removes all of the helpful stuff that occurs naturally in tap water. For that reason, it isn't generally recommended to use distilled water as your daily drinking water.
You also need to choose any storage container you use for distilled water carefully. Distilled water's lack of nutrients can cause it to leach chemicals from the container it's stored in. If you plan to use the water immediately, most containers will do fine, but for long term storage it's best to use glass or high-quality stainless steel.

How to make your own distilled water at home
Not to get too science-y here, but this is exciting for me. We'll be using water in all three of its known states -- solid, liquid and gas.
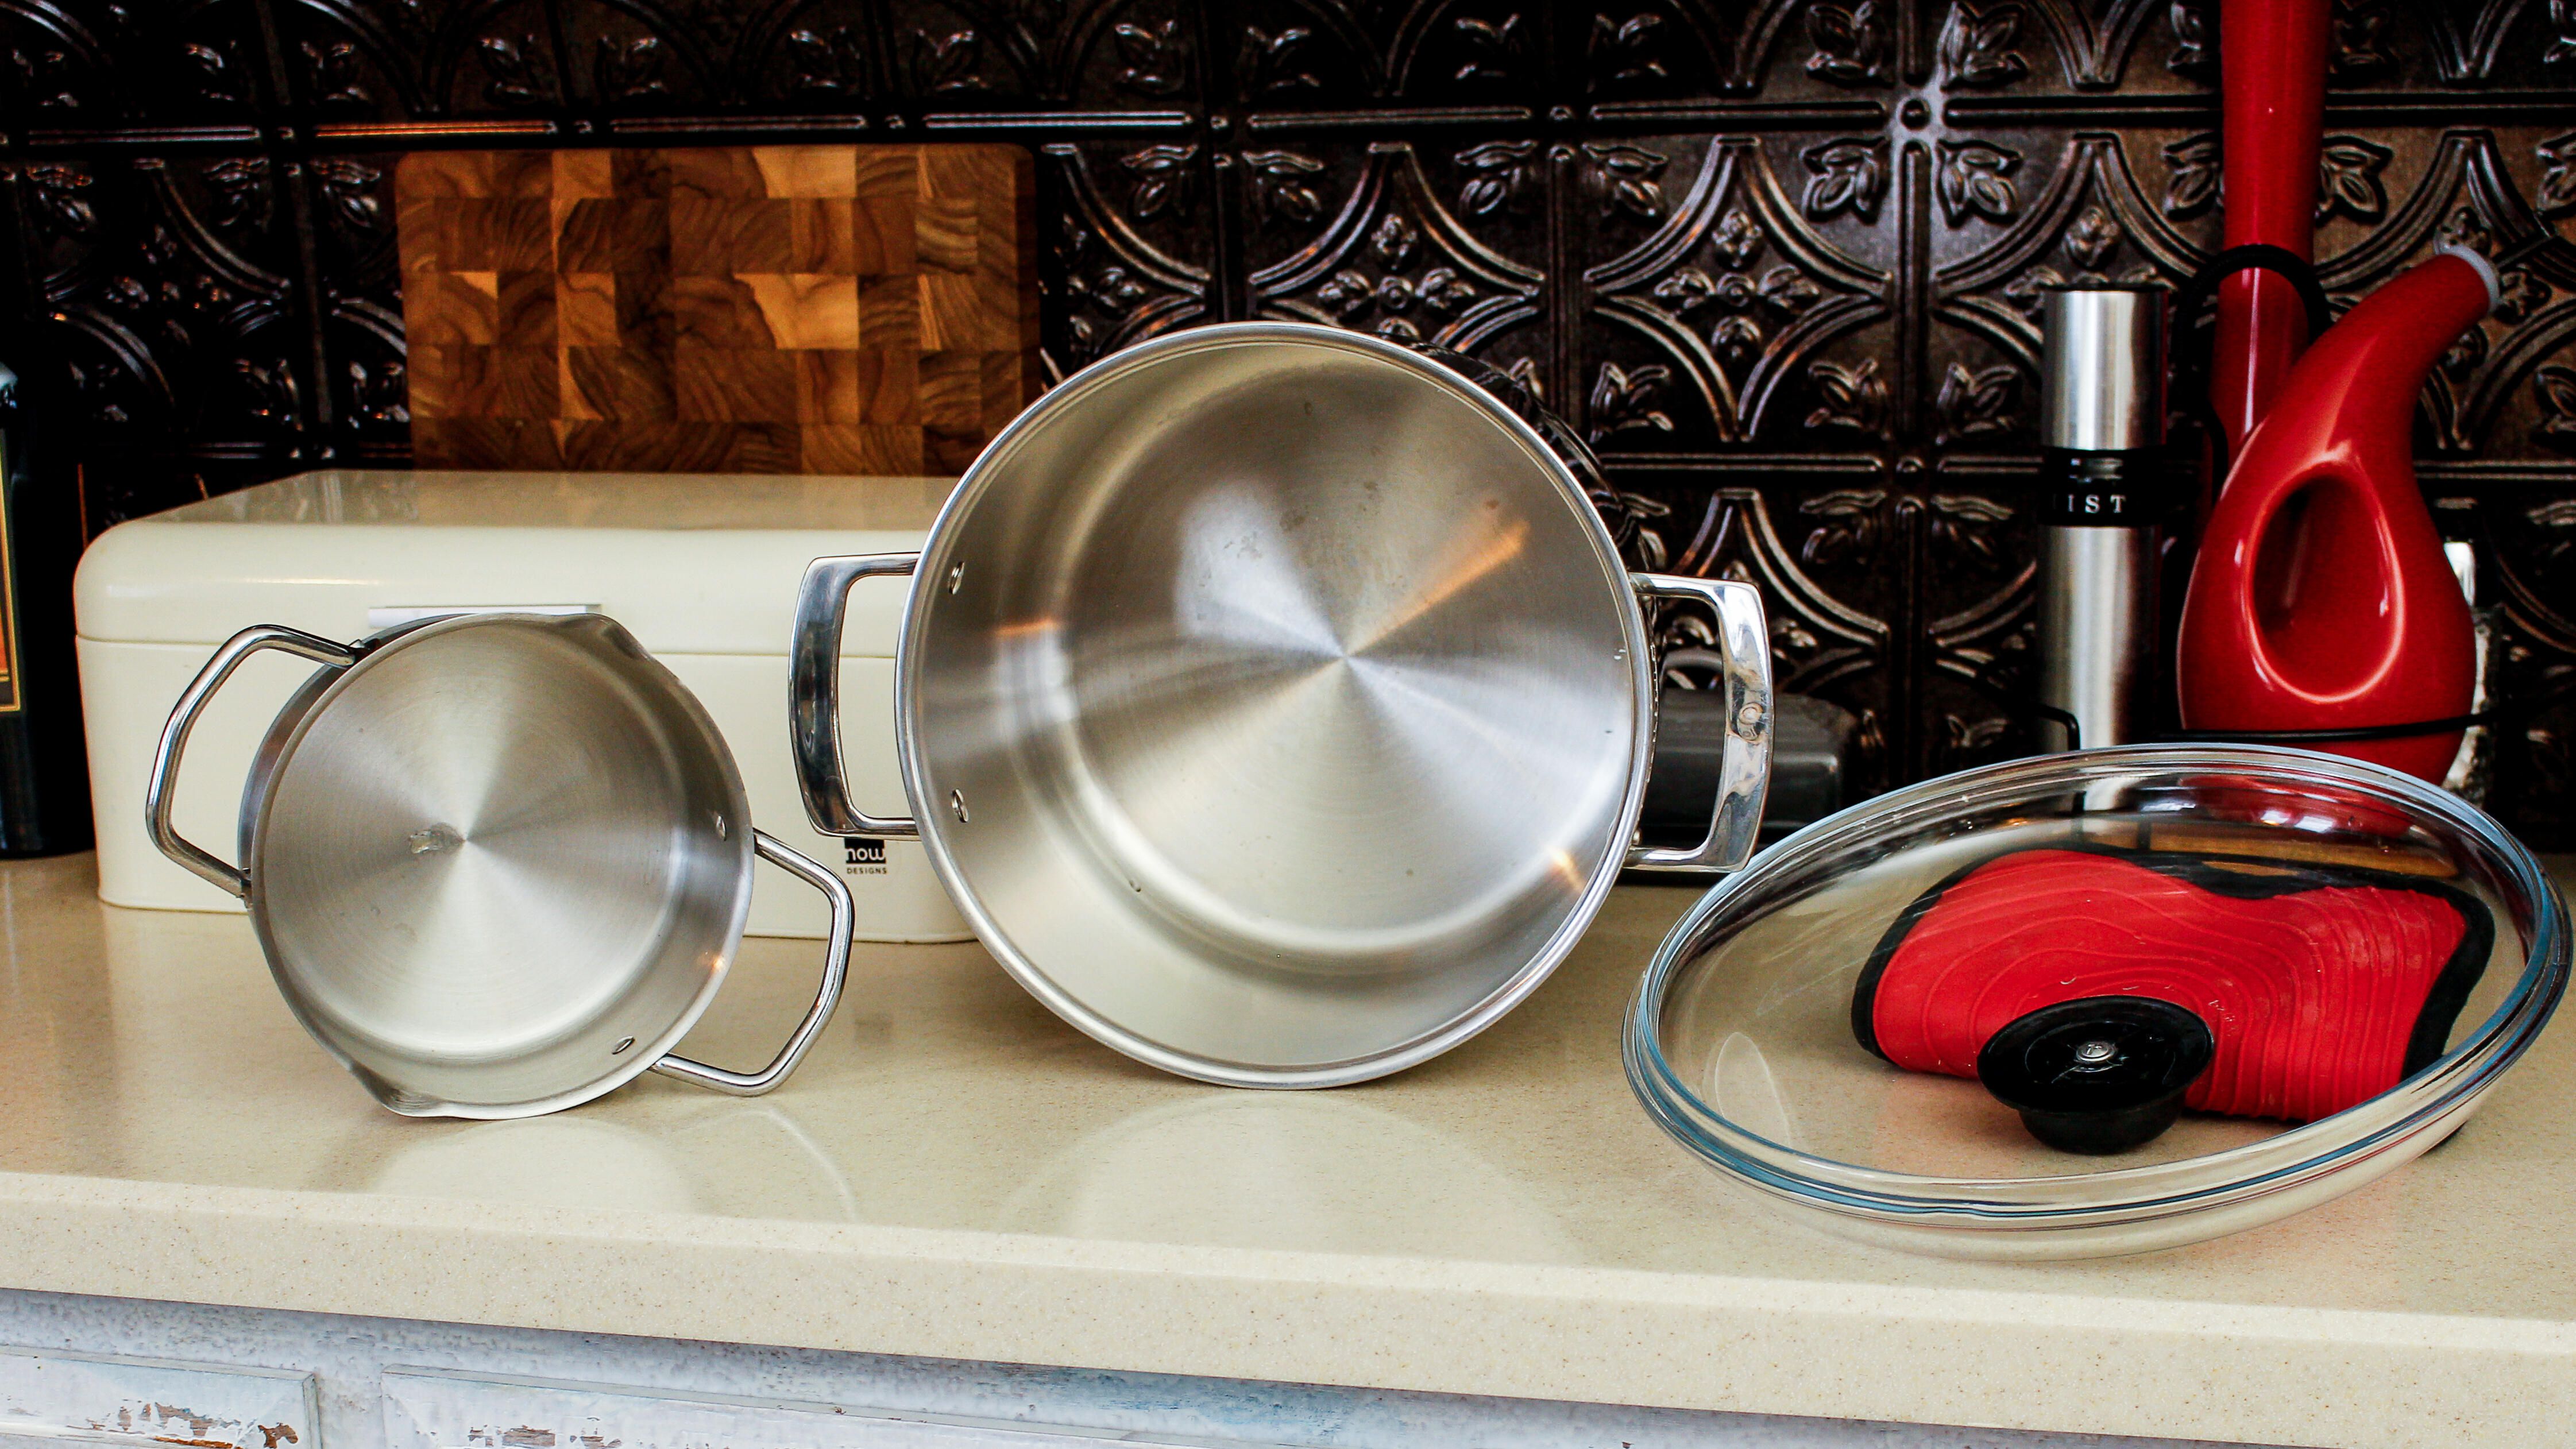
The gist is this: You heat water (liquid), turn it into water vapor (gas), then collect the condensation with the aid of ice (solid). It's like middle school science class all over again. You'll likely find everything you need in your kitchen. A large pot, a lid for the large pot, a small pot, water, ice and oven mitts for handling the hot cookware.
It does take some time for all this science to happen, so be prepared. In my example below, I started with 8 cups of water in the large pot. After one hour, I had produced about 1 1/4 of a cup of distilled water. To recreate a gallon jug that you'd find in the supermarket you'd need about 13 hours of distilling time.
If you follow these steps, you should get near 100% yield, but whatever amount of distilled water you want to end up with, make sure you add additional water so you can avoid heating an empty pot(s) at the end of the process, which can damage some cookware.

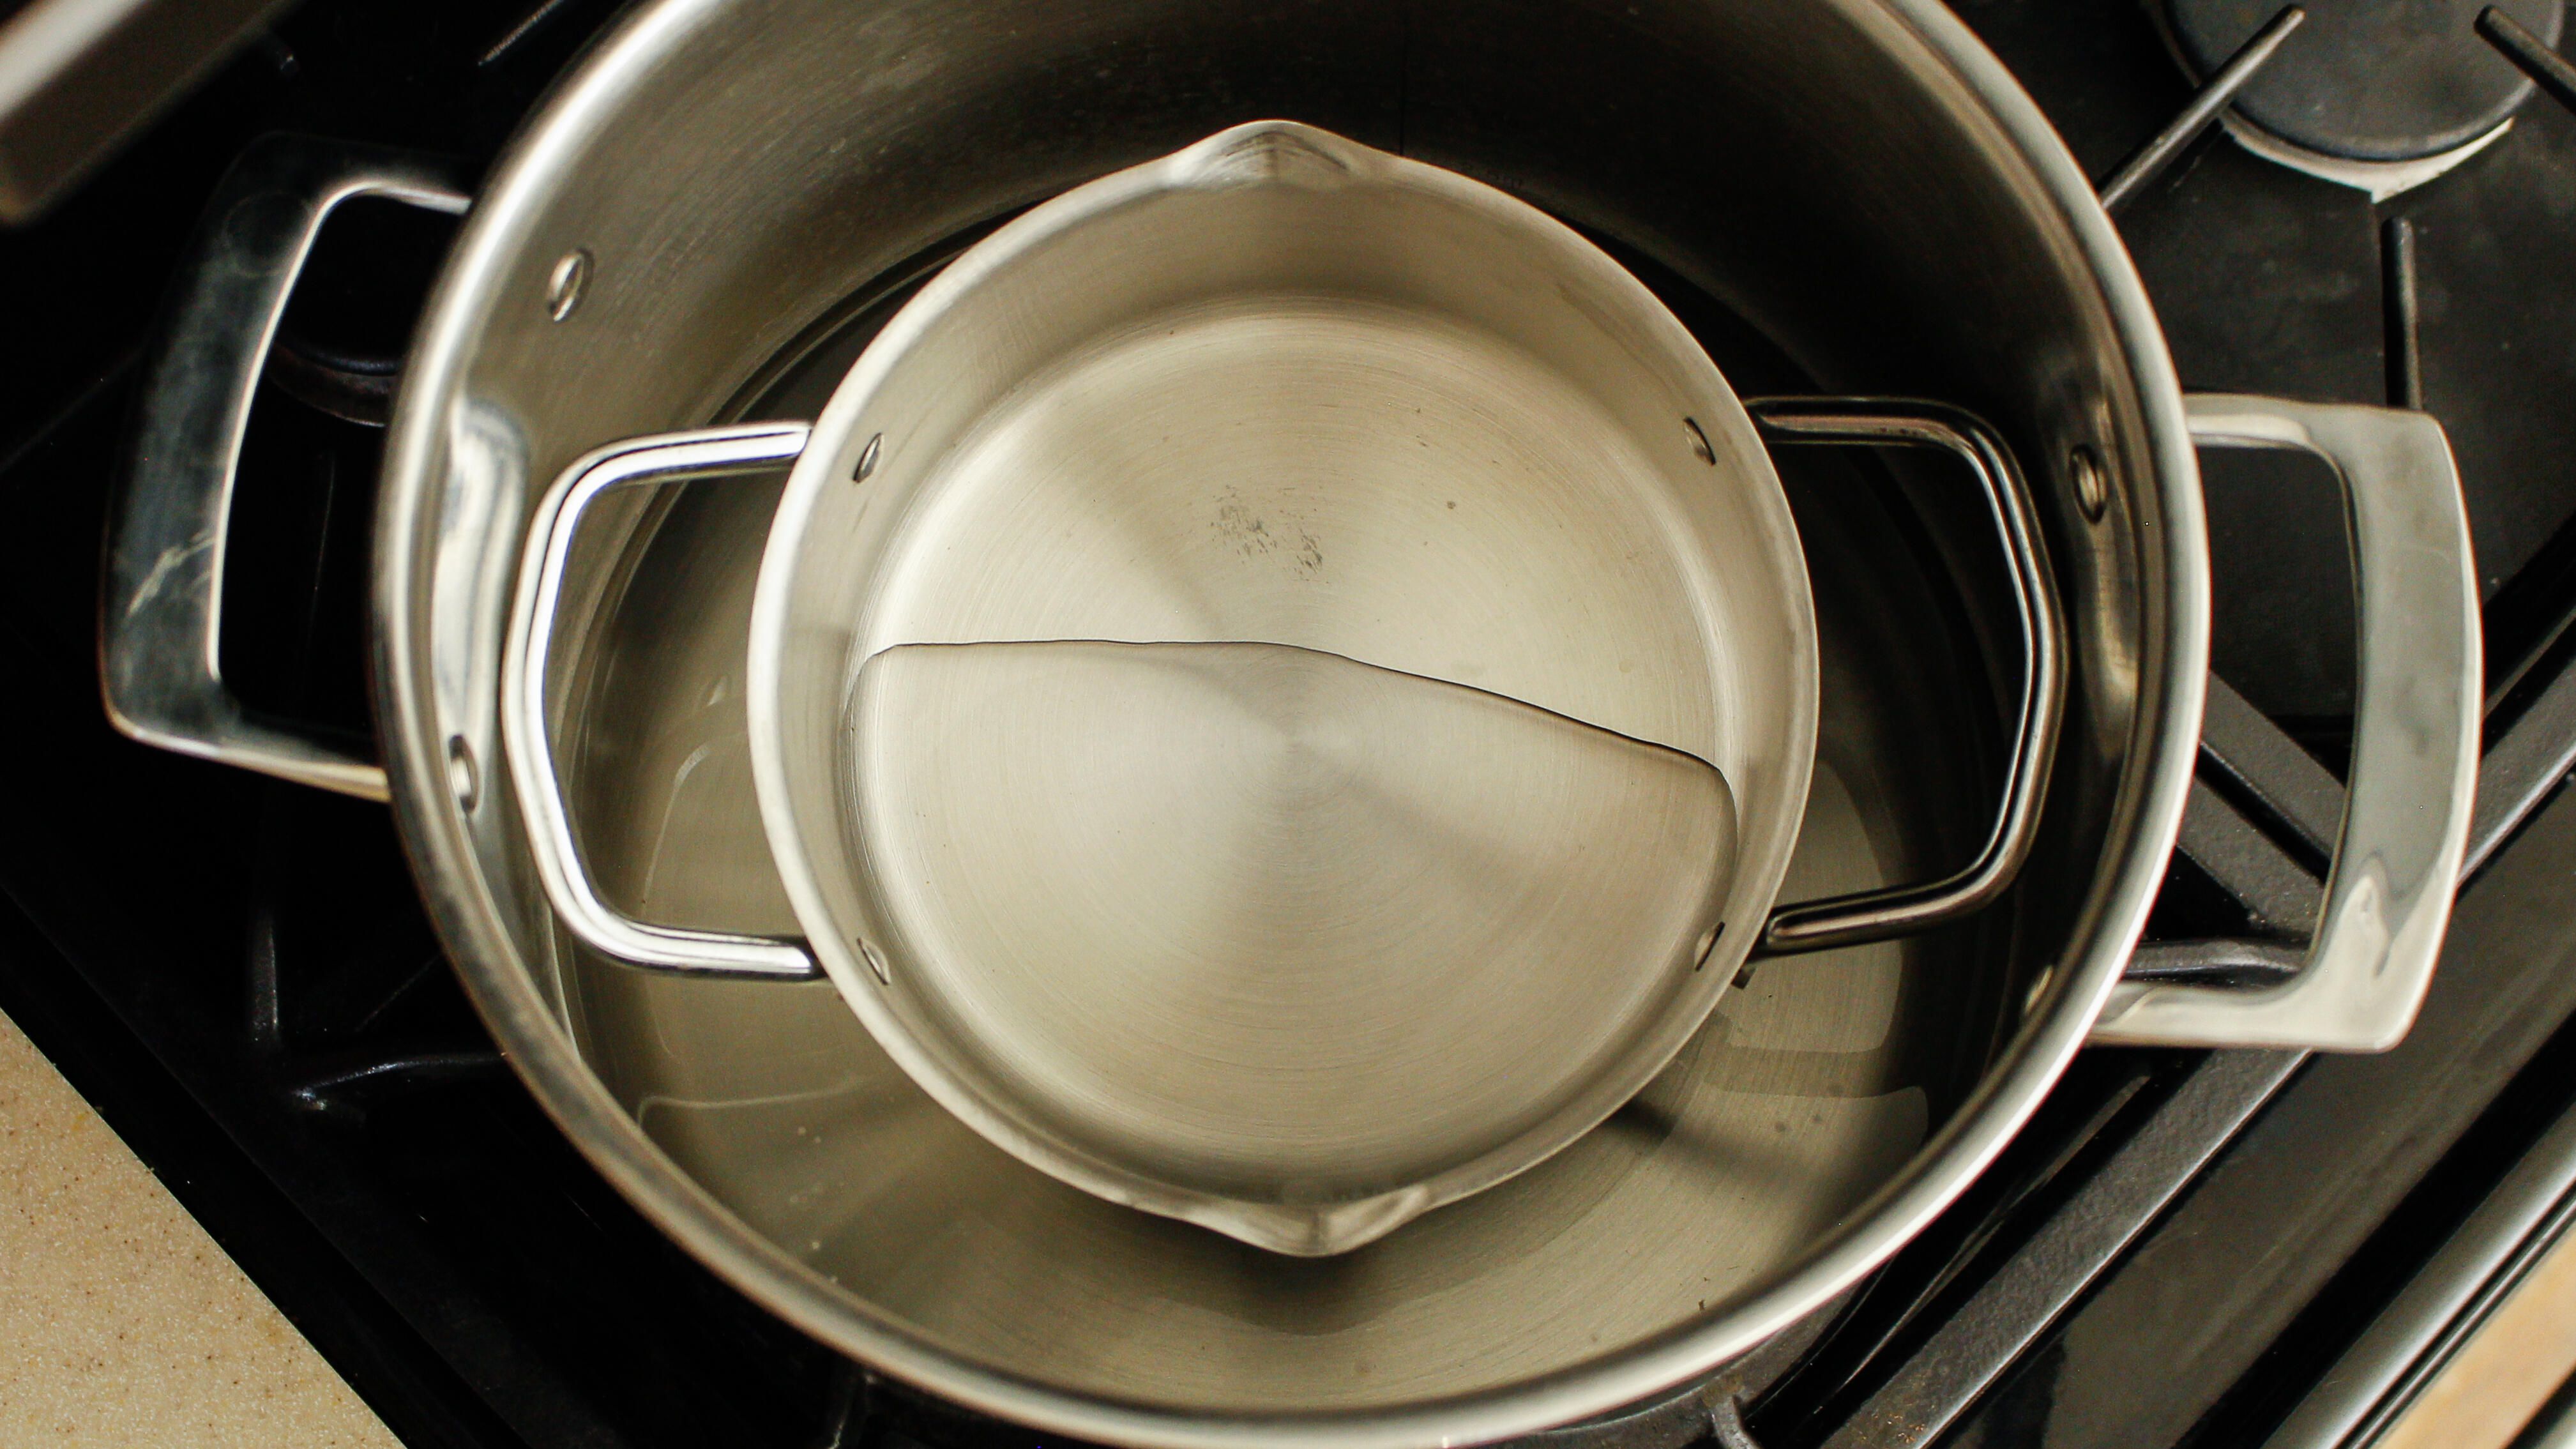
1. First, place the large pot over a stovetop burner and add 8 cups of water. Then, place the smaller pot inside the large pot. At this point the smaller pot should float on top of the water. The key to circulating water vapor inside the large pot is airflow. Make sure the smaller pot has plenty of it, both around its sides and between it and the top of the larger pot.
2. Next, turn the burner to somewhere between medium and medium-high heat. I specifically tried to avoid actually boiling the water and tried to keep the heat level at a steady simmer -- somewhere between 180-200 degrees Fahrenheit. Running a higher temperature won't get you a higher yield, but it will warm up the cold side of the lid faster, and make general handling of the equipment harder to deal with.
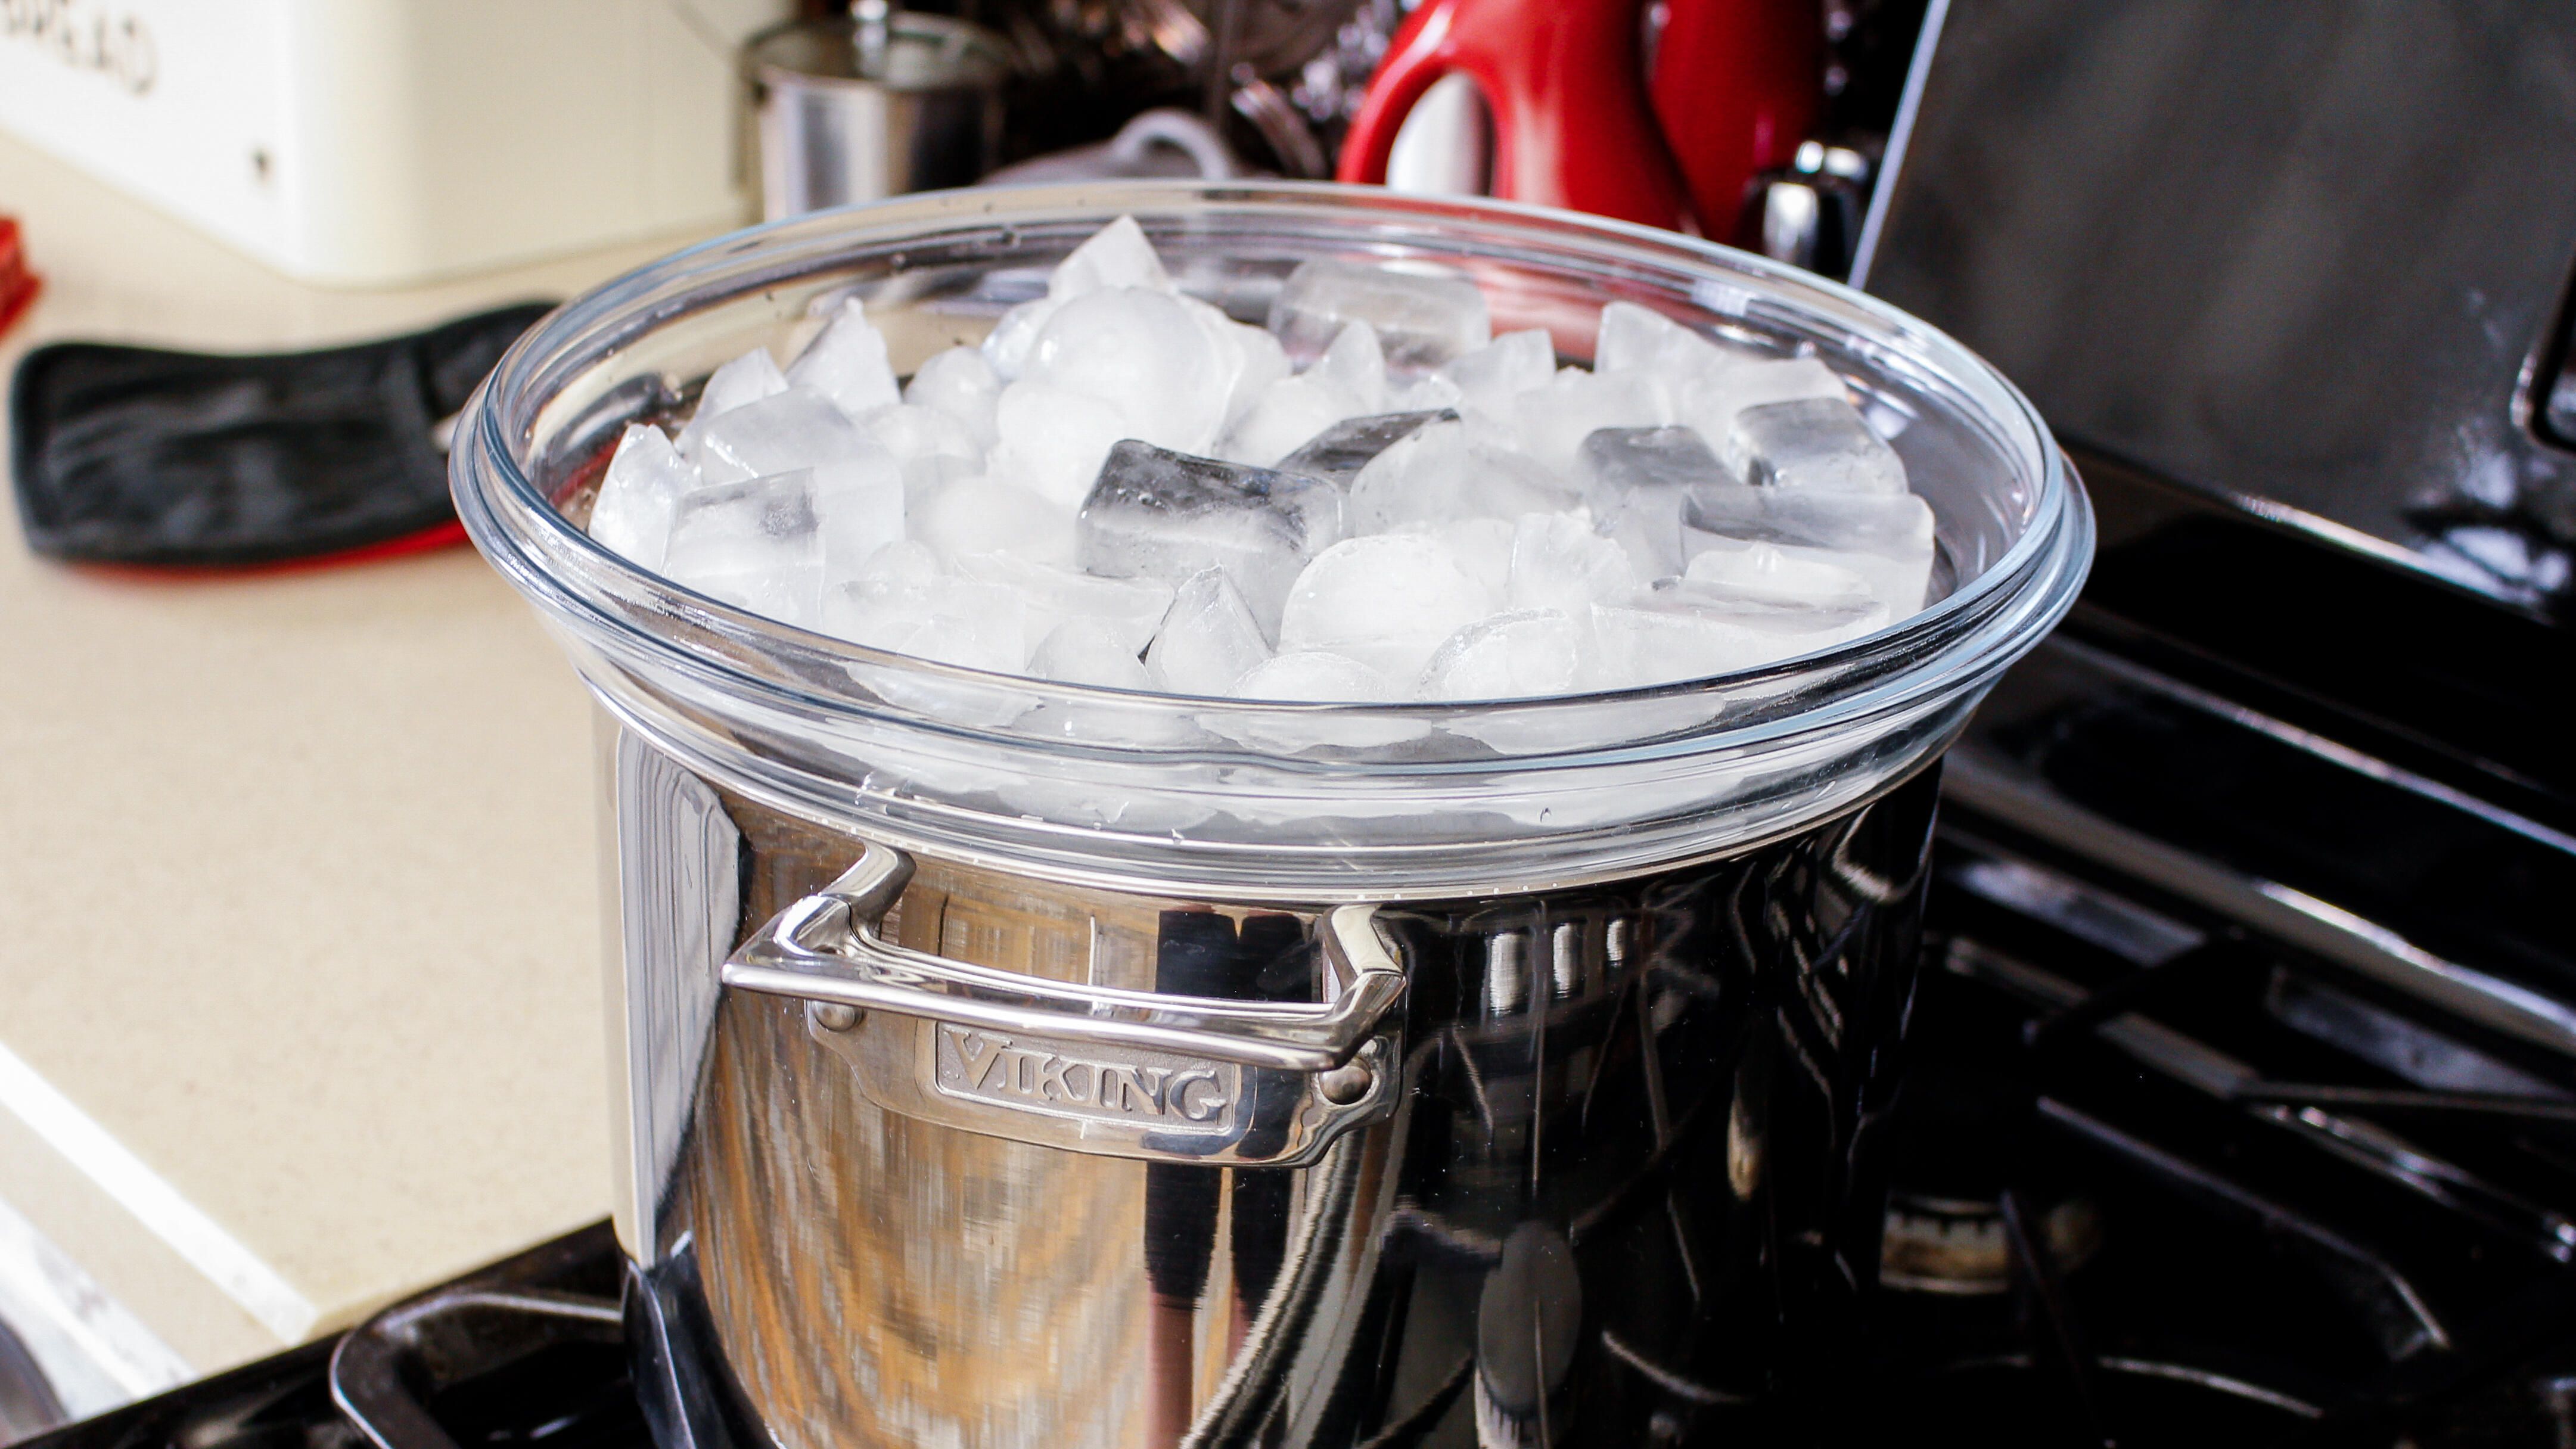
3. After you put the burner on, place the lid upside-down on the large pot. Lids are usually higher in the middle than around the edges. Flipping the lid will allow for the condensed distilled water to trickle down to the middle of the lid and into the smaller pot. Once all this is done, head over to your ice maker (or tray) and load the top of the inverted lid with ice. The difference in temperature on both sides of the lid will speed up the condensation process.

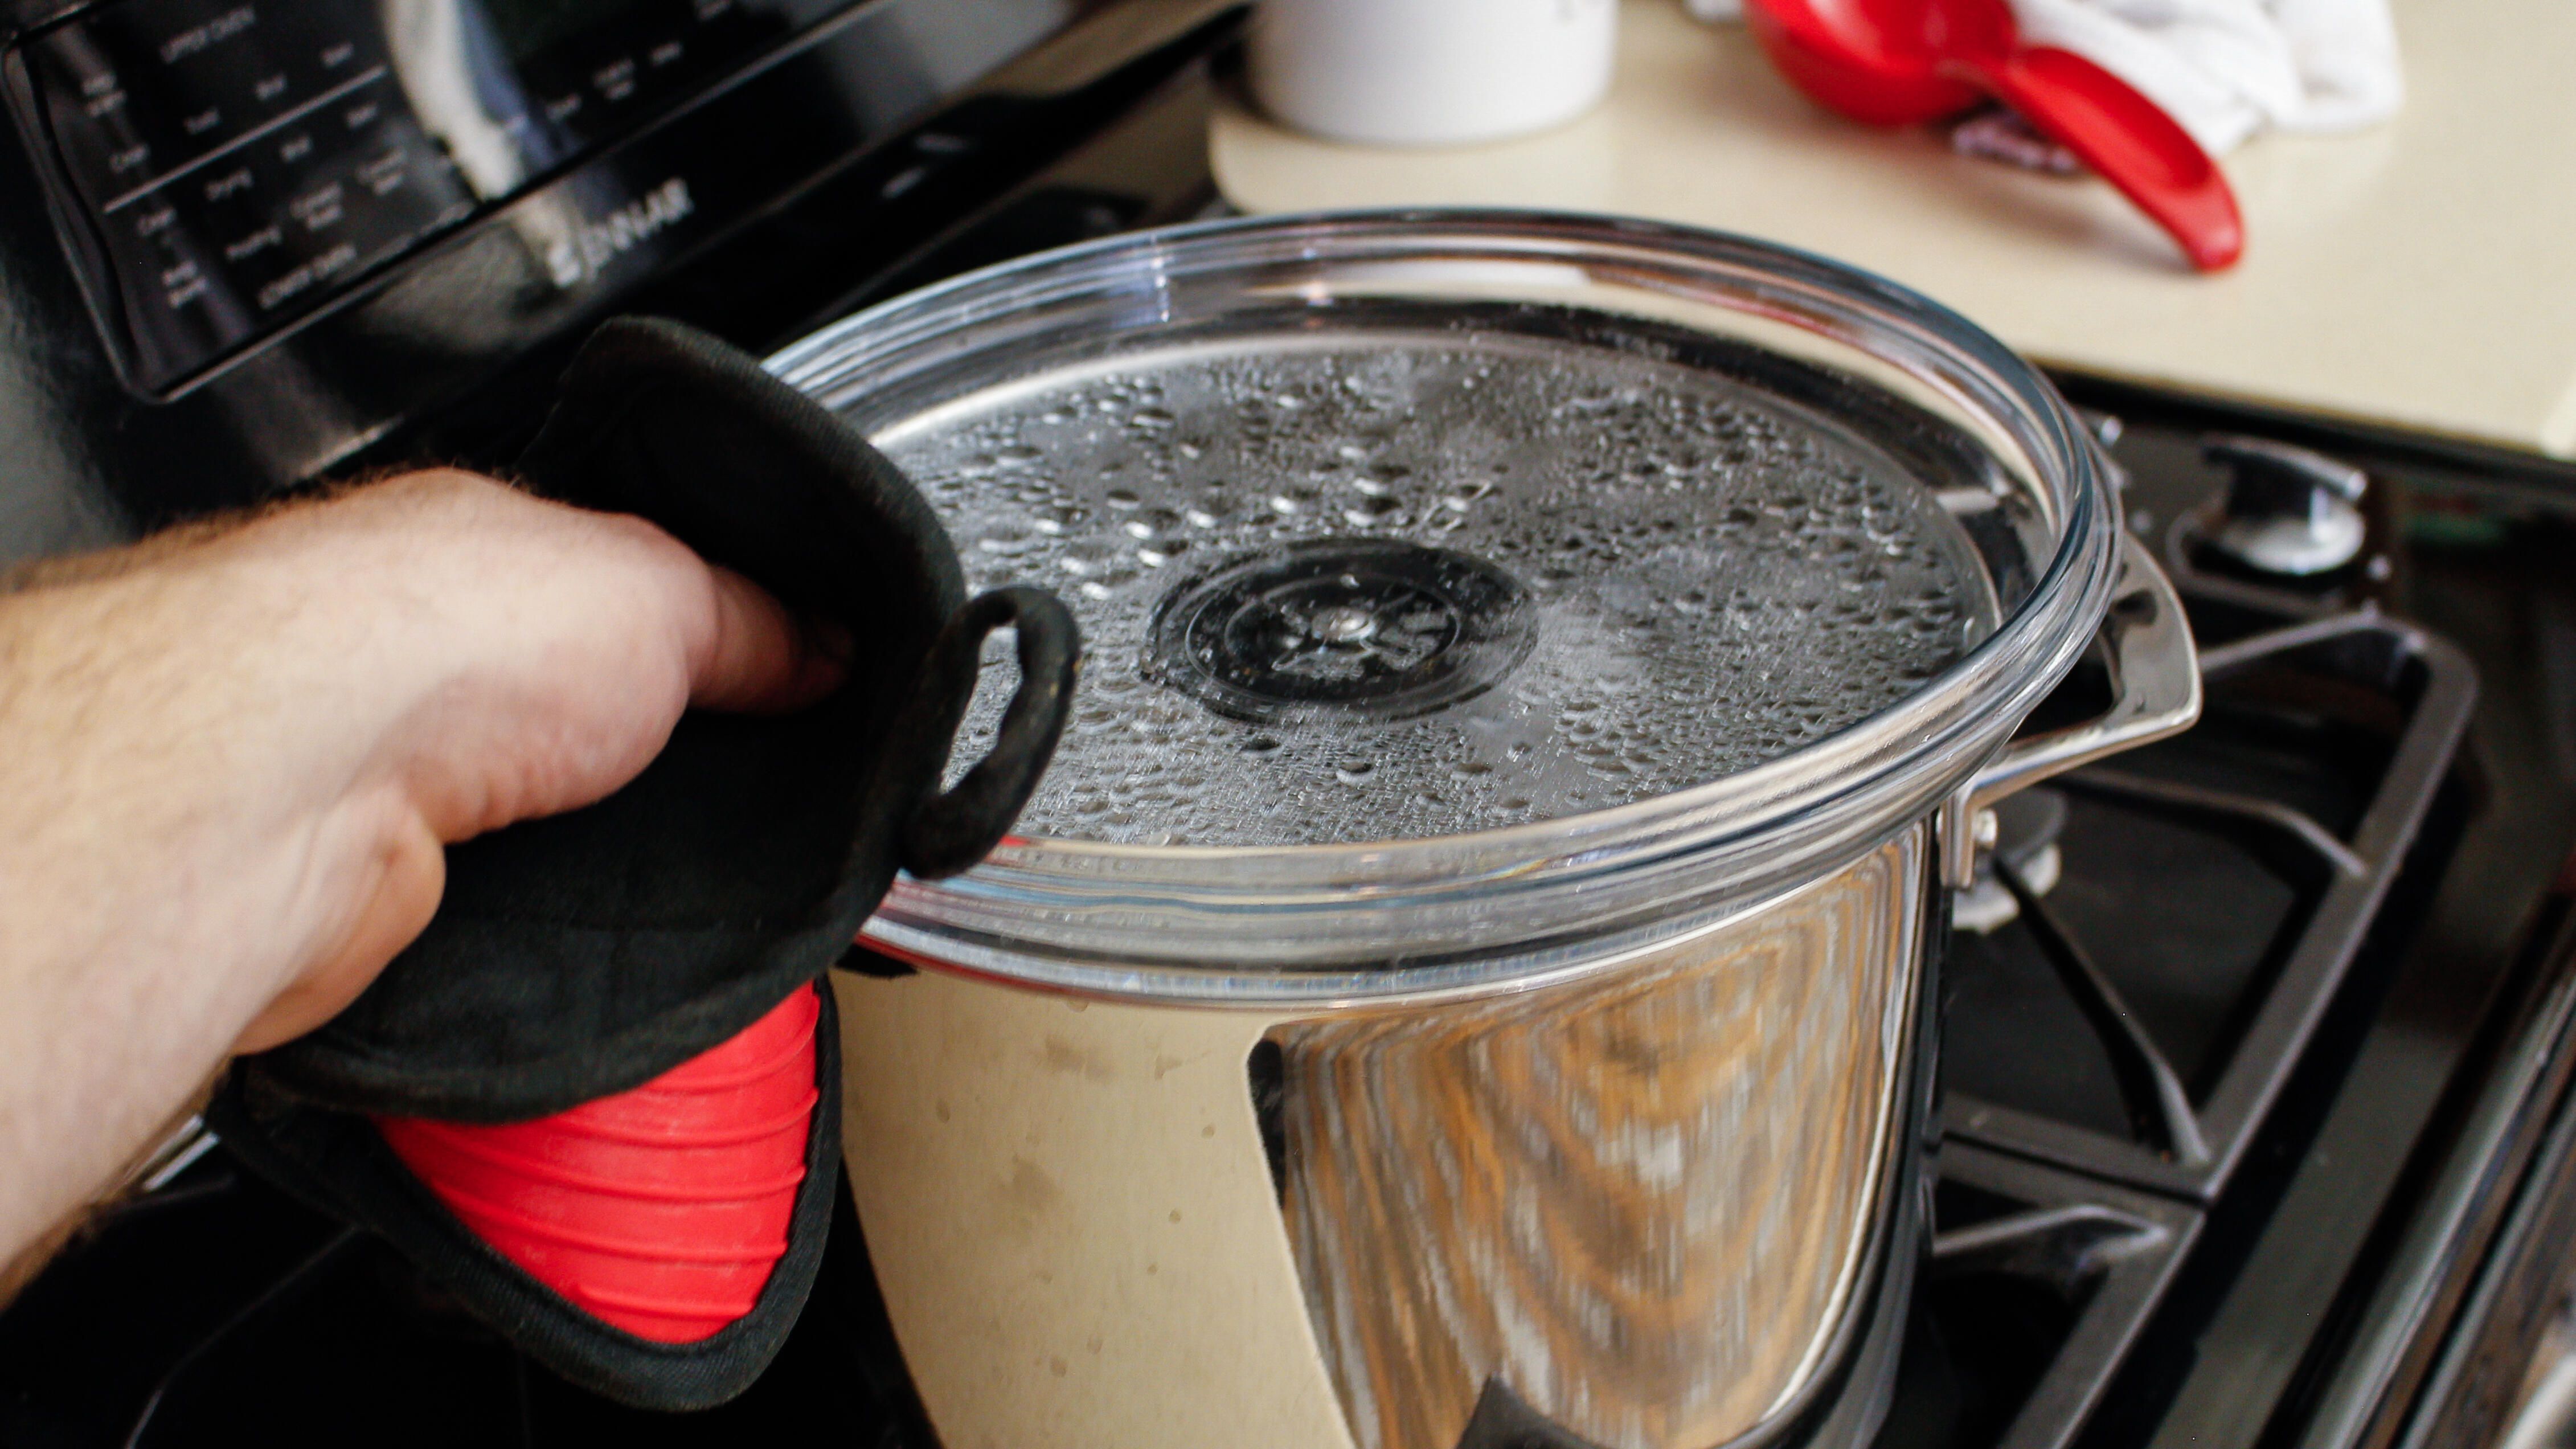
4. At this point, you can sit back and wait. I ended up replenishing the ice supply twice within an hour, once at the half-hour mark, and once after 45 minutes. This is what you need the oven mitts for -- that lid will be hot! Use caution when dumping that now-hot melted ice.
5. Any water that has dripped down into the smaller pot has now been distilled. Again, I was able to make about a cup and a quarter of distilled water in this time.
Just remember, making your own distilled water is easy (and fun!), but lack of nutrients makes it a bad choice for daily drinking water. But if you're stuck at home and you rely on a device that requires it, or perhaps you just want to keep your fish healthy, you likely have the means to make it yourself.
