Table of Contents
Explore 6 steps of self-cleaning and maintenance of water heaters at home and learn what each option does well. The article focuses on practical details that can help you make a more informed decision.
When needed to use a hot water heater (water heater) to use it for a long time, you need to conduct cleaning and maintenance periodically. With just 6 simple steps right here will help you clean and maintain your hot water bath at home without calling a technician.
When cleaning the indirect hot and cold water tank directly, you need to consider the following issues:
Time to clean and maintain the water heater will depend on the source of water: If your water source contains many dirt, is not in or contaminated with alum, it needs to be cleaned more times than the treated tap water. (in the city center).
Periodic cleaning: You need to clean and maintain the water heater about 6 months - 1 year of use is the most reasonable.
Use a soft cloth and warm water to clean the machine: For the case of the case you should use soft towels and warm water to clean, Absolutely do not use hot water or highly abrasive detergent to clean the heater will reduce durability and loss of aesthetics.
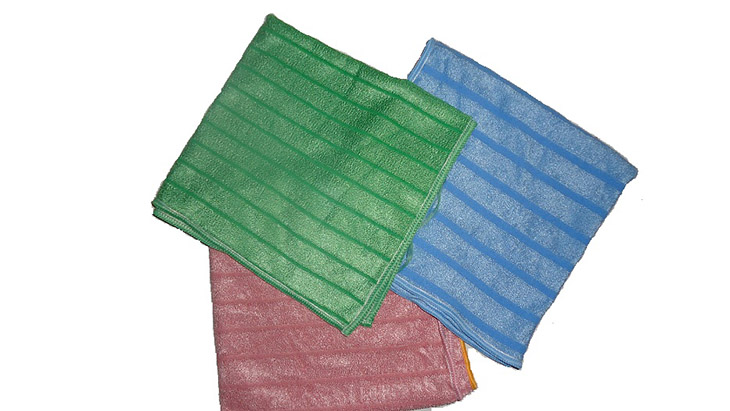
Steps to clean and maintain the heater
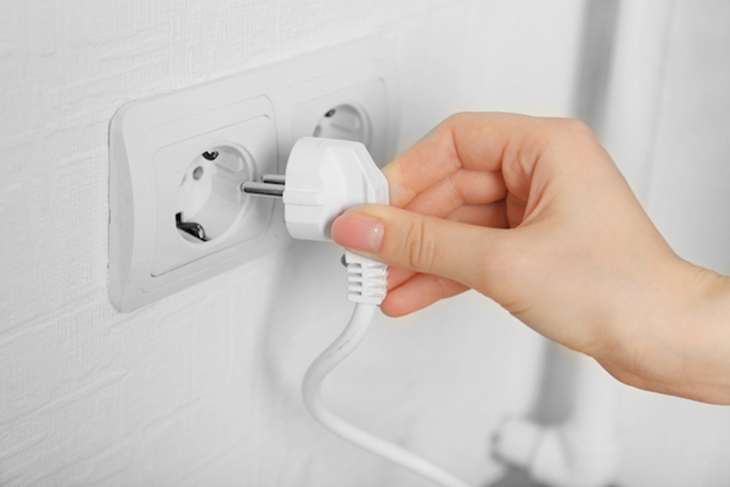
Step 1: First, unplug the hot water heater from the electrical outlet to ensure safety during the cleaning process.
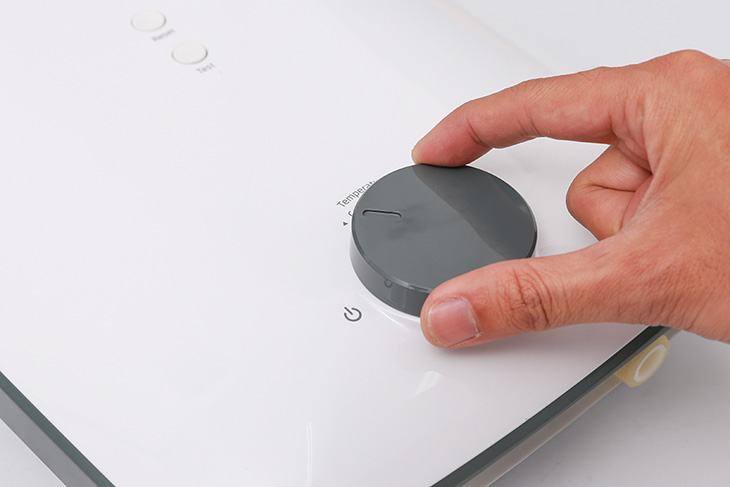
Step 2: You need to remove the temperature adjustment relay (control panel) on the front panel from the hot shower. Then clean all the jacks in the relay and the fiber pins.
Step 3: Drain the water out of the tank by turning on the water drain valve. Then remove the front cover of the hot water bath, remove the intestinal heater and clean with specialized descaling water.
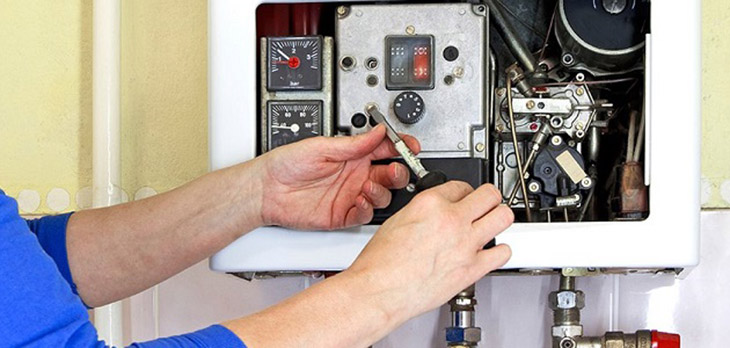
Due to long-term use, calcium deposits will adhere very much in the intestine. You need to clean the calcium deposits and clean the residue with water thoroughly until you see clear water.
Step 4: Check the magnesium bar for corrosion. If the magnesium bar has worn out over 60% compared to the original shape, you need to replace it with a new magnesium bar to ensure electrical safety when using it.
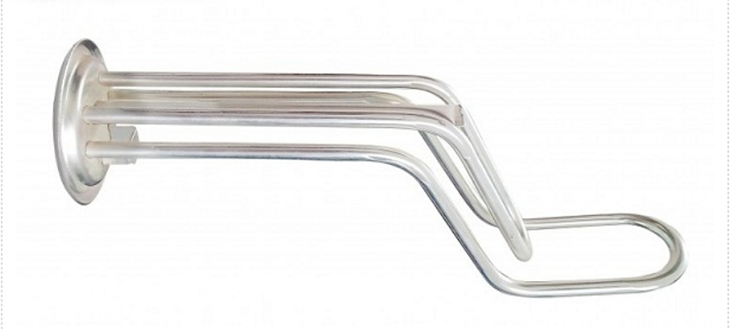
Note: Genuine Magie bar needs to be replaced to make it run better, more durable and safer.
If not replaced, but deliberately using the old magnesium bar, at some point, the old magnesium bar will react with the metal in the bottle and corrode the shell, causing electric leakage, dangerous for users. use.
Step 5: After you have finished cleaning all the above parts, then reinstall the machine as the original. Then check the joints and gaskets.
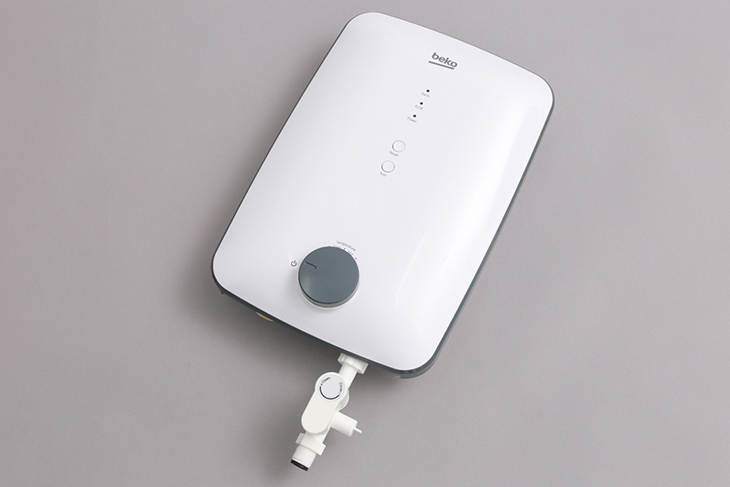
Step 6: At this point you should not plug in the power yet, open the hot water valve to release the gas in the tank. At the same time, open the cold water supply valve into the machine so that the water is drained at the hot water valve. If the water has flowed and there is no air bubbles, close the hot water valve.
Then then plug the hot water outlet back into the power outlet and adjust the temperature to see if the machine heats the water. If the water is hot, you have successfully installed and maintained the water heater.
With only 6 steps, you can clean and maintain the water heater without calling a worker, saving costs without spending much time and effort.
FAQ
How were the 6 steps of self-cleaning and maintenance of water heaters at home options selected?
The options are compared by usefulness, ease of use, core features, and their fit for the situations described in the article.
Which option is best for beginners?
Choose the option with the simplest setup, clear documentation, and the features you actually need. A more advanced option is not always the better starting point.
What should I check before choosing?
Check compatibility, current availability, pricing or licensing, privacy requirements, and whether the product still receives updates and support.
Related Articles
 Home Maintenance Myths You Shouldn't Believe7 minutes read
 The Necessary Notes When Choosing to Buy a Water Heater6 minutes read
 Is Solar Water Heater Heating Water Good?6 minutes read
 Essential but Often Overlooked Home Maintenance Tasks: Complete Guide5 minutes read
 5 Measures to Prevent Electric Leakage in the Heater4 minutes read
 Your Home Dishwasher Won't Smell Unpleasant with the Following Steps2 minutes read
Reader Comments 0
Sign in with email or Google to join the discussion.