Table of Contents
Yenka is Windows educational simulation software for subjects including chemistry, physics, mathematics, technology, and programming. Teachers and students can open prepared models or build interactive lessons by placing objects, changing properties, running the simulation, and graphing results.
Yenka's current official FAQ says there is no macOS version. Obtain the installer and license through the official Yenka site or your school; do not download modified “cracked” copies or installers from third-party software archives.
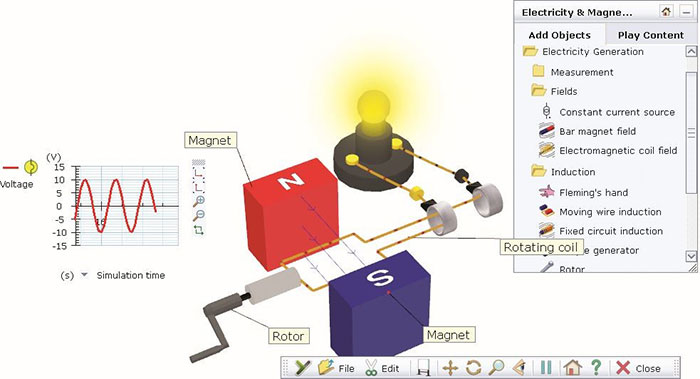
What Yenka can simulate
- Chemistry: virtual chemicals, amounts, concentrations, equipment, and reactions
- Physics: forces and motion, waves, optics, electricity, magnetism, and circuits
- Mathematics: 3D models for geometry, coordinates, statistics, and probability
- Technology: electronic circuits, control systems, and mechanisms
- Programming: flowcharts that control characters or on-screen systems
Available objects and activities depend on the Yenka products covered by the school's license.
Before installing
- Confirm that the computer runs Windows. The official Yenka FAQ currently lists Windows support only.
- Ask the school administrator which Yenka products and site license are available.
- Use the purchase or installation code supplied by Yenka or the school to reach the official download.
- Check that Windows and the graphics driver are updated and that the graphics hardware provides OpenGL support.
- Use an administrator-approved account for installation on managed school computers.
The published system-requirements page mentions very old Windows versions and hardware, so compatibility with a current computer should be confirmed with Yenka or tested before a school-wide rollout.
How to download and install Yenka on Windows
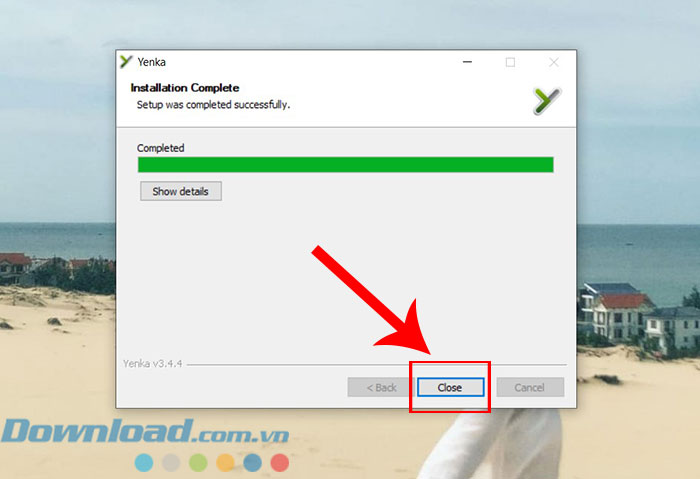
The exact installer name and screens can change. The images below show an older setup flow, but the safe process remains:
- Open the installation page provided after purchase or by the school.
- Enter the authorized code and download the Windows installer from Yenka's official domain.
- Check the download location and filename. If Windows displays a publisher warning, confirm that the file came from the authorized Yenka page; contact school IT or Yenka when in doubt.
- Open the installer and follow the setup wizard.
- Choose the installation location required by the school, then complete the installation.
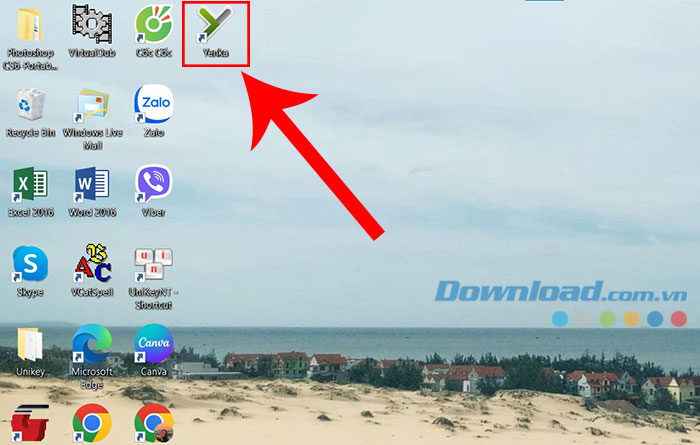
- Launch Yenka from the Start menu or desktop shortcut.
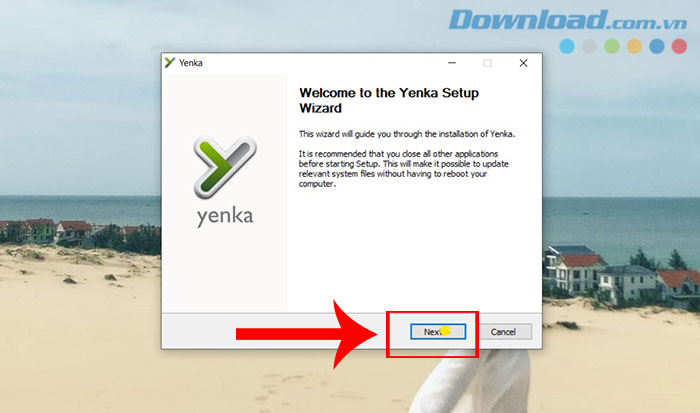
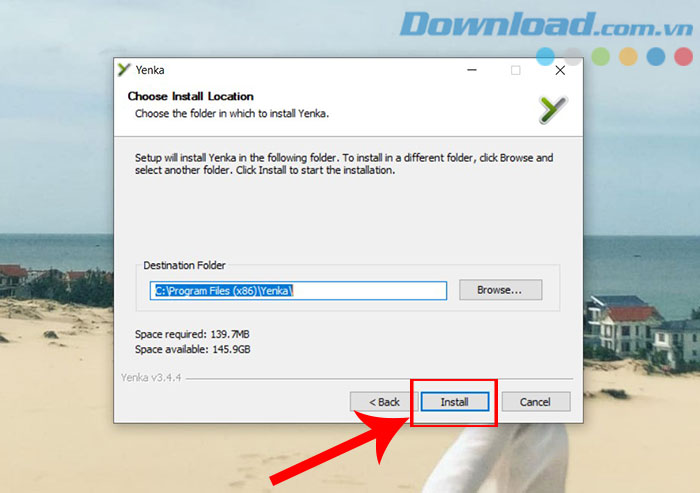
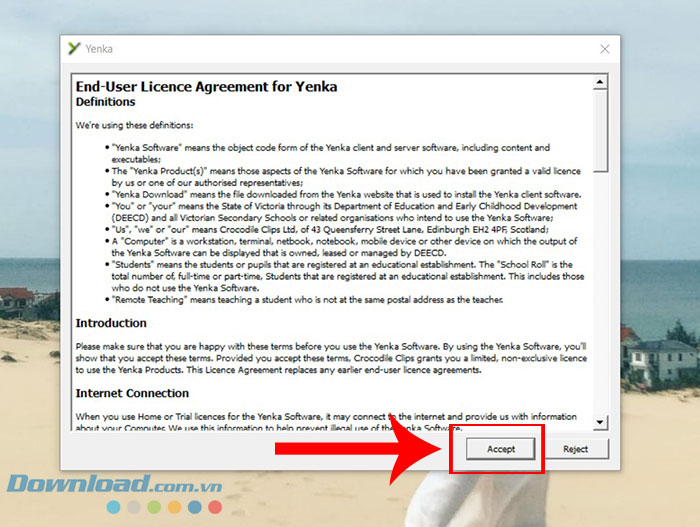
Read the displayed license terms and confirm only if they match the organization's approved use.
Licensing and pricing
Yenka's current site directs customers to contact sales for pricing and says its listed licensing uses one-off payments rather than a recurring subscription. A school site license can cover computers at one site, subject to its terms. Older tutorials that describe a free Home License or a particular trial period may no longer match the available licensing flow.
Do not enter another person's code or bypass activation. If the school already owns a license, contact the administrator or Yenka to confirm entitlement rather than buying or installing a separate copy.
Open a prepared model
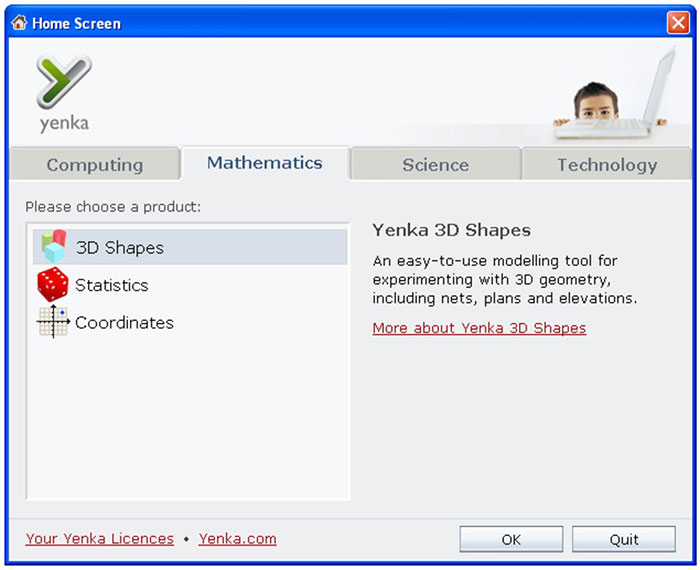
- Launch Yenka and select the licensed subject area.
- Open a sample, lesson model, or authorized saved file.
- Use Play Content mode to interact with a finished activity without changing its objects.
- Read the instructions, identify the variables, and record an initial prediction.
- Change one parameter at a time, run the model, and compare the result with the prediction.
Build or edit a model
Switch to the Add Objects tab to enter Edit mode. In this mode, objects can be added, selected, moved, resized, and configured unless the model creator has locked them.
- Choose an object category from the object pane.
- Drag the required component into the workspace.
- Select it and change values in the Properties pane.
- Connect components when the model requires wires, rods, or other relationships.
- Add labels, instructions, controls, and measurement tools.
- Run the model, observe the output, then stop and revise the setup.
- Save a new copy before making major changes to a prepared lesson.
Use graphs and measurements
For a useful experiment, define the independent variable, dependent variable, controls, units, and range before running it. Add an appropriate graph or meter and change one factor at a time. Check axis labels and scale instead of accepting a visually dramatic graph as evidence.
For example, in a motion model you might vary driving force while keeping mass and friction fixed, then graph acceleration. In a circuit, change resistance while recording voltage and current. In chemistry, record the quantities and concentrations used rather than describing the result only by color.
Play mode, Edit mode, and locked objects
| Mode or setting | Purpose |
|---|---|
| Play Content | Run and interact with a prepared model; adding, deleting, or moving objects is restricted |
| Add Objects | Edit the model, place components, and change properties |
| Lock position | Prevent an object from being moved |
| Lock size/orientation | Prevent resizing or rotation |
| Lock other properties | Restrict controls or editable values |
If a model will not let you select or move an object, first check whether it is in Play mode or locked. Do not assume the file is corrupt.
Opening older Crocodile or Yenka files
The official FAQ lists support for several older model extensions, including .yka, .cxt, .cxi, .cxp, and .cxc. Some legacy formats require a converter, and unsupported components may be omitted or appear differently. Preserve the original file and inspect every imported object and value before using the model in a lesson.
Troubleshooting
Yenka will not start or 3D objects render incorrectly
- Install the graphics driver supplied for the computer or graphics hardware.
- Confirm OpenGL support.
- Try a small official sample model.
- Record the Windows version, graphics adapter, driver version, and error message for school IT or Yenka support.
The installer is blocked
Do not disable security controls globally. Confirm the download came from the official, code-protected installation page and ask an administrator to review it. Managed school devices may require central deployment.
A model cannot be edited
Switch from Play Content to Add Objects, then check the object's lock settings. If the activity was intentionally protected, work on a permitted copy.
Use simulation results responsibly
A simulation is a model with assumptions and limits. It is valuable for exploring relationships, but it does not replace laboratory safety procedures, real equipment tolerances, or an authoritative curriculum source. Verify units and boundary conditions, state what the model holds constant, and discuss where real-world results could differ.
The official Yenka site provides the current product overview and contact routes for licensing or support.
Related Articles
 Fun & Easy STEM Experiments Using Materials You Have Around the House7 minutes read
 Listed 10 Most Terrible Experiments on Animals5 minutes read
 4 Magnet Experiments Are More Interesting Than Magic Tricks That4 minutes read
 Top Scientific Applications for Children on Android7 minutes read
 Transform Experiment Images into Visual Experiments in Canva3 minutes read
 Facebook Apologizes to Users for Psychological Experiments4 minutes read
Reader Comments 0
Sign in with email or Google to join the discussion.