How to Seal a Plastic Gas Tank
Plastic gas tanks are in high demand in the world of motorcycle racing and ATV enthusiasts. A plastic gas tank can weigh less than half of a comparable metal gas tank and it is easy to mold into shapes to fit odd configurations. Seamless...
Table of Contents
Method 1 of 3:
Seal Plastic Gas Tank with Epoxy Glue
-
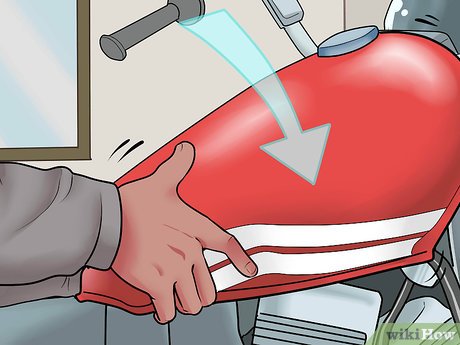
 Drain the gasoline from the tank and allow it to dry. Sand the area around the hole or crack, and clean the area with a shop cloth saturated with rubbing alcohol.[1]
 -
 Mix the 2 part epoxy together and apply all around the perimeter of the opening.[2] Cut a fiberglass patch large enough to cover the opening and overlap it.
 -
 Place the fiberglass patch over the hole and press into the epoxy. Apply more epoxy to the patch and surrounding area, pressing firmly to saturate the patch.
 -
 Allow to dry, sand the patched area smooth and spray paint with a plastic paint if desired.
Method 2 of 3:
Seal Plastic Gas Tank with a Plastic Welder
-
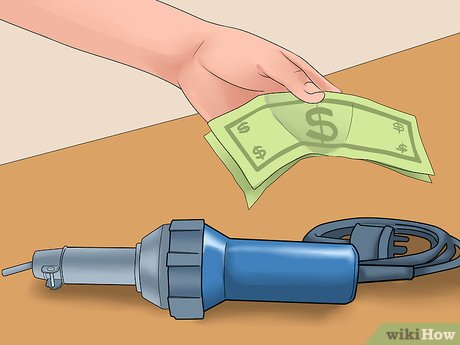 Buy or rent a plastic welder. Tell the salesperson what you are doing with it to ensure that you get the correct rods.
 -
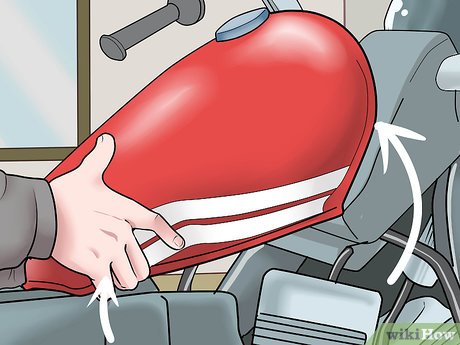 Remove the plastic gas tank from the vehicle, and set it up in a secure welding area. Drain the gasoline from the tank, and allow it to dry both inside and outside. Don protective eye gear, a welding helmet and welding gloves.
 -
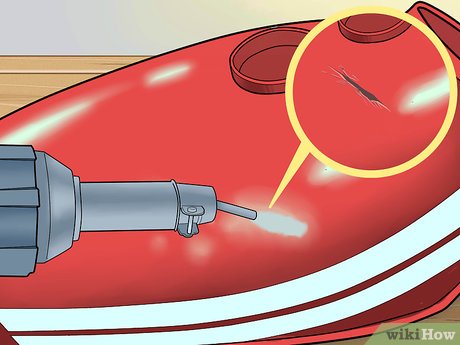 Use a plastic welding rod made specially for this purpose, and fill in the crack or hole. Start at an edge and run the bead completely around the opening. Then begin crossing over the hole, allowing the rod to fill in the hole completely.[3]
 -
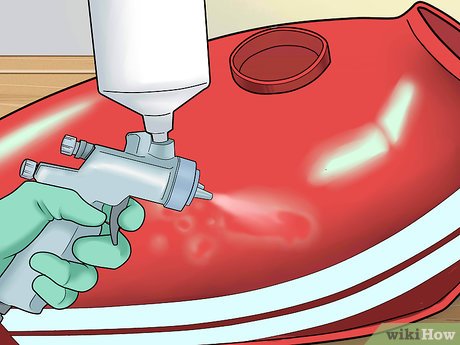 Allow the weld to set up, sand it smooth and, if desired, paint it with plastic spray paint.
 -
 Replace the repaired plastic fuel tank on the vehicle.
Method 3 of 3:
Seal Plastic Gas Tank with a Soldering Gun
-
 Drain the gas tank, and clean it inside and out with soapy water.[4] Lightly sand the perimeter of the area to be repaired.
 -
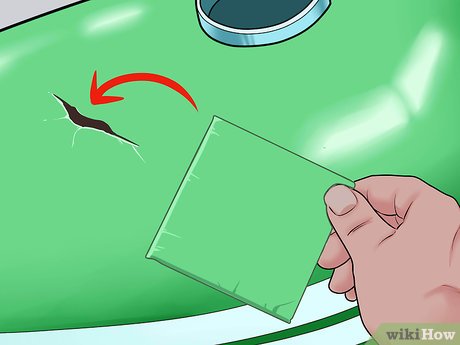 Cut a plastic patch, made of a similar material to the gas tank, slightly larger than the hole to be repaired.
 -
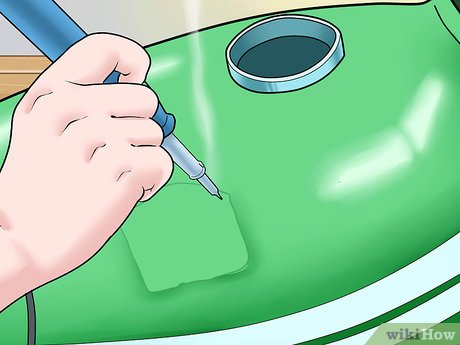 Heat up an electric soldering gun, and drag it around the edge of the crack to create a trench. Move the gun from side to side to push the plastic back into the trench. While the plastic is still soft from the soldering, lay the plastic patch over the area. Continue moving the soldering gun over the area to smooth the plastic, and fuse them together.[5]
 -
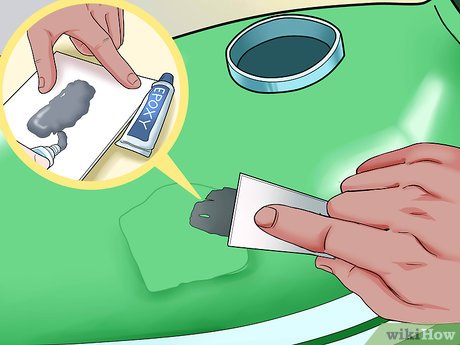 Allow to cool and dry completely. Mix a 2 part epoxy glue, and cover the entire area of the patch.[6] Allow to set up, sand and spray on a coat of plastic paint if desired.
Was this article helpful?
Your feedback helps us improve.
Related Articles
 Surprising facts about plastic that make us think6 minutes read
 What is ABS plastic? Applications of ABS plastic in life4 minutes read
 What is septic? Structure of 3-compartment septic tank, 2 common compartments7 minutes read
 How dangerous chemicals are in plastic consumer products10 minutes read
 What is PP plastic? These products are manufactured from PP plastic3 minutes read
 How to Clean an RV Fresh Water Tank13 minutes read
Reader Comments 0
Sign in with email or Google to join the discussion.