Installation instructions for Son Ha water tank
Water tanks are an indispensable product for families. Son Ha water tank uses 304 stainless steel material with high durability, sturdy design, sure to ensure safety. How to install Son Ha stainless steel tank is very simple, you can see the detailed instructions in the following article.
Classification of Son Ha stainless steel water tank
Son Ha stainless steel tank is divided into 2 basic types:
Vertical stainless steel tank: Usually used for families with narrow ceiling space, suitable for installation for houses under 3 floors to ensure safety when heavy rain, high winds. Standing water tanks are cheaper, with high water pressure.

Horizontal stainless steel water tank: Suitable for families with large ceilings. The price is more expensive but the safety is higher, the heavy rain and wind are not afraid to tilt. Horizontal water tank can be installed for families with 3 floors or more. Horizontal design of gravity is spread evenly, without affecting the ceiling.
Depending on the ceiling area, the cost and the number of floors you can choose one of these two types of water tanks.
Instructions on how to install Son Ha stainless steel tank stand:
Tools needed to install Son Ha water tank:
- Wrench
- Wrench
- Water pliers
Steps to install Son Ha standing water tank
Step 1: First check the water inlet, water outlet and drain before installing the water tank. Then use a wrench and a wrench to twist the threads in the opposite direction of the clock.


Step 2: Place the water tank and the recumbent base so that the foot touches the 2 tilt points of the bottom of the tank. Put the bottom of the basin on the base of the stand.
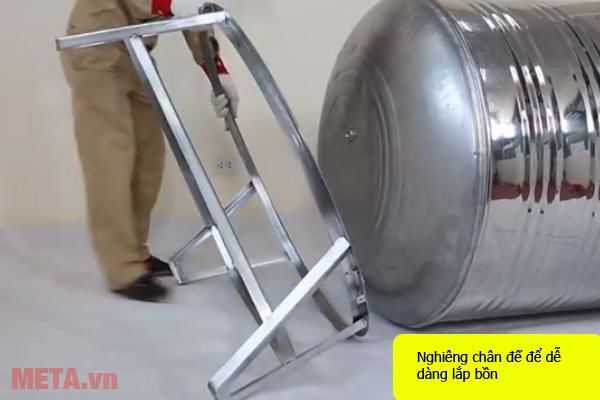

Step 3: Then build up both the basin and the stand vertically.

Step 4: Next you need to locate the burrs, so as to match the base.
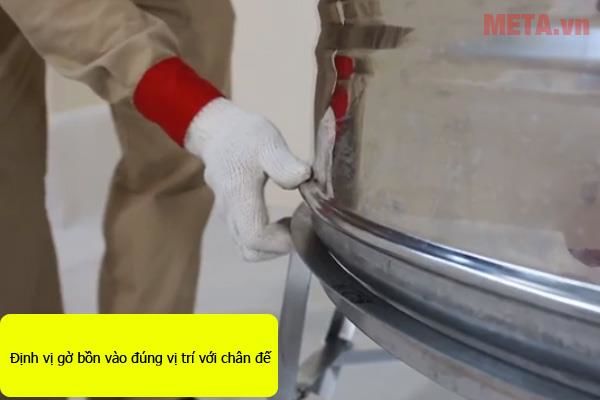
Step 5: It is then necessary to tighten the screws to the base so as to prevent the slant from falling when the rain storm.
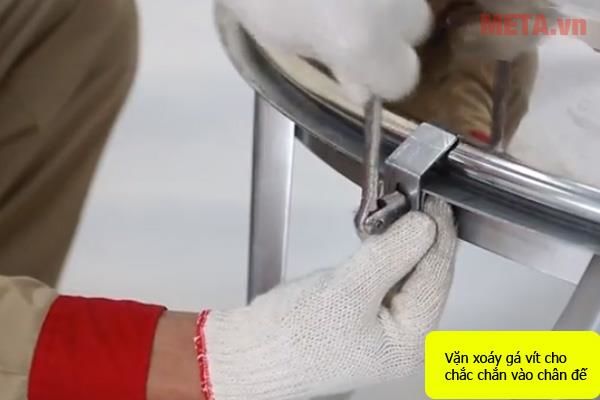
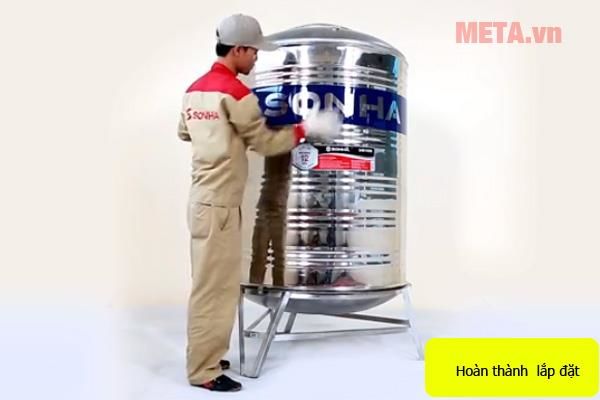
So you have completed the installation of Son Ha stainless steel water tank.
Instructions for installing stainless steel tanks across Son Ha:
Step 1: First you need to erect the water tank vertically.
Step 2: Next set up the stand upright and parallel to the water tank.
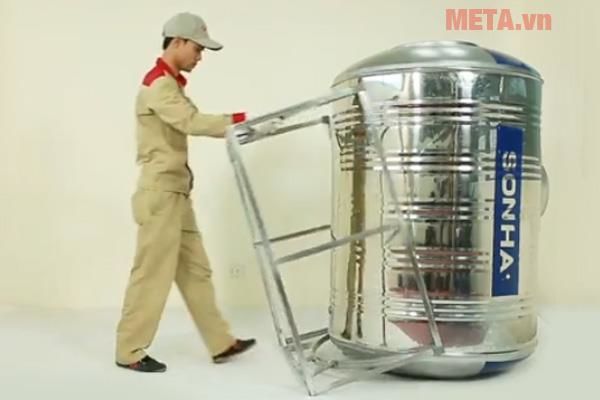
Step 3: Then install the water tank to match the base and use 1 hand to hold the basin, 1 hand to hold the stand.
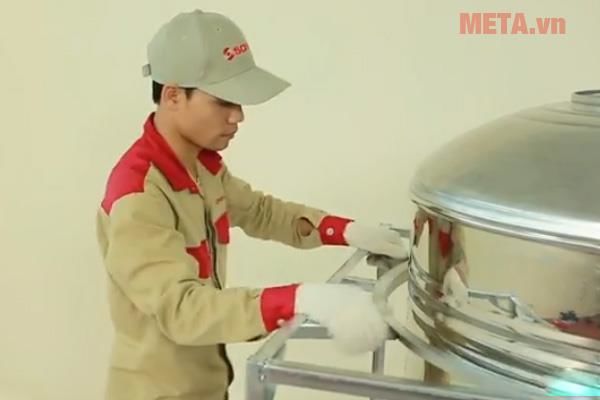
Step 4: Simultaneously lower both the stand and the water tank slowly horizontal to the ceiling.

Gently press the tubular joint to match the stand to ensure balance and stability.
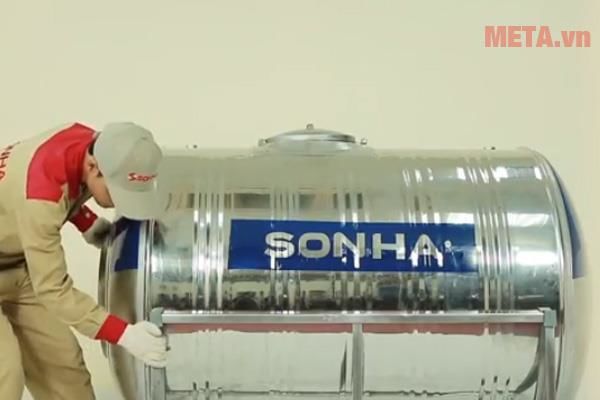
Step 5: Check and tighten the bolts of the inlet hose, outlet water and discharge line. Twisting in the opposite direction to the clock is tight.
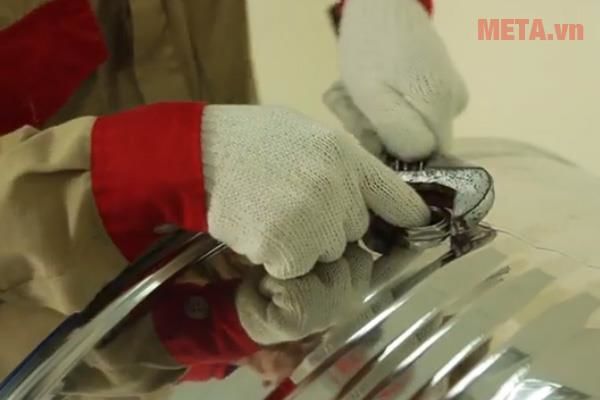

After 5 simple steps, you have completed the installation of Son Ha horizontal water tank.
When installing horizontal Son Ha water tank, you should note: All bars adjacent to the base of the water tank must be supported on the bearing surface or V bar for sure.

Good luck!