Table of Contents
This updated guide explains how to Pair Apple AirPods with Your PC through clear steps, practical examples, and important checks that help prevent common errors.
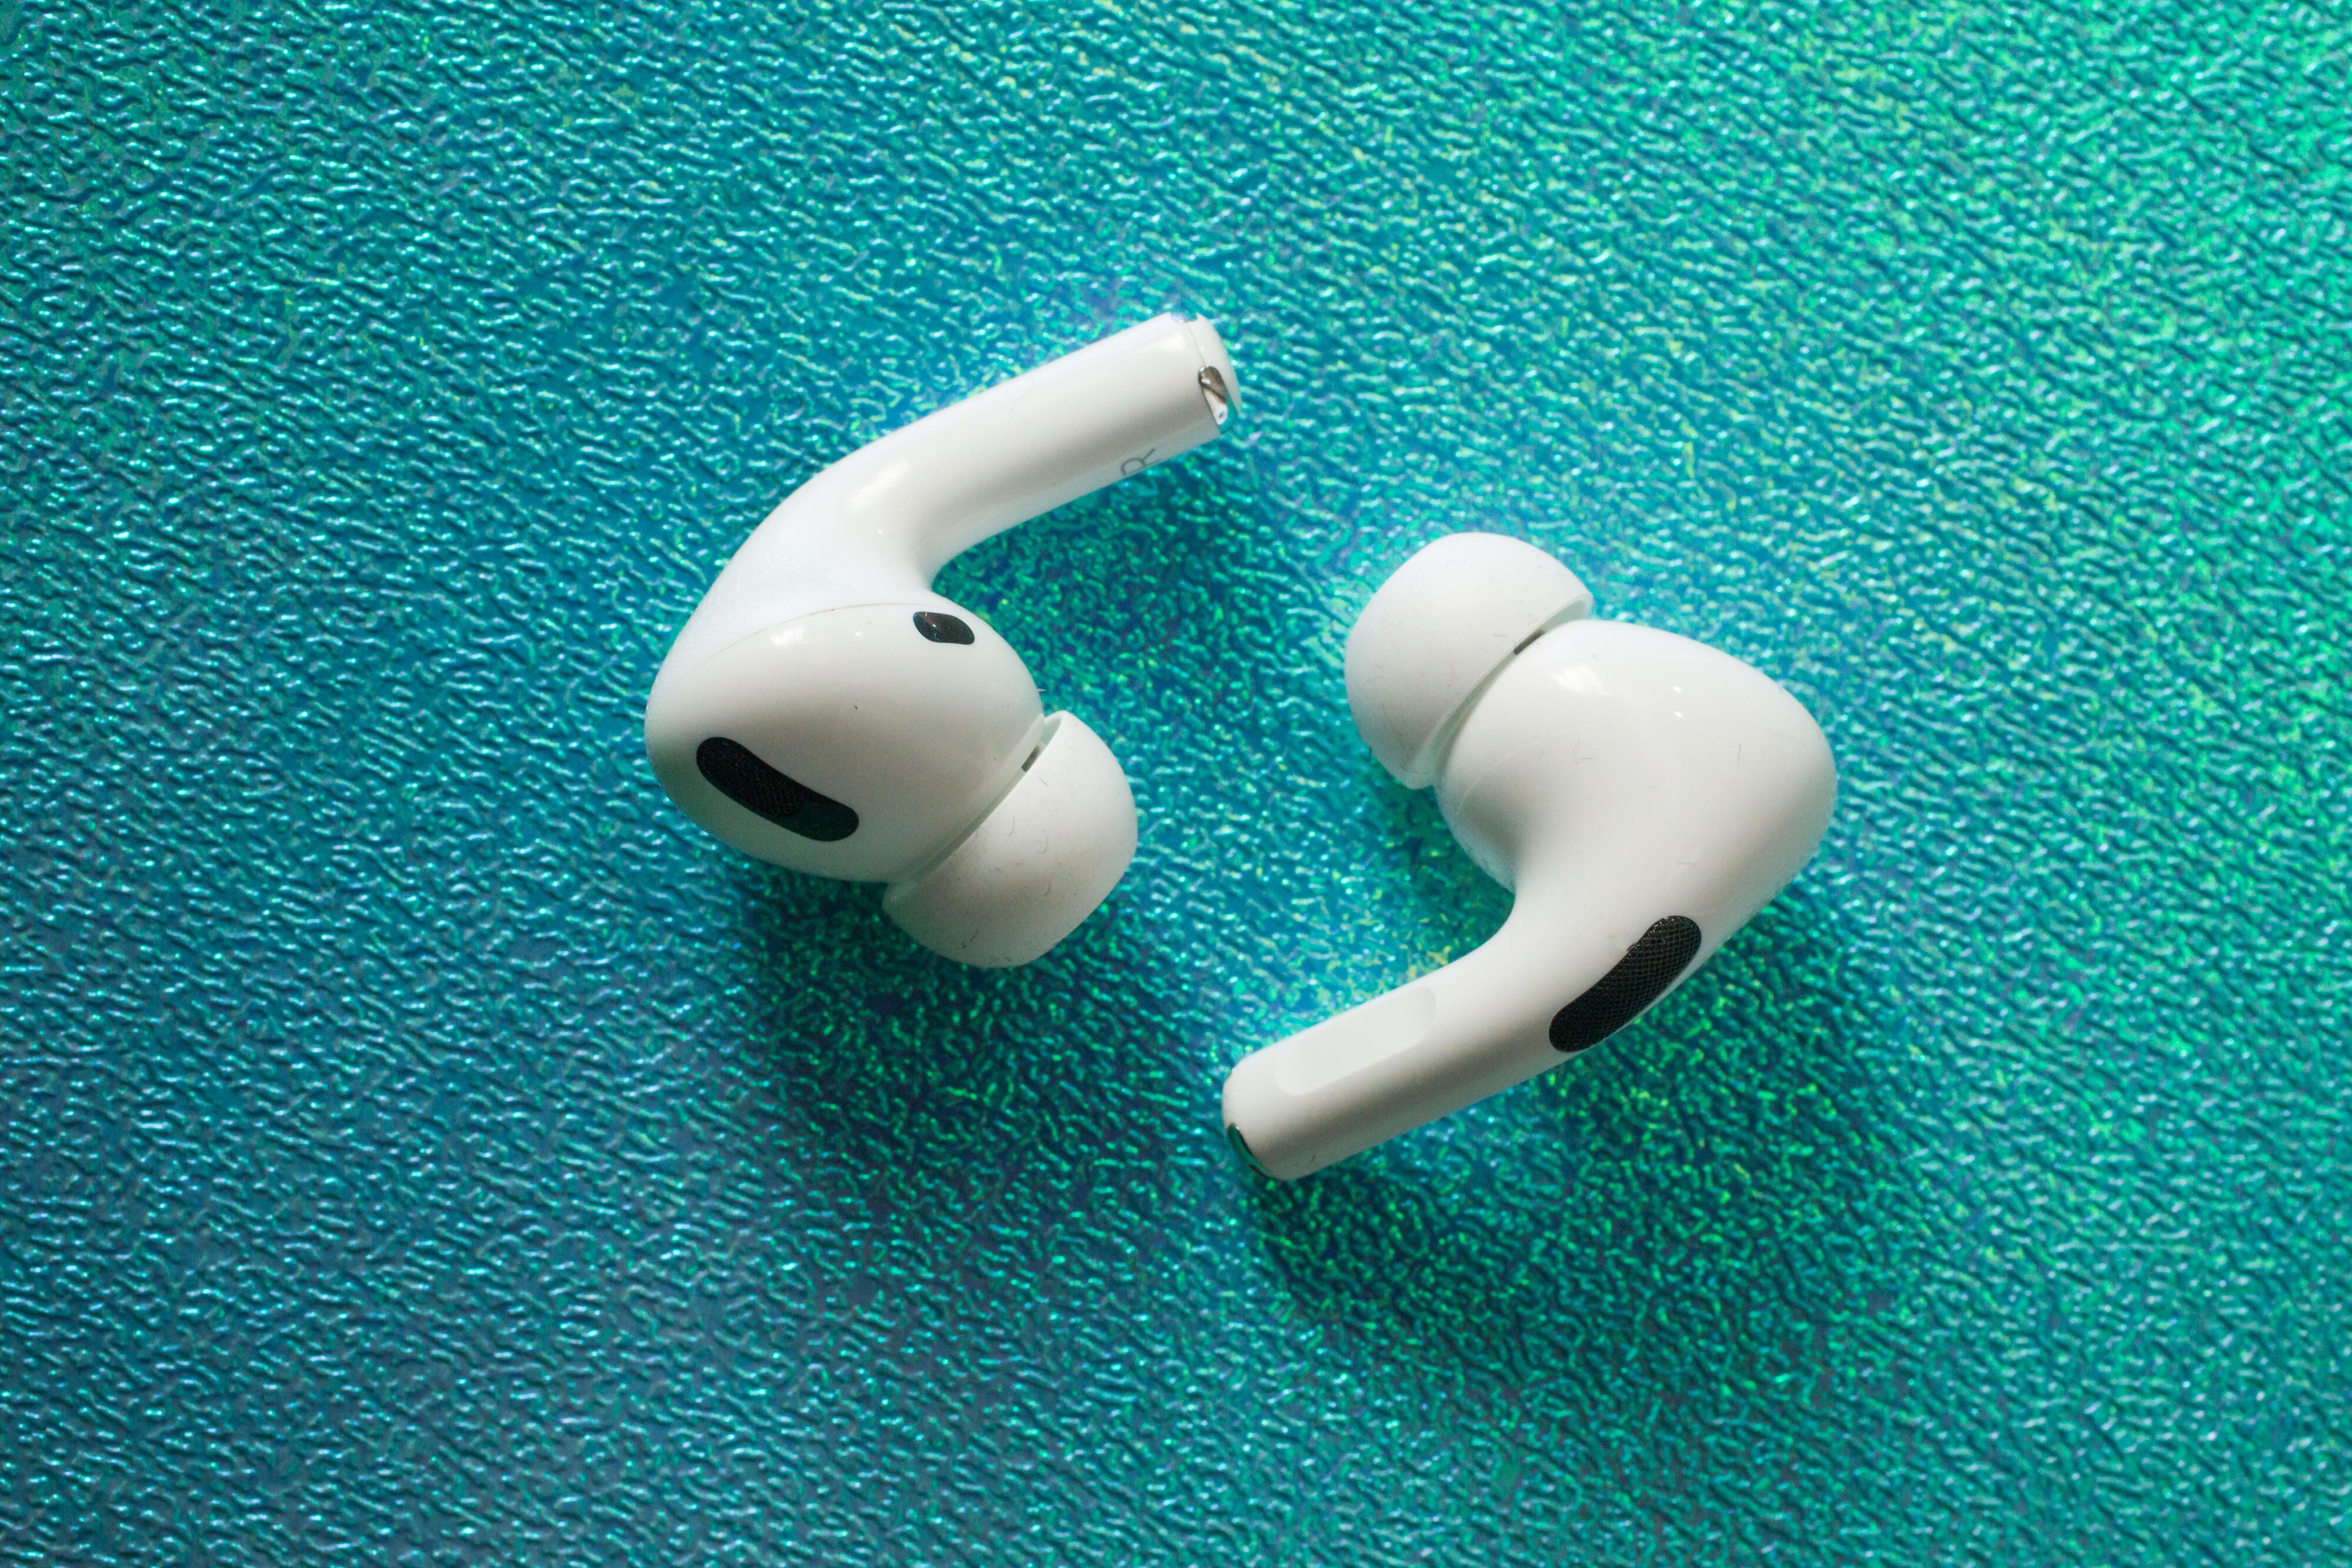
Pair AirPods with PC
On your PC, open the Settings app and choose Devices from the main menu. At the top of the Bluetooth & other devices page, click Add Bluetooth or other device . On the Add a device window, click Bluetooth .
Put your AirPods in their case and open the lid. Press and hold the button on the back of the case until you see the status light between your two AirPods start pulsing white, and then let go. Your AirPods should show up in the Add a device window. Click to pair and connect.

Reconnecting Once Paired
After making the initial connection between your Windows 10 PC and your AirPods, you'll be able to reconnect your AirPods and your PC for listening to music, watching YouTube, video conferencing and so on by heading back to the Bluetooth & other devices page in Settings .
You'll see all of your paired audio devices listed under the Audio header. Select your AirPods from the list and click the Connect button.
FAQ
What is the easiest way to Pair Apple AirPods with Your PC?
Start with the requirements in this guide, then follow each step in order. Check the result after every major change so problems are easier to identify.
Can beginners follow these instructions?
Yes. The process is organized into practical steps, and you can repeat any step before moving forward.
What should I check if the method does not work?
Confirm your software or device version, permissions, settings, file format, and internet connection when the task depends on online services.
Related Articles
 How to Pair AirPods with PC, Mac, and Other Devices: Practical Guide18 minutes read
 How to Pair Airpods, Pro with a Windows 10 Computer4 minutes read
 Review Apple Airpods Pro: the Best Wireless Headset Available13 minutes read
 Compare Apple Airpods Max and Sony Wh-1000xm415 minutes read
 How to Connect Airpods to Apple TV5 minutes read
 Will New AirPods Be Available in Black?5 minutes read
Reader Comments 0
Sign in with email or Google to join the discussion.