How to Make a Nun Costume
Part 1 of 4:
Obtaining the Dress
-
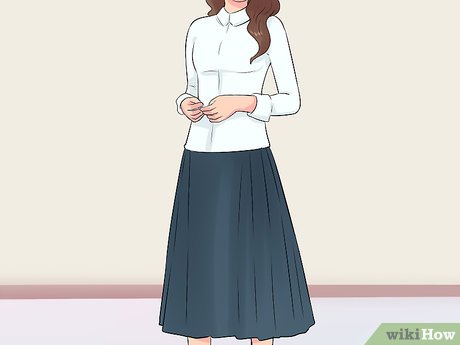
 Research the different types of nun uniforms. The traditional nun's outfit is black, but some orders use different colors. For example, some orders use dark blue, gray, or light blue. Other orders don't use dresses at all, but skirts and blouses instead.[1]
- This article will focus on the traditional black nun dress, but if you are basing your nun after a different order, you should use those colors instead.
-
 Find an ankle-length, loose-fitting black dress with long sleeves. A black graduation gown would work especially well, but you can use an actual dress too. Choose one with a simple cut and minimal seams.[2]
- Ask your friends or neighbors for clothing that you can borrow. You can also find similar dresses in thrift stores.
-
 Consider a skirt and blouse ensemble. Some nuns pair long skirts and long-sleeved shirts together. Depending on the order, the shirt will either be white or the same color as the skirt. Like the dress, the skirt should be long, and not too tight. Unless your order wears a different color, the skirt should be black.
- A turtleneck or a button-up blouse will work, depending on the order.
- You want something that is between a pencil skirt and an A-line skirt in terms of fullness. Avoid full-circle skirts.
-
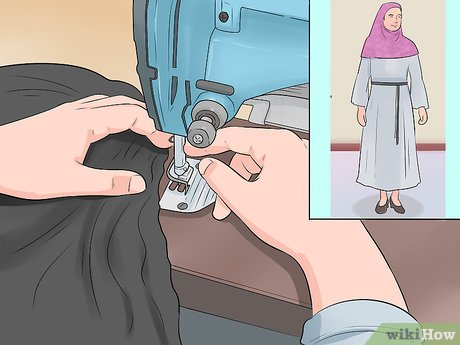
 Sew your own dress if you want a DIY costume. Fortunately, nuns wear very simple clothes, so this should be an easy project even for a beginner. Go to a fabric store and find a pattern for a simple long-sleeved dress; Biblical costume patterns may also work.
 -
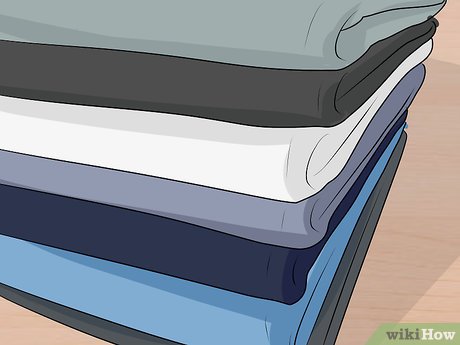
 Choose plain, clean fabrics. Cotton, linen, or polyester will work the best. Do not use shiny fabric like satin or silk, or fancy fabric like brocade or velvet. The color needs to be solid, without any patterns. Make sure that the fabric is clean; nuns may be simple in their attire, but they are also neat and clean.
- This goes for both store-bought, assembled, and homemade costumes.
Part 2 of 4:
Creating the Habit
-
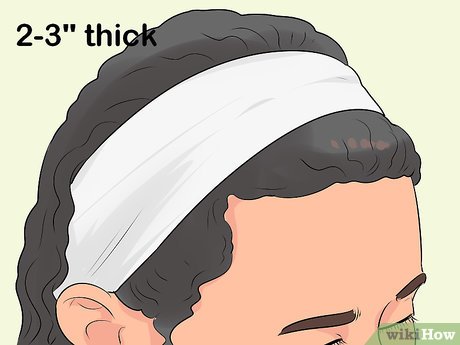
 Get a white, fabric headband. You can find these online and in beauty supply stores; some clothing stores may also sell them in the accessories department. The headband needs to be about 2 to 3 inches (5.1 to 7.6 cm) thick.
 -
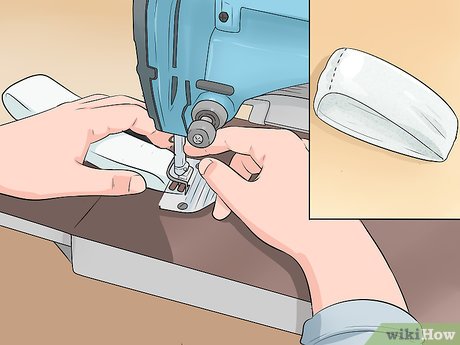
 Make your own headband if you can't buy one. Cut a 4 to 6-inch (10 to 15-cm) wide strip of white jersey fabric; it needs to be long enough to wrap around your head. Fold it in half lengthwise and sew it along the long edge. Turn it inside-out, then sew the narrow ends together to make a headband.
- Alternatively, cut a 2 to 3-inch (5.1 to 6-cm) strip out of white poster paper, then staple it into a headband that's big enough to fit over your head.[3]
-
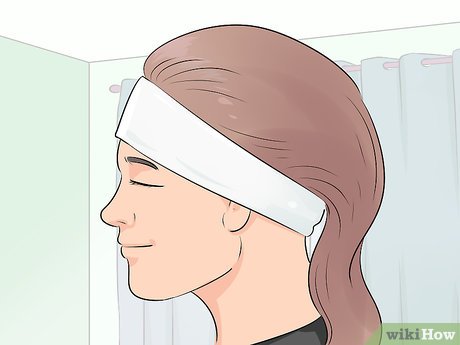
 Slip the headband over your head. Slide the headband over your head so that it hangs around your neck. Pull your hair over the headband so that it is against the back of your neck. Pull the headband back over your head. The sides should be covering the tips of your ears, and the front should be at your hairline.
- Some orders expose the hairline by 1⁄2 to 1 inch (1.3 to 2.5 cm) while other orders cover the hairline.
-
 Find plain black fabric for the habit. A black pillowcase would work especially well here. It would be even better if you could cut open the bottom, but it's okay if you can't.[4]
- If your nun dress is a different color, then you should match the habit to the that color instead.
- Alternatively, you can use a plain T-shirt, a slip, or even a pencil skirt.[5]
- If you made your own dress, cut a piece of fabric wide enough to wrap around your head and long enough to reach down to your shoulder blades.
-
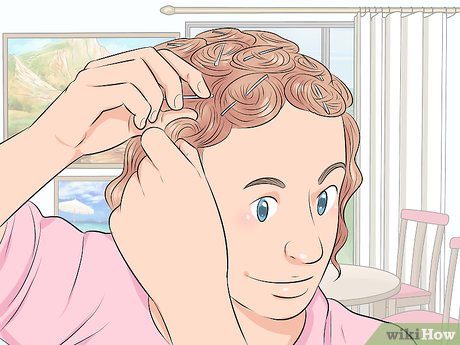
 Pin up your hair if it is too long. Hold the habit against your forehead and drape it over the back of your head. Take a look in the mirror. If your hair is sticking out from under the bottom of the habit, put it into a ponytail or braid.
 -
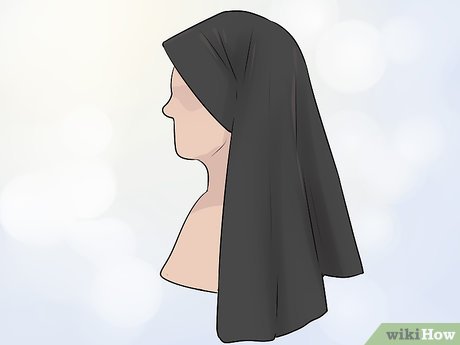
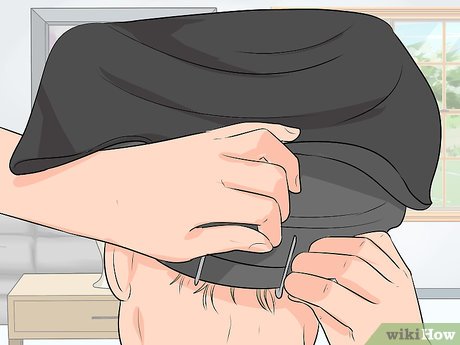
 Pull the habit over your head, 1 inch (2.5 cm) behind the white headband. Simply pull the habit over your head like a headband. Keep the front edge about 1 inch (2.5 cm) behind the front edge of the white headband. Make sure that your hair is inside the habit.
- If you are using a pillowcase, gather the rest of the fabric at your nape and secure it with a safety pin.
- If you are using a T-shirt, be sure to tuck the sleeves into the shirt so that they don't stick out.
- If you are using plain fabric, drape the fabric over the top of your head, then pull the 2 front corners under your hair, right at the nape. Secure them with a safety pin.
-
 Use bobby pins to secure the habit, of needed. This may not be necessary if you used a skirt or a T-shirt, but you will need to use them for pillowcases and fabric. Pull the fabric so that it is taut against the top and sides of your head, then secure it at your nape with bobby pins. You may need additional bobby pins on the sides.
Part 3 of 4:
Making the Collar
-
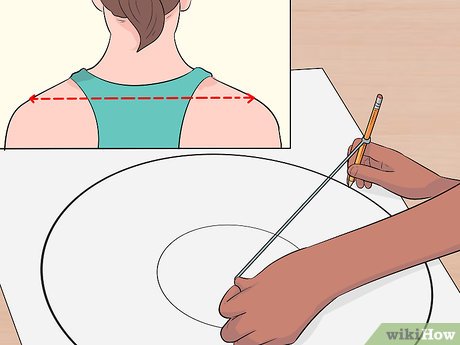
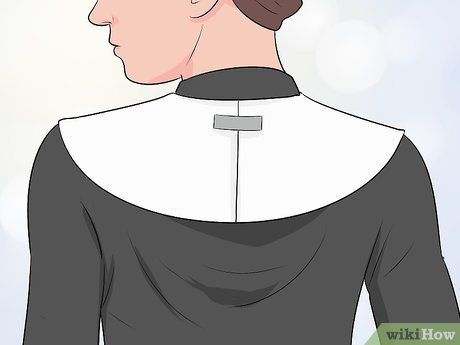
 Trace a doughnut shape onto white paper that's the same size as your shoulders. Measure the width of your shoulders, then draw a large circle on a sheet of poster paper using that as the diameter. Measure around your neck, then draw a smaller circle inside the bigger one using that using as the circumference.[6]
- Not all nuns wear collars. Look at pictures of the order you are using as a reference.
- You can also use white fabric or felt too. If you are using fabric, consider starching it first.
-
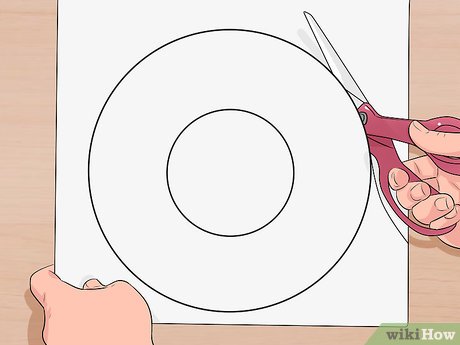
 Cut the circles out, then cut a slit into the collar. Cut the bigger circle out first. Fold it in half, then cut a slit going towards the smaller circle. Unfold the collar, then cut the smaller circle out too.
- If you made a fabric circle, it would be a good idea to hem the raw edges.
-
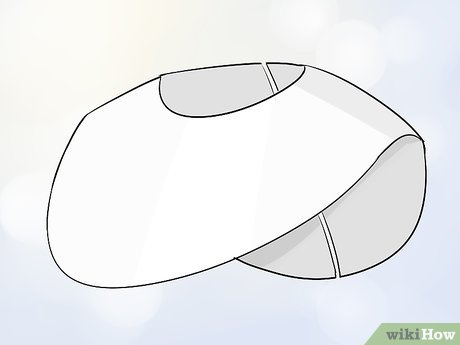
 Roll paper collars into a curved shape. Nun collars don't stick out like neck ruffs; they lay flat across the chest and back. Put the collar on so that the slit is in the back and find where your shoulders sit. Roll the paper so that it curves across your shoulders and lays flat against your chest and back.
 -
 Put the collar on and tape the slit shut in the back. For a reusable collar, apply self-adhesive strips of Velcro to each side of the strip. Put the collar on, then close the slit. Rotate the collar so that the slit is in the back.
Part 4 of 4:
Finishing the Costume
-
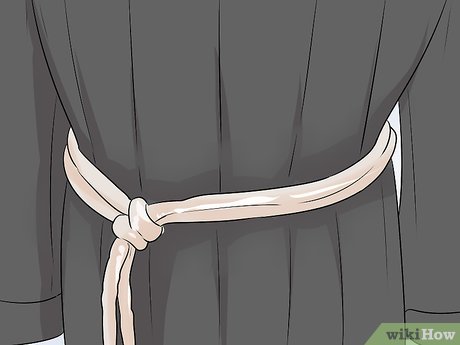
 Tie a belt, cord, or cincture around your waist. The color and type will depend on the order you are dressing up as. Some nuns prefer to tie a simple cord around their waist, while others prefer a belt that matches their dress.[7]
- Keep things simple. Use plain belts, cords, or cinctures, without any ornaments or decorations.
-
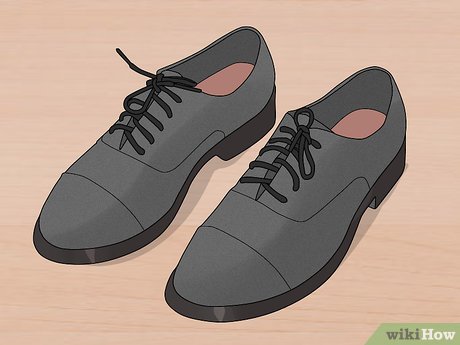
 Choose simple, black footwear. Again, this depends on the order, but most nuns will wear simple, black shoes without any heels. Lace-up uniform shoes or oxfords are the most common. Some orders, however, wear simple, leather sandals.[8]
- Don't wear ballet flats. Most orders do not use them.
-
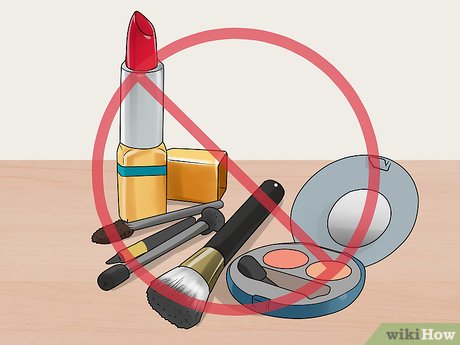
 Skip the makeup. Nuns live simple lives, so they would not wear any makeup. If you absolutely must wear makeup in order to look better in photographs, choose a natural style. Stick with basic foundation, and natural browns for the eyeshadow. You should not look like you are wearing any makeup.
 -
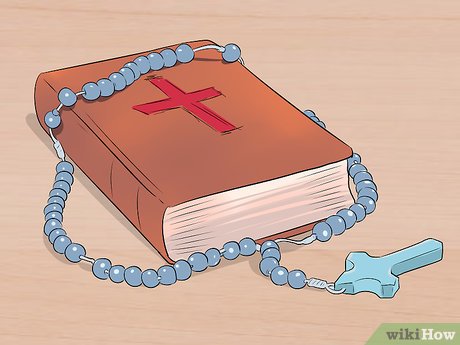
 Consider an accessory to complete your character. A rosary or a prayer book is a great option for a traditional nun costume.[9] Alternatively, if you want to be a "cool" nun, you could put on a pair of black sunglasses. You could also be a ninja nun and carry around a pair of nun-chucks.
- Be aware that some people may be offended by a "cool nun" or "ninja nun."
-
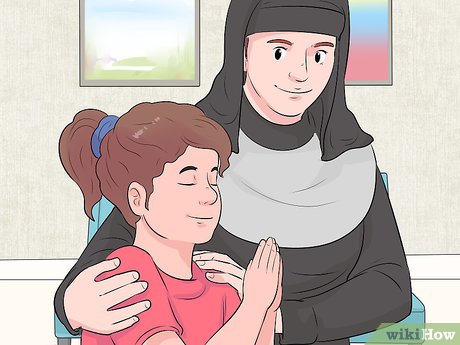
 Get in character, if desired. If this is a child's costume, you could turn this into a learning activity, and teach the child a simply prayer, such as the Hail Mary.[10] Alternatively, you can pretend to be a strict nun and use a ruler to measure the distance between couples while saying "Leave space for the Holy Spirit!"
Share by
Isabella Humphrey
Update 24 March 2020


