How to Learn HTML Language
HTML stands for Hyper Text Markup Language, and is the code or language used to create web pages. It can be a little daunting if you've never coded before, but all you need to give it a try is a simple text editor and an internet browser. You may even recognize some HTML used to change fonts on online forums, in customized online profiles, or in TipsMake articles. HTML is a useful tool for anyone who uses the internet, learning the basics of HTML can take less time than you think.
Table of Contents
Learn Basic HTML
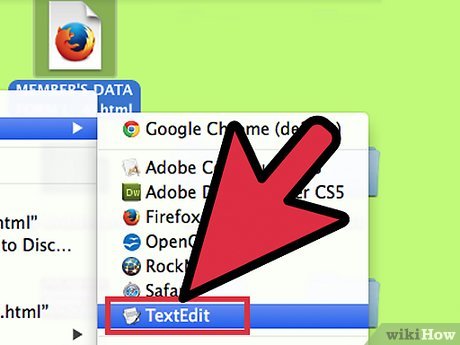
Open an HTML document. Most text editing programs, including Notepad or Microsoft Word (for Windows operating systems) and TextEdit (for Mac operating systems), can be used to write HTML documents. Open a new document and use File → Save As in the top menu to save it as a "Web Page", or to change the file extension to ".html" or ".htm" instead of ".doc", ".rtf", or any other extension.
You may see a warning that your document will be changed to 'plain text' instead of 'rich text', or a formatting and Particular images will not be saved properly. This is normal, HTML documents do not need to use those options.
There is no difference between .html and .htm files. Both work.
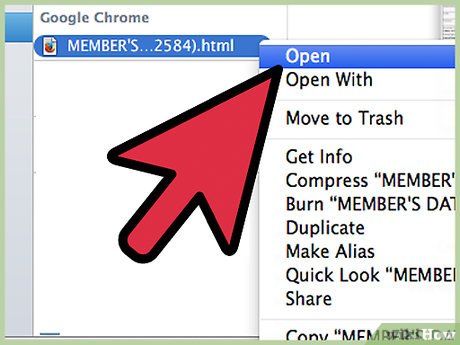
View your document using an internet browser. Save your blank document, then find the document icon on your computer and double-click to open it. It will open as a blank page in the browser. If not, drag the file's icon into the URL address bar on your browser. As you edit your HTML document in this tutorial, you can continually check back and see how your site changes.
Note that this does not actually create a live website. Other people won't be able to access it, and you don't need an internet connection to test it. Simply use a browser to 'read' your HTML document as if it were a web page.

Learn about bookmarks. Markup tags do not appear on a web page like normal text. Instead, they tell the web browser how to display the page and its contents. 'Start tag' contains instructions. For example, it can tell the browser to display text in bold . You also need an 'end tag' to tell the browser where the instructions apply: in this example, all text between the start and end tags will be bold. The end tag is also written inside braces, but is preceded by a slash after the first brace.
Write start tags between curly braces: <start tag goes here>
Write end tags between curly braces, but put a slash immediately after the first brace: end tag goes here >)
Keep reading to learn how to write functional markup tags. At this step, what you need to remember is the basic format they are written in: < > and
If you use other HTML guidelines, you may see tags also called "elements" and the text between the start and end tags as "element content." (ingredient content)
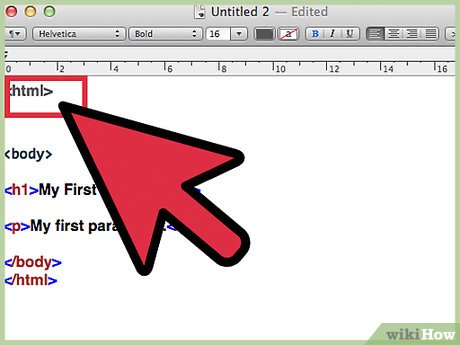
Let's write your first card. Every html document starts with a tag and ends with a tag . It tells the browser that everything between these tags is HTML text. Add these tags to your document:
Write at the top of your document.
Press enter or return a few times to create some space, then write
Remember to write everything else in this guide between these two tags.

Add sections to your document. In between the and tags, write a start tag and an end tag. Remember to create space to write between them. Anything between these head tags will not actually be visible on the website itself. Try the following step and see where it shows up:
Between the tags and, write and
Between tags and, write How to Learn HTML - wikiHow .
Save the document and then open it in a browser (or save the document and then refresh the already opened browser page). Do you see what you wrote at the top of your browser, above the address bar?
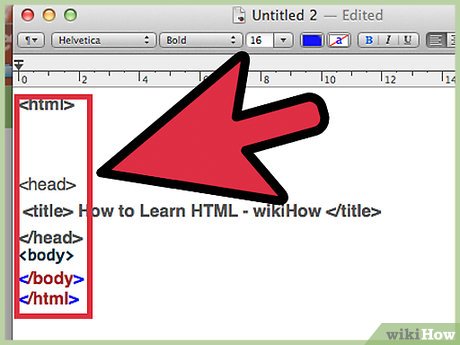
Create a section. Everything else in this starter document is in the body, which is what shows up on the website. After the end tag, but before the , write and . For the rest of this tutorial, everything you write will go between these body tags. At this point you should have a document that looks like this (ignore the bullet points):
How to learn HTML - wikiHow

Add text in different styles. Now it's time to write something you can actually see in your browser! Anything you write inside body tags will be visible in your browser after you save the HTML document and refresh the browser page. Don't write anything with < or > symbols, though , because your browser will try to translate it into an HTML instruction instead of normal text. Try writing Hello World! (or whatever you like), then add these new tags around it to see what happens each time:
Xin chào thế giới!will display as "italic text:" Hello world!
Xin chào thế giới!will display as "bold text:" Hello world!
Xin chào thế giới!Hello world!
Xin chào thế giới!will appear as text above: Hello world!
Xin chào thế giới!will display as text below: Hello world!
Try the following combination: Xin chào thế giới!What does the text look like?
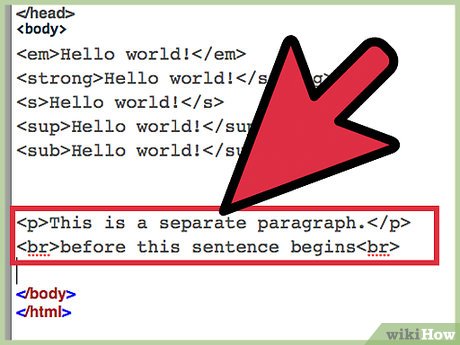
Divide your text into paragraphs. If you try writing a few lines of text in your HTML document, you may notice that the line breaks don't show up in the browser. You must write additional code for this operation:
This is a separate piece of text.
Câu này được theo sau bởi một ngắt dòng.
 trước khi câu này bắt đầu.
This is the first card you see that doesn't need an end tag! These are called "empty tags".
Create headings to display the names of items:
heading text
: the biggest topic
heading text
(level 2 heading)
heading text
(heading level 3)
heading text
(heading level 4)
heading text
(smallest topic)
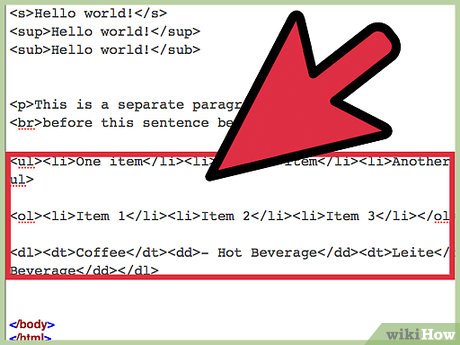
Learn how to create lists. There are many different ways to write listings on a website. Try out the following code styles and see which one you like. Note that a pair of tags will cover an entire list (e.g. tags
and
for "unordered lists"), while single items in the list are enclosed by another pair of tags, e.g.
- and
.
Use this code to create bulleted lists:
- One item
- Another item
- Another item
Or use this code to create numbered lists:
- Section 1
- Section 2
- Section 3
Or use this code to create a list of term definitions:
- Coffee
- - Hot drinks
- Leite
- - Cold drinks

Beautify your page with line breaks, horizontal lines, and images. Now it's time to try adding things other than text to your page. Try the following tags, or click on the links for more information. You'll need an online photo booking service to get a URL to link to the photo tag:
Add a line in HTML:
More photos:
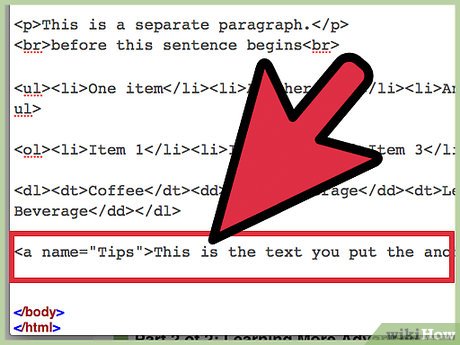
Links to other locations on the site. You can also use this code to link to other pages and websites. But for now, since you don't have a website yet, we'll focus on 'anchors' (texts that contain links) or specific places on the page that you can link to:
Create an anchor with the tag at the location on the page you want to link to. Give it a distinctive and memorable name:Đây là văn bản bao quanh bằng anchor.
Use to link to those anchors or to another website:Viết đoạn văn bản hoặc hình ảnh được hiển thị như liên kết ở đây.
To link to an anchor on another website, add a # after the URL, followed by the name of the anchor. For example, http://www.wikihow.com/Learn-HTML#Advice will link to the Tips section of this page.
Learn more about advanced HTML

Learn about properties. Attributes placed inside the tags themselves add variation to the "element content" that lies between the start and end tags. They never stand alone. They are written as name="value" , where name is the name of the attribute (e.g. "color"), and value specifically describes the value of 'color' (e.g. " red" – red).
You've actually seen the parameters before, if you followed the instructions in the Basic HTML section above. Tags

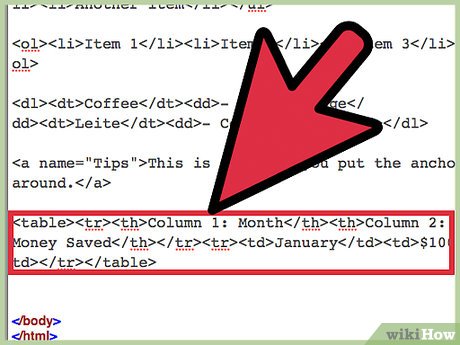
Experiment with tables in HTML. Creating tables requires the use of many different tags. Try playing around with these tags, or learn more about HTML tables in more detail.
Start with the table tags around the entire table:
Row tags surround each row's content:
Column headings in the first row:
Cells in the following rows:
Here's an example of how they work together:
| Column 1: Month | Column 2: Money saved |
|---|---|
| January | $100 |
Learn mixed head tags. You've learned about tags, which appear at the beginning of every document. Besides tags, it can also include the following tag types:
Meta tags, are used to provide metadata about a web page. This data can be used by search engines as robots (automated programs) scour the internet to locate and list web pages. To make your site more visible to search engines, use one or more start tags (no end tags necessary), each with exactly one name attribute and one content attribute, for example: ; or
Tags are used to associate other files with the web page. It is often used to link to layers of CSS formatting created with a different coding style to transform your HTML page by adding color, text alignment, and more.
Tags
Was this article helpful?
Your feedback helps us improve.


Reader Comments 0
Sign in with email or Google to join the discussion.