How to build a Paint application with Python
A simple painting tool is the most common application you can find on most computers. It allows artists to make mistakes without worrying, choose any color with a click of a button, and change the size of the brush instantly. You can use it to create brand logos, conceptualize user interfaces, and annotate diagrams.
Tkinter and Pillow Modules
To build a painting app, you need the Tkinter and Pillow modules. Tkinter is one of the top Python frameworks that you can use to customize your GUI. It is the standard Python GUI module for creating desktop applications. Tkinter offers a series of different widgets such as labels, entries, canvas and buttons.
Pillow, a fork of the Python image library (PIL), is an image processing module for Python. With Pillow, you can open, resize, flip, and crop photos. You can convert file formats, build recipe finder apps, and fetch random images.
To install these modules, run:
pip install tk pillowDetermine the structure of the painting application
Start by importing the required modules. Define a class, DrawApp . Set title, cursor color and eraser color. Make the application open in full screen. Call the setup_widgets method .
import tkinter as tk from tkinter.ttk import Scale from tkinter import colorchooser, filedialog, messagebox import PIL.ImageGrab as ImageGrab class DrawApp: def __init__(self, root): self.root = root self.root.title("Kids' Paint App") self.root.attributes("-fullscreen", True) self.pointer = "black" self.erase = "white" self.setup_widgets()Define a method named setup_widgets . Specifies a label that shows heading . Set the parent element, the content you want to display, font style, background color, text color. Defines a frame for the color palette. Set the parent element, the content it will display, the font style and border width. Set the border shape as desired and the background color to white.
def setup_widgets(self): self.title_label = tk.Label( self.root, text="Kids' Paint App", font=("Comic Sans MS", 30), bg="lightblue", fg="purple", ) self.title_label.pack(fill=tk.X, pady=10) self.color_frame = tk.LabelFrame( self.root, text="Colors", font=("Comic Sans MS", 15), bd=5, relief=tk.RIDGE, bg="white", ) self.color_frame.place(x=10, y=80, width=90, height=180)Specify a color group for the palette in a list. Repeat it and create buttons for each element. Set the parent element, its background color, border width, and shape. Additionally, set the width and command for each button to run when clicked. Arrange all components with appropriate padding and colors according to the set of both parts.
colors = [ "blue", "red", "green", "orange", "violet", "black", "yellow", "purple", "pink", "gold", "brown", "indigo", ] i, j = 0, 0 for color in colors: tk.Button( self.color_frame, bg=color, bd=2, relief=tk.RIDGE, width=3, command=lambda col=color: self.select_color(col), ).grid(row=i, column=j, padx=2, pady=2) i += 1 if i == 4: i = 0 j = 1
Similarly, define a button for the eraser, one to clear the screen, and one to save the image.
self.eraser_btn = tk.Button( self.root, text="Eraser", bd=4, bg="white", command=self.eraser, width=9, relief=tk.RIDGE, font=("Comic Sans MS", 12), ) self.eraser_btn.place(x=10, y=310) self.clear_screen_btn = tk.Button( self.root, text="Clear Screen", bd=4, bg="white", command=self.clear_screen, width=12, relief=tk.RIDGE, font=("Comic Sans MS", 12), ) self.clear_screen_btn.place(x=10, y=370) self.save_as_btn = tk.Button( self.root, text="Save Drawing", bd=4, bg="white", command=self.save_as, width=12, relief=tk.RIDGE, font=("Comic Sans MS", 12), ) self.save_as_btn.place(x=10, y=430) self.bg_btn = tk.Button( self.root, text="Background", bd=4, bg="white", command=self.canvas_color, width=12, relief=tk.RIDGE, font=("Comic Sans MS", 12), ) self.bg_btn.place(x=10, y=490) self.pointer_frame = tk.LabelFrame( self.root, text="Size", bd=5, bg="white", font=("Comic Sans MS", 15, "bold"), relief=tk.RIDGE, )Define a scale widget to increase or decrease the size of the cursor or eraser. Set the parent element, orientation, extent, and length in pixels. Define a canvas and set the parent element, background color, and border width. Also, set a shape that matches its width and height.
Locate the canvas with appropriate coordinates and set the anchor to the top left. Link B1-Motion to the drawing function. B1 just holds the left mouse button and Motion just moves. Generally, you use it to track mouse movements, while pressing the left mouse button.
self.pointer_frame.place(x=10, y=580, height=150, width=70) self.pointer_size = Scale( self.pointer_frame, orient=tk.VERTICAL, from_=48, to=1, length=120 ) self.pointer_size.set(1) self.pointer_size.grid(row=0, column=1, padx=15) self.canvas = tk.Canvas( self.root, bg="white", bd=5, relief=tk.GROOVE, height=650, width=1300 ) self.canvas.place(x=160, y=120, anchor="nw") self.canvas.bind("", self.paint)
Identify drawing application features
Define a method, paint . To draw pictures, this application will continuously draw small ovals. Subtract 2 from the x and y coordinates of this mouse event to determine the upper left corner of the oval. Add 2 to define the lower right corner of the oval. Create an oval using these bounded coordinates.
Set the fill color, border color, and width for each cursor selection.
def paint(self, event): x1, y1 = (event.x - 2), (event.y - 2) x2, y2 = (event.x + 2), (event.y + 2) self.canvas.create_oval( x1, y1, x2, y2, fill=self.pointer, outline=self.pointer, width=self.pointer_size.get(), )Define 3 functions, select_color , eraser , and clear_screen . The select_color method takes a color and sets the cursor accordingly. The eraser method sets the cursor to an eraser-like effect and makes it draw transparent lines. The clear_screen method clears the entire item on the canvas.
def select_color(self, col): self.pointer = col def eraser(self): self.pointer = self.erase def clear_screen(self): self.canvas.delete("all")Define a method, canvas_color . Open the color picker with all the different colors. Open the color picker containing all the different colors. Returns a tuple containing colors in RGB and hexadecimal format. If the user chooses a color, use the configure method to set the background color. Set the eraser color to the same as the background color.
def canvas_color(self): color = colorchooser.askcolor() if color: self.canvas.configure(background=color[1]) self.erase = color[1]Define the save_as method . Opens a file dialog box asking the user to select a file name and path. If the user selects a link, use Pillow's ImageGrab class to capture the entire screen. Crop the image according to specific coordinates to get the canvas area. Experiment with coordinates to get the desired part.
Save the results to the desired file path. A box will appear notifying the user that the program has successfully saved the drawing as an image. In case an error occurs, it displays the corresponding error.
def save_as(self): file_path = filedialog.asksaveasfilename( defaultextension=".jpg", filetypes=[("Image files", "*.jpg")] ) if file_path: try: y = 148 x = 200 y1 = 978 x1 = 1840 ImageGrab.grab().crop((x, y, x1, y1)).save(file_path) messagebox.showinfo("Save Drawing", "Image file saved successfully!") except Exception as e: messagebox.showerror("Error", f"Failed to save the image file: {e}")Create instances of classes Tk and DrawApp . The mainloop() function tells Python to loop Tkinter events and listen for events until you close the window.
if __name__ == "__main__": root = tk.Tk() app = DrawApp(root) root.mainloop()Test out different drawing features in Python
When you run the drawing program, you will see an application with a color palette, 4 buttons, a slider and a canvas to draw on:
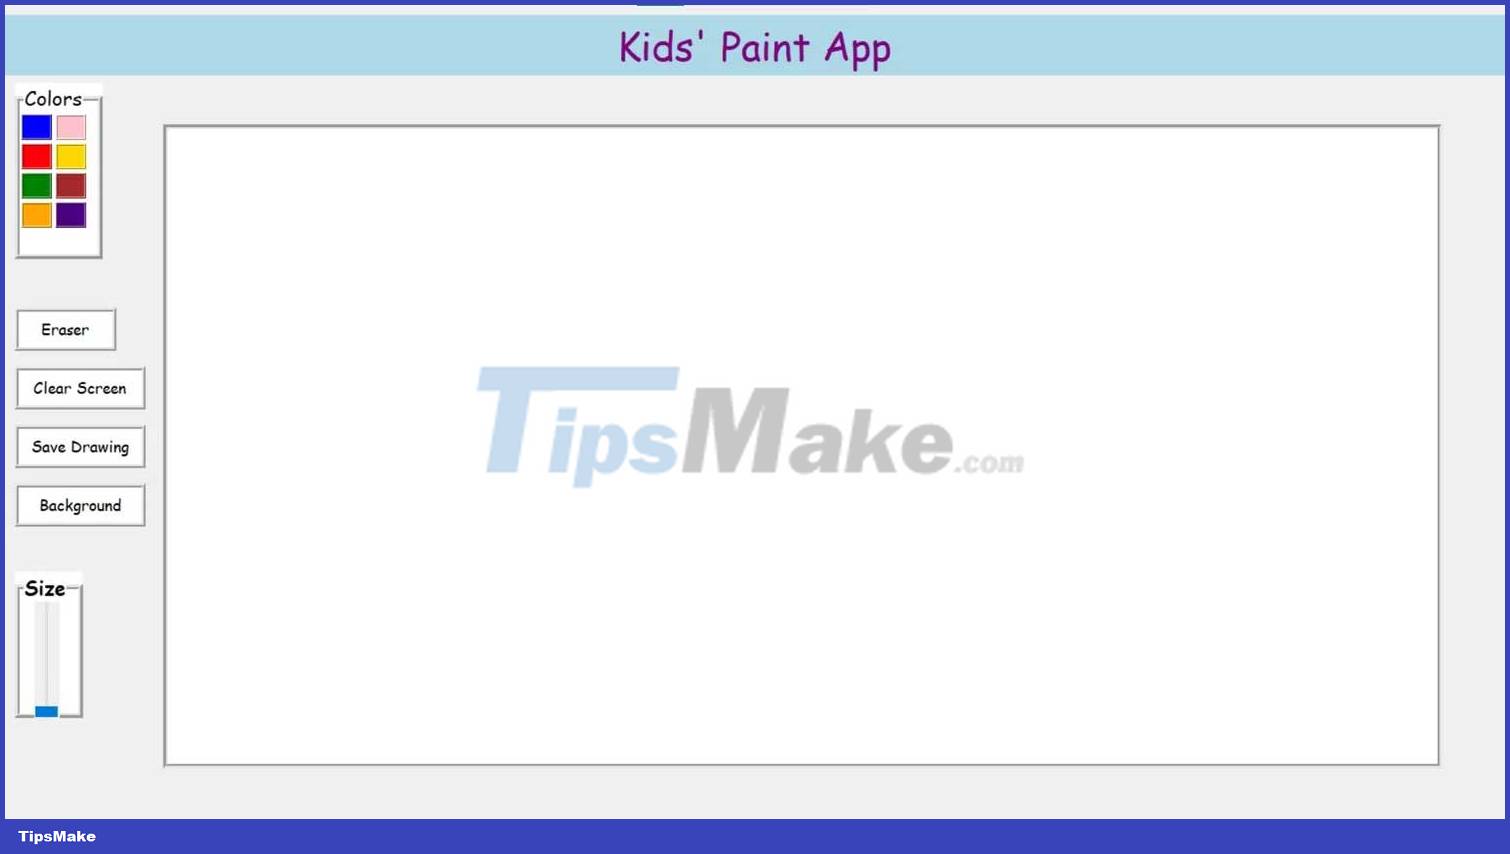
Click any color to select it. You can then draw on the canvas in that color with the left mouse button:
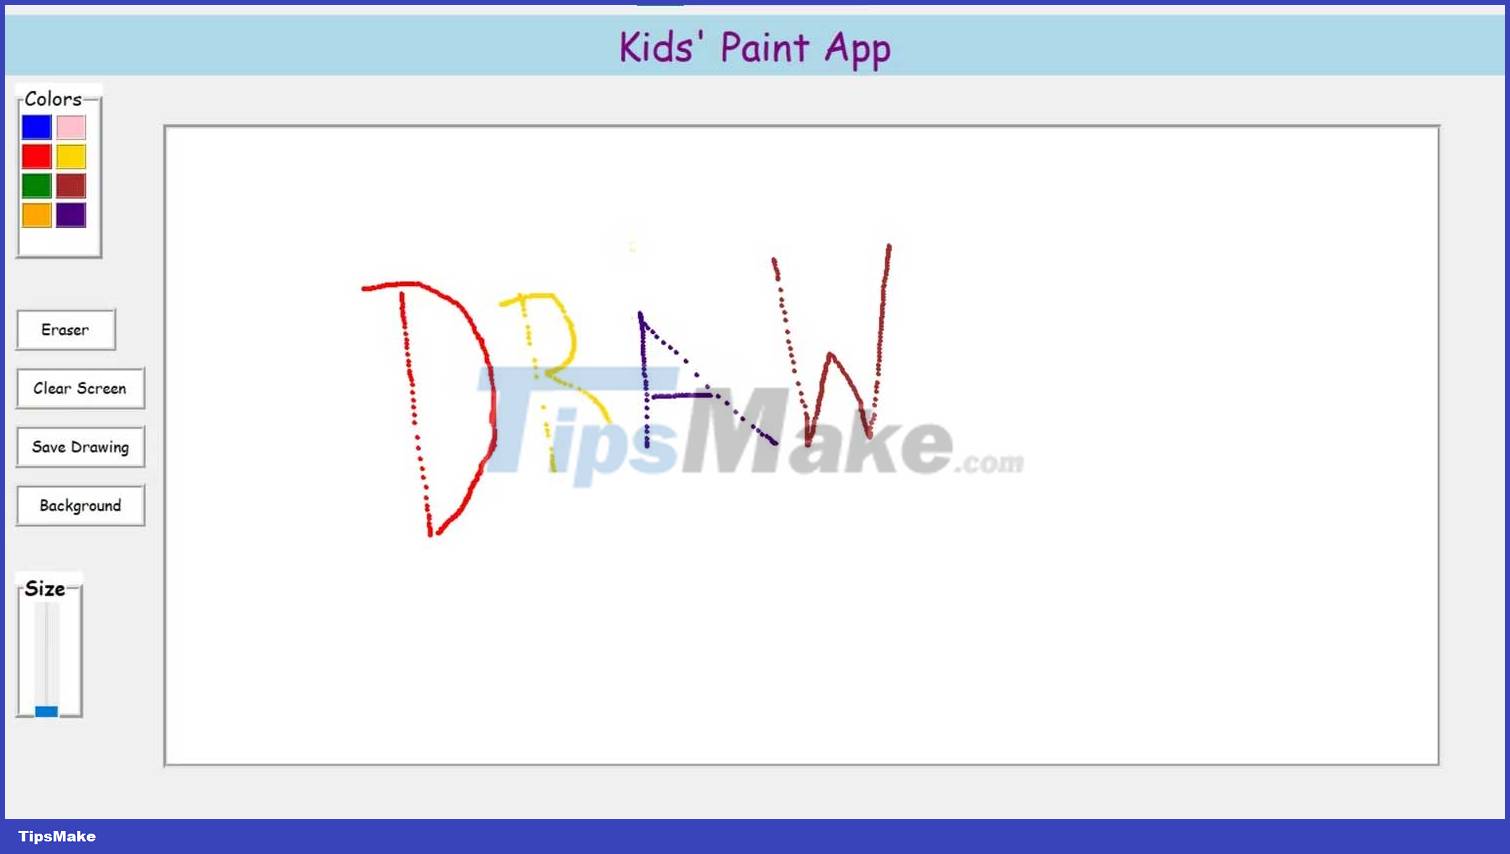
When you click the Eraser button and drag the slider vertically up, you will select the eraser and increase its size. Test the eraser by dragging it over the drawing to erase unnecessary strokes.
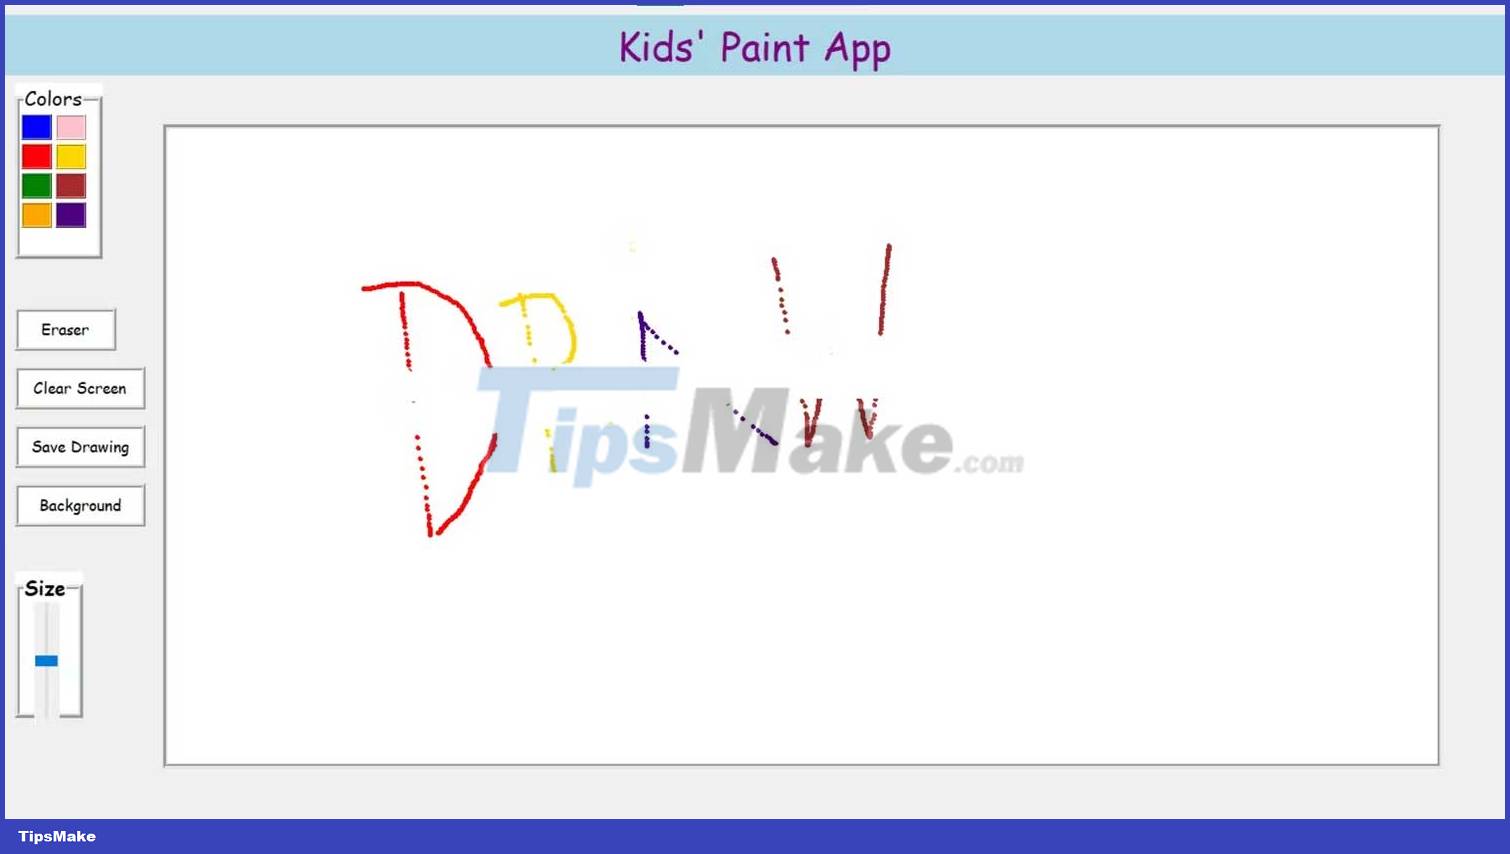
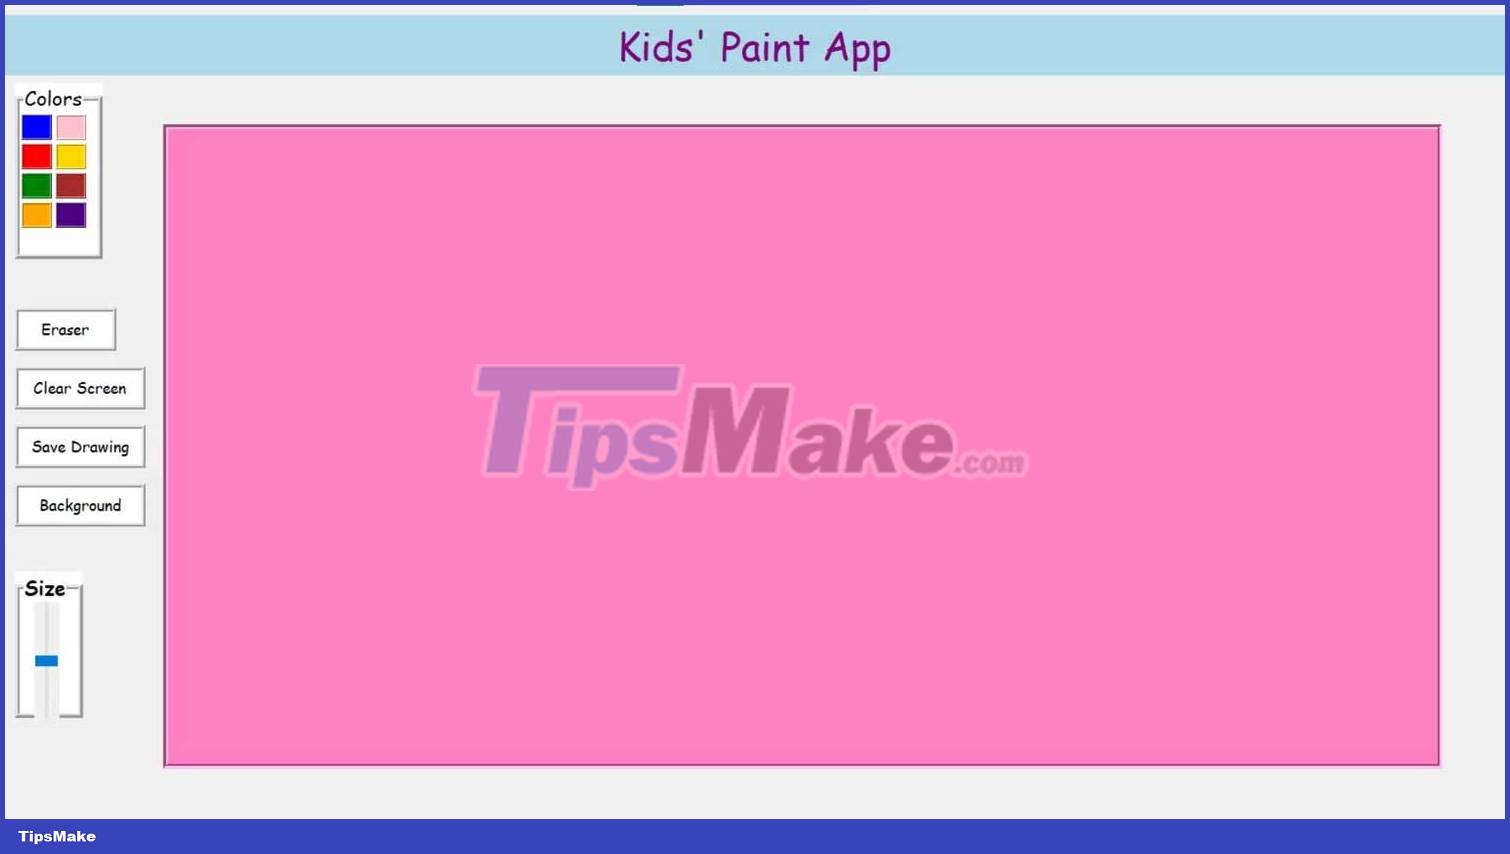
When clicking the Clear Screen button , the program deletes the previous drawing. Click the Background button to open the color palette and use it to change the background color.
When you click the Save Drawing button , a file dialog box will open. Select the path and name the file. This program will save it.
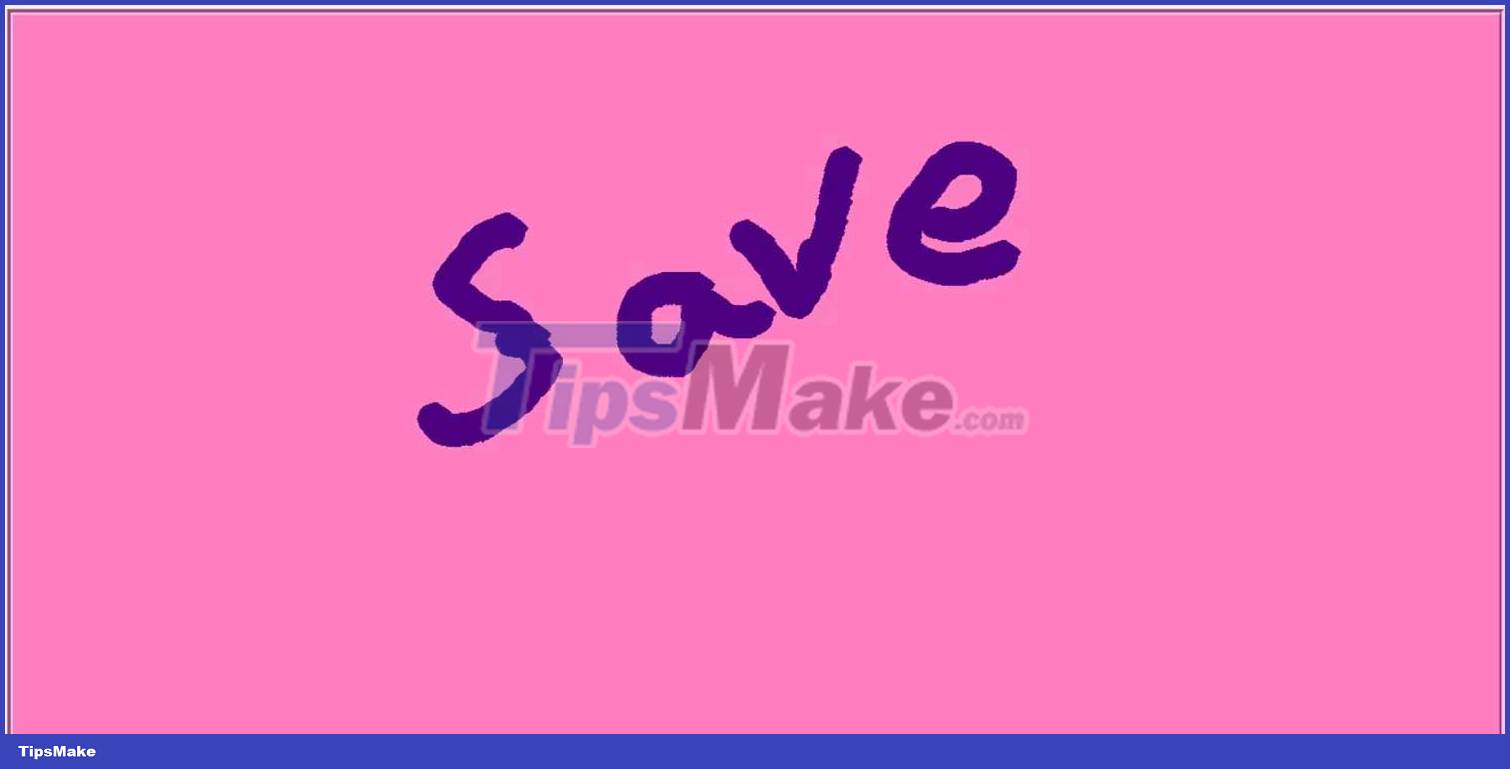
You can enhance the drawing application's features by adding additional shape options, choosing brush styles, opacity, applying stickers, etc. Add options to undo, redo, resize, flip images. This makes the drawing process smoother.
To create shapes, you can use methods like create_rectangle, create_oval, create_line, create_polygon. To add images, use create_text and create_image.
Above is how to create a painting app with Python . Hope the article is useful to you.
 Docker best practices you need to know
 How to build an authentication system in Django using OAuth
 How to download custom fonts and text effects in Pygame
 How to use Aggregation Pipeline in MongoDB
 How to Containerize a Nest.js Application Using Docker and Docker Compose
 SQL way to count NULL and NOT NULL values in a column