Table of Contents
Effective looting in Free Fire means becoming combat-ready quickly, not collecting every item in sight. Your first goal is a usable close- or mid-range weapon, matching ammunition, armor, healing, and a second weapon that covers a different distance. Once that core kit is complete, rotate before the safe zone or nearby enemies force the decision for you.
Loot priority for the first minute
- Any usable firearm and matching ammo
- Armor and a helmet
- A second weapon for another range
- Med Kits or other healing
- A larger backpack and useful attachments
- Grenades, utility, and Gloo Maker upgrades
Do not spend the opening seconds comparing two minor attachments while unarmed. Equip the first reliable weapon, clear the room, listen for footsteps, and optimize the loadout after immediate danger has passed.
Choose a landing route before jumping
The match begins with the aircraft path. Select a primary landing cluster and a backup location before leaving the plane. Dense named zones offer more loot but attract more squads; edge compounds are safer but may leave gaps in equipment.
- Mark the first building, the second building, and an exit route.
- Watch how many players leave the aircraft with you.
- If another squad will clearly land first, divert to the backup instead of arriving unarmed.
- In squads, spread across adjacent rooms rather than four players looting the same floor.
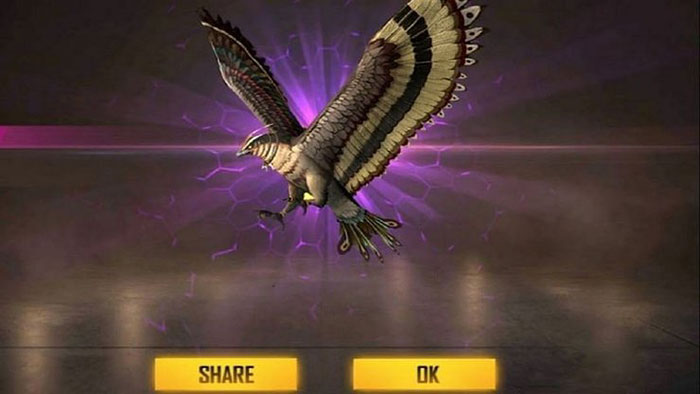
Character, pet, and loadout abilities that affect landing can change between patches. Use the live description when building a fast-drop setup rather than relying on an old Falcon recommendation.
Land fast without losing control
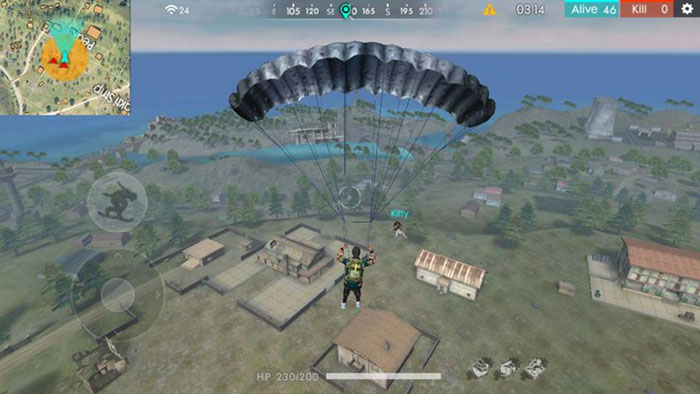
Jump when the target is within a practical glide path, point toward the nearest useful roof or entrance, and avoid circling above it. The best landing is not simply the earliest touch on the ground; it is a landing that puts a weapon between you and the nearest opponent.
If you reach a roof with no visible pickup, drop immediately into the building instead of searching an empty surface. In a contested area, close the door or use cover while equipping the first weapon.
Loot buildings in a fixed pattern
Buildings concentrate weapons, armor, and attachments and provide cover while you search. Enter through a route that limits the number of angles an enemy can use, then clear each room in the same direction.
- Scan the floor from the doorway.
- Pick up a gun before attachments or ammunition for a weapon you do not own.
- Clear corners and stairs before opening the inventory.
- Exit through the side closest to the next safe building or vehicle.
Do not revisit rooms because you forgot where you started. A clockwise or floor-by-floor sweep is faster and leaves fewer blind spots.
Build a balanced two-weapon kit
A practical loadout covers two different engagement ranges. Examples include an SMG or shotgun for close fights paired with an assault rifle, marksman rifle, or sniper for distance. Two weapons that use the same ammunition can simplify inventory, but they may compete for a limited supply.
Prefer a weapon you control consistently over a theoretically stronger gun with recoil or timing you cannot manage. Replace it only when the upgrade is clear and the correct ammo is available.
Carry only matching ammunition
Ammo for weapons you do not use is dead weight. Once the two-gun kit is stable, discard unrelated ammunition and review how quickly each weapon consumes rounds. Automatic weapons need a larger reserve than a slow sniper rifle.
There is no universal ideal count: backpack level, game mode, weapon pair, and play style matter. Use auto-pickup caps as a starting point, then adjust after observing whether matches end with too much unused ammo or repeated shortages.
Manage armor, healing, and utility
Replace damaged or lower-level protection when the new item is a meaningful improvement. Carry enough healing to recover after more than one fight, but do not fill the backpack with Med Kits while leaving no space for ammunition or throwables.
The current Battle Royale system uses the Gloo Maker to generate Gloo Walls rather than treating them as ordinary ground loot. Increase its capacity and production through the current match's supported sources, and use the device indicator to see whether you are near the limit.
Older advice that says to pick up two or three loose Gloo Walls is obsolete for modes using Gloo Maker. Current systems can change again, so check the live backpack Device tab and recent Free Fire patch changes.
Use vehicles for rotation, not blind looting
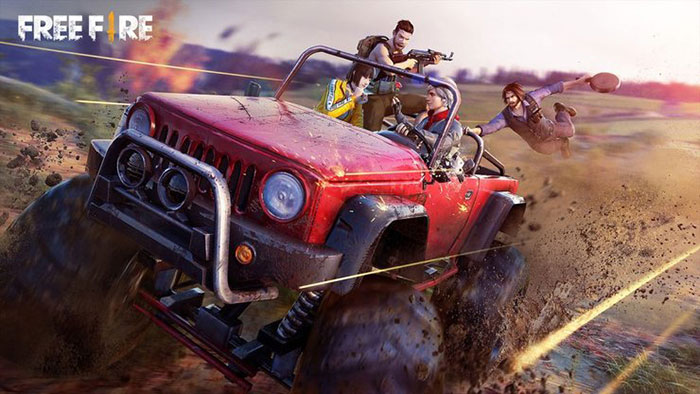
Vehicles shorten long rotations and can help a squad reach a quieter compound before the zone closes.
- Check fuel or vehicle condition when the mode exposes it.
- Approach a building from cover rather than driving into the center of an occupied compound.
- Stop far enough away that the engine does not reveal the exact doorway you will use.
- Leave the vehicle pointed toward the next escape route.
Motorcycles offer speed and a small profile but little protection. Larger vehicles may protect passengers better but are easier to hear and hit. Do not drive straight at an opponent who already has a clear firing lane.
Use ziplines and launch points with an exit plan
Map mobility tools can move you quickly to another loot cluster or safe-zone position, but their destination is predictable.

Before committing, inspect the landing area, listen for gunfire, and have a Gloo Wall or hard cover available. A fast rotation is not useful if a team is waiting at the endpoint.
Move with the appropriate item equipped
Held equipment can affect mobility and readiness. Use fists or a light melee option when sprinting through a clearly safe stretch, but switch back before entering a doorway, cresting a hill, or approaching gunfire.
The small speed advantage is not worth being caught without a firearm. Practice the weapon-switch control so it becomes automatic rather than looking down at the HUD during contact.
Configure Auto Pickup and the HUD
Open Settings > In-Match > Auto Pickup and tailor the categories to your normal loadouts. Garena reorganized these options under the In-Match tab, so older menu paths may differ.
- Set reasonable ammo limits for the weapon classes you actually use.
- Disable automatic pickup for scopes or attachments you routinely discard.
- Keep healing and key utility enabled.
- Place the pickup list where it does not block movement, aim, or enemy indicators.
- Test changes in casual play before using them in ranked matches.
Know when to stop looting
Leave the area when you have a balanced kit, the zone is moving, enemies know your position, or teammates are already rotating. Searching one more building for a small upgrade often creates more risk than value.
After an elimination, secure the area before opening the loot box. Reload, heal, check the minimap, and let one teammate loot while another watches. Take only a clear weapon upgrade, matching ammo, healing, armor, or utility.
Squad looting rules
- Call out spare armor and weapons instead of silently carrying attachments you cannot use.
- Do not take all ammunition for a caliber shared by teammates.
- Assign adjacent buildings and regroup at a marked point.
- Keep one player watching during airdrops and enemy-box looting.
- Rotate together; an ideal inventory does not compensate for being isolated.
The best loot plan is simple: land with a backup route, arm yourself before optimizing, carry only what supports the current loadout, and rotate while you still control the timing.
Related Articles
 How to Use Sniper Rifles in Garena Free Fire5 minutes read
 Popular Tactics in Free Fire4 minutes read
 Free Fire Tips and Tricks to Conquer Every Map5 minutes read
 Top Tips to Play Free Fire Easily to Become Pro Gamers6 minutes read
 3 Simple Tips for Playing Free Fire That Newbies Need to Know: What You Need to Know5 minutes read
 How to Make Friends in the Game Garena Free Fire5 minutes read
Reader Comments 0
Sign in with email or Google to join the discussion.