What you will learn
- Match common image formats to photos, graphics and scalable artwork.
- Distinguish pixel dimensions from file size.
- Resize and compress for the intended use.
- Preserve an editable or high-quality master.
What you need
- One photo and one simple logo or diagram.
- An image editor or export tool.
Format is a technical trade-off
MDN describes common image formats and their capabilities, including JPEG for photographic compression, PNG for lossless detail and transparency, and SVG for vector graphics.
Microsoft documents saving graphics to formats such as JPEG, PNG and SVG depending on the source application.
JPEG is usually efficient for photographs but does not support transparency and uses lossy compression. PNG preserves sharp edges and transparency but may be large for photos. WebP can provide efficient web delivery. SVG stores vector shapes and scales cleanly for logos and diagrams but is not a photo format.
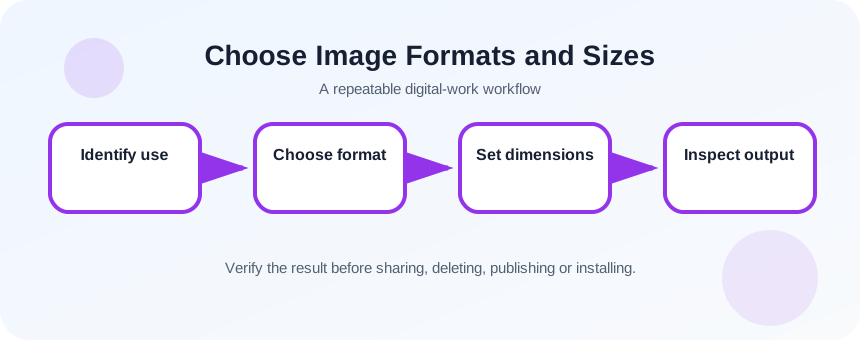
Define the delivery target
Record where the image will appear, maximum display dimensions, whether transparency is needed, whether the recipient must edit it and any platform limits. A web hero, email attachment, print graphic and archive master require different outputs.
- 1
Identify photo or graphic content.
- 2
Record target width and height.
- 3
Choose screen or print use.
- 4
Decide whether transparency is required.
- 5
Check platform file-size limits.
- 6
Preserve the original master.
Export a purpose-built copy
Resize a copy rather than the only master. Maintain aspect ratio unless cropping is intentional. Choose the format, then adjust quality while viewing the image at 100 percent and at actual display size. Use a meaningful filename that includes purpose or dimensions.
- 1
Duplicate the master.
- 2
Crop to the intended aspect ratio.
- 3
Resize to target pixel dimensions.
- 4
Choose JPEG, PNG, WebP or SVG.
- 5
Adjust compression or quality.
- 6
Save with a descriptive filename.
- 7
Compare visual quality and file size.
Inspect common artifacts and metadata
JPEG artifacts appear around sharp edges and text at low quality. PNG can preserve unnecessary metadata or dimensions. Upscaling a small raster image creates more pixels but does not restore missing detail. SVG files can contain text or linked resources that behave differently across tools.
Remove sensitive location metadata when privacy matters, while retaining copyright or attribution metadata required by policy. Use color profiles appropriate to the destination and test in the actual browser, document or platform.
- 1
Zoom to 100 percent.
- 2
Inspect text and high-contrast edges.
- 3
Check transparency.
- 4
Open the output in the destination application.
- 5
Review metadata and attribution.
Compare against the actual use case
Place the exported image in the webpage, slide, document or message where it will be used. Check sharpness, load behavior, cropping and accessibility text. Select the smallest file that meets the real quality requirement, not the smallest file at any cost.
- The format matches photo, graphic or vector content.
- Dimensions match the target display.
- The original or editable master remains available.
Export one photo and one logo
Create delivery copies with different formats and compare results.
- 1
Record target dimensions.
- 2
Export the photo as JPEG or WebP.
- 3
Export the logo as PNG or SVG.
- 4
Compare file sizes.
- 5
Inspect at actual display size.
- 6
Document the chosen format and reason.
Common mistakes to avoid
- Saving logos as low-quality JPEG.
- Uploading full camera dimensions for a small web thumbnail.
- Upscaling and assuming detail was restored.
- Overwriting the master during export.
Key takeaways
- Choose format according to content and destination.
- Dimensions, compression and file size are separate controls.
- Inspect the delivered copy in its real context.
Frequently asked questions
Is PNG always higher quality than JPEG?
PNG is lossless, but it is not automatically the best choice. JPEG is often more efficient for photos at visually acceptable quality.
What resolution do I need for the web?
Use pixel dimensions appropriate to the displayed size and higher-density screens, then test performance. Print DPI rules do not directly determine web display.
Sources and further reading
- Image file type and format guideMDN Web Docs
- Save a picture or other graphic as a separate fileMicrosoft Support
Ready to continue?
Mark the lesson complete so your Learning Path progress stays current on this device.