What you will learn
- Preserve the original before editing.
- Crop and rotate according to subject and destination.
- Apply restrained light and color adjustments.
- Export and inspect a separate delivery copy.
What you need
- A non-sensitive photo.
- Windows Photos or another basic image editor.
Editing is a sequence of reversible decisions
The Windows Photos app provides crop, rotate, adjustment, filter and markup tools.
Microsoft 365 applications also provide cropping, color, brightness and other picture editing controls.
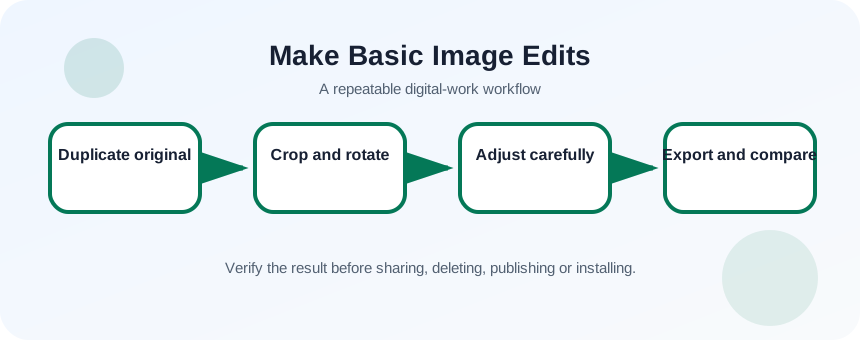
Begin with geometry—orientation, horizon and crop—before color. A crop cannot reveal content outside the original frame, and heavy adjustments can clip highlight or shadow detail. Keep the original untouched so every experiment is reversible.
Define the communication goal
Decide whether the image is a profile picture, product detail, evidence photo, slide background or social graphic. The goal determines aspect ratio, acceptable cropping and whether documentary accuracy limits retouching. Duplicate the file and name the working copy.
- 1
Identify the destination.
- 2
Record target aspect ratio.
- 3
Duplicate the original.
- 4
Open the copy in the editor.
- 5
Check orientation and horizon.
- 6
Note areas that must not be cropped.
Edit from large structure to small adjustments
Rotate or straighten first, then crop. Adjust exposure, contrast and color gradually. Toggle before and after frequently. Filters should support a defined visual purpose, not compensate for an unclear image. For evidence or documentation, avoid edits that remove or misrepresent content.
- 1
Rotate to correct orientation.
- 2
Straighten the horizon.
- 3
Choose the target crop ratio.
- 4
Place the subject with useful space.
- 5
Adjust brightness or exposure slightly.
- 6
Correct color only if needed.
- 7
Compare before and after.
Export without losing the master
Use Save a copy or Export rather than replacing the original. Choose dimensions and format for the destination. Avoid repeated JPEG saves because each lossy generation can introduce artifacts. Keep editing files separate from delivery copies.
Inspect faces, text, edges and gradients at 100 percent. Excessive sharpening creates halos; aggressive noise reduction removes detail; strong saturation can clip colors. If the image will be printed or published, test the actual output rather than trusting the editor preview.
- 1
Choose Save a copy.
- 2
Select format and dimensions.
- 3
Name the output by purpose.
- 4
Open the exported file independently.
- 5
Inspect at 100 percent and actual use size.
Evaluate whether the edit supports the goal
Compare the original and output side by side. Ask whether the subject is clearer, important context remains and color looks believable. Check file size and aspect ratio in the destination. If the improvement is difficult to explain, return to a more restrained version.
- The original file is unchanged.
- The crop and adjustments support the intended use.
- The exported copy opens correctly at the required dimensions.
Create a clean profile or product image
Use a controlled edit sequence and document each decision.
- 1
Duplicate a photo.
- 2
Correct orientation.
- 3
Crop to a defined aspect ratio.
- 4
Make one light adjustment.
- 5
Export a delivery copy.
- 6
Compare original and result in the target application.
Common mistakes to avoid
- Editing the only original.
- Applying filters before fixing crop and orientation.
- Over-sharpening or over-saturating.
- Saving repeatedly over a JPEG.
Key takeaways
- Preserve the original.
- Edit geometry before tone and color.
- Review the exported copy in its destination.
Frequently asked questions
Should I crop before resizing?
Usually yes. Establish composition and aspect ratio, then resize the resulting frame to the target dimensions.
Can I improve a blurry photo with sharpening?
Sharpening can enhance edge contrast but cannot restore detail that was never captured. Excessive sharpening creates artifacts.
Sources and further reading
- Edit photos and videos in WindowsMicrosoft Support
- Edit pictures in Microsoft 365Microsoft Support
Ready to continue?
Mark the lesson complete so your Learning Path progress stays current on this device.