How to Adjust an Abrasive Stone on a Bench Grinder
Positioning the Guards
-
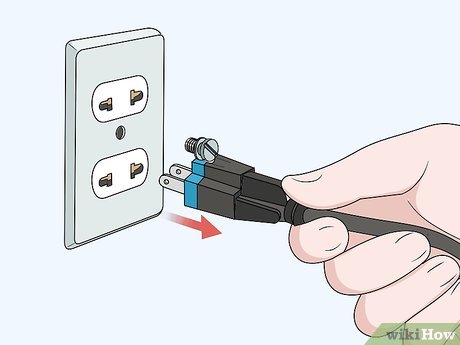
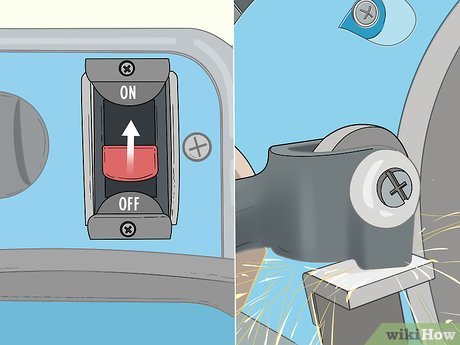
 Unplug your bench grinder. Flip the grinder's switch to the Off position and let it stop running if you were just using it. Pull the power cord out from the outlet while you're working so there's no risk of the grinder starting.[1]
- Never work on your bench grinder while it's running or still plugged in, or else you could seriously injure yourself.
-
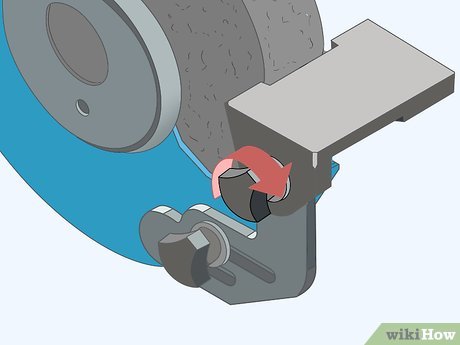
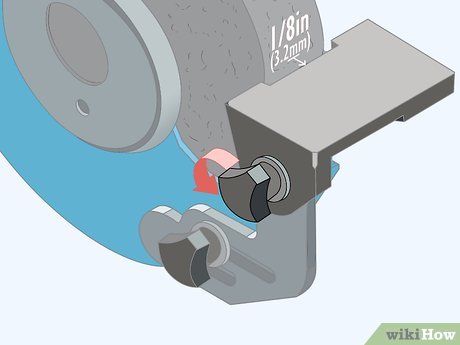
 Loosen the knob on the side of the grinder's tool rest. Look for the knob that's securing the tool rest on the grinder and turn it counterclockwise to loosen it. The tool rest should swing freely so you can reposition it.[2]
- The tool rest is the horizontal tray in front of the wheel that you use to support whatever you're grinding.
- If there isn't a knob holding the tool rest, you may need a wrench or a screwdriver to loosen it.
-
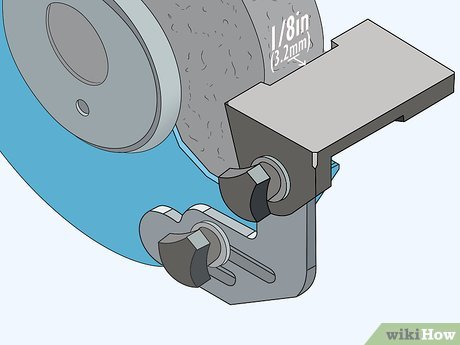
 Push the tool rest in so it's 1⁄8 in (3.2 mm) away from the stone. If you leave a large gap, your tools can get caught in them and damage your grinder. Keep the tool rest parallel to the floor. Slide the tool rest closer to the stone so there's a 1⁄8 in (0.32 cm) gap and hold it in place. Check the distance with a ruler if you need to.[3]
- You may also use a bench grinder safety gauge, which is a plastic card with small tabs to measure the gap sizes. Stick the tab between the wheel and the tool rest so it's at the proper distance.
-
 Tighten the tool rest's knob to secure it. Hold the tool rest in place with your dominant hand and turn the knob clockwise to tighten it. Keep turning the knob until you feel tension to ensure that it doesn't come loose while you're working.[4]
- If you accidentally moved the tool rest while you were tightening it, loosen the knob by a half turn so you can readjust the rest.
-
 Turn the knob on the top tongue guard counterclockwise to loosen it. Look for the tongue guard at the top opening of the grinding wheel and find the knob holding it on the machine. Rotate the knob counterclockwise until you can move the tongue guard up and down.[5]
- The tongue guard is a metal plate that prevents sparks and debris from flying up toward the operator.
-
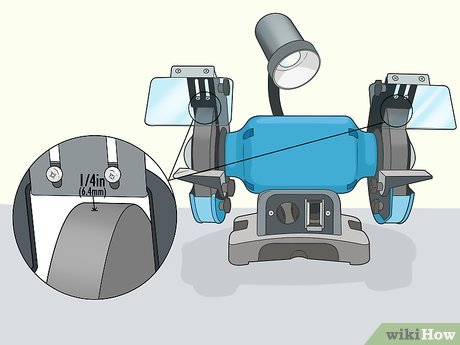
 Secure the tongue guard so it's 1⁄4 inch (6.4 mm) above the stone. Slide the tongue guard down closer to the wheel and hold it in place with your nondominant hand. Use a ruler or a bench grinder safety gauge to measure the gap distance before screwing the knob back in to lock the guard down.[6]
Warning: Never use your bench grinder without the guards since your tools could slip or catch more easily and you could hurt yourself.
Dressing the Stone
-
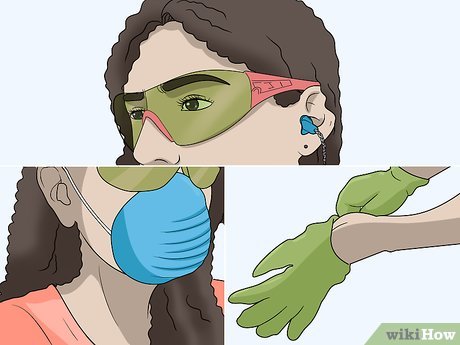
 Wear safety glasses, ear plugs, gloves, and a dust mask. Bench grinders create sparks, so protect your eyes with safety glasses and your hands with thin protective gloves. The grinder also creates a lot of dust when you dress it, so cover your mouth and nose with a dust mask. Put in ear plugs so you don't damage your hearing from working.[7]
- Wear safety glasses even if your bench grinder has a built-in face shield just in case there's an accident.
- Avoid wearing loose-fitting clothing since it could get caught in the grinding wheel.
-
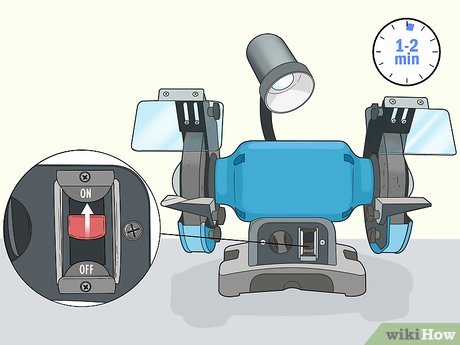
 Let your bench grinder run for 1–2 minutes so the stone comes up to full speed. Turn the power switch on and stand to the side of your bench grinder. Avoid standing right in front of the stone so you're less likely to get injured if debris flies out from the wheel. Allow it to run until it's spinning at full speed, which usually takes about 1–2 minutes.[8]
- Don't start dressing the grinder right when you turn it on since it's more likely to get damaged.
-
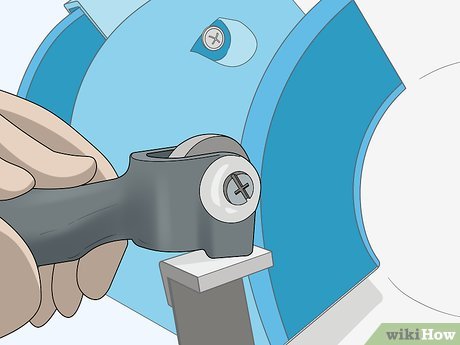
 Press the dressing tool against the front of the stone. Hold the tool's handle firmly in your hand and hold the end firmly against the tool rest. Slowly push the dressing tool against the stone so they're lightly touching.[9]
- A dressing tool has a metal bar with diamond chips to help scrape and wear away the outer layer of stone. You can buy one online or at your local hardware store. They usually cost around $15–30 USD.
- You can also use a dressing tool that has rotating metal nibs on it the same way.
- Don't touch the stone while it's moving since you will get seriously injured.
Warning: Don't press the tool forcefully against the wheel since you could potentially crack the stone.
-
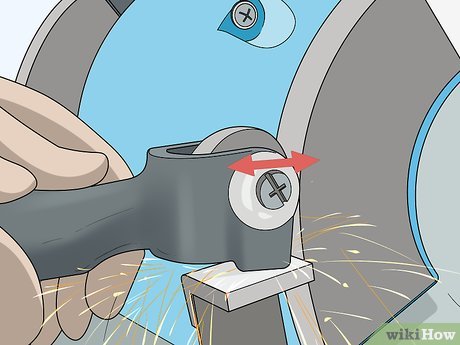
 Move the dressing tool over the stone until you expose new grit. Avoid keeping the dressing tool in one spot, or else the stone will have an uneven finish. Slowly slide the tool back and forth across the wheel to remove all of the dirt and dust stuck in the grit. Keep working the tool over the surface until the stone has a consistent color and texture.[10]
- Round the edges of the stone with your tool so it grinds more efficiently when you use it.
- Use your nondominant hand to brace the tool so it's less likely to slip while you're moving it.
-
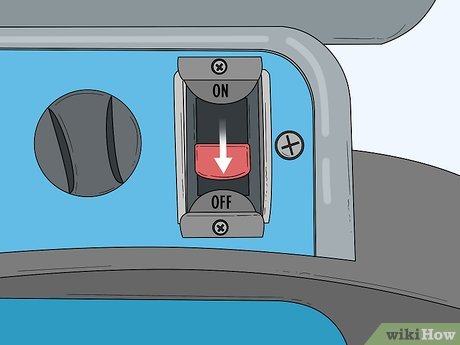
 Turn off the bench grinder and wait for the stone to stop. Pull the dressing tool away from the stone and switch the grinder off. Stand aside while the wheel slows down on its own. Once the wheel stops spinning, you'll see a fresh layer of grit on the wheel.[11]
- Avoid sticking a tool against the stone to stop it from spinning since you could damage your grinder.
- Try spinning the wheel by hand to check for any spots you missed and dress them again if you need to.
-
 Adjust the tool rest so it's 1⁄8 in (3.2 mm) away from the stone. Dressing the stone removes the outer layer of grit and makes it smaller. Unscrew the knob on the side of the grinder that's holding the tool rest in place. Turn the knob counterclockwise to loosen it and push it closer to the wheel. Leave a 1⁄8 in (0.32 cm) gap between the tool rest and the stone. Tighten the knob again to secure the tool rest.[12]
- If you don't adjust the tool rest, your tools may get caught in the wheel and pulled down into the gap.
Changing the Stone
-
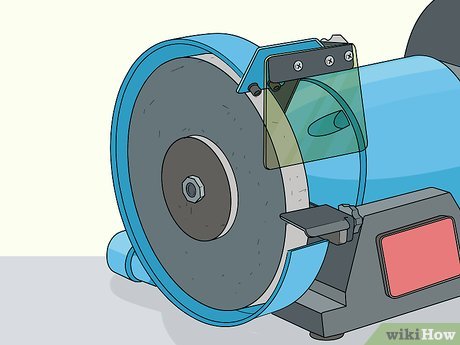
 Disconnect your bench grinder from power. If you're running your grinder, turn off the switch and let the stone stop spinning on its own. Then unplug the grinder from the outlet so there's no risk of it starting while you're replacing the stone.[13]
- Never replace the abrasive stone while the machine is plugged in.
-
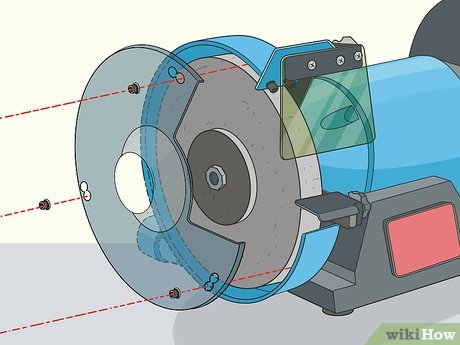
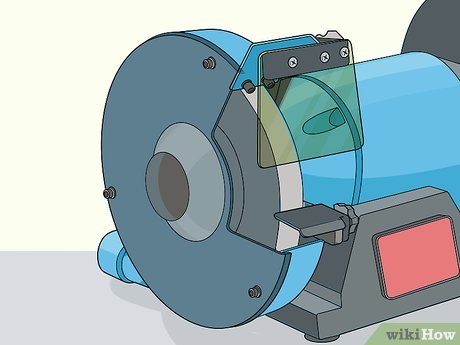
 Unscrew the wheel cover and pull it off. Locate the screws around the edges of the wheel cover and use a screwdriver to remove them. Once you remove all of the screws, pull the wheel cover straight off of the stone and set it aside.[14]
- The wheel cover is the round plastic housing on the side of the abrasive stone.
- Keep the screws in a small bowl or cup so you don't lose them.
Tip: You may have to unscrew the tool rest and tongue guard from the wheel cover before you're able to remove it.
-
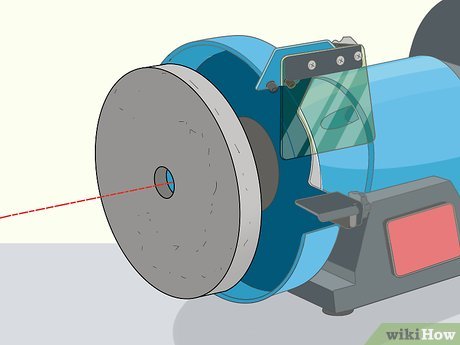
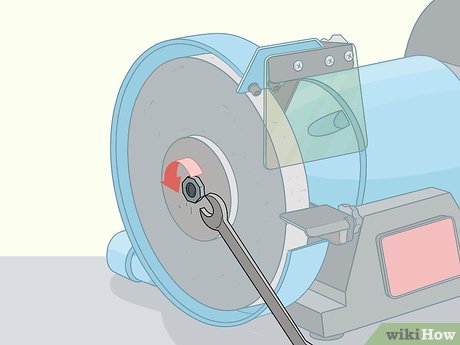
 Loosen the wheel lock nut to take off the stone, flange, and washers. Locate the nut in the middle of the wheel and hold onto it with a wrench. If you're removing the stone on the left side of the grinder, turn the nut clockwise to loosen it. If you're replacing the right stone, rotate the nut counterclockwise instead. Hold the stone still with your other hand so it doesn't spin while you loosen the nut. Remove the nut and pull the support flange, stone, and washers straight off of the grinder.[15]
- Save the paper washers because you can reuse them with your new stone.
-
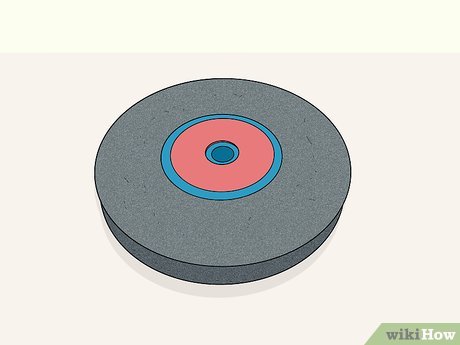
 Get a new abrasive stone made for your grinder's RPM and size. Check your bench grinder's user manual so you know what diameter and thickness you can use. Also check on top of the bench grinder or in the manual for the minimum RPM requirement. Get your new stone from your local hardware store.[16]
- Never use a stone that's the wrong size or RPM since you could easily damage your grinder.
- If you don't know what size wheel you need, check the old stone's label to see if it lists its original diameter and RPM rating.
-
 Load the new stone, paper washers, and flange onto the grinder's rotor. Your new stone may come with paper washers, but you can use the old ones if not. Put on one of the paper washers and slide it all the way onto the grinder. Push the stone and the second paper washer onto the grinder as well. Slide the flange onto the end and press it tightly against the stone.[17]
- Don't forget the paper washers, or else the wheel may wobble side to side and get damaged.
-
 Tighten the nut on the stone to secure it. Thread the nut back onto your grinder and tighten it with your wrench. Rotate the nut counterclockwise if you're replacing the left stone or clockwise if you're working on the right stone. Keep turning the nut until you feel tension so the stone doesn't come loose when you're working.[18]
- Avoid forcing the nut to turn since you could crack or damage the stone.
-
 Screw the wheel cover back onto the grinder. Slide the wheel cover back over the stone so the screw holes line up. Tighten all of the screws around the edge of the cover until it's held securely in place. If you had to remove the tool rest or tongue guard, screw them back onto the cover as well.[19]
- Never run your bench grinder without the wheel cover since it'll produce more sparks and put you more at risk for injury.
-
 Dress the stone if it runs out of alignment. Put on a pair of safety glasses, a dust mask, protective gloves, and ear plugs so you're safe while running the grinder. Plug your bench grinder back in and turn it so it comes to full speed. Press a dressing tool lightly against the stone, using the tool rest as a support. Move the dressing tool over the surface until the wheel spins straight.[20]
- You can buy a dressing tool online or from your local hardware store.
Share by
Lesley Montoya
Update 02 June 2020
You should read it
- ★ Top most popular meat grinder with price of less than 1 million today
- ★ What is stone fan? Should I use a fan?
- ★ Fix the situation where the computer mouse wheel has a scrolling error
- ★ The terminology of color, wheel color and skill used to color
- ★ Instructions for making steering wheel with carton cover to play racing games


